https://www.youtube.com/watch?v=UEAHA6OHxPs
TARTINE SOURDOUGH BREAD _ Making the Loaf That Got Me Into Bread Baking
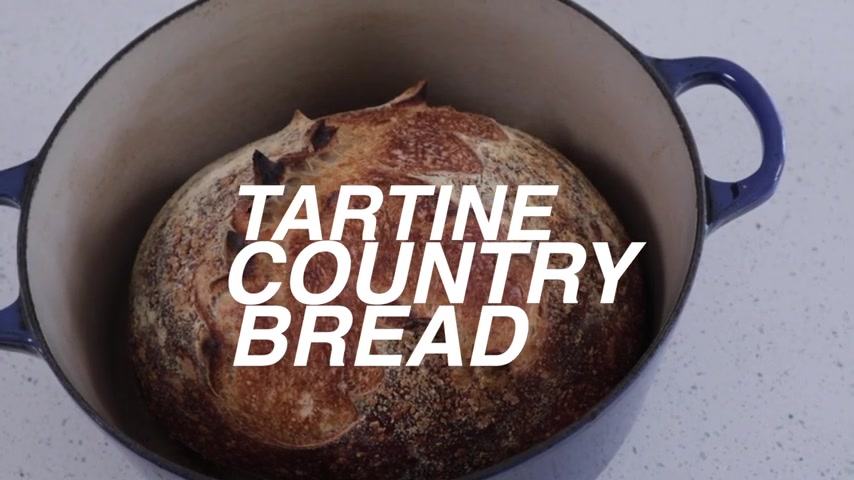
So I bought this book about 10 years ago to learn how to bake sourdough bread .
And all I can say is that it worked within a couple of years , I was baking all the bread at the restaurant I worked at as a line cook .
And a couple of years after that , I was working as a professional baker in a bread bakery .
Sure .
There's a ton of content out there .
A lot of blog posts , a lot of even videos breaking down this process , specifically this recipe .
But the one thing I think it lacks is that little bit of professional touch .
Like how would a pro level baker do it ?
What are his hands doing to the bread ?
And I think I have that insight at this point .
My hands have touched thousands of pieces of sourdough bread and I have a pretty good handle on the process .
So I kind of want to show you guys a little bit of the tips and tricks of how I would break it down from somebody who's worked in professional bread bakery .
And I just kind of want to pay respects to our boy chad because without him , I would have never learned this process .
Something that I care about so much and is really close to my heart .
So stick around .
We're going to get in the weeds a little bit .
This is definitely not a beginner level sourdough video .
So if you want to see that head over to this video , we put that out a few weeks ago .
That's how you make it without a stand mixer .
Check that out if you're interested .
Let's get started at the time of shooting this video .
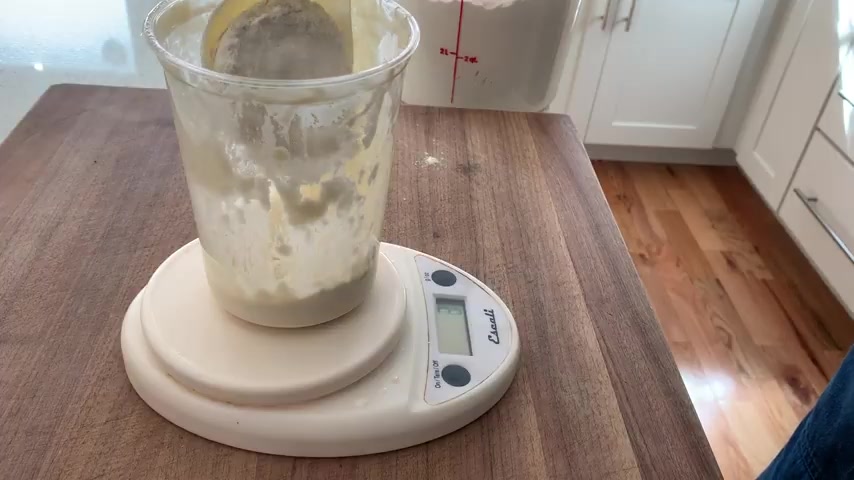
Eight ami fed my starter about 10 pm .
Last night , that feeding was 25 g starter .
100 g , all purpose flour and 100 g of water .
At this point , it smells sweet and only slightly sour .
It's got a really nice gassiness to it at this point .
The starter is like Peking .
It's got a really high population of yeast in there and it is definitely ready to go leading up to this feeding .
I've been feeding this starter once in the morning sometimes in the afternoon .
Definitely not anything too strict .
It doesn't really matter as long as you're feeding it .
And I'm gonna leave the full instructions below for how to care for and start a sourdough starter .
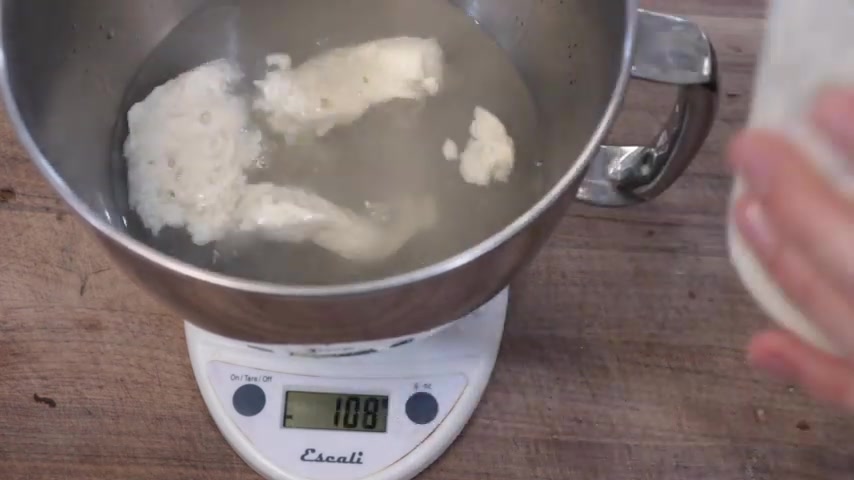
In the description , we're measuring out 700 g of warm water into that .
We're gonna add 200 g of our ripe starter .
Like I said in a previous sourdough video , your house is much colder than a bread bakery .
It does not have a four deck bread oven that's at 500 degrees all day .
So I would skew towards 95 to 100 degree water .
This was a real struggle for me .
Early on in making this bread , it was always sluggish .
I had to wait all day for it to rip it on the countertop .
It was just because my dough was too cold .
So once I started working with warmer water , things got a lot better .
A lot faster when your starter is ripe and ready to go like ours is , it floats .
As you can see here , it doesn't go down to the bottom .
It stays right on top to this .
We're gonna add 900 g of all purpose flour and 100 g of whole wheat flour .
We're not gonna salt this yet either .
We're gonna mix this on slow and this is what we talked about in the last video .
This is the auto , what we're doing here is hydrating the flour slowly over time .
This gives us more extensibility and a more tender supple dough .
Later on , we wanna slowly hydrate this dough .
We're gonna let it sit here for about 30 minutes .
At that point .
We're gonna add in our 20 g of salt and we're gonna mix this on slow speed for about two minutes .
This will make the first slow mix at the bakery .
We would do this in a giant orbital mixer that has £200 of dough in it at a time .
We would do it for four minutes at home in a small mixer with a small batch .
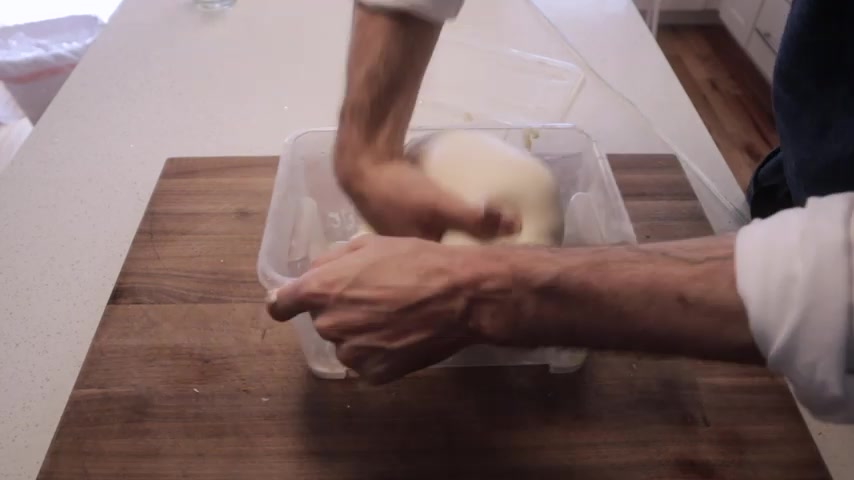
We only need to do it two minutes after two minutes , we're gonna pop up the speed to sort of medium high , medium and do that for two more minutes .
To me , there is a difference between doing it by hand and doing it in a stand mixer .
It's not huge , but it's just a little bit more consistent with the stand mixer .
And it's a little bit cleaner , hand mixed dough can be really good , but you need a little bit more experience to make it really , really good and you have to do it almost every day .
I made 12 loaves a day by hand for about three years .
And by the end of that three years , I was pretty good at it .
But the first year or so it was a little bit rough .
I wish I had a mixer .
After the second two minutes of mixing , we're gonna transfer our dough to a plastic container to ferment .
I'm putting a little bit of olive oil in there .
And by the way , this is an IKEA container called the sala .
It kind of makes they mix what we would use at the bakery .
They use full size bus tubs with lids and I think there's like nine or 10 kg of dough in there .
I prefer this to a tall round container , which they show you in tartine .
This is a little bit closer to how we would do it in the bakery .
At this point , we're gonna throw in a lid and set a 30 minute timer to come back and fold our dough .
After that 30 minutes , we're gonna pop off the top and grab each side of our dough with wet hands .
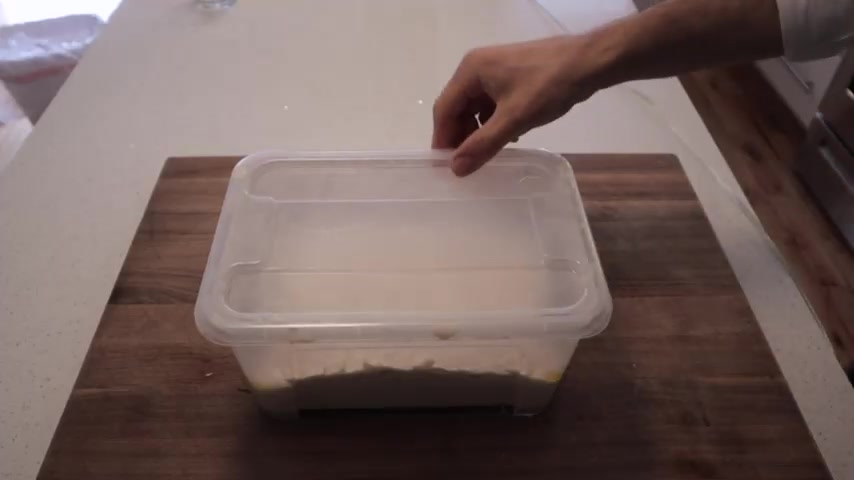
We're gonna fold it over like this and repeat it four or five times , rotating the tub each time we're gonna throw the lid back on this container and check back in another 30 minutes .
So it's been an hour and the dough definitely has some life going on at this point .
It looks very pretty , very shiny .
It's kind of got a smooth satiny texture at this point .
It's starting to get a little bit stronger since our first fold .
We're gonna do one more round of folding here .
This time , we're gonna make sure to get some tension by tucking the dough back under itself a few times before we lit it up .
I'm still doing the pull and stretch .
But at the end here , as you can see , I'm grabbing the dough kind of tucking it under in a big mask .
It's kind of hard to describe what I'm doing here .
But , but in the end , you wanna make sure it's kind of like one big mask that's kind of sitting on a tucked bottom .
You get this really nice tight top , we're gonna let that on the counter again for another 2.5 to 3 hours .
About three hours later , our dough looks really active and it's risen really well .
It's grown about 40 to 50% larger than when we started .
And when you touch it , it's buoyant .
It's clearly got some nice gas in it and it looks enlarged and kind of gaseous .
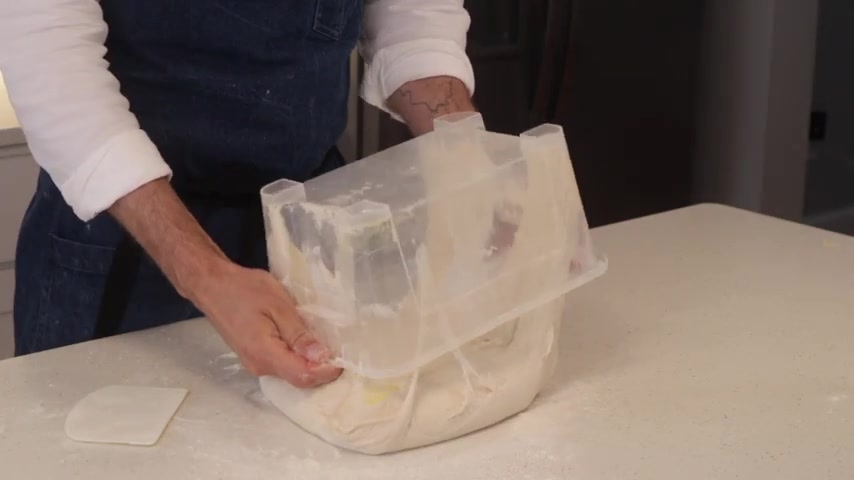
I'm gonna grab my dough scraper and we're gonna go around the outside of the container , loosening the dough and then we're gonna flip it out on a flour countertop .
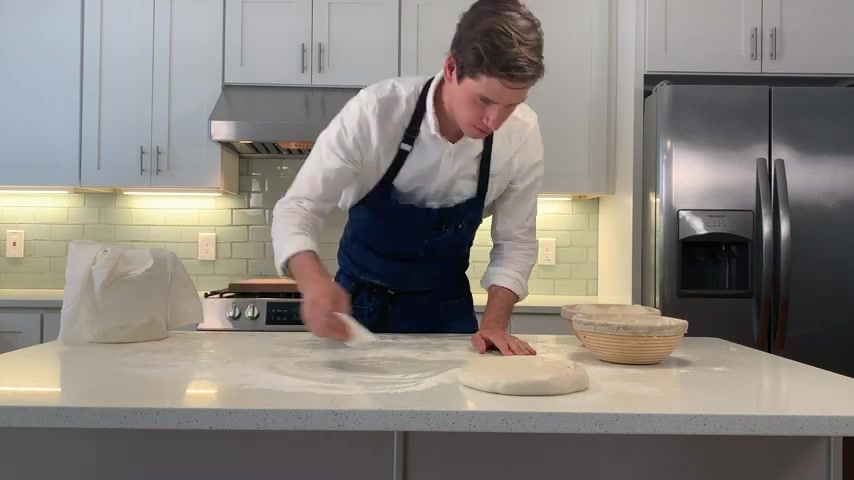
We're just looking to divide the dough into two roughly equal pieces here and then we're gonna shape them into rounds .
The move is to tuck the loaf under itself in kind of like a circular motion .
This definitely takes a little bit of practice , but the only way to get there is to do it a bunch of times .
So make more bread tomorrow , make more bread the day after that once we got our dough kind of tucked into a nice round .
We're gonna put a tea towel over it .
Set a 20 minute timer .
So this bread can relax when we come back to shape .
We're gonna lightly flour , our proofing baskets or bans if you got 20 or 30 bucks and you wanna be baking more often .
You can get a set of these off Amazon for pretty cheap .
I think I got these two for about 30 35 bucks .
And that included shipping .
So highly recommend that don't get them at Tab or William Sonoma because they're gonna charge you like 45 bucks each .
And it's the same thing .
So I'm gonna show you how to shape this bread more than I'm gonna tell you when I first got started baking .
I really wanted to make bread exactly like they did at Tartine .
So I was digging the internet searching tirelessly to try and find videos of how Chad Robertson shaped the bread .
And there wasn't really any good stuff on the internet .
Eight or nine years ago .
Eventually some stuff came out and I learned from Ted Wilson , my sort of bread mentor how to shape kind of combine the tartine method with his .
And here we go , I'm kind of tucking these things in to create tension in the loaf .
And then in the end , I'm sort of doing this baker's roll over the top as you can see here for a simpler and nearly as effective bread shaping method .
Check the beginner sourdough video I mentioned before a link below .
Once both of our loaves are shaped and in the baskets , I'm gonna cover these with a tea towel and let them rise on the counter for about 90 minutes .
It'll depend on how active your dough is and how warm your water was earlier slash the temperature of your house .
Uh But it should look good at 90 minutes if your dough is lagging behind it .
It can take some more time .
That's no big deal .
Um But they should look like this before they go in the fridge overnight .
And in that with your fingers should bounce back a bit .
And again , they should grow maybe 40 to 50% in the baskets .
I'm gonna refrigerate these overnight to build some flavor and to finish out this fermentation .
The next morning , we're gonna preheat our oven to 500 degrees and throw our Dutch oven in there to warm it up .
It's the morning and I usually give it 34 minutes .

I make a pot of coffee answer some emails and I come back with Semolina in my first loaf .
I throw the Semolina in the Dutch oven and on the loaf for good measure .
And I gently flip it out of the basket and then I cut it with scissors .
You can use a razor blade or a serrated knife , but scissors are always in the junk drawer right next to my stove .
And I just like the way it looks .
It kind of gives it a rustic pattern and it kind of tears open the top of the loaf .
We're gonna throw the lid on this Dutch oven , throw it in the 500 degree oven .
Turn that oven down to 485 degrees and then we're gonna set an 18 minute timer to get that oven springed after 18 minutes , we're gonna come back , take the lid off our Dutch oven , make sure that we're doing ok in there and then we're gonna throw it back in the oven for 20 5 to 30 minutes and I'm gonna turn the oven down another 25 degrees so that we can slow that caramelization a little bit if it's a wet dough and we need to bake out some of the water .
We don't want to take on color too fast , but that's it .
We're gonna pull them out .
They should look like this .
We're gonna let them cool for at least an hour .
And I'm gonna throw the second loaf in same deal , 18 minutes at 45 and then 20 to 5 to 30 minutes at 465 .
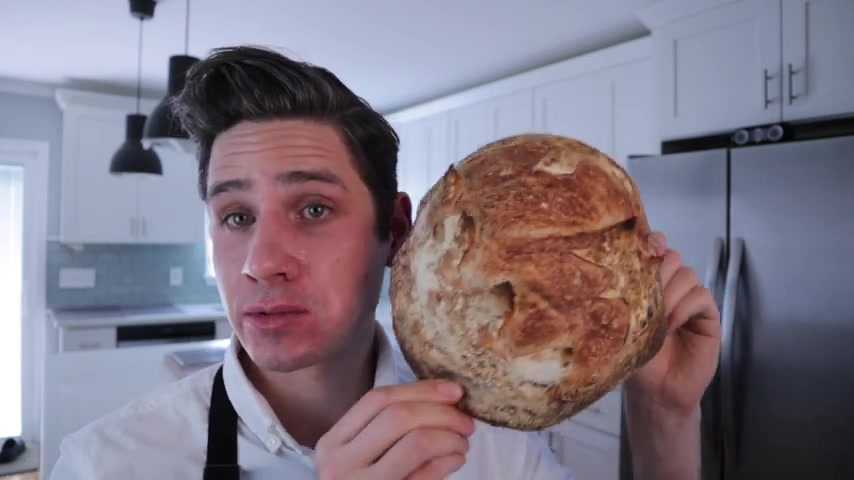
And if we did our job right , we have Tartine style Chad Robertson .
Approve country Bread at home .
Mm .
Look at this thing .
We're snacking on bread .
So that's the classic tartine sourdough bread at home made by somebody who's done it hundreds of times .
It's a beautiful book to have on the shelf in your house .
But it's also just really well written and there's also tons of recipes in it about how to use the bread , not just bread recipes , but like cooking with the bread .
As always .
If you got value out of this content , please hit , subscribe .
Tell a friend .
Thank you so much for being here .
We'll see you next time .
Yeah .
Are you looking for a way to reach a wider audience and get more views on your videos?
Our innovative video to text transcribing service can help you do just that.
We provide accurate transcriptions of your videos along with visual content that will help you attract new viewers and keep them engaged. Plus, our data analytics and ad campaign tools can help you monetize your content and maximize your revenue.
Let's partner up and take your video content to the next level!
Contact us today to learn more.