https://www.youtube.com/watch?v=hKsSgU5b0Gw
Full Course HTML Tutorial - How to Make a Web Site Using HTML and Notepad
Hey guys , what's going on ?
It's clever te and in this video , we're going to create a website in pure html using just the note pad .
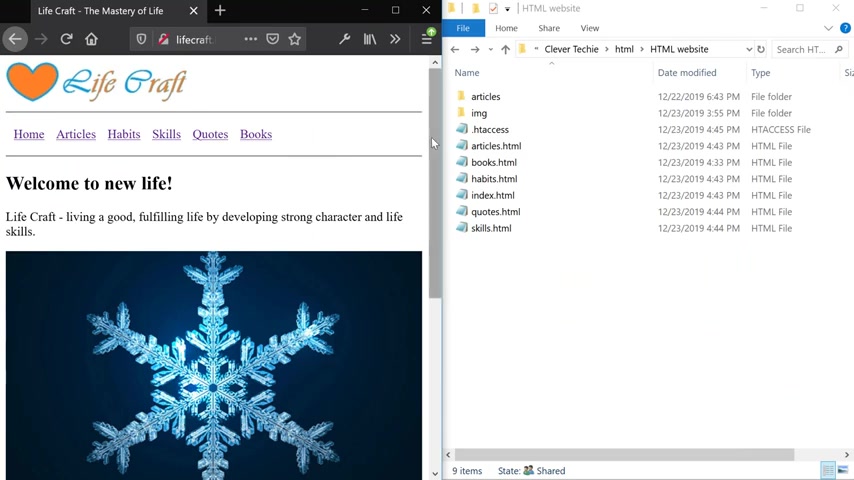
And this is what our final website is going to look like .
As you can see , we'll have articles , a list of habits , skills that I think are important in life .
Some of the best quotes , books that I'm reading along with my reviews and this website serves two purposes .
The first is to introduce html to people who aren't familiar with it .
And the second reason is to show that using just HTML , it's possible to create a website and to share some of your most important information with other people .
And I'm also gonna be using this as a starting platform for my new project called Life Craft , which will be a website and a youtube channel on personal development .
And as this website grows , I might need to use other technologies .
I might need to add more features to it .
And I'm gonna be creating videos like this , adding these features to my website and showing you exactly how I do it .
All right .
So let's go ahead and get started first thing I'm gonna do is create a new folder and I'm just gonna name this folder html website .
Let's go ahead and create a new text file and name it index dot html .
Make sure the extension is dot html .
Yes , that I'm going to right , click on the index that HTML file and hit edit and now we're ready to start coding our html .
All right .
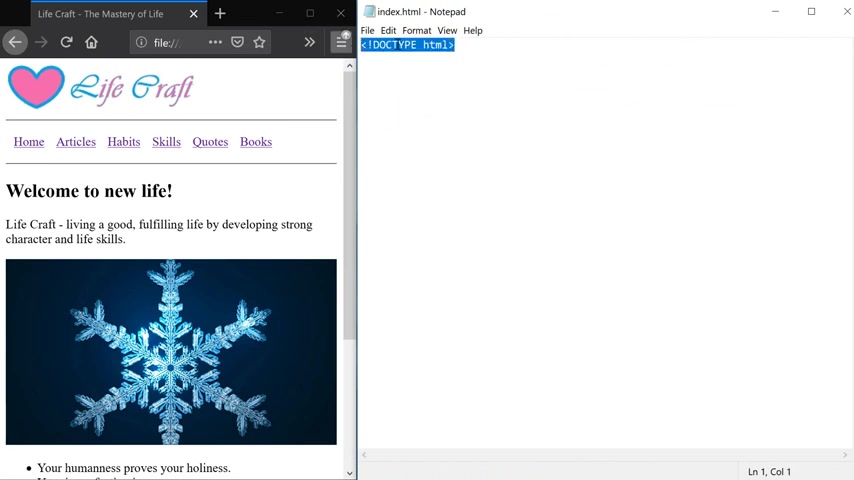
So the first thing that we do is to define the doc type and we do this like this doc type html .
This is to indicate that we're gonna be using HTML five for our website and the browser is going to be interpreting our code as html five .
The html code is made up of html tags and the tags have an opening and a closing tag .
So first , what we're gonna do is define a basic html template and the basic html template consists of a head tag .
So we're gonna open a head tech and then close the head tag with a backslash and then the name of the tag .
So this is the opening tag and this is the closing tag and in between we have the content .
So inside of head ta , we're gonna put our title , which is gonna be the title of our website .
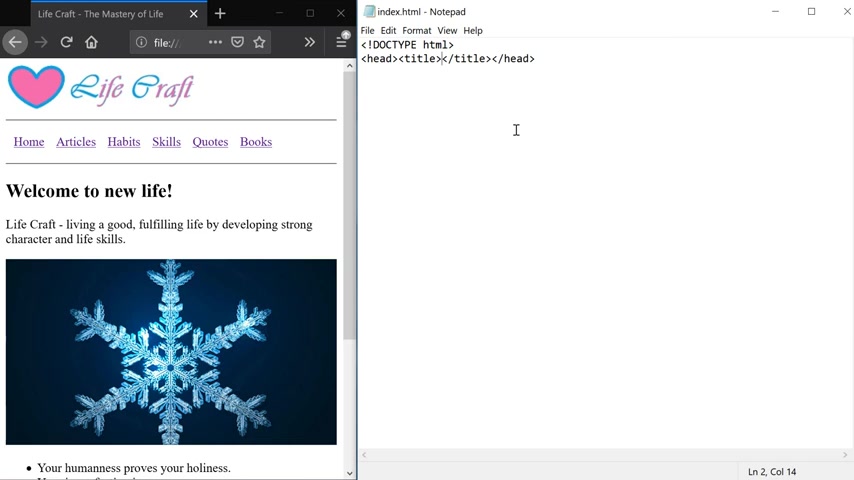
We're gonna uh open and close the title tag and then put in the title of the website which is going to be a life , the mastery of life .
Next , we're gonna open the body tag , close the body tag .
So inside the body tag is where all of our main content is going to go .
And at this point , our basic html layout is ready .
So let's go ahead and see what this looks like in a browser .
So I'm gonna go ahead and minimize this .
I'm gonna go to open with and open this with Firefox developer edition .
So this is our website so far , it's a blank page .
But as you can see here , we have a title , Life Craft , the Mastery of Life .
And if we go to view page source , we can view the actual html code that we have just written .
OK .
So let's go ahead and continue working on our website by returning to the index dot html and notepad .
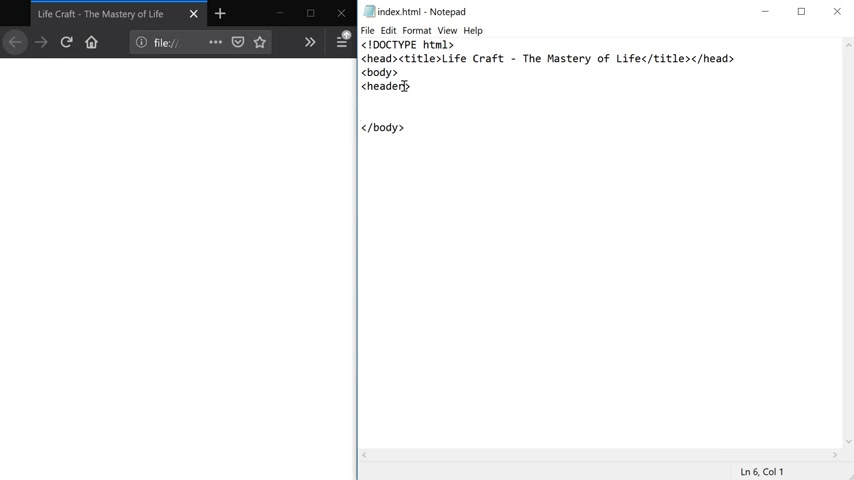
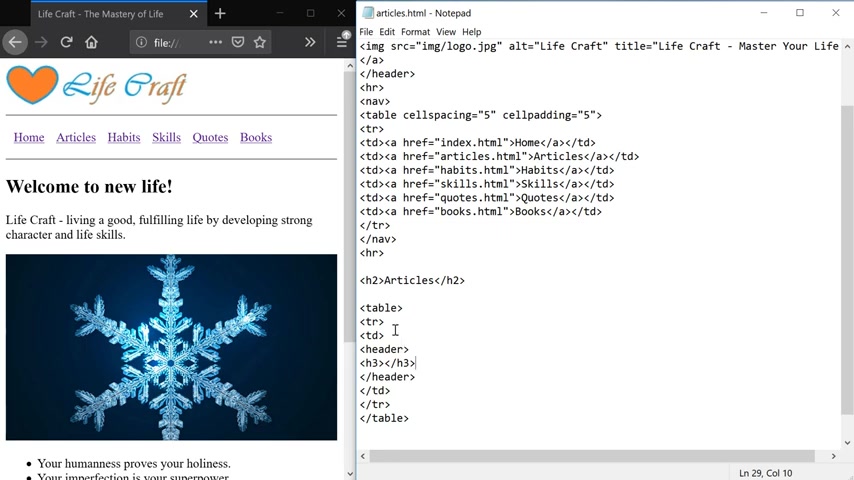
First , we're gonna go ahead and create the header and this is the new tag in HTML five that lets us define sections of the website .
So inside of the header tag , we're gonna put our logo that we'll create later .
Then we're going to separate this with a horizontal line which is an hr tag .
And then we're gonna use the NAV tag and that's where we're gonna be placing our navigation bar .
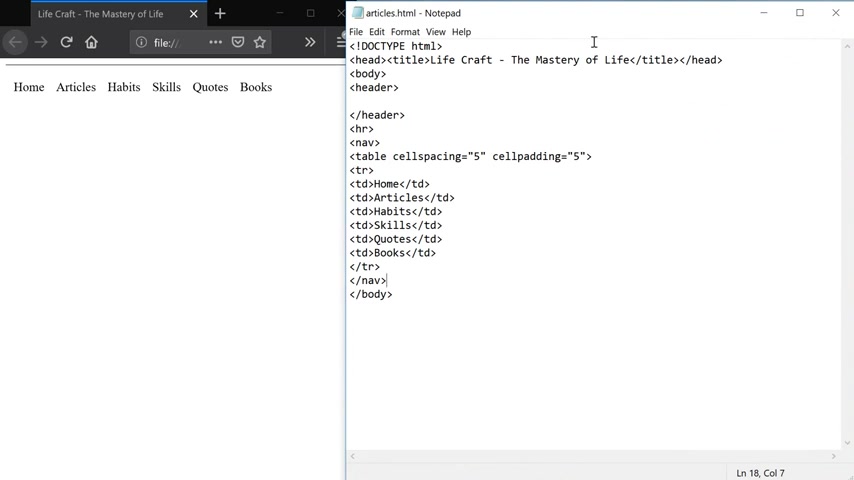
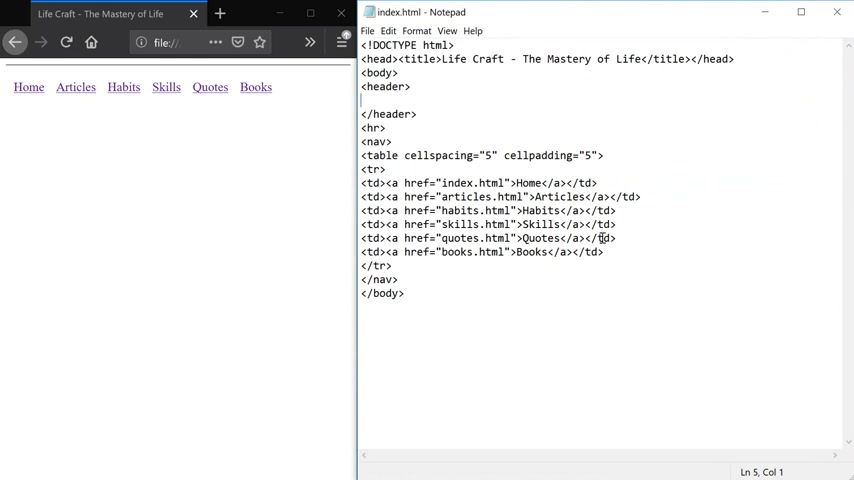
So now it's short for navigation bar and um let's now go ahead and create our navigation menu and we're just gonna create our navigation menu with a table tag .
So table , table row , table cell , and then we're gonna close our first table cell and we're gonna close the table in a row .
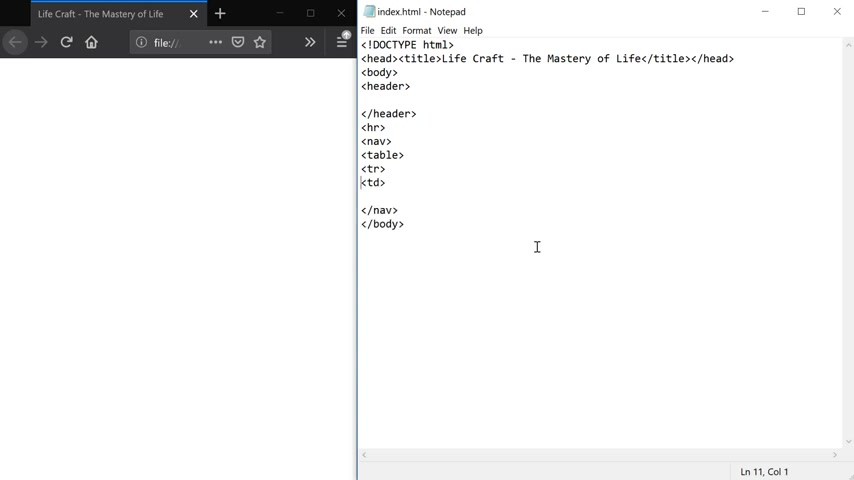
So here , since we're creating a horizontal navigation bar , we just need one table row and we're gonna be using multiple table cells because every link is gonna be in the , in its own individual table cell .
And we're gonna have 12 , 345 six links .
So six individual table cells for every link .
And if we create the table border by saying border equals one , you can actually see what our table looks like so far by refreshing by refreshing the index page .
As you can see , we now have six table cells , but it looks really tiny because we haven't added any content inside of our table cells yet .
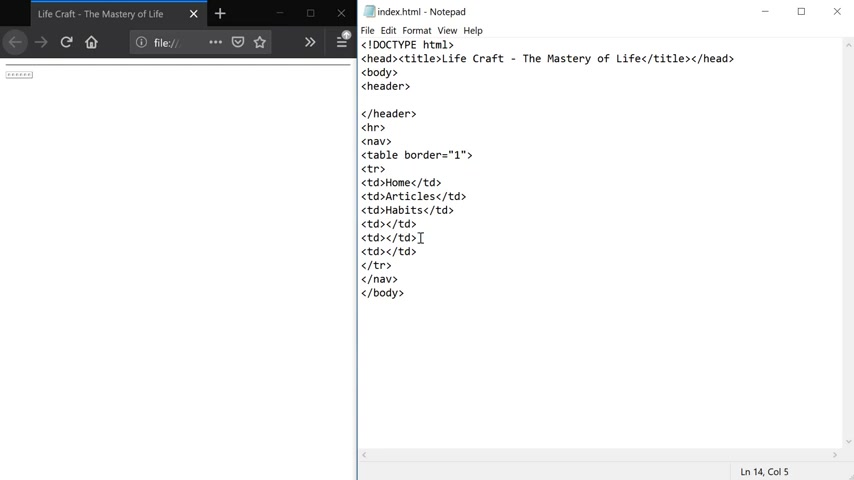
So let's go ahead and add the content now .
So the first link is going to be home to link back to our home page , articles , habits , skills , quotes , and the final one is books .
So let's refresh the page .
And now you can see that we have all these stable cells and the text within them and they are lined up horizontally .
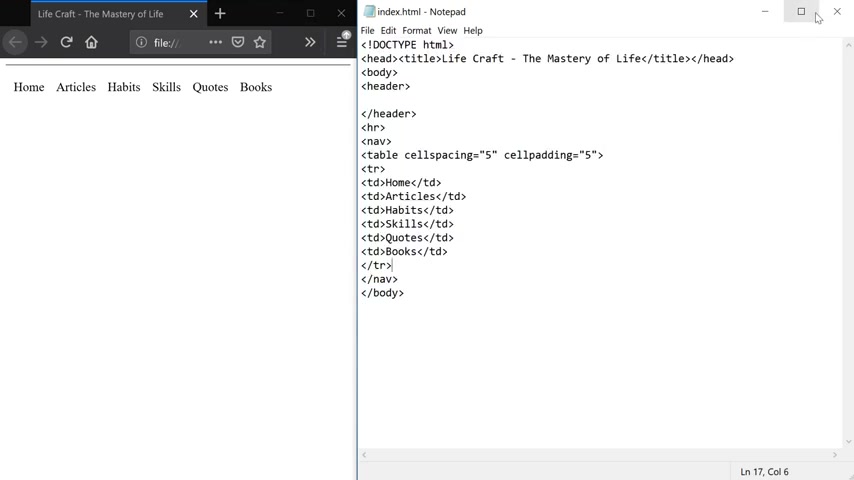
So now let's go ahead and remove the border and add cell spacing equals five and cell padding equals five .
And now you can see that we have nice spacing between our text and now we can go ahead and create the links linking to all these pages .
Now , before we add the actual links , let's go ahead and create the pages first .
So and for that , let's go ahead and copy the whole code that we have written so far .
And now let's create all the pages in the same exact way that we created index dot html page .
So a new text file articles that html , new text , document habits , the html , new text , document skills dot html , new text , document quotes , that is quotes that html and the final one is books dot html .
OK ?
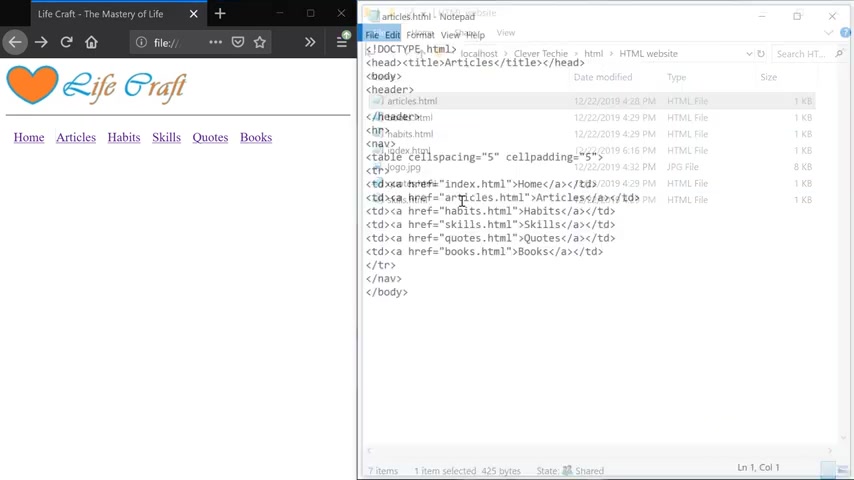
So let's go ahead and first open the articles dot html by double clicking on it or you can right click on it and go to edit and then right click anywhere in the document and select paste to paste the code , then save the file and do the same thing for the rest of the articles , books , save habits , save index .
We already have the code here , quotes and skills .
So now we have the exact same template in all of these files .
So now that we've created all these pages , we can create the links in our navigation menu linking to them .
And for that , we're going to be using the A tag with an HF attribute .
And then the HF is going to point to the actual page on our computer hard drive .
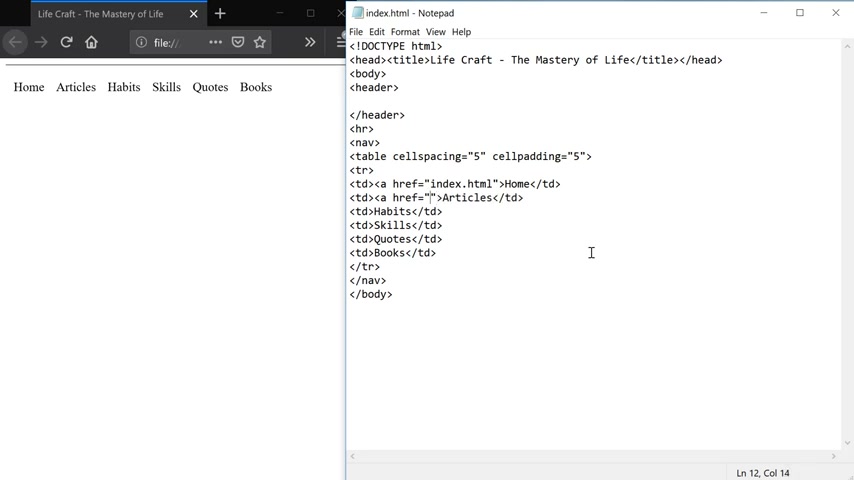
So the first one is index dot html A and since all of our files are in the same folder , all we have to do is just create the link linking to the file name .
So we're gonna do exactly the same thing for the rest of the pages , habits , the html , for habits , link skills that html equals towards the html and hr equals books dot html .
And also let's not forget to close the a tag after the text that we are using to link so that the text is wrapped up in a link , close the tag for the rest of our links .
OK ?
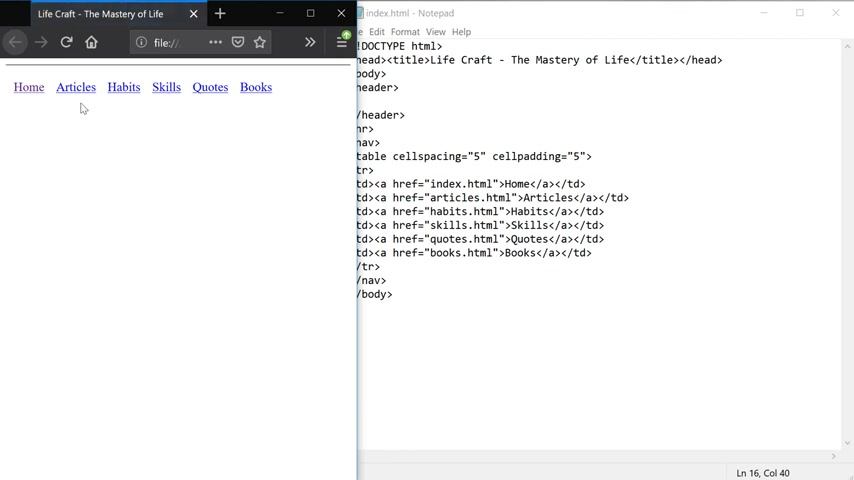
So we're done with our links .
Let's refresh the page and you can see that the text is now underlined , indicating that the text is a hyperlink .
So we can go ahead and test this out by clicking on each individual link and then go back .
So because we haven't added the links in our other pages , uh You can see that the links disappear when we click on one of these uh pages .
So let's go ahead and copy this code and then paste it inside of the articles .
And for the title , let's actually go ahead and change it to articles and save this and then open up books , paste the code , change the title to books .
Habits , do the same thing , change the title to Habits .
Save the file Quotes and Skills .
All right .
So let's go back to our page refresh , click on articles and you can see that for the title , we now have articles , Habits , skills , quotes and books .
So that is how you create the navigation bar with all the different titles .
Linking to um the different pages that we have on our web page .
Now , before coding any more html , let's go ahead and create the logo .
And for that , we're just going to be using paint to create the logo .
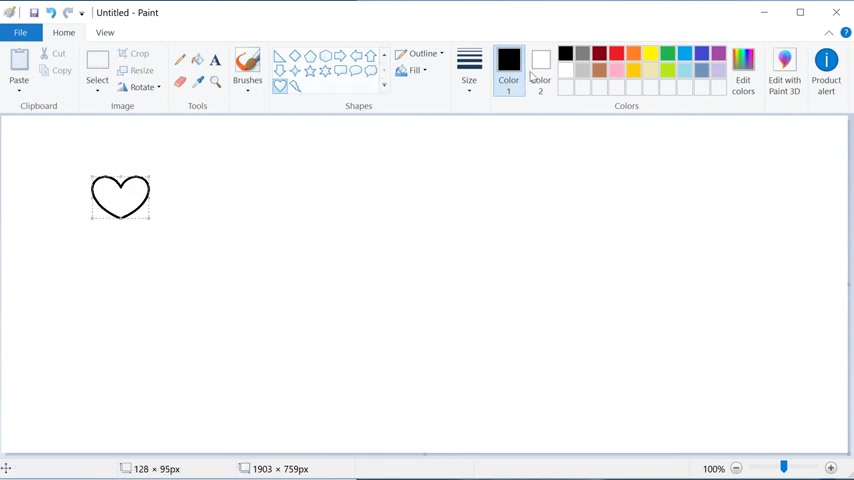
It's gonna be very simple , gonna select this hard shape here and let's go ahead and add some color and the heart itself just make it nice pink color .
Then select the text tool can select the blue color .
And then for the font I have Vivaldi and , and the font size is 36 .
So I'm just gonna type life craft and then you go back to the home , select the the tool .
Actually , let's select the color picker .
Click on the pink color here and then can use this filter to paint the text pink .
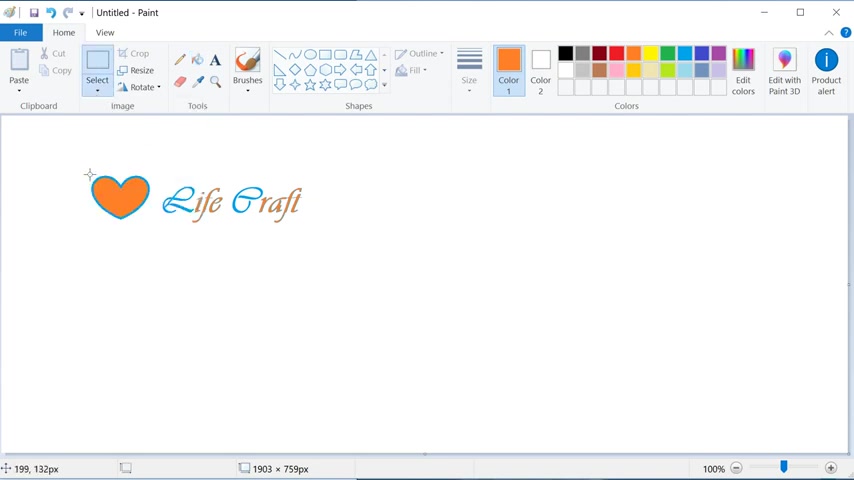
Then I'm gonna select the rectangular selection , move this text a little bit closer to the heart shape and then select the whole thing .
So it doesn't have extra spacing and then click on the crop .
Then let's go ahead and click on resize and resize it to 50% because otherwise the logo is going to be too big and then go to file save as JP A and then make sure you save the file in the same folder where we have created our html files and I'm just gonna name it , logo .
So the file is going to be logo at JP G and click on save .
OK ?
So now let's go ahead and add the logo to our web page .
Let's first add it to our home page and we're gonna be adding it inside of the header tag and to insert the image , we use an html tag called IM G and an attribute SRC to let the browser know the location of our image .
So our image is inside the same folder .
So we can just say logo dot JP G and that's all we have to do to add the image .
Let's refresh the page .
And now we have a logo .
Now we can also go ahead and add an alt tag and the alt tag will show up if the image is not found .
So if I , so if I rename the image to logo two , which doesn't exist and then refresh the page Life craft alt text is now showing up here and let's go ahead and rename it back to logo , refresh the page .
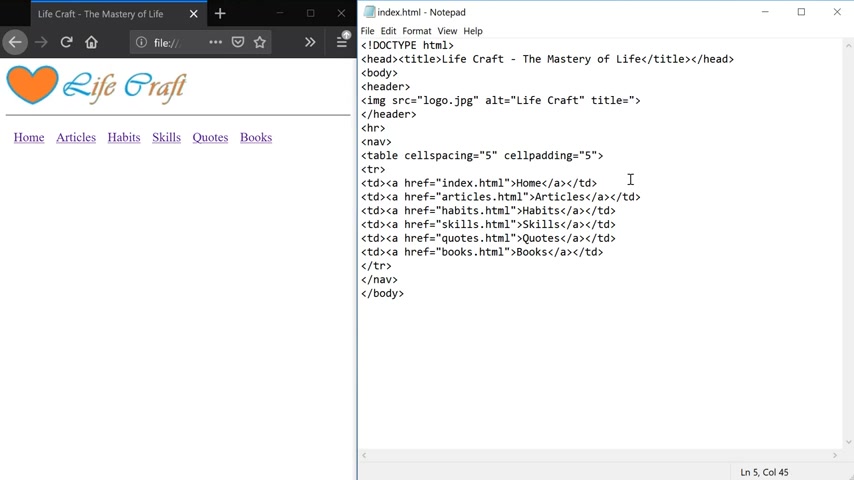
We can also add the title tag and this is the text that will show up when the user mouses over the image , save the file , refresh the page , roll the mouse over the image .
And now we have life Craft dash master your life .
And the last thing we're gonna do is just add the link back to our home page when the user clicks on the logo .
And for that , we're just gonna use the same a tag with the HRA attribute equals index dot html to link back to the home page and then close the a tag at the end of the image .
Now let's go ahead and copy and paste the logo to all the other pages .
Gonna save this file pasted inside the header of the articles , page books and all the other pages as well .
Quotes , skills .
And now we should have logo on every page .
So let's refresh the home page , go to articles , habits , skills , quotes and books .
So now all the pages look the same with a logo and the navigation bar , which is exactly what we want at this point .
And now we're gonna go ahead and add some more content to all the individual pages and we're gonna start with our index dot html page and here we actually forgot to close the table tag .
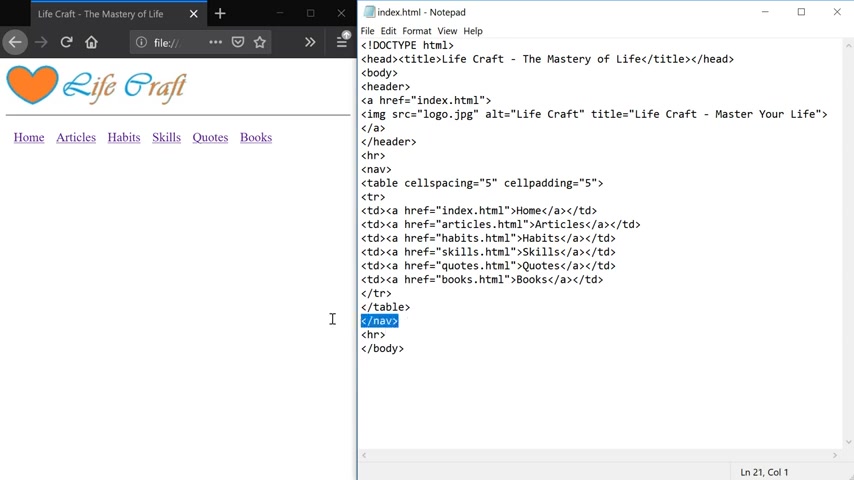
So right after the tr which is a table row , we're gonna close the table tag and then let's go ahead and add an another hr right after the NEV tag right after the NAV closing tag .
And this will add another horizontal line below the NAV bar .
So now we have a NAV BAR that somewhat stands out from the rest of the page .
OK ?
So now let's create a header tag which is uh we can use H one H two H three H 4h 1 is going to be the biggest one H two is a little bit smaller .
So we're going to use header two .
I'm gonna say Welcome to new life and close the header tag , refresh the page .
And now we have a header .
Next , we're gonna add a paragraph with a P tag and insert some text inside of our paragraph .
Refresh the page .
Now we got a paragraph here .
The next thing I want to do is insert an image right below our paragraph .
And before we do that , I'm gonna paste uh all the images that we're gonna be using in this video .
And I'm gonna create a new folder by going to new folder and name this folder IMG .
And this is where all of our images will go .
So I'm just going to paste these images here and also move the logo JP G in this image .
And now that we have moved the logo JP G into the image folder , we'll have to update the source of the IMG tag to reflect on that change .
So now if you refresh the page , you can see that the logo is not found .
So let's go ahead and fix this and just add IMG forward slash before logo and do this for all the other files as well SI MG skills , IMG and index .
I am JEAN and then we can refresh the page and now our logo shows up .
All right .
So now that we have all of our images inside the IMG folder , let's go back to editing our home page and just below the paragraph here , we're going to insert another IMG tag with a source pointing to the IMG folder and the image name , which is going to be snowflake dot JP G .
Let's refresh the page .
And as you can see the image is now showing up , but it's way too big .
So let's adjust its size and set the width attribute to 100% and set the height attribute to a 100% as well .
And this should fit the image in the screen .
So now you can see after refreshing the page that image fits the screen .
So that is exactly what we want .
We can also add the title tag in the same way that we did with the logo and say something interesting here .
So you can just insert any text , you like refresh the page , roll the mouse over the image and now we have everything in existence holds a perfect harmonic blueprint .
So that is how we can add the text on the mouse over of the image using the title attribute .
Next , we're going to add the list of items underneath our image .
And for that , we're going to use a UL tag which stands for unloaded list .
And inside of this tag , we're gonna use a list item and for every individual list item , we gotta use this tag .
So this is called nested html tags .
It's when another html tag is inside of another html tag .
So let's just insert 12345 seven of these .
And here , I'm just gonna go ahead and copy all the text that I already have here .
So I don't have to type all of this .
So you can just go ahead and either type all of this or just uh do whatever text you like .
And now let's go ahead and refresh the page .
And now we got this bulleted list item underneath of our image .
So to finish this up , let's go ahead and add another paragraph below our list .
And here let's use the strong tag which will make our text bold and just say made with love , refresh the page .
Now we have made with love text showing up in bold and uh let's go ahead and insert another horizontal line and finish this up with a photo tag , which is a tag used to indicate the photo section of our website .
And here we're gonna just insert the copyright symbol with and copy column .
Life Craft dot Love , refresh the page and now we have our foot .
And the last thing that we're going to do on the home page is add a link to a youtube channel .
So we're gonna do this using an image banner that I've just created and I called it Life Craft Dash youtube .
Here's what it looks like .
So we're going to use this image to link to the channel .
I'm gonna go ahead and copy the image file name , open the index page and we're gonna insert this image inside of the footer here .
So we're gonna say imgsrc equals IMG forward slash .
And then the name of the image , which is Life Craft youtube dot JP G .
And then I'm gonna go to my youtube channel .
So this is my new youtube channel called Life Craft .
And I'm just gonna go ahead and copy this URL up here , which is the channel URL .

And then we're gonna create the link out of it by using the A tag A H Rap equals paste the URL here and then close the A tag at the end of the image .
Save the file , refresh the page .
And now we have this banner showing up here with the youtube channel link .
Let's also go ahead and insert the BR tag at the end of the A tag so that we have a space right after the matter .
And lastly , let's add the title tag and will say go to Life Craft youtube Channel .
Yeah , save the page , refresh , roll the mouse over the image and now it says go to Life Craft youtube Channel .
You can click on the image and it takes us to my new Life Craft youtube channel and that's it .
We are now done with the home page .
So we can now start working on the rest of the pages .
So let's close this file and go to articles which is the next page that we're gonna be working .
OK .
So first we're gonna insert the horizontal line just like we did for the home page so that our navigation bar stands out a little bit .
And then let's use the header and name this page articles , clause , the H two tag .
And now let's go ahead and create a table tag , table row , table cell and inside the first table cell , let's actually go ahead and close this first , close the table as well .
So inside of our first table is where we're gonna have a header of the article .
So let's use a header tag and let's also use three , which is gonna be a little bit smaller than our main page header .
And this article is gonna be called reconnecting with the power of natural voice .
Let's also go ahead and link to the article even though it doesn't exist yet .
So the actual article is going to be inside of the articles folder , which we will create in just a minute and the article name , it's going to be reconnecting with the power of natural voice that html .
Let's go ahead and close the A tag .
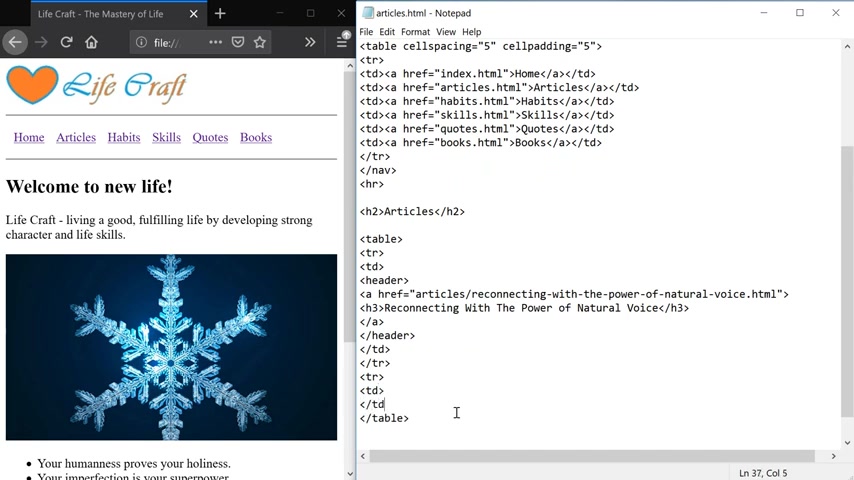
Then after the closing table row tag , we're gonna create another table row with another table cell and that's just gonna create another row underneath the header so that we can put the preview paragraph of our article .
And I'm just going to paste the preview here inside of the paragraph tag and close the paragraph tag .
Now let's go ahead and see what our articles , page looks like and it looks like we forgot to close the table tag .
So let's go ahead and close the table tag right here , refresh the page and now our horizontal line is fixed .
Ok ?
So don't forget to close your html tags .
Otherwise you'll mess things up .
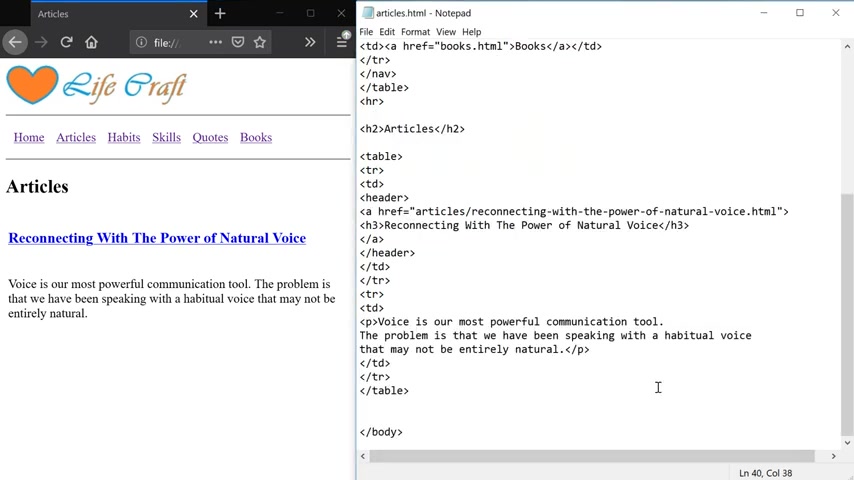
Now , let's also go ahead and add a list of keywords that is associated with this article inside of the same table cell as the article paragraph preview .
Let's use the strong tag to make our keywords text bold .
And then we're going to use the OL tag which stands for audit list in a similar way that we created the list .
So we're gonna add the list items inside of this tag and the audit list just means that the list is gonna be numbered .
So this is just some of the keywords associated with the article so that we can remember what the article is about .
Now , let's refresh the page and now we have our article , the link to the article as well as the keywords that are associated with the article as well .
Now let's go ahead and add the color background to this table cell of our article header so that it stands out just a little bit more .
And for that , we're gonna go back to our table cell where the header is located and add the BG color attribute and set its value to light s and let's also go ahead and outline the header to center using the alliance attribute and center for the value of a lion attribute .
Let's refresh the page and now our article title stands out a little bit more .
Now let's add the second article and to do that , we're just gonna copy this whole thing here including the table tag and just paste everything below our first article .
So I'm gonna delete this text here , going to delete the paragraph , going to delete the title page name .
And now we can add our second article is Heroes of Mind and Magic dot html .
And the heading of this article is Life is Heroes of Light and Magic .
And now I'm just gonna copy the article preview inside the paragraph tag as well as uh list of all the keywords .
OK ?
So those are just the key words that are associated with this article .
Now , let's refresh the page and now we have our second article showing up here with the header which links to the full article , paragraph preview and a list of keywords that are associated with this article as well .
So now if we click on the article link , we're gonna have a file not found because the articles don't exist yet .
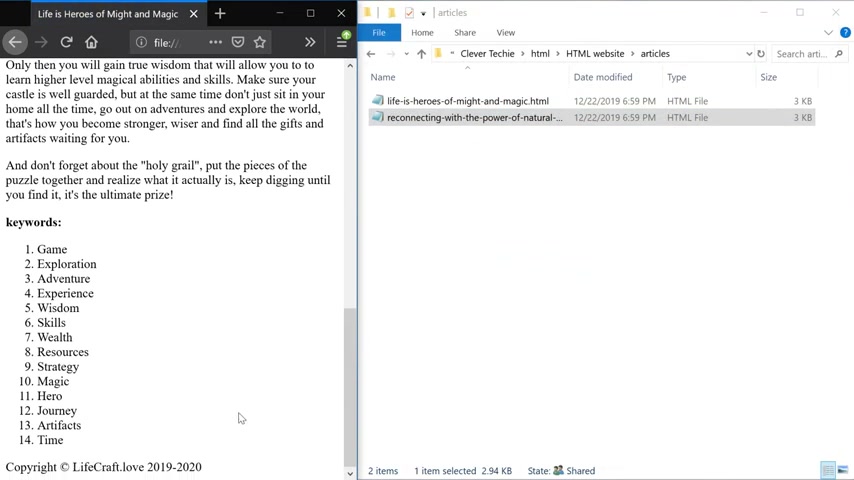
So let's now go ahead and create them and the articles are going to be inside the articles folder and we'll just have to make sure that they're named exactly the same as the link here .
So the first article name is going to be this .
So let's just go ahead and copy this name of the page and minimize articles at html for now and then go to new create folder , name it , articles , file new text document and then just paste the whole thing here .

Let's go back to the index page and also copy life is heroes of mind and magic the html and do the same thing here as well .
OK ?
So at this point , these files are empty .
So let's go ahead and copy a template from habits that html and we just paste it inside of both of these pages .
Now let's open uh reconnecting with the power Natural voice page and let's refresh our page and click on this link .
So now it's taken us to the page , but you can see that the logo is not found .
And if we try to click on any of the navigation bar links , you can see that the file is not found and this is happening because we are now inside of the articles folder .
But our files exist in the main folder here .
So we have to update the articles , links and the logo to go back a directory where our logo image folder is and where all of our files are located .
And to go back to directory , we simply have to use two dots and then a forward slash like this .
And let's update all the links as well .
So this just simply tells the browser to go back in directory and let's do the same exact thing here as well in the reconnecting with the power of national voice article .
And now let's refresh the page and now the logo is showing up and let's test out all the links and all the links are working as well .
All right .
So now you know how the directory structure works and how to link properly to your files on your computer .
All right .
So now let's add the actual content of the article .
And here .
And first of all , let's go ahead and close the table tag , insert another horizontal line below the table .
And here we're going to use the article tag to indicate that we have an article .
Then let's use the header tag , which is gonna be the header of our article .
The header is reconnecting with the power of natural voice and then the article is pretty long .
So I'm gonna copy and paste it here just below the header tag .
And here you'll notice that the article consists of multiple paragraph tags and this is to make the article more readable because it will break it down into multiple paragraphs .
So let's go ahead and see what the article looks like .
And let's go ahead and make the header a little bit bigger by using the H two tag , save the file , refresh the page .
And now we have a bigger title or a header .
And the last thing we're going to do here on the article page is just add a list of keywords which are the same keywords that we created earlier .
So let's go ahead and open the articles page and just copy this list of keywords , including all the tags and everything .
And then we'll just paste it here inside of the article tag and then save the file , refresh the page .
And now we have a list of keywords here and it looks like I forgot to add the footer to every page .
So let's go ahead and copy the footer from the index , the html and let's go ahead and paste it on every page just below the closing table tag inside the body .
Gonna open books also while we're at it , we're gonna fix this here by adding the table and the hr line habits .
Also close the table tag at the HR and paste the footer quotes , close the table tag at the hr place the photo and skills did the same thing hr paste the photo .
Now you can see that the title of our page is Still Habits .
So let's go ahead and fix this by just copying the header of the article and paste it inside of the title tag and then refresh the page .
And now we have a proper title of our article set as the title of the page as well .
Now let's go ahead and copy this whole content and just paste it inside of the second article by replacing whatever content we had in our here is a minor magic page .
So here we're just gonna paste the new content and I'm just gonna select these paragraphs and delete all of them .

I also gonna delete these keywords and now I'm just gonna copy the contents of the second article , including all the keywords just below the header tag , gonna fix this here and we don't need this extra L I here .
All right .
Now let's click on this link to see what our article looks like and our article looks good , but we don't have a footer .
So let's go ahead and copy the foot code and paste it inside of the both articles and you can just open any page for that .
Um and then paste it inside of the just below the article tag and do it for the other article as well .
Refresh the page and now we have our footer and let's also go ahead and add the horizontal line right after the closing article tag and add horizontal line here as well in the other article .
Now let's refresh the page and now we have and now our article page is complete .
So let's go back to articles .
Click on the first one , takes us to the first article , click on the second one and it takes us to the second article and now we are done with our articles page so we can move on to habits .
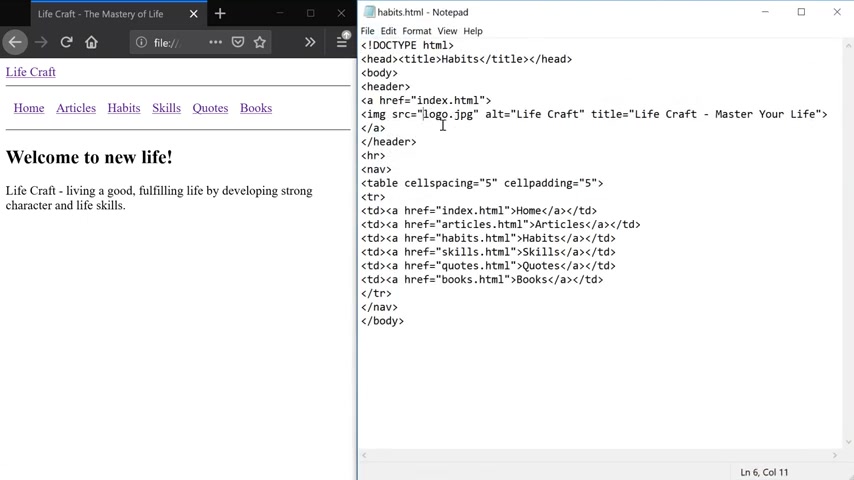
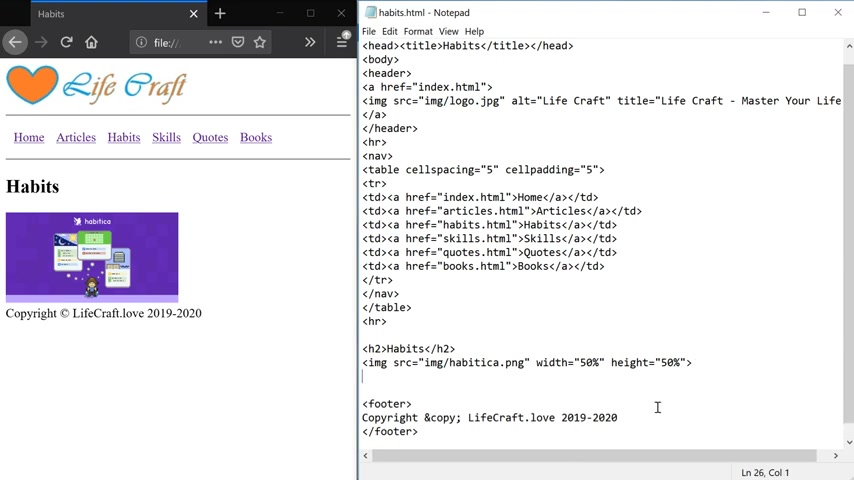
So let's go ahead and open habits dot html and just below the hr tag , which is after the closing table tag , I'm gonna insert the heading of this page inside the H two tag name it habits .
Also , let's go ahead and insert the Habia image dot PNG right after the header using the IMG tag SRC equals IMG forward slash Habia dot PNG .
And we'll go ahead and set the width to 50% and the height to 50% as well to make the image a little bit smaller , refresh the page .
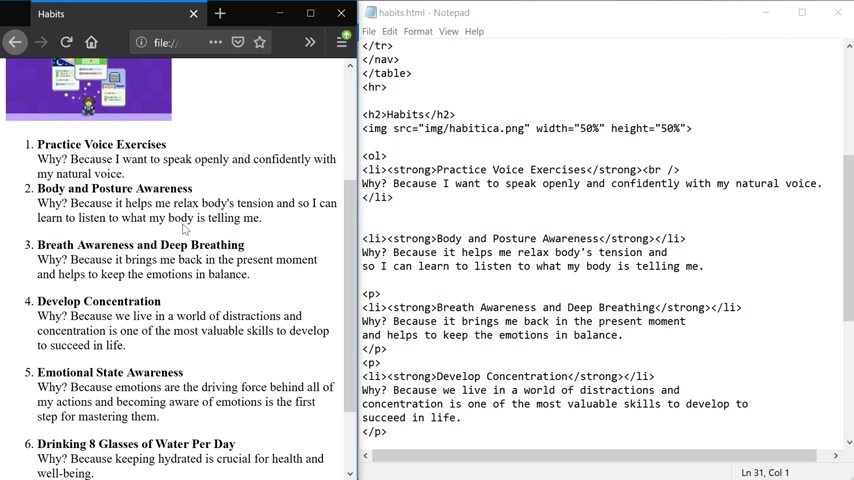
So now we have a header and an image and now we're gonna go ahead and create a list of habits with an audit list tag .
So after the image , I'm gonna add ol close the ordered list and then add our first list item , close it .
So the first habit that I'm working on is practice voice exercises .
Let's make it bold with a strong tag .
And then we're gonna add the BR tag , which is a breaking line tag so that we can have a break in line and then add some more text and say the reason why I'm working on practicing voice exercises because I want to speak openly and confidently with my natural voice .
And actually , we're gonna close the list item right here .

Let's refresh the page and we have our first list item .
Let's also go ahead and add the paragraph tag and wrap our list item inside of it just to have a little bit more spacing between every list item and for the rest of the list items .
So we're gonna be using exactly the same thing .
So there's no reason for me to type this manually .
I'm just gonna go ahead and copy the rest of the habits or the rest of the list items below the first one .
And you can go ahead and type all this up if you want to , let's refresh the page and you can see that all of our habits are now showing up here .
And because we added a paragraph tag , we have a spacing between each of the list items .
So if I remove the paragraph tags here from the first list item and the second one , save the page refresh , you can see that they're kind of too close together .
So that is the reason why I added those paragraph tags is to have a little , a little bit more spacing between each list item .
So let's go ahead and now re add the paragraph tags to our list of items , refresh the page and now it looks a lot cleaner .
Also , let's go ahead and add the horizontal line just before the footer here , refresh the page .
So now our page looks a little bit more clean and we are now done with our habits page , so we can move on to the next page , which is skills .
Let's go ahead and open up the skills that html and start working on that .
So here we're just gonna add another hr just before the footer and then let's insert the H two tag , name it skills , close the H two , refresh the page .
So we now have a header .
Let's now insert the H three tag and say most important skills to develop , to succeed in life .
Close the H three tag , refresh the page and now we have a sub header for the page .
Next , let's go ahead and add the paragraph just below our H three tag .
And here we're gonna use the unloaded list tag to create a list of items .
So this is just going to be the list of the skills that I think are some of the most important to succeed in life .
And we're gonna use the same L I tag and there's gonna be six of them .
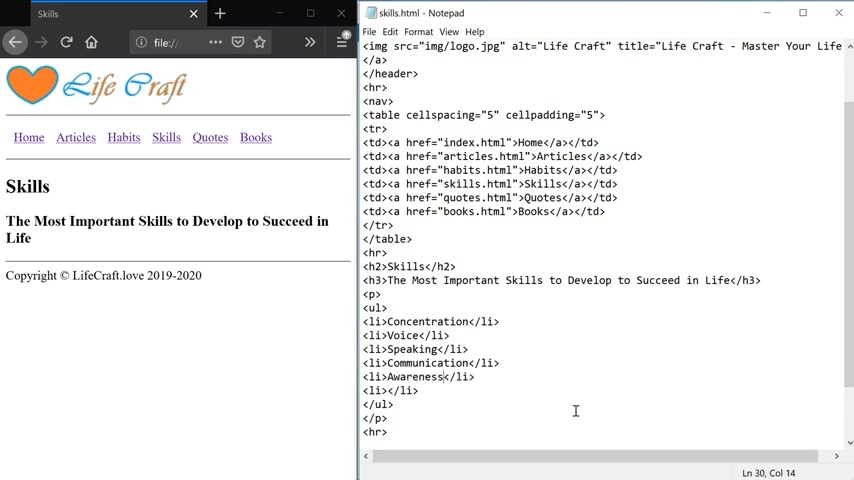
So we're gonna paste this six times four or 56 .
So the first most important skill is concentration .
Second one is voice , third one , speaking , communication , awareness and breathing .
So these are the , so these are the top six skills that I think are the most important to succeed in life .
Now , we're going to go ahead and add the content for these and the content .
It's going to be inside the table tag , set the width of this table to 100% .
Create the table roll table cell , then close the table cell , close the table room low as the actual table .
And then let's create the first one which is concentration inside of the H three tag and then add the paragraph which will describe what concentration is about and why it's important .
And I'm just going to paste this paragraph here .
And so the rest of them are going to be in the same H three paragraph format .
So let's just go ahead and create the empty tags and then paste the content inside of them .
So there's 123456 .
All right .
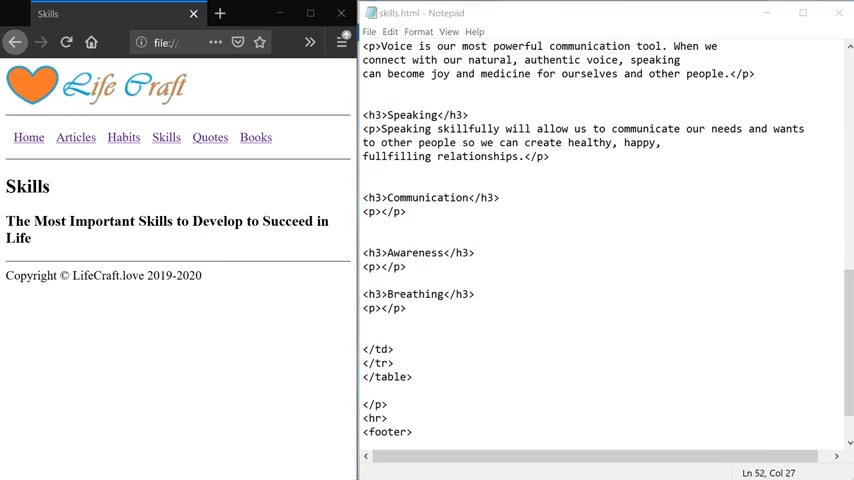
So the next one is voice gonna copy the paragraph .
So I don't have to type this speaking communication awareness .
OK ?
Oh , I skipped one .
OK .
I'm just gonna cut this .
OK ?
I'm just gonna cut this out and paste it down here .
This one is going to be breeding and here I'm just going to copy the content inside of the paragraph for all the rest of the items .
So as you can see having content ready when you're building your webpage is pretty important because because without any content , you don't really know what to put on your web page .
So now I'm gonna save this file , refresh the page .
And now we have a list of items as well as all the individual items here describing what they actually are and why those skills are important .
OK ?
So at this point , as you can see , we have to scroll through the page if we wanted to look at all the individual items , but we can actually create links .
So when the user clicks on one of those , it will take them directly to that page section .
So that is called linking to page sections .
And we're gonna add those links right now to do that , we first have to create the ID to the section that we want to link .
So we're gonna be linking to the H three tags of all our list items .
So let's go ahead and add the ID to the H three of concentration and name it concentration , add the ID to the H three of the voice item , name it , voice , do the same thing with the rest of the items .
Speaking ID equals communication , awareness , ID for breathing .
OK ?
So now that we've added the I DS for every item , we can now link the list items to those sections .
And to do that , we'll use the A tag .
So the same tag that we use to link to our navigation bar menu .
And we're also gonna be using the hr attribute and to link to the section concentration , we first have to specify the pound character and then the name of the actual id , which is concentration .
So that will link to the concentration .
Let's close the A tag .
And so we'll just do the same thing with the rest of the list items as well .

So this one is pound voice , close the A tag .
A eagles pound , speaking close .
The A tag hr F equals pound , communication .
A breath equals pound awareness and H breath equals pound breeding .
All right .
So let's save the page refresh .
And you can see that the list items have now turned into hyperlinks .
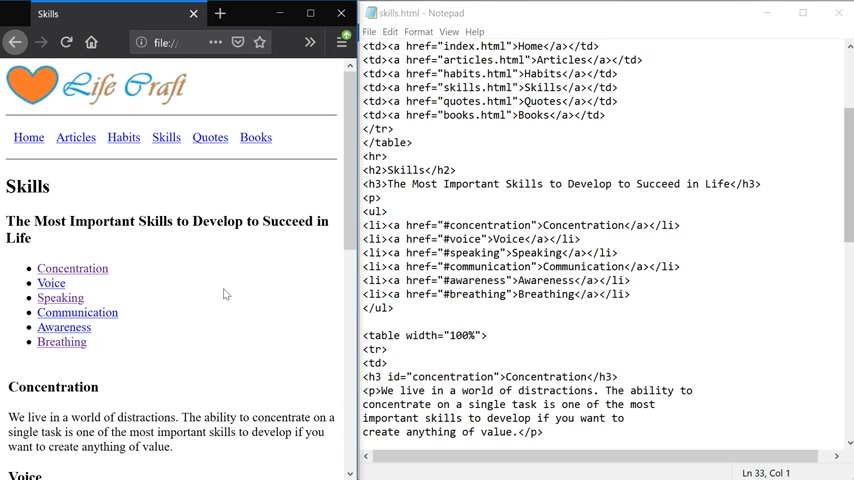
So we can click on breathing , takes us to breathing , click on concentration , takes us to concentration and speaking .
So that's how we can create links , linking to different sections on the same page .
All right .
So now we're done with the skills page and we can now move on to quotes .
All right .
So I'm gonna open up the quotes that html , create that hr for the footer , create the H two name , it quotes close H two .
And here we're gonna be using the block , quote tag for our quotes , which will add a tab to our text .
Let's also use the paragraph tag so that we have spacing between all the quotes and here , I'm just going to be copying and pasting the codes here and below the paragraph .
Let's add the source and we'll add it inside of the italics tag , which is an I , so that the text will show up as italics .
Now , let's refresh the page and now we have our first quote here and I'm gonna be doing exactly the same thing .
A block , quote , paragraph , uh an I tag , close the block quote to the rest of all the quotes .
So I'm just gonna copy and paste all the rest of the quotes below this one , save the page refresh .
And now we have a list of the other quotes .
The only one that's different is the one by Medicine Taylor .
So I just simply added an hr so I just simply added the H RAFT tag to the source who is Medicine Taylor and I linked to her profile page .
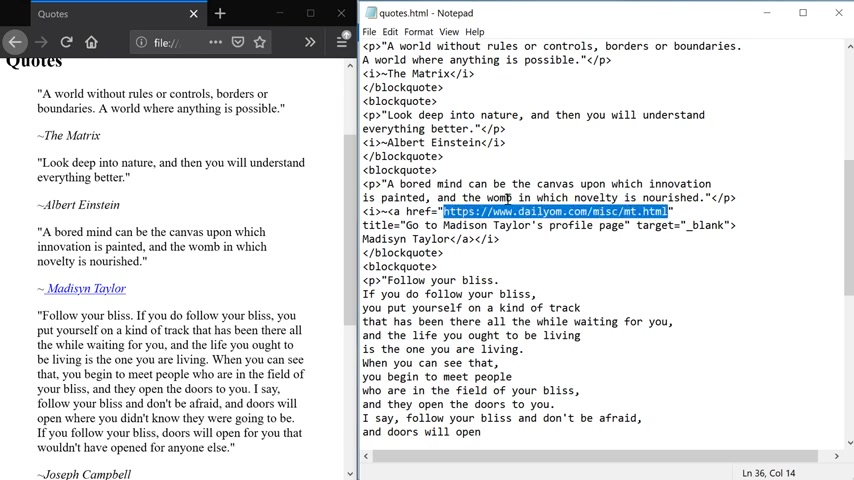
So that's how you can create the link to an external website by going to that page and copying their address .
And then we can um we can add the link to our text in this way .
I've also added the title to this link which will say go to medicines profile page as you can see here when I mouse over this text and I've set the target to blank , which means the page will open up in another tab when I click on it .
So as you can see it opened up another tab with medicine profile instead of opening it up in the same tab here so that we can still have our quotes tab open .
All right .
So that's it for the quotes .
Now , let's move on to the final section which is books .
And before working on the books page , I'm gonna go ahead and copy and paste the books images inside of the IMG folder .
First , I'm gonna create the books folder and then I'm gonna go ahead and copy and paste some of my favorite books inside of this folder .
And now that we have all the books images inside of the IM G books folder .
Let's go back to the books dot html .
So here let's go ahead and first create the HR and then we'll create the table , which will have all of our books , close the table tag and then create the first table row , table cell flow , stable row and table cell .
So in order to properly present the books on this page , each table row will have two table cells .
The first table cell will have the book image and the second table cell will have book description .
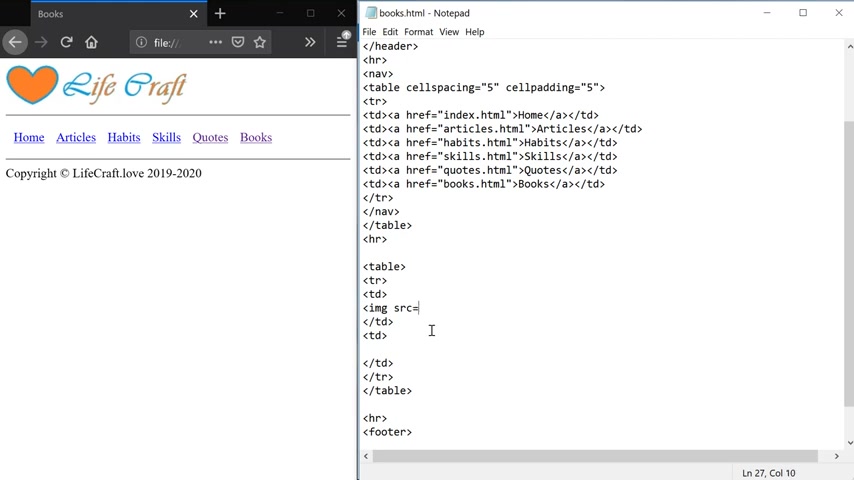
So inside of the first table row , let's go ahead and insert the book image of the first book using the IMG tag SRC and then specify the directory where our book is located , which is inside the IMG forward slash books folder .
And the name of the first book is going to be the voice book , which we can just copy and paste this file name of the first book , paste it here .
So we have image IMG books and then the name of the actual image .
Let's also set the width to 100% and high to 100% as well .
And now let's see what our image looks like .
And as you can see , we have a pretty big image of the first book showing up here .
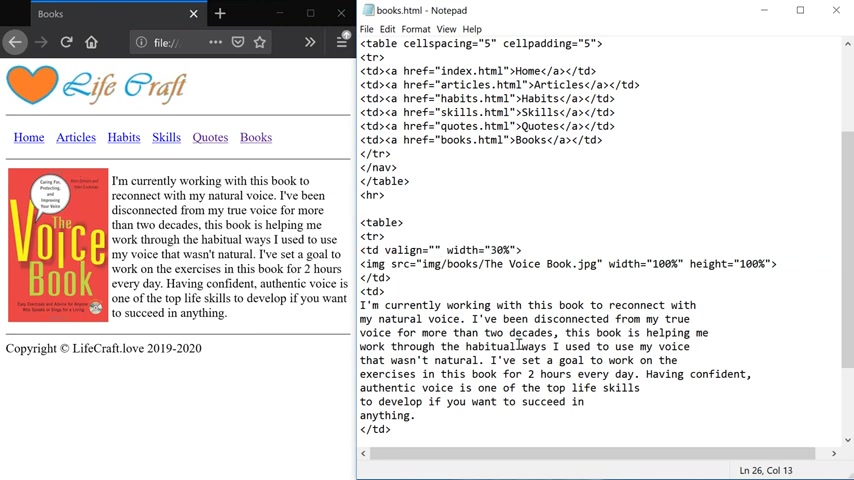
So I'm just gonna copy the content and paste it inside of the second table cell , save the file , refresh the page .
So at this point , you can see that the book image has become too small .
So we're gonna fix that by setting the width of the first table cell where our book image is located .
And we're gonna set the width to 30% and refresh the page .
And now the book size is perfect .
Let's also go ahead and add the V align attribute and this will align the book image to the top of the table cell .
I'm gonna say top and add the same thing here for the text .
The align equals top .
And now I'm just gonna copy and paste the rest of the books because they're going to be in exactly the same format .
And so you can see that they're all exactly the same .
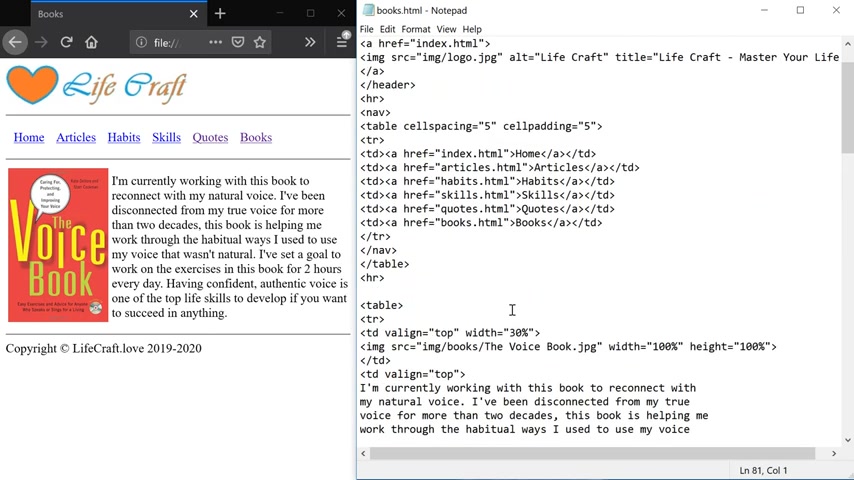
They have a table row and two table cells .
The first one is where the book image is and the second one is the description of the book .
So I'm gonna save the file , refresh the page .
So now we have all of our books and descriptions , but they're way too close to each other .
So let's add some spacing between them .
So it looks a little bit better .
And for that , we're gonna use a cell padding attribute on the table and we'll set it to 10 .
Now let's refresh the page and now we have a perfect amount of spacing .
We can even add a little bit more like 15 and that makes our page look a lot better .
All right .
So before we finish this up , I just wanted to show you guys a few things that we can fix up to polish up our website .

So if we go to a web developer and then web console , you'll get this message about character encoding .
And here it says that the document will render with garbled text in some browsers configuration if the document contains characters from outside the range .
So it's a good idea to declare the char set and we declare the char set using the meta ta inside of our head tag .
So inside of the head tag where our title is just below the title , let's go ahead and insert the meta ta and set the attribute of charge set equals to U TF dash eight and that should fix that message .
Let's go ahead and go to web developer , web console again , refresh the page and now we're not getting that error message anymore .
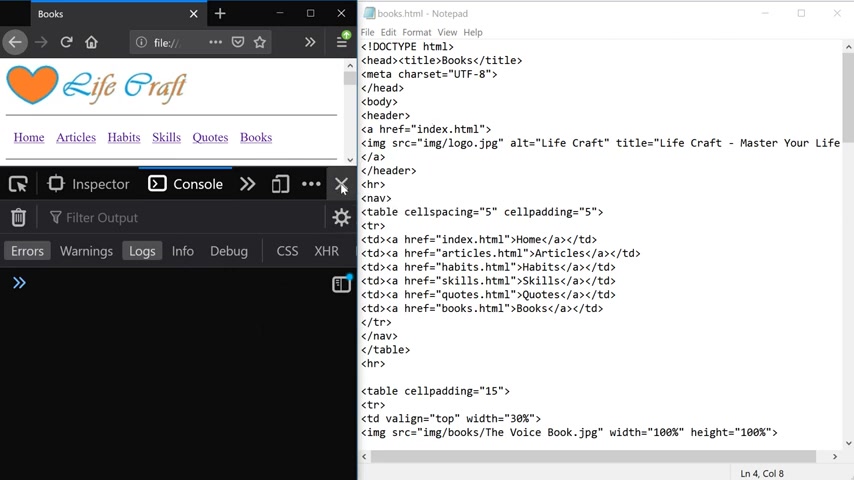
So that is how you set the chart set so that the encoding is proper on our web page .
Also , if we go to a web developer responsive design mode , you can see that the text and the logo and all of our navigation bar links are way too small .
And so our website is not responsive at this point .
It doesn't look good in iphone 67 and eight .
So we can fix that with another meta ta and we can set them and we can fix that with a meta name , Viewport .
So let's go ahead and create another meta tag just below the one that we just created .
And this one is going to have an attribute name and the value of Viewport .
And it's going to have another attribute called content .
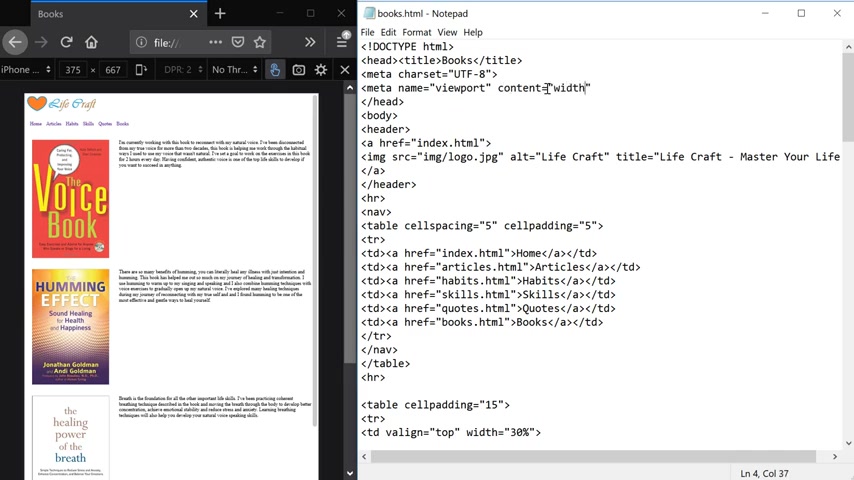
And we're gonna set its value to this long value with E equals device with comma initial dash scale equals 1.0 .
So make sure to type this content value exactly like it is here , save the page refresh .
And now our website is responsive .
So all this tag does is it sets the view port to the devices 100% width .
So it rescues the content to fit the device , whatever the device's size .
So that fixes the responsive issue and our website looks perfect .
Now it's responsive .
All right .
So now I'm gonna copy these two tags and just update the rest of the pages by pasting these meta tags inside the heads of the other pages as well .
OK .
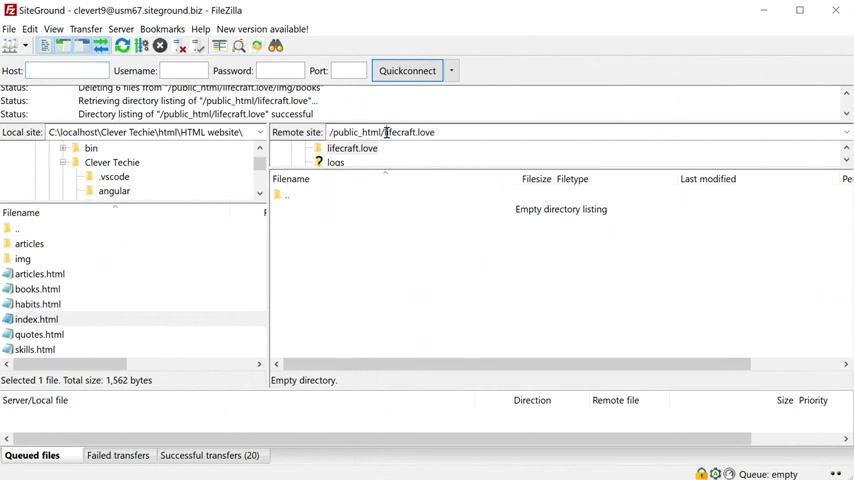
Now I'm gonna open up file Zilla , which is a file transfer protocol and I already have my domain registered , which is Life Craft dot Love .
And here I have connected to my server which is side ground and all I'm gonna be doing here is uploading all the files from html website folder that we have been creating .
So I'm gonna select all the files here , select upload and this will upload all the files to the live server .
So after the upload is finished , we can go back to the browser and in the address bar type life craft dot love and the website is now live .
You can check out all the links , everything is working .
It looks beautiful .
We can go to web developer , responsive design mode and , and you can see that our website is responsive as well and that's it .
That's how you create a website using just the notepad and html .
I hope you guys liked this video .
And if you did please like share and subscribe and I'll see you next time .
Clever , take you out .
Are you looking for a way to reach a wider audience and get more views on your videos?
Our innovative video to text transcribing service can help you do just that.
We provide accurate transcriptions of your videos along with visual content that will help you attract new viewers and keep them engaged. Plus, our data analytics and ad campaign tools can help you monetize your content and maximize your revenue.
Let's partner up and take your video content to the next level!
Contact us today to learn more.