https://www.youtube.com/watch?v=992Wj0mZkow
How to Make a FREE WEBSITE in 10 - 30 Minutes (Google Sites Tutorial for Beginners)
How to make a free website in under 10 minutes using Google sites .
Hey , Team Stewart here .
Welcome back in today's tutorial .
We're going to show you how to build a completely free website similar to this one from start to finish , step by step using Google sites .
And the awesome thing is you do not need any website or design experience to guide you through the entire process .
Now , before we guide you through how to make a free website , and if you're new here today , consider subscribing to this channel and tap the bell icon and that way you'll stay updated and notified with new and practical videos designed to help your small and local business thrive online and with that covered , let's start creating your free website .
Ok .
So the first thing we need to do before we can start building our free website with Google sites is we need to log into our Gmail account .
Now , if you don't have a gmail account , you do need one , it's free to sign up .
And once you've done that , all you need to do is log into your gmail back end as you can see here .
The other option is to log into your Google Drive .
But what we'll do is we'll access Google sites from here .
So what we need to do is head over to the right , click over here and then click on drive and this is going to take you to Google Drive .
Now , what we want to do is head over here and click new pop down to more and down here , we want to click on Google sites to get started and build our free website .
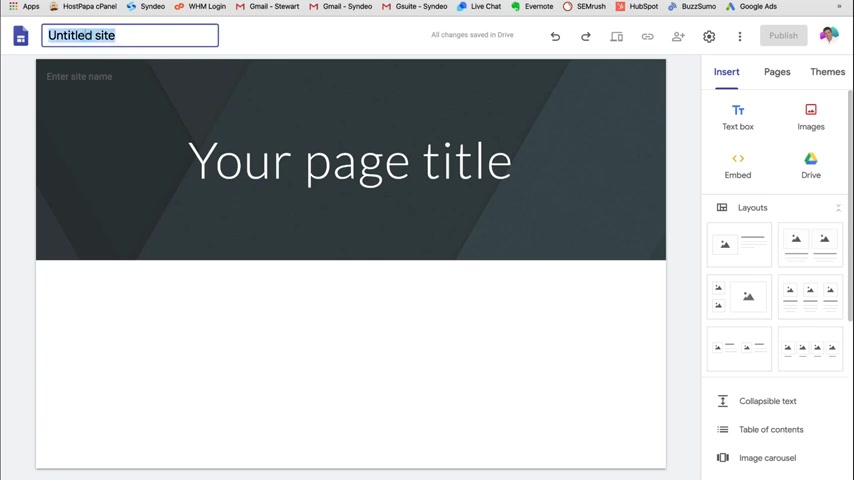
So click on Google sites and this is going to open a new tab where we can start building our website .
OK .
So the first thing we want to do is change our name over here .
And before we start designing , I'll cover all the different elements that we can use on Google sites .
So the first thing we have over here is we have the undo last action , which means if we create an action or we create a change , we can undo that action here .
Again .

We can also redo the last action over here is where you can preview your new website while you're designing it .
You can see it on desktop tablet or mobile .
Then if we pop over here , you can copy this link when your site is published and you can send that to people to have a look at your website .
Then next to that , we have share with others .
If we click on here , we can add people who we want to have access to our website .
Now , you can add the email here and then if we click along here , you can select if you want them to be able to edit the website with you or they can just view the published website .
So for now , we'll leave that empty as it's just me working on this website .
So we'll cancel out of that and click done .
Then next to that we have settings which we don't need to touch for now .
And then we have more options over here , which we'll go into a bit later on .
And next to that , we have publish .

So when you're ready to publish your site , you can click publish and it will be visible online down here , we can insert a text box , images embed , say a video and then you can access your drive and then down here we have layouts .
So I'll talk about this a bit later on and then below layouts , we have other elements that we can use to build our website .
Now , if we pop up to the top , we have pages where we can add additional pages .
And then next to that , we have themes and this is where you can choose the style and the theme for your website .
There's a few to choose from and you can test them all out .
You can choose the theme that best represents your brand or your business .
So for me , I like the look of the vision theme .
And I'm happy with the blue .
You can also change the theme color here .
I'm also happy with the font .
We'll keep that as bold .
Now , the first thing we want to do is change our title here .
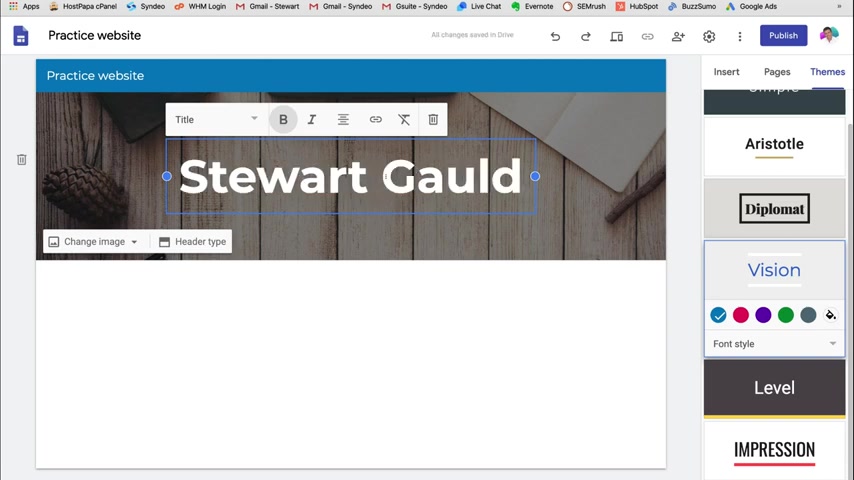
We can do that just by double clicking and then you can change the title because what I'm going to create is a digital media and marketing consultancy under Stuart Gould just for the purpose of this tutorial .
And then we can come up here , we can change the size .
This is a title , so I'm going to leave it as title .
Then we can choose to bold italic , then we can choose how we want to center the text .
Currently , it's centered , we can go left and right aligned .
Then if we pop over here , we can insert a link and then we can clear the entire formatting or delete this title .
But for now , we'll leave that as it is .
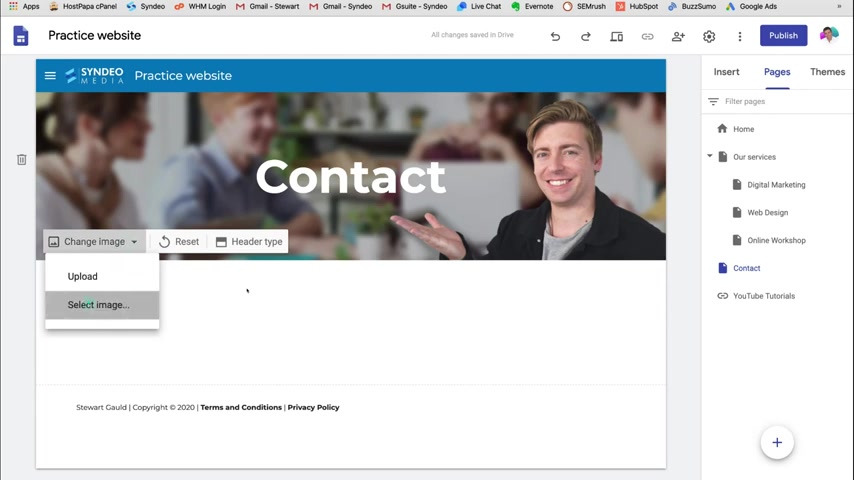
So what we want to do now is change this cover image .
So what I'm going to do is head over to change image .
We can choose select image .
We already have images on Google Drive .
But what I'm going to do is upload images from my computer that I already have ready to create this website .
So I'm gonna click upload and here is the folder that has all the media that I need to create this website .
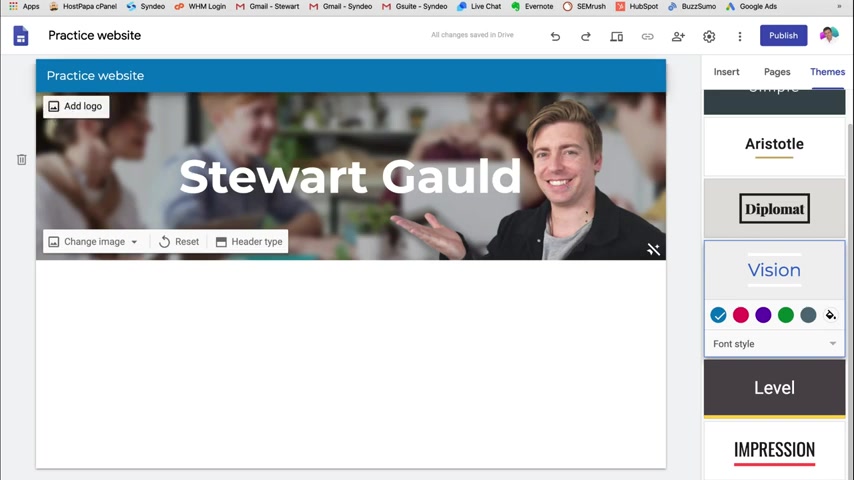
So I'm gonna click cover image and select open .
Now , what Google sites is going to do is it's going to adjust the readability .
You can choose to leave this on or leave it off , so that's too dark .
So I'm gonna click off and that's going to go back to normal .
So I'm happy with that .
That looks quite nice .
Now , if you don't already have your images or your media for your website , what you can do is head over to can the dot com and this is a great free online design platform that allows you to design all these images , graphics and logos , everything you need for your .
So it's a great way to edit your images or create new material for your website .
So I'll pop a link down below in the description and you can head over to cava dot com and create your own media if you haven't done so already .
Next , what we want to do is add a logo and a facon .
So if we pop over to add logo and then click upload , we're going to upload our white logo here .
This is our business logo , CIND media , it might take some time .
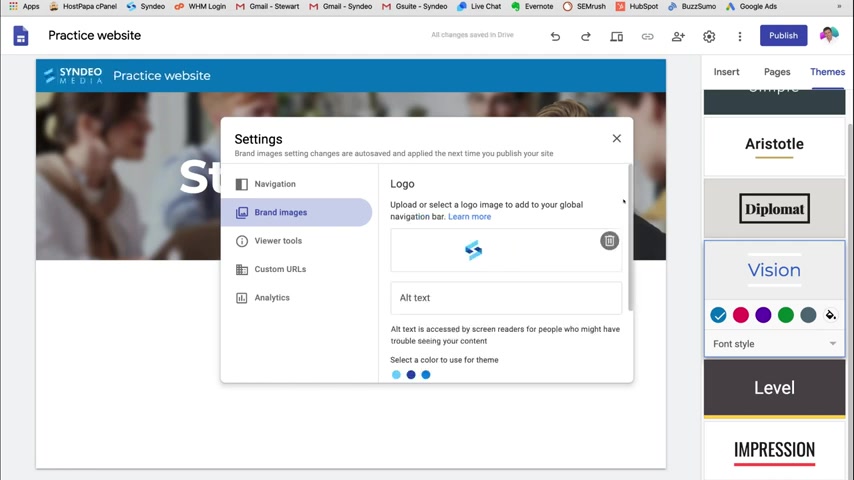
But remember you want to upload a logo that represents your brand , your business .
So this is just an example for the purpose of this tutorial .
Now , remember you can also go back to CV dot com and create a logo there .
Then what we want to do is add an alt text .
So I'm going to add the business name here and then come down to Facon and upload facon .
And that is going to be this logo image here .
And what's going to happen with your Facon .
Basically , if you open your website up online in the browser , you're going to see your little logo icon here , the Facon .
And if you open any website , you're going to see the Fay con for that particular website .
For example , at gmail , we have the little icon here , Google Drive and then the practice website .
So this isn't gonna show until your website is published and it's live online .
So I'm happy with the logo and the FAY Con , it's gonna automatically save .
So click exit and you can see the logo up here .
So I'm happy with that .

That looks quite good for now .
And now before we edit the rest of this page , what we're gonna do is add some more pages .
So at the moment , we've got the home page , if we pop down here and click , plus , we can add a new page .
So I'm going to add our services and click done .
I'm also gonna add contact page , click done and up the top , you can see our menu .
So I also want to add a link now with Google sites .
It's great because you can also add a direct link that takes people to a different website , a different page other than just a page on your website .
So for example , I want people to be linked to our youtube channel because that for us is a powerful tool to help educate our followers , to help educate our customers and our audience .
So I'm gonna click new link and I'll head over to youtube and head to my channel .
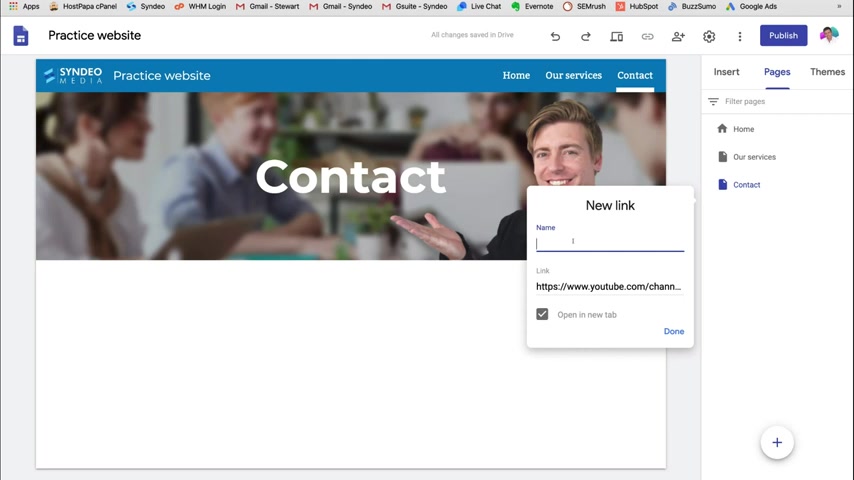
And now what I'm going to do is copy the URL from here , head back to Google sites , paste it in here and here we want to add a name for the link .
So I'm going to write youtube tutorials and click done .
And as you can see here , I've got the home page , our services page contact and then youtube tutorials .
And what's going to happen is that's going to open up in a new tab in a new page .
So again , this is an external link .
These are internal links , going to different pages within this website that we're creating .
So what we can do is add sub pages to our main pages .
So what I'm going to do is with our services , we provide three main services .
So under this , I'm going to click add sub page and the first one is going to be digital marketing and then click done .
I now want to add two more sub pages .
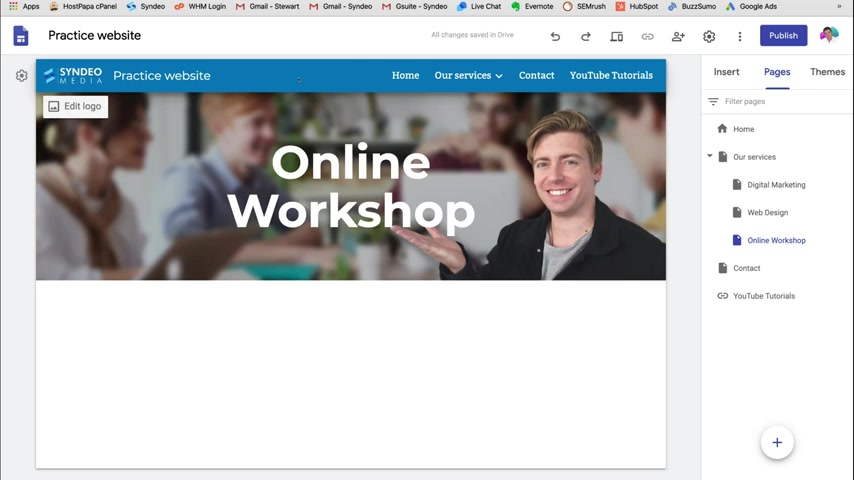
So I'm going to click the three dots again , add another sub page and this one is going to be web design , click done and one last sub page for our services and that is going to be called online workshop and then click done .
Think about the way that you want your website to look .
What kind of pages do you want on your website ?
Do you want subcategories ?
So remember subcategories , for example , if we move over to our services , we now have these subcategories sub pages .
And if I click these , it's going to go to a different page .
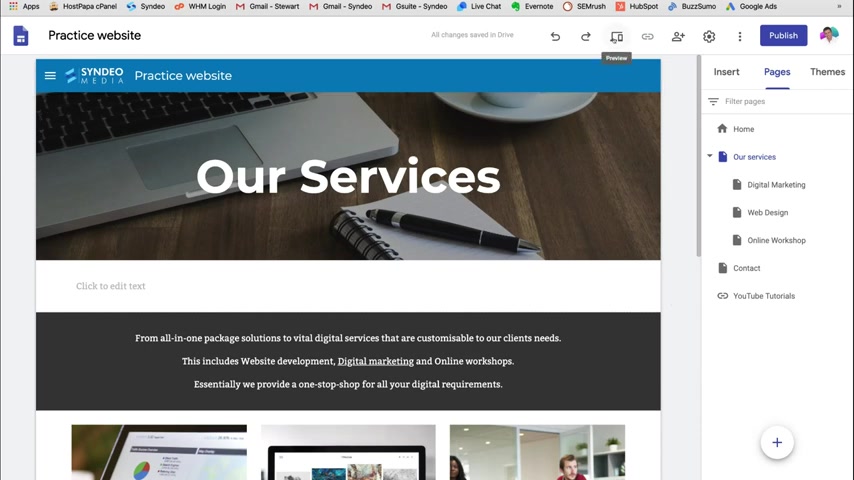
The next thing we we can do is we can actually change the menu .
Now , if we don't like the menu , the way it is , we can head over to this gear icon and under navigation , we can hit over here and click the drop down and go side .
And as you can see now the menu is on the left and it's what we call a hamburger menu .
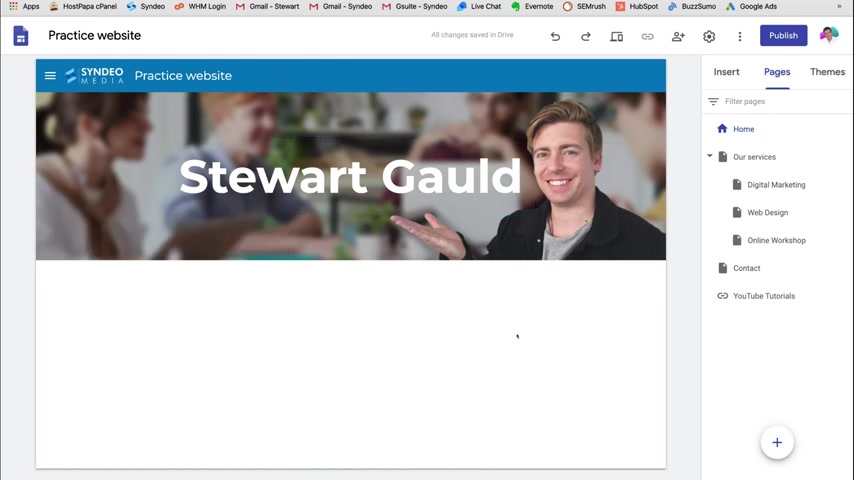
So if we exit out of this and we head over to our menu and click this little sidebar , the hamburger menu , then our menu is going to pop up here and we can access the different pages through this sub menu .
So I like the look of this because it looks more streamlined , more modern .
So I'm going to leave the menu as it is .
OK .
Now , let's start designing our web pages .
So the first page we're going to start designing is our home page .
So head over to your home page , as you can see here's our home page and there's currently nothing except for the cover image .
Now , the great thing about Google Docs is it's a very easy to use website builder .
So you can basically drag and drop the different sections and different elements .
So I'll show you how to do that right now .
So if I double click here and I click text that's gonna pop up with a new section .
Now , with this section , we can start typing because it's a text section .
Again , we can change the size of the text .
We can bold italic change the alignment , numbered list , bullet points , insert link and more .
So again , if we pop down here , we can duplicate this section or we can delete it .
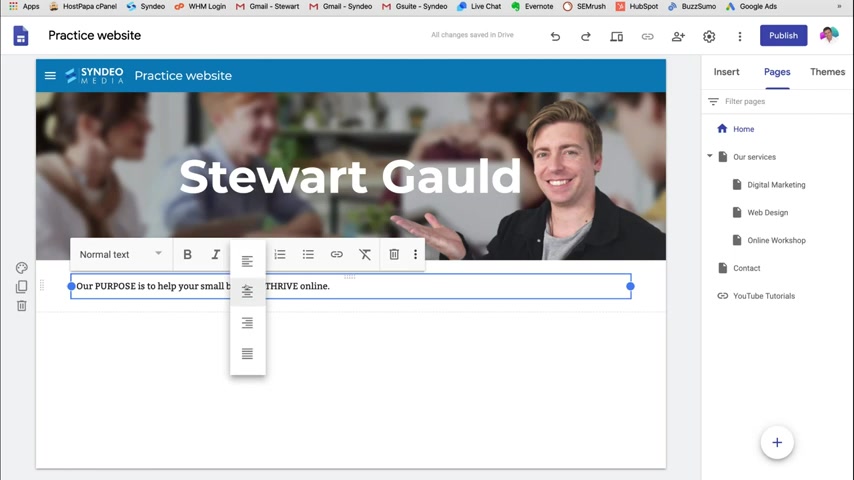
So here , what we're gonna do is add our purpose , our message because that's the first thing we want people to see so they know exactly what this website is about .
So again , I'm going to head back to my documents , which is where I've already got our message text here .
So I'm going to copy this and head back to our website and click paste .
Now , I want this to be center aligned .
So I'm gonna click center aligned .
And I also want to change this to a subheading .
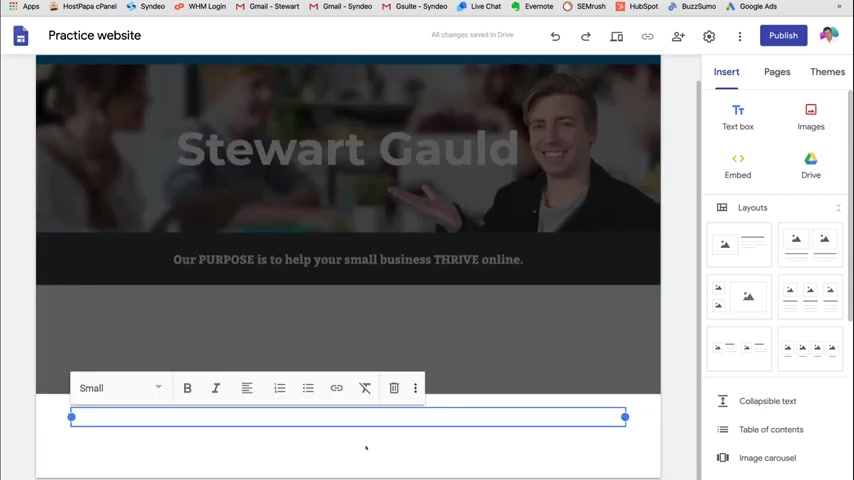
Then if we pop over to our section background , we can change the color .
Now this is based on the theme that we chose at the beginning , we have regular , which looks like this plain white , then we have emphasis one which is a slight gray background .
Then we have emphasis two , which is a dark background .
And then we can also add an image .
So for now , I'm going to keep it as emphasis too .
I like that dark background and then first go back to creating our footer , which we were supposed to do before , but we'll quickly create that now .
So again , I'm going to head back to my docs and as you can see here is my footer , I'm going to copy this and then I'm going to paste it in here , click out of it and I'm happy with that as my header .
Now , again , if I double click this , I can start changing the content , change the size of the text and all the other elements across here .
So you can unfold this .
Now , as you can see , I've added a link .
So all you need to do here is click add link and you can paste a link in here .
So if someone clicks on this text , it's going to take them to that external link , whether it's your Facebook page , it could be another website , it could be a video , whatever it is for the purpose of this tutorial , this is actually going to link to my real website , uh terms and conditions page .
So I'm going to click apply , I did the same with privacy policy here .
So again , as you can see , I've also bolded these words .
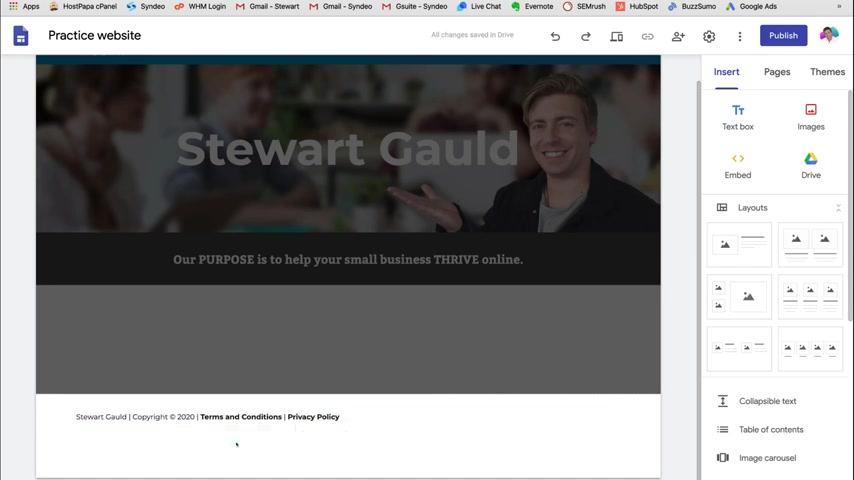
So I'm happy with my footer for now .
And like I said before , this footer is going to appear on every page of your website .
Now to create a new section , all we need to do is double click here .
We can add images over here .
We can upload , use our drive , we can add another text section or we can add a video .
This is great for embedding a video onto your page or what we can do is head up to insert and then we can insert a layout just like this .
If you're not happy with the layout , you can click delete .
There's also this layout here .
Again , there's an image title , text and a body text unit here .
Now , for the home page , I'm going to create it myself without using any of these layouts .
So I'm going to click delete now because this is my home page .
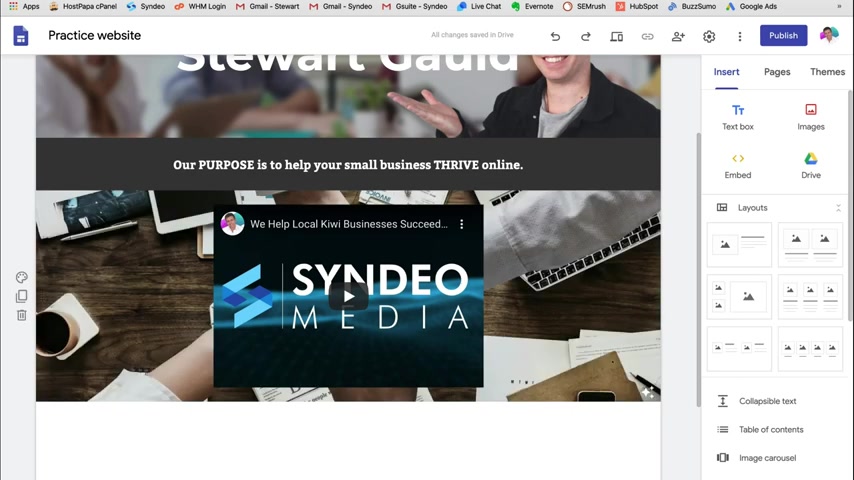
What I want to do is add a video because having a video on your home page actually increases conversions and people are more engaged when they see a video .
So I'm going to add a youtube video .
So what I can do here is double click and embed .
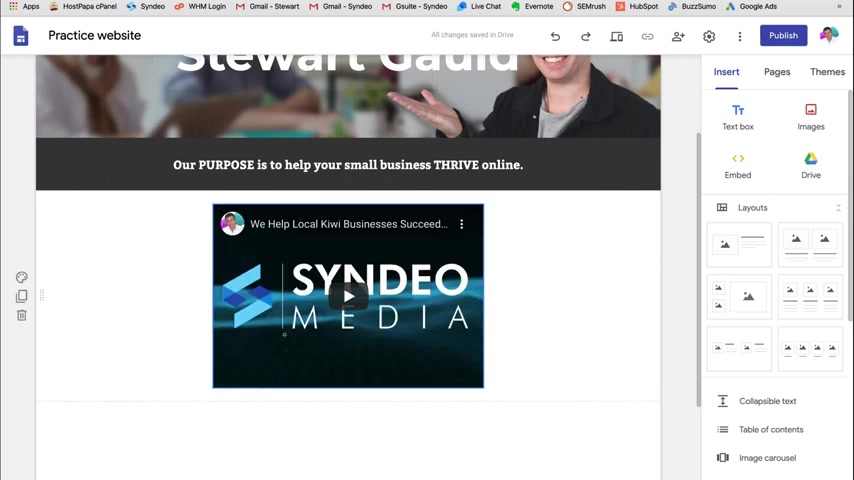
I can head over to either youtube , find the video that I want to embed and copy the link and paste it in .
But because I've already got all the information ready on my document , I'm gonna head to my video link which I have already written down here .
I'm going to copy this head back to my website and then paste that link into the space provided .
And as you can see the little preview is here of the video and I'm going to click insert and here is my video .
Now , what I want to do here is make it center aligned so you can do that by clicking on the video and dragging it .
So I'm going to drag that between the columns and there we go , the video is centered now it looks a bit dull .
So I can choose to change the background of this section .
I can have it as emphasis one or emphasis two .
Now again , that doesn't look very streamlined , very modern .
So I'm actually gonna add a image as the background .
So again , I'm going to click section background and then come down to image and upload and I'm going to choose this image here open and as you can see it's adjusting for credibility , remember , you just need to click this if you don't like the adjustment that Google Sites has made for you because this is automatic , it may take some time .
So just be patient .
And as you can see it's already adjusted so I can turn that off or I can turn it on .
So I like the adjustment that Google Sites has already made .
So I'm going to keep it as it is and that looks quite professional .
Now , what we want to do is head to the next section and here , what we want to do is add more information about our website .
So I'm going to double click and click text again .
I'm going to head back to my docs and copy this body text here .
Control C head back to the website and then paste the text in here .
So like I said before , I've already created all the images , the text that I want for this website because this is a tutorial and I want to make it under 10 minutes to show you how you can easily make a website within 10 minutes when you have all your information or your media and all your content .

So again , let's go back to the website .
Now , what I want to do is center align this text .
So I'm going to click up here and pop down to center aligned , that looks good .
However , again , it looks a bit dull .
So to keep the theme the same , I'm going to actually change it to the same color as this section here .
So I'm gonna head over to edit section background and I'm going to go emphasis two .
And as you can see the text has automatically adjusted to what , so that it's readable .
So again , I'm happy with that , then we're going to pop down and add another section .
So I'm going to double click and add text .
So with this home page that we're creating , now , I'm creating everything from scratch .
I'm not using any of the layouts as you can see over here .
But on the next two pages , we're going to quickly create with these layouts .
So again , coming back here , I'm going to head back to my document and I'm going to come down here and copy this last section and then paste in here .
And as you can see , it's already the size that I like .
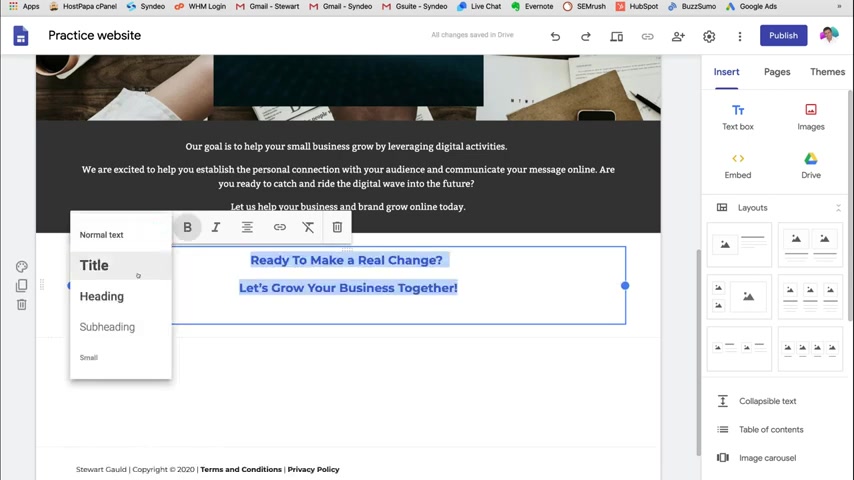
But I want to center align this message .
So I'm going to copy this and click center a line that looks good .
Again , I can change the size of the text , but I like it as a heading .
So we'll leave that as it is .
And that looks quite streamlined with the different colors , the dark and the light and then the image here .
So I'm going to leave that as it is .
But now what I want to do is add two buttons because we've got this call to action ready to make a real change .
Let's grow your business together .
So what I want to do is add two buttons .
So to do that , I'm gonna head over here and click on button .
The first button is going to take people to the contact page and this is going to be a free quote , then click link and then find the page you want to link to .
So I want to link this to my contact page because if this person wants a free quote , they can click on this button and it takes them to the contact page where they can get a free quote .
Now , I want to add one more button .
A call to action .
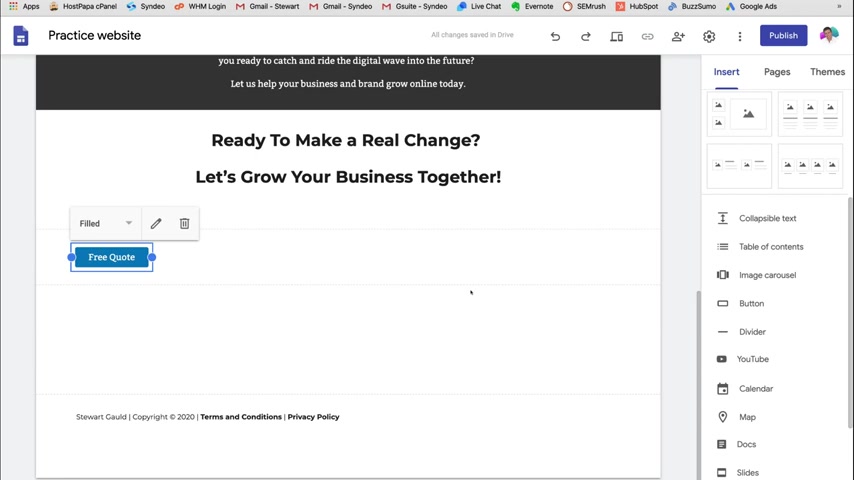
It's great to have at least two or three call to action on your home page .
Uh , basically a call to action is what you want the visitor to do once they land on your website .
Do you want them to head over to your contact page to your book ?
Now , page .
Do you want them to call through to your business ?
What is it ?
So for us , we want them to get a free quote which is going to take them to the contact page .
Then we want to add one more button and we're going to name this our services and then click link and link this page to our services page and insert .
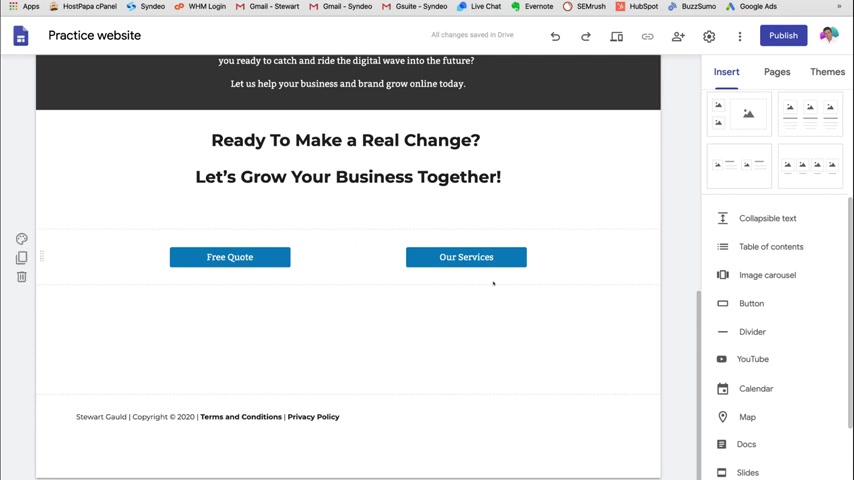
And as you can see , we've got two buttons here .
So this takes the user to our contact page and this button takes people to our services page .
Now , the great thing about Google sites and the website builder is you can just drag and drop everything you have complete freedom just to drag and drop and change the way you want elements to show up .
So for example , for these buttons , I'm going to drag this one and put that here .
Then I'm going to grab our services button and bring that across here .
I can also change the size of the button just by dragging it .
And then I want to move that to , let's say here .
Again , with our services , I'm going to change the sizing .
I'm going to drag that out happy with that .
And again , I can move that around , but I like the position of both buttons .
So I'm going to leave it as it is .
And as you can see , we now have two call to actions that take people to our contact page and our services page .
So now that looks fantastic .
What I want to do is add another section so that my website is smooth and it flows really well .
So I'm going to double click here , click text .
Now , I do not want to add text , but I want to change the color of this box .
So I'm gonna head over to section background and click emphasis two .
And now we have a dark box here and that breaks up each section and I'm loving the flow of the website .
Remember , you can play around , you can drag drop , you can play around with the sizing , do whatever you like and take your time to create the website the way that you like and remember get feedback from friends and family to see if they like the way that your website is looking .

Remember , you can also add people here like we showed before if you want to add people to just view your website before it's live or if you want other people to make simple edits with you .
And with that said , we have completed our home page as you can see it flows very well .
I like the look of the colors .
It's nice and sharp and modern and professional looking .
As you can see .
We have a video here .
We have our purpose , our message .
So people know what we're all about .
Then we have a quick description about our business .
Then we have our call to action information down here free or check out our services .
And if we pop down to the bottom , we have our footer here , which is going to appear on every single page .
Now , what we're going to do is quickly create a contact page using all the elements and the layouts on the right hand side .
So what we need to do is head back up to the top , click on pages and then head down to contact page .
So click here and here is our contact page .
Now , we have a choice to keep this image the same or we can change it .
So all we need to do is click change image , we can upload an image or select an image from our gallery .
So again , if we come down here , you can choose an image that best represents your business or you can upload one for the purpose of this tutorial .
We'll just quickly upload one .
So I like the look of this image and click select .
And as you can see , it's going to adjust for the readability and it's automatically been darkened So I like the look of that .
I'm going to leave that as it is .
Now , let's create the first section .
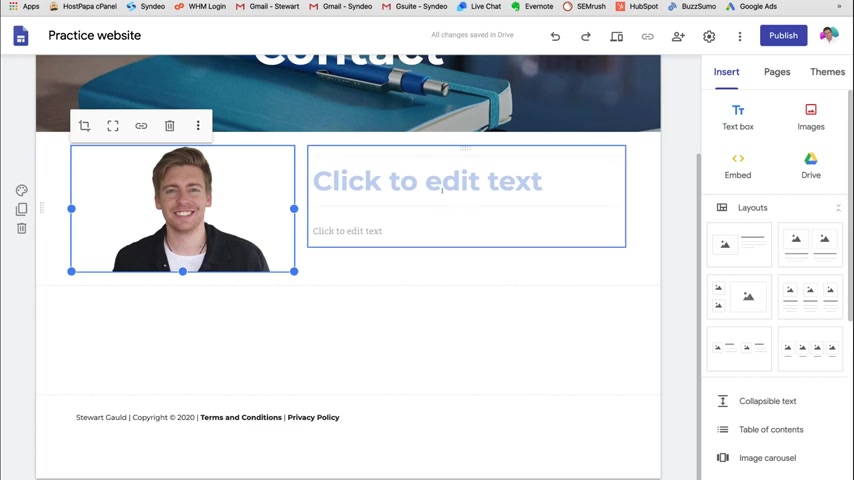
So what we need to do is head over to insert and then let's check out some of these layouts .
I like the look of this layout here .
So I'm going to click this and then over here , I'm going to add a image .
So click , add image again , you can use these elements here .
But what we're going to do is upload from our computer .
We're going to jump onto our contact page folder and click profile picture and click open and there we have a picture of myself .
Now , what I can do is I can crop this image .
So all I need to do is head up here and click crop .
All we need to do is drag this little dot here until the sizing is right and then we can drag the image down .
So I like the look of that .
So I'm going to click tick and I'm happy with the way that that image looks .
Now , if we come over to the right , I'm going to add some information here .
So again , I'm going to go back to Google Docs and copy this title here and then click paste .
Now , that's quite big .
So I'm going to change the sizing to a sub header and then I'm going to change the alignment so it's centered and then I'm going to head back to my Google Docs and I'm going to copy this text here and then paste that down below again .
I'm going to copy all this text here and change the alignment .
So it's centered and then click outside of the editing field .
I might actually change this .
So it's a bit bigger .
I might change that to a header .
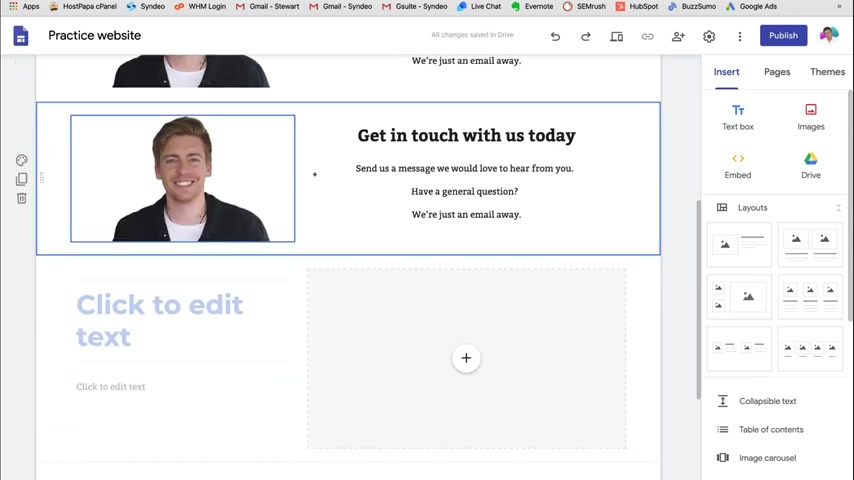
That's better .
I like the look of that .
Get in touch with us today , send us a message message we would love to hear from you .
Have a general question .
We're just an email away .
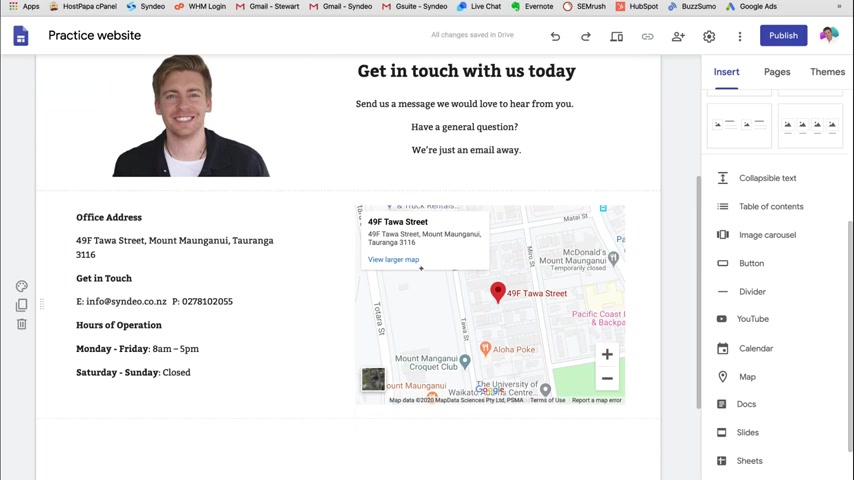
Now we want to add a map and our contact information .
So again , what we can do is click on this layout and then I want to move these around .
So like I said before , with Google sites , you can just click and drag elements .
So I'm going to click this and drag that down here and then I'm gonna click this text here and I'm gonna drag that across here again .
I want to drag this little box here and drag that to the left hand side and there .
We have it .
We've just reversed the way that the section looks .
Now , you also have the choice to copy this section .
For example , I could just copy that and then change the image or change the text .
But what we've done is we've just rearranged the original layout .
So I'm gonna delete this and then start editing this side here .
So I don't like the header here .
I just like the text .
So I'm going to get rid of this .
Click on here and click delete title .
Then we have our text here .
So what I want to do is head back to our Google Docs and then copy all our contact information , head back to our website and paste that in here .
I'm happy with the fold .
Yep , that looks good for now .
Too much space down here .
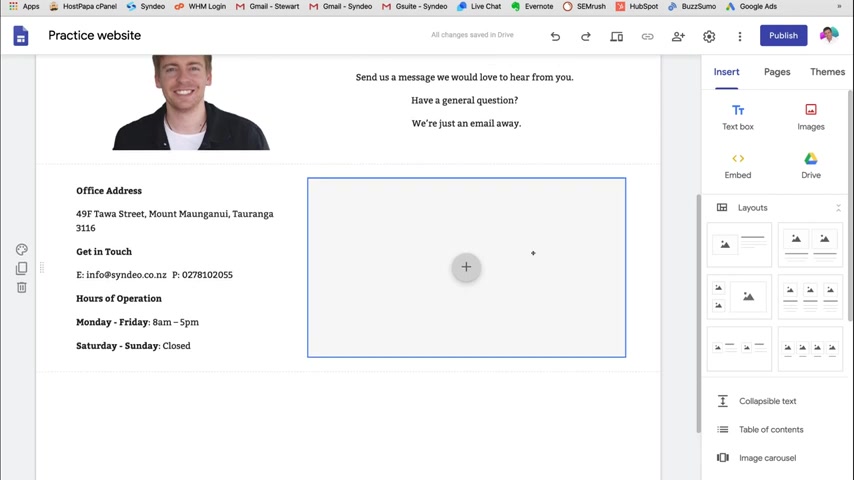
So I'm gonna get rid of that and then I'm going to highlight Monday to Friday and I'm going to fold this and this one here .
Now , on the right hand side , what we want to do here is add a map .
So to do that , I'm just going to delete this section here , this image and then I'm gonna come down to our elements and click on map .
So here , all we need to do is type in our business location .
Now , if you have a Google my business , you can actually type in your business name and it's going to automatically come up with your business address and it's automatically going to come up with your business location and address .
So I'm going to type in CD and this is our business here .
So I'm gonna click here .
So just checking it .
Yep , that's exactly where we're located .
And then I'm going to click select and there we have it .
Our map is automatically generated .
What we need to do is drag the map and place it up here next to our contact information .
Give it a moment and it's going to load .
And I like the look of that .
As you can see , it's quite smooth .
We've got an image here .
We've got text here , then we've reversed the order .
So it flows quite well .
Now you can resize the map just by clicking on the section and dragging it and that's a good size for us .
So what we're going to do is leave it as it is .
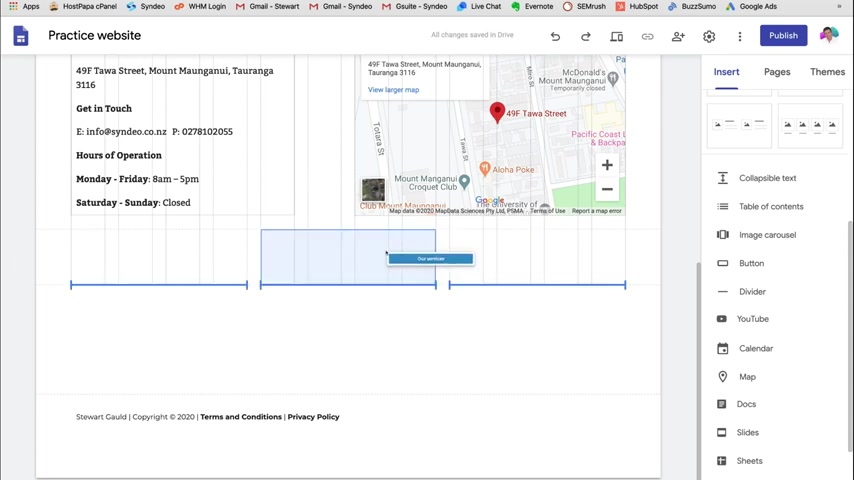
Now , we can also add a divider which I'm going to do .
So click divider .
Now , what I want to do is put this divider up in between these two sections just like that and there we have it .
Our contact page is basically complete .
Now down here , I want to add a button that takes people to our services page .
So remember we talked about this , you want to have internal linking to different pages within your website .
So I'm gonna head over here and click add button .
I'm going to type in our services and then click link and then click our services and then click insert and then I'm going to drag this button into the middle here , click on it , drag it .
So it looks a bit bigger .
Now , the great thing about Google sites is you can just drag and drop like we talked about before .
However , Google sites will actually automatically come up with columns .
So you know exactly how your elements are aligned with the rest of the website .
So that is centered there .
I like the look of that .
I'm gonna leave that there .
And then down here , like I've done on every page , I'm gonna click add text and then change the color to emphasis two so that it breaks up my site and breaks up the sections and there we have it .
I love the look of the contact page .
I'm going to leave that as it is .
Remember , take the time to put in all your information so that you have a beautiful contact page that represents your business .
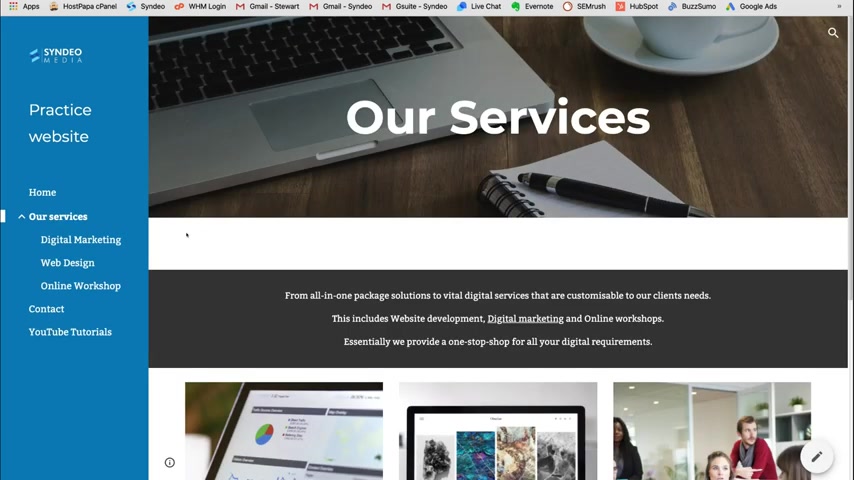
And now with that complete , let's head over to our pages and now let's design our services page .
So click our services .
Now , I want to make sure this s is a capital .
There we go .
So again , all you need to do is click on the text to change it .
And now what I want to do is change the image again like I did on the contact page .
So I'm going to click select image and use an image from the gallery that Google sites has already provided .
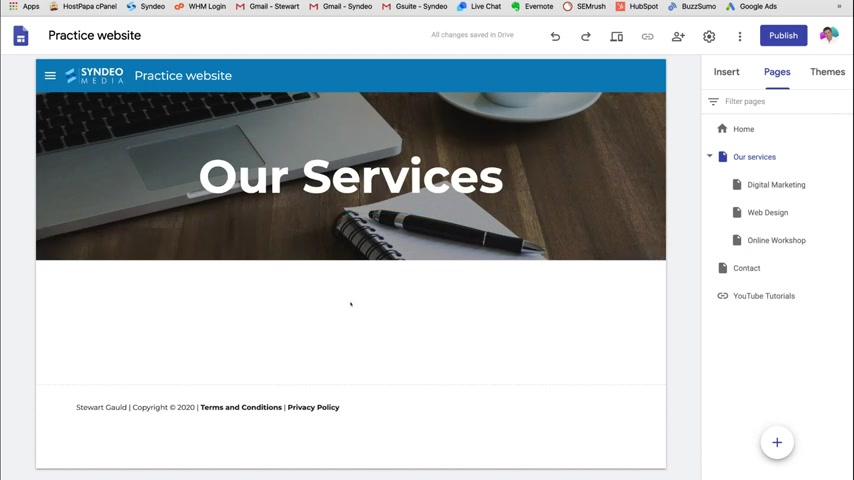
So I'm going to click on this one and click select .
And as you can see Google Sites has automatically adjusted the readability and made the image darker .
So now that the text is easier to read , so I'm happy with that .
Now let's actually build the page .
So as you can see our footer is already down there because we created that earlier on the home page .
Now , what I want to do is head over to insert and head down to our layouts now because we have three services .
I'm gonna click on this layout here , which has three separate sections .
So there's an image here , title , text and normal text below .
So again , I'm going to add three images .
So here I'm going to add a image by uploading .
I'm going to head back to our folder and then click on our services and then I'm going to click digital marketing .
So our first section here is going to be about digital marketing .
So I'm going to type that in down here and over here will be web design .
So I'll upload another image and call this service , web design .
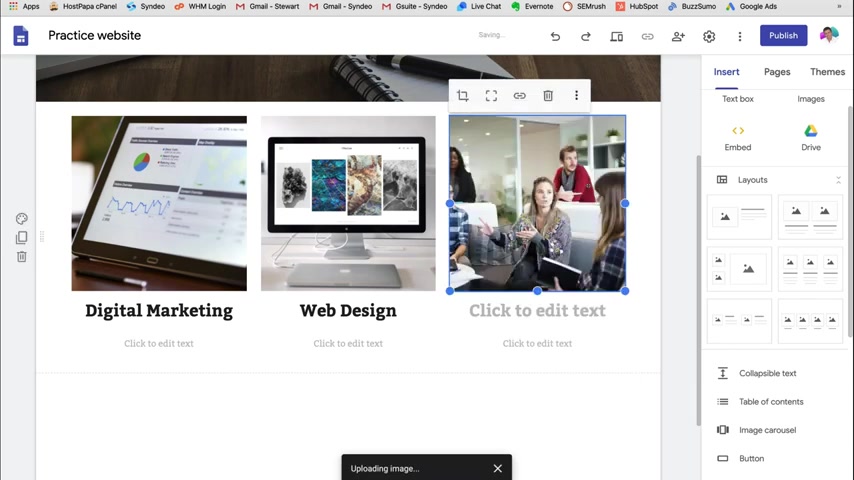
And then on the far right hand side , I'll add another image which is going to be online workshop .
Then if we pop down here , we'll type that in .
Now , what we want to do is add a small call to action or small description .
So to do that , I'm just going to head back to our document and copy this text here for digital marketing .
Head back to our website , paste that head back , copy this paste that here and then the last one is online workshop , copy this text and paste it in here .
Now I'm happy how that looks .
Now , what I want to do is add a button for each service that takes people to these pages .
Because remember these are our sub pages as you can see if we head back to the top and under our menu , these are our sub categories , our services under our services , we have three .
So exit out of that .
And now we want to add those three buttons that take the user to digital marketing , web design and online workshop .
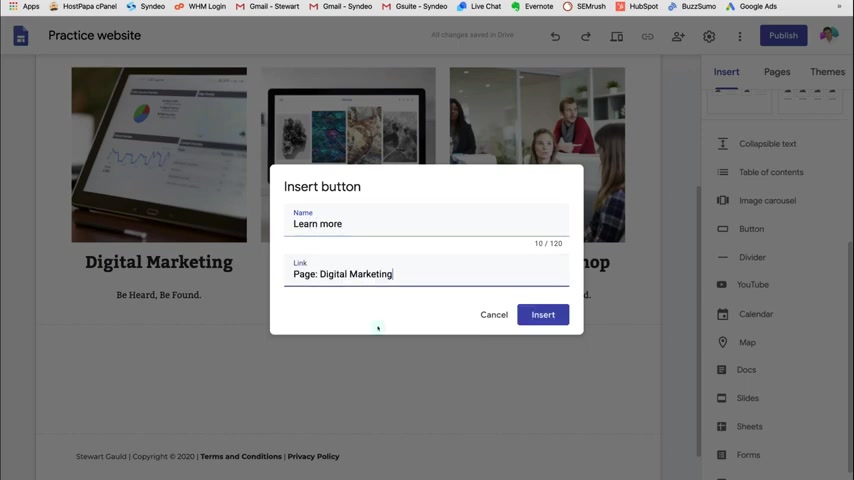
So to do that , all we need to do is click , insert , pop down here to button and right , learn more and then click on the link and then click digital marketing and then insert .
Now this button is going to take people to the digital marketing page .
Now I want to create this button three times .
So what I can do here is I can actually add them from the elements bar on the right hand side or I can come across here and duplicate the button .
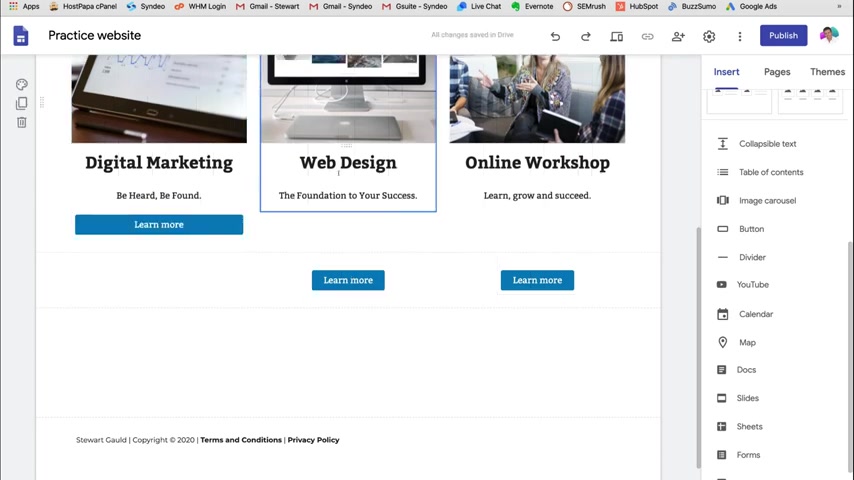
So there we have it , we have three buttons .
But remember this one was for digital marketing and these two because they've been copied , they're both still gonna link to the digital marketing web page .
So to change that , we just double click and then change this , we'll delete that .
I'm gonna go web design here .
Update again down here , double click , delete this and then click online workshop and update .
And then what we can do is drag this over here and then the online workshop button here .
That's a bit uneven .
So I'm going to drag that into the middle .
Now , I'm still not too happy with that .
So what I actually want to do is drag this button and bring it right underneath the text within this single section .
So you can drag and drop , drag and drop .
As simple as that .
Again , you can change the sizing of the button if you like , but I kind of like the look of that .
So I'm going to leave that as it is .
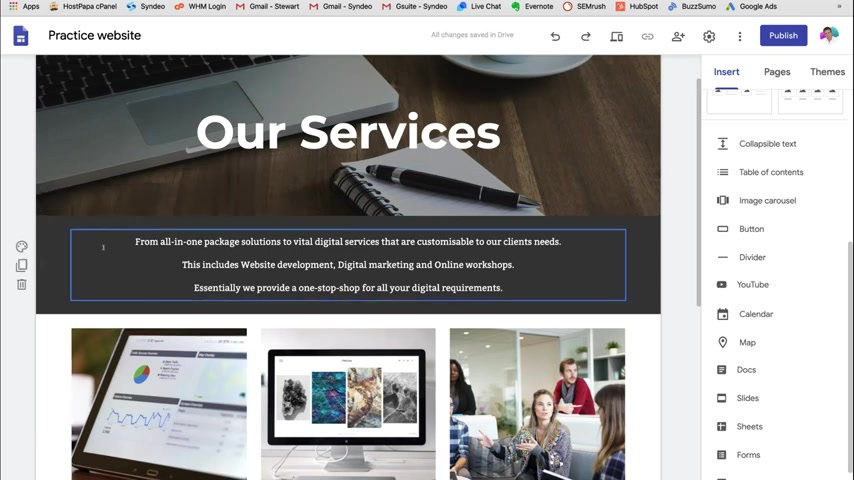
Now , what I want to do is add some text up the top .
That kind of explains our services .
So to do that , I can come down here and click text .
Now , I'm going to go back to my Google Docs and copy this message , text here , head back to my website and paste the text in here .
Now again , I want this to be centered .
So I'm gonna click over here and click down to centered and I'm happy with the way that it looks .
Now .
What I'm gonna do is change the color .
So it flows with the rest of the website to emphasis two , which makes the background dark and the text white .
So it's easily visible .
And then what I'm gonna do is drag this section up below the cover photo .
Now , what I might do because this image is quite dark and this section here is dark .
It's not , it's not flowing very well .
So I'm gonna add a white section in between the cover photo , the cover image and this section here .
So do that .
I'm just gonna pop down here , double click and click text and then I'm gonna drag this all the way up to the top above the section and between here and there we have it .
I'm happy with that .
That flows quite nicely .
And then down here , one last thing is I'm gonna add another dark section so that the rest of my website flows quite nicely and then add emphasis too .
And I'm gonna leave that as it is .
There we go .
That looks beautiful .
And there we have it .
We have completed our services page .
Now , if we go back to pages up here , we've completed our home page , our services page and our contact page .
So those are our three core pages that we want on our website .
Then we also have a link to our youtube tutorials .
So again , if we pop over to our menu , we can see all that here .
We've got our home , our services and our sub pages of our services , then our contact and youtube tutorials .
Now , I'm pretty happy with that .
We're not going to go into detail about changing digital marketing , web design and online workshop .
We're gonna leave those pages as they are because we've showed you how to use each of the elements , how to construct your own website .
And I'm happy with all three pages that we've just designed .
And as you can see .
It's very simple , it's very straightforward .
You don't need any design skills , it's all drag and drop .
You don't need to have any website experience .
However , a good idea is to look at other websites within your market and your industry and look at the way that they've set up their pages , look at the different pages that they have .
Remember , you can also add a link rather than a page .
You can actually just add a link and that is everything you need to know to design on your website .
And now what we can do is actually see how our website looks before we publish it .
So if we click preview , this is how our website will look on desktop .
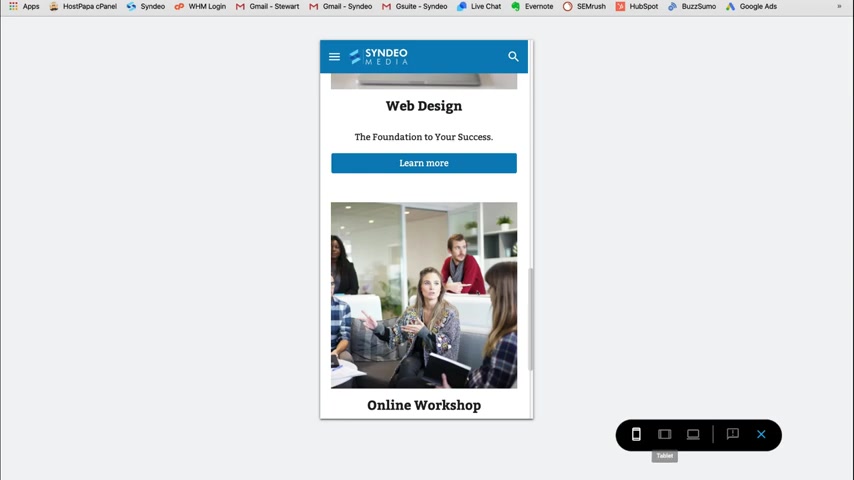
You can also come down here and click tablet to see how your website will look on tablet .
I like the look of that looks beautiful .
As you can see , we have the menu up here , then you can click phone .
So what you want to do is go through all your different pages on each of the different devices , review the way that your website looks to make sure that it's streamlined , that it's responsive and I'm happy with the way that everything looks .
So I'm going to exit out of that and now I'm ready to publish .
So all I need to do is click publish .
We're going to call it Stuart Gould and this is what your URL will look like .
You can also come down here and create a custom URL to a hosting company and a new domain .
However , for the purpose of this tutorial , we want to show you how you can create everything for free .
So nothing on this tutorial you need to pay for .
Again , you can come down here and manage who sees your site .
So we want everyone to be able to see our site when it's live .
If you don't want your website to display in search engines , then click here .
But we obviously want our website to appear on Google .
So people can find us .
We want our website to appear on different search engines .
And when you're happy with your website name and your URL , then click publish and congratulations .
Your site is now published .
All we need to do is click over here and then we can change our published settings , we can review changes and publish and then we can view our published site here .
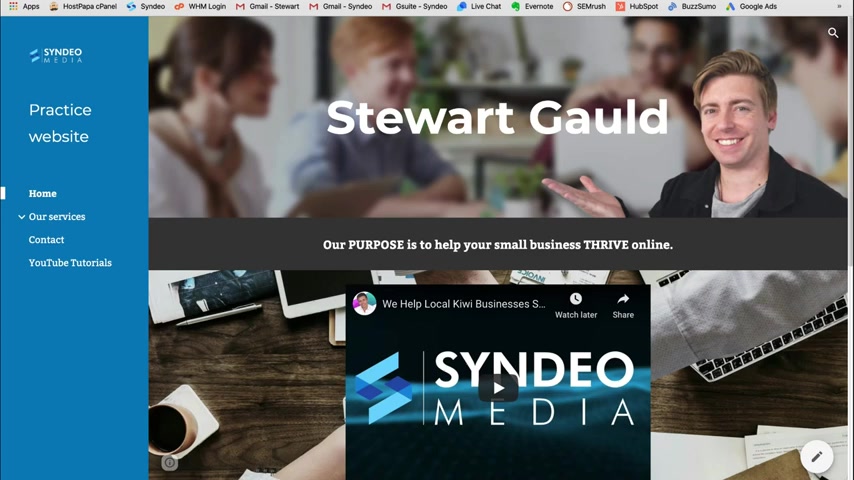
So I'm gonna click view publish site and as you can see our beautiful new Google site is up online .
Oh , I love the look of that .
I love the menu on the site .
Remember , you can change this at any time our services .
Now , remember we haven't actually created any content but now you know how to create web pages and how to create content on those web pages .
Then let's head over to our contact page .
Beautiful .
I love the look of that .
We have our map down here .
And then if I click youtube tutorials , that's going to open up another tab to our youtube account where our video tutorials are to help people succeed online .
So we'll exit out of that .
And I'm super happy with the way the website is looking .
So I'm going to head back to our Google Sites dashboard .

Hey , everyone .
This is Tony Teaches tech .
I'm Tony .
And in this video , I'm gonna show you how to create a free website or blog with blogger dot com .
Now , this is a 100% free solution .
You get free website hosting and you even get a free uh domain name , a subdomain .
So it'll be something that you choose dot blogspot dot com .
And I'm gonna show you how to not only set this up but do some customization so it fits your needs .
All right , let's go ahead and get on into the tutorial here .
Uh To start off simply just go to blogger dot com .
And with your Google account , you can click on create your blog .
We're gonna go ahead and sign into your Google account .
I'm gonna use this one right here and uh the first thing I'm gonna do is choose the name for your blog .
So I'm gonna call mine , Tony Teaches Tech .
Go ahead and click on next and then like I was saying , you get your free um domain name URL .
So it's gonna be something dot blogspot dot com .
I'm gonna see if I can do Tony teaches tech .
So this is a great option .
If you're just getting started online .
If you want to practice building your own website , if you want to practice designing and developing your own website , then Google Sites is a great option .
However , it is limited in the features and functionality .
It's not going to replace a comprehensive website .
Say if you were to get a designer to build you one or if you use wordpress or another website builder .
So this is a very basic website builder , but it's great to get online .
And again , it has a lot of powerful features that you can leverage to get your small business online .
So have fun , play around with your different pages , play around with the different features , the different layouts and options available that represents your business and brand .
And that is it for today's tutorial .
I hope you now have a clear understanding on how to make a free website using Google sites .
Let me know if you found this tutorial helpful and if you have any questions , make sure to leave them down below .
And with that said , thank you for watching .

If you've got value out of this video , make sure you hit the thumbs up , subscribe and I will see you in the next video .
Take care .
Are you looking for a way to reach a wider audience and get more views on your videos?
Our innovative video to text transcribing service can help you do just that.
We provide accurate transcriptions of your videos along with visual content that will help you attract new viewers and keep them engaged. Plus, our data analytics and ad campaign tools can help you monetize your content and maximize your revenue.
Let's partner up and take your video content to the next level!
Contact us today to learn more.