https://www.youtube.com/watch?v=wnQPuyce7fc
How To Draw - REALISTIC FACIAL HAIR with Pencil - TUTORIAL
Hello , everyone , and welcome to another realistic drawing tutorial .
In this one , we are going to be focusing on facial hair .
It's something that a lot of people struggle to draw , so hopefully this video will explain and share the process and techniques that I tend to use .
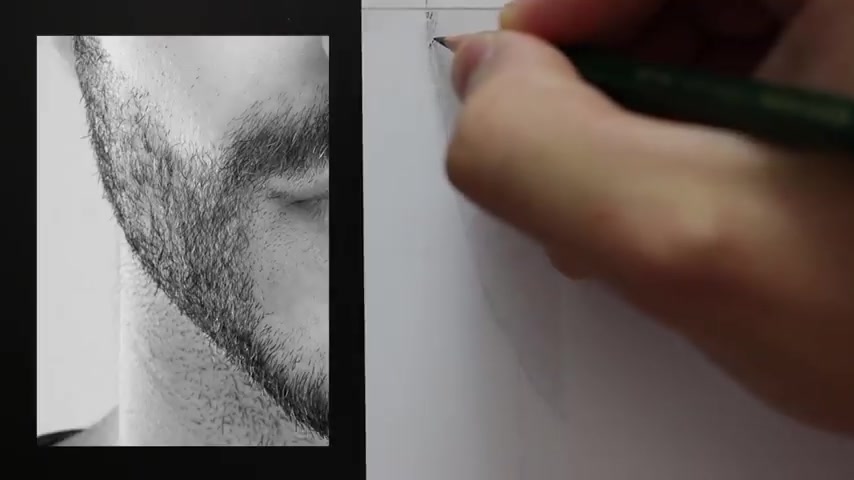
I'm going to be using this reference image here of this guy because it's a good example to use for the facial hair .
There's a lot of detail in this image , especially so we will hopefully be able to create that same effect in our drawing .
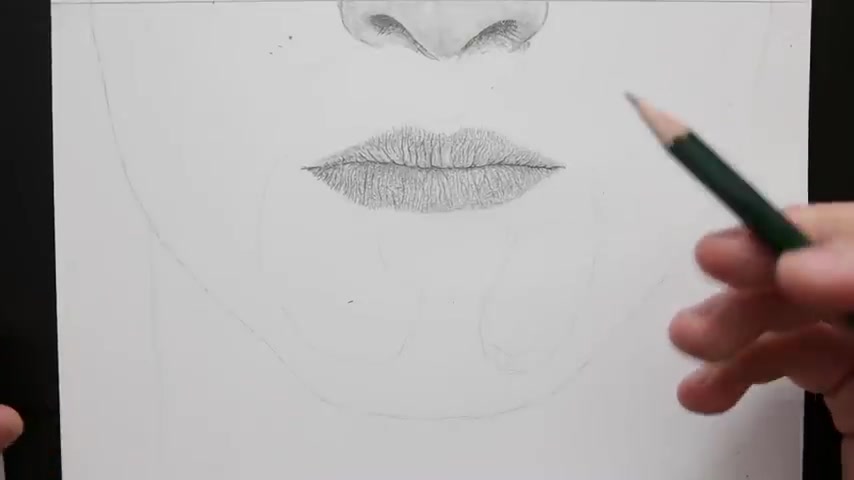
So I've already sketched out a lot of surrounding elements here .
I also did a short tutorial on drawing these lips .
If you want to go watch that first , I'll put a link in the description .
But if you are here just to see how to draw the facial hair , that's all right , because we are going to get straight into that now .
So first of all , we start by creating a base layer , and this is real simple because it's just some basic pencil turns that we lay down before we draw over it .
So don't worry too much about what this looks like .
There's not much of a skin texture to worry about .
It's more or less just creating this smooth finish so that we can then work on top of it .
Also using a B blending stump and blending these pencil marks will help give that smooth effect .
I also just want to give a heads up that I'll be commentating over a lot of this drawing whilst it's in time lapse .
In some areas , I will include some real time footage , but because we are looking at such a time consuming technique to draw the facial hair , it just wouldn't be practical to have it all in real time .
So finally , once that is done , we can jump straight into drawing the facial hair .
Now it's worth me saying it's one of the most tedious things to draw .
You need a lot of patience , and you also need to study what it is you are drawing .
And yes , by the way , sometimes we do have to draw each hair individually .
We are drawing what we see in regards to the reference image .
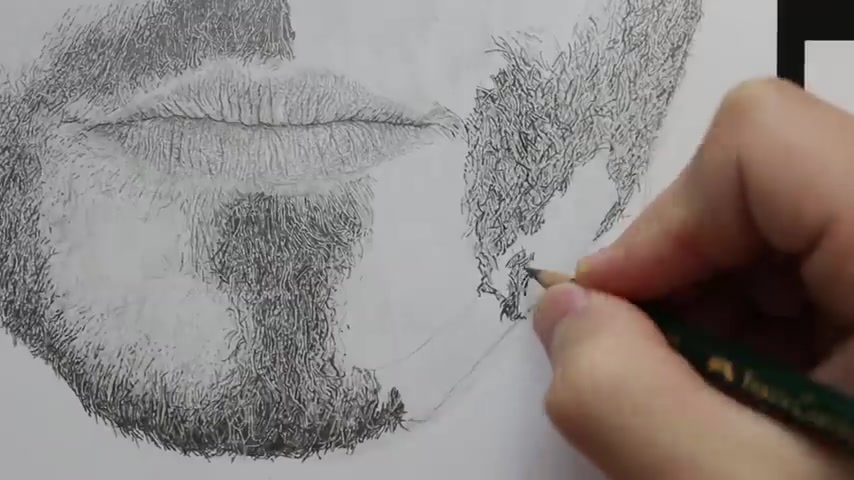
So take a very sharp pencil , and it's always it is important to keep the pencil sharp .
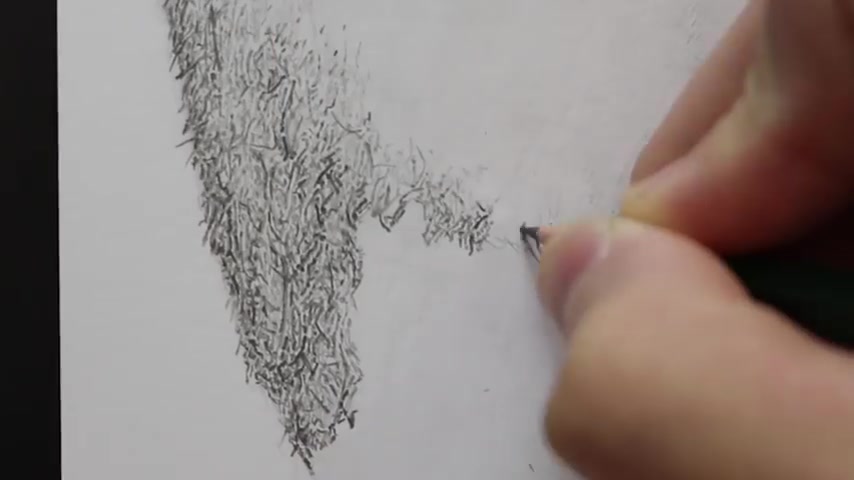
I'm going to start from this left side because I'm right handed so I can work my way along without smudging the drawing .
I'm slowly observing the reference and creating these very fine and sharp marks .
I'm using a two B here , by the way , because the hairs we are drawing do need to be dark and stand out from that base layer that we previously created .
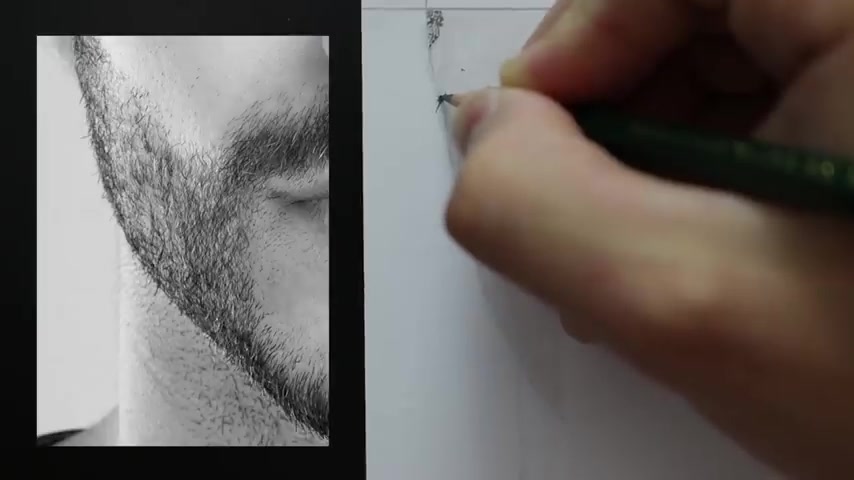
The thing about facial hair and likewise with this image that we are using as a reference , is that you can get parts that are really close together and it almost appears as a solid shade .
And then we have parts where the hairs are more separate and we see more of the skin coming through underneath that , it's not always the case , but a lot of the time you see that , so just take it into consideration as you go along with the drawing .
So I'm going to speed it up a little bit here , nothing too fast so that you can still follow along and see what I'm doing .
OK , this is speeded up pretty fast .
I might have lied a little bit , but I'll show some real time footage in a second .
I've also got a section of our reference image on screen here so you can see what it is I'm drawing .
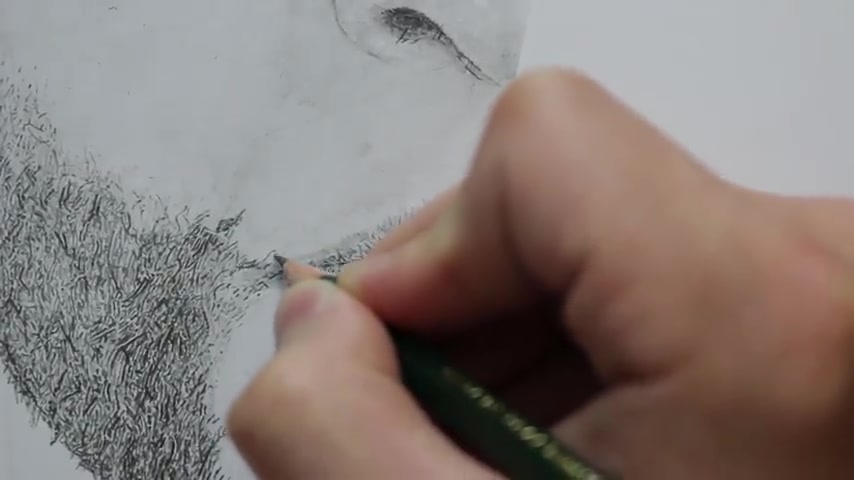
I'm just taking my time and creating small marks for each hair .
You do need a lot of patience .
There's probably quicker techniques out there , but this is usually my process when I create realistic drawings like this .
So let me go ahead right now and put this in real time so you can see how mind numbingly boring it would be to watch the whole tutorial at this speed .
But you can see how slow of a process it actually is if you want it to appear as the image you had writing .
Obviously , I can't keep it this speed forever , and I don't want you falling asleep , so I'll go ahead and put this back into time lapse in a second , you can probably see that what I'm creating here is more of a texture made up of all these different marks and small lines .
It might not appear exactly like the reference image , but it still gives the impression of facial hair .
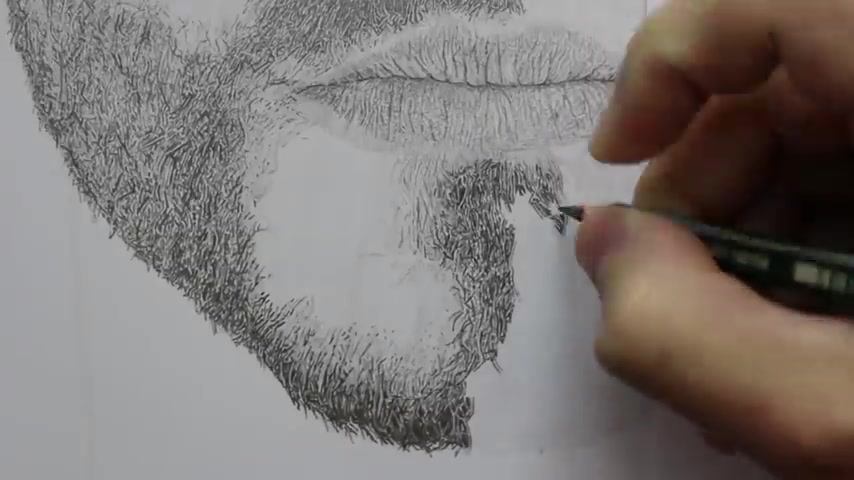
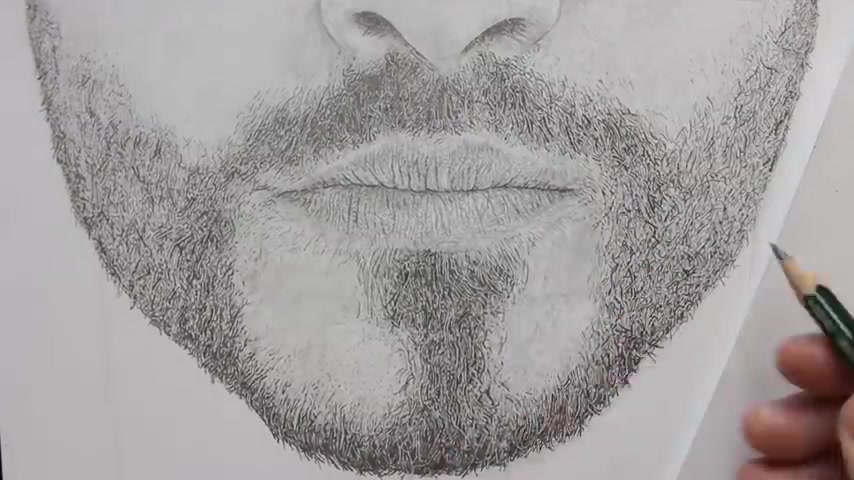
In some areas , I create darker lines along with the lighter areas , so now we have this sad drawn in and I'm going to start with the moustache .
It's worth noticing that this is a lot darker on the left hand side compared to the right , and here we start to see some lighter strands of hair that really stand out and create those highlights .
So whilst I'm still using this two B pencil , I try to draw around where one of them white strands of hair would be and leave it exposed .
However , I'm just creating and drawing in all of these hairs and again in some areas there's a lot together , and it just creates a solid mege of shade where there isn't really much detail .
So I'm going to work this moustache up towards the underneath of the nose right now , and then we can move on to the bottom section of the beard .

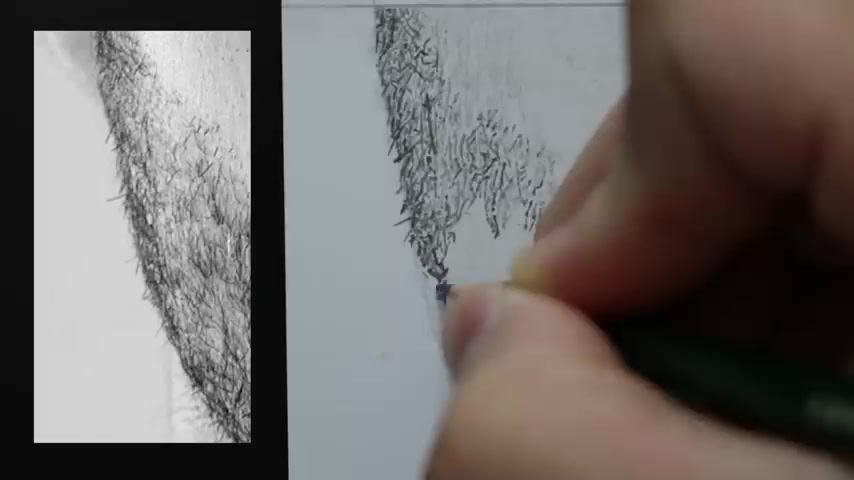
OK , so this lower section of the beard where the chin is , it's a lot darker than anywhere else on the facial hair , so I'm going to switch to a softer pencil but still have it really sharp .
I'm using a five B and I'm creating those darker areas , and on this part you don't have to worry too much about each strand of hair because we have it all Meg together again .
But what we do need to consider is the lighter hairs that still show up .
So like we did with the moustache , try and draw around them , and then we will come back to it at the end and create any of the hairs that we might have missed .
I'm applying more pressure with the pencil to create the darker lines for the darker areas of the beard .
At the bottom , it's almost like an arrangement of lines of all different sizes , so that it appears really detailed .
I think in all the drawings that I tend to create , I mainly focus on creating textures that give those realistic qualities .
And even though it looks really intricate , it's really just a simple process .
Once you get used to making the marks with the pencil and placing them in the right places by observing the reference image .
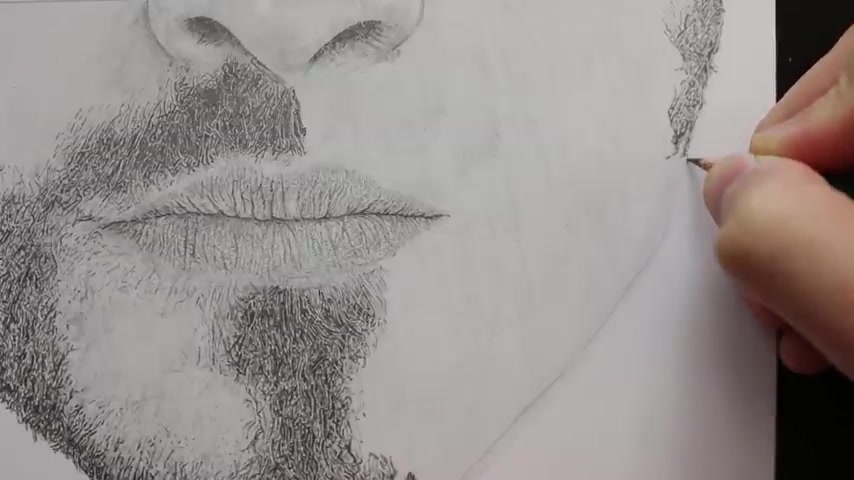
So we're making progress and now that this area is done , we can start on the right side of the cheek and it's really just the same process as the left .
So I'll go ahead and speed this up again , and then we can finally finish with this right side of the moustache .
A lot of the time , you'll find that you don't have to create small lands for the hairs .
You'll sometimes be creating small , different looking marks with the pencil , and this is just because it's how it appears on the reference .
So I'm speeding this up a lot right now .
I think at this point in the drawing , I was about eight hours into it , so that's a lot of footage to break down into a video like this .
I tried to keep it simple and to the point and explain the process and the technique .
I am also going to be doing some long form content in the future .
I have a lot of ideas for videos that I want to create .
Also , if you have any questions , just leave a comment and I'll get back to you .
And I know that sometimes this style of drawing can be overwhelming .
But right now , as usual , I'm just creating that hair texture that's built up by creating all these different lines of individual hair .
So I'm using fibre castle pencils .
They're really good .
I always make sure I'm keeping the pencil sharp so I can get those thin lines .
You really don't want to be drawing hair with a blunt pencil because then you just get thicker lines that won't look anything like hair .
So let's watch this play out and then we can finish off the other side of the moustache .
So we are finishing off this moustache , and when I've done all this facial hair , I like to sort of step back a little bit and review the whole drawing in comparison with the reference image the majority of the time .
It doesn't look 100% like the photograph , but it does give off a result that appears realistic and that I'm happy with .
Also , whilst I'm reviewing the drawing , I sometimes take in a razor and create some highlights .
I'll just touch some areas with the pencil and make them darker .
So finally , that pretty much concludes this realistic drawing tutorial .
I hope you've found this one useful .
I have a lot more tutorials on my channel and more drawing related content that will appeal to anyone who is passionate about being creative .
So feel free to subscribe .
If you're interested in that sort of stuff .
And with that being said , thank you for watching and I'll see you in the next video .
Are you looking for a way to reach a wider audience and get more views on your videos?
Our innovative video to text transcribing service can help you do just that.
We provide accurate transcriptions of your videos along with visual content that will help you attract new viewers and keep them engaged. Plus, our data analytics and ad campaign tools can help you monetize your content and maximize your revenue.
Let's partner up and take your video content to the next level!
Contact us today to learn more.