https://www.youtube.com/watch?v=YtcalLL_8pM
Make an Acrylic Cake Topper with the Cricut Maker
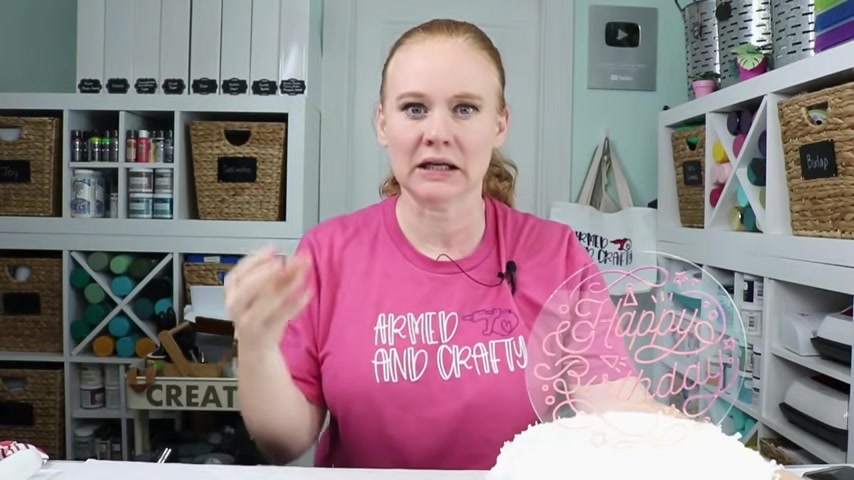
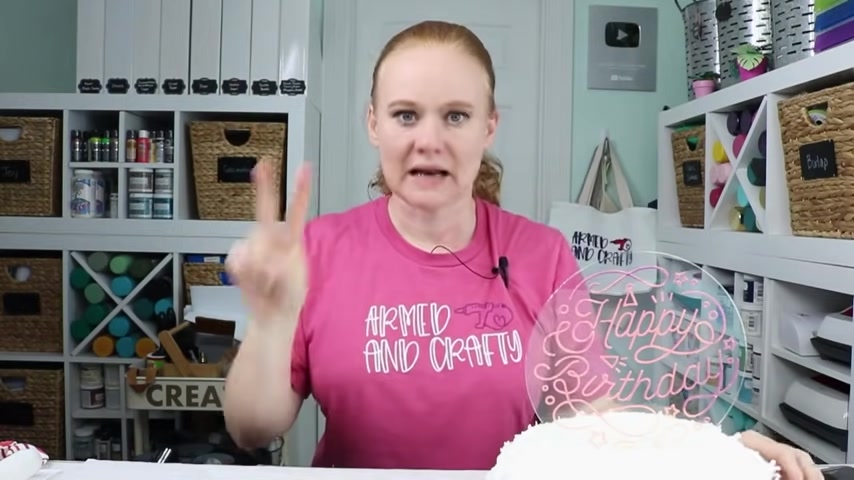
Hello and welcome .
My name's Angie Holden and I'm the blogger behind the country sheet cottage .
So I have gotten a ton of questions .
So several years ago , I did a video about cutting like thin acrylic plastic or plastic sheets with your cricket maker .
And on that video , question after question after question about , can you make acrylic cake toppers ?
So today I'm tackling that question and I'm making some cute little plastic cake toppers .
So we're gonna start out , we're gonna talk about cutting the plastic .
I'm even gonna walk through design space and how to design these .
So you don't have to do this happy Birthday version and I have a couple more versions , I'm gonna show you .
So this one says celebrate and then I did like a clear plastic one that just says yay , you can also paint the back of these .
Not a problem , but I will show you like the design steps in cricket design space so you can design your own cake topper .
So whatever events you have coming up , design a cute cake topper for it .
So let's dive in , let's look at supplies you're gonna need how to design the cake toppers and then how to finish them , make them and even add vinyl to the front .
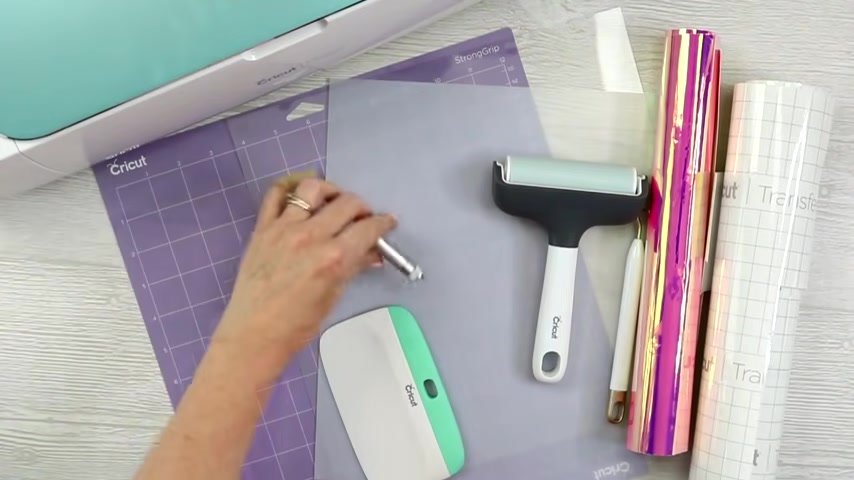
The supplies you're gonna need are as follows .
So you'll need your cricket maker with the knife blade to cut the acrylic .
And then for the , the front of those , I'm gonna use some adhesive vinyl and this is a pink holographic adhesive vinyl and I'll link to everything below .
So you can see just where I pick this up .
All right .
And then you'll need a weeding tool and a scraper .
I do recommend a brayer and some transfer tape .
I prefer the cricket brand for this so that I don't um get any like adhesive residue on the plastic itself .
OK ?
So you'll need a strong grip mat .
And then for the acrylic I'm using like this plastic sheeting , I'll link to where I get it on Amazon below .
There are a few different varieties that you can pick up .
This is the one I've had the best luck cutting .
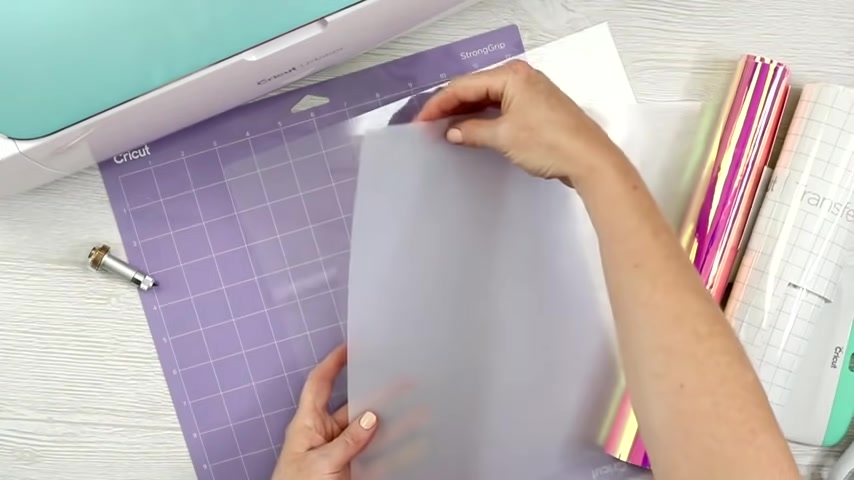
So this is a 0.020 thick sheet .
And it's the thickest that I usually cut with my maker .
It comes in sheets that look like this one .
So it looks opaque because there's a protective film on both sides .
But when you remove that film , it will be 100% completely clear .
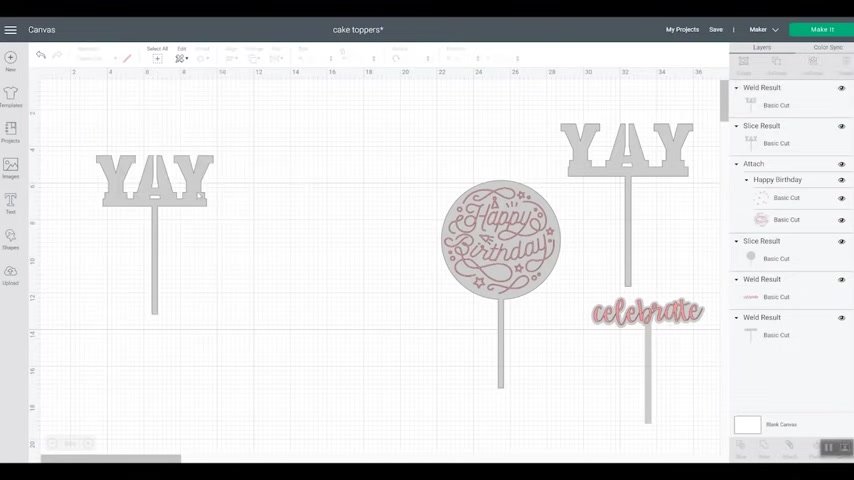
So first let's take a look at designing our cake topper , then we'll jump in cut our acrylic , cut our vinyl and assemble everything all right .
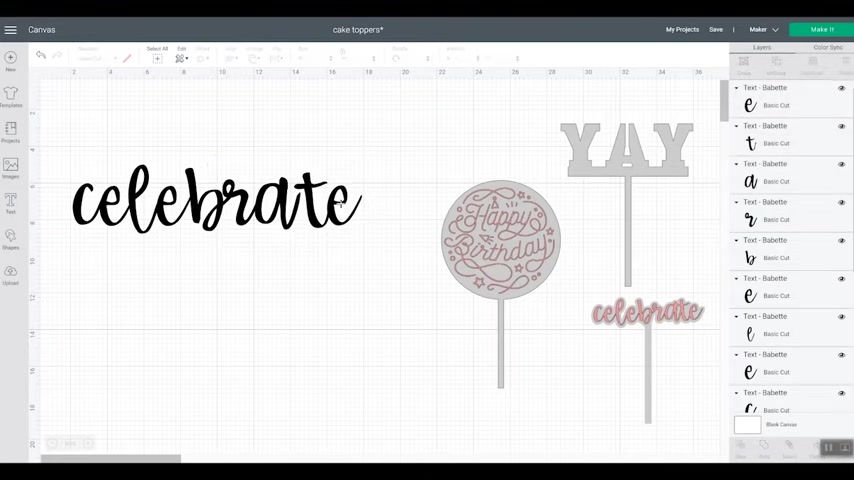
So let's take a look at designing each of these kite toppers .
So I have them over here to the side .
So we can see our goal .
I do also want you to make sure that cricket design space is set to maker and not any other machine .
Then let's start with the one with the image .
So what I did was search images for birthday .
Now , you could search for anything you could import an SVG file .
This part would be completely up to you .

I just found something that I thought would look good on top of a cake .
So once I found that I just inserted it in and you can resize it to whatever size you would like .
So I'm going to make my cake tupper itself about six inches in diameter .
So I'm gonna make this a little less and then we'll make a circle and we will make it six inches and see if we like that .
And you will want to make all the pieces you're gonna cut from the plastic , the same color and you can also click a , arrange it , click , send it back .
So you can see more of what it's gonna look like .
So something it it needs to change , either the circle can change or the design , but that was a little large for the circle .
So that looks good , right ?
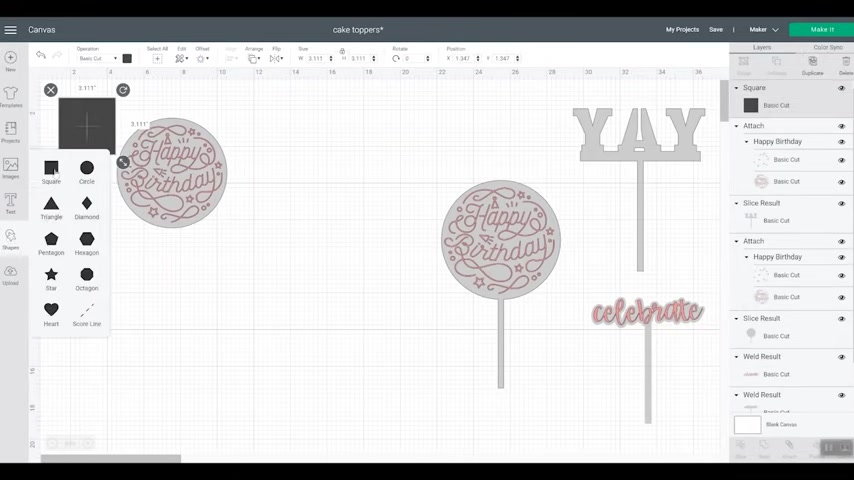
The other thing we're gonna need is something to stick it in our cake and all I did was use a square shape for that click unlock and drag it to where it's fairly thin , like a little over a quarter of an inch .
And as long as you need it to be , you can like trim that with scissors later after you cut it , it's not a big deal .
So we're gonna pick both of these at this point and we're gonna do a line and center horizontally that puts the square in the center of the circle and with them both picked , we're gonna click weld .
Now that's one piece that you can cut out of your plastic and again , you can arrange , send it back to get a better idea of how it will look and it looks like the perfect cake topper to me .
Now , you can make this with any design that you would like .
Not the happy birthday .
You can also make it any size that you would like .
So I'm gonna just get rid of those and we'll go to the next one and let's do this one here with the lettering .
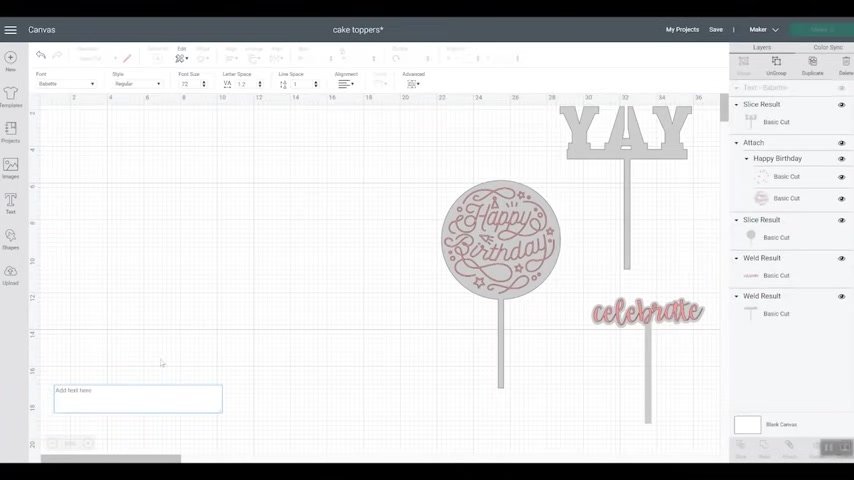
So we're gonna add some text and I'm gonna make it say yay again , anything that you want it to say is fine and we need a stencil font .
Why do we need a stencil font ?
Because if we were to cut the word ya out of a regular font , the center of a would be missing .
So we would not have that center if you want that look .
That's fine .
But what I like to do is search .
So I'm on Cricket fonts and I'm gonna search for Stencil .
You can also find Stencil fonts um at various places online and then just pick one that you like .
And I don't even remember which one I picked the first time .
So we'll just pick some random font .
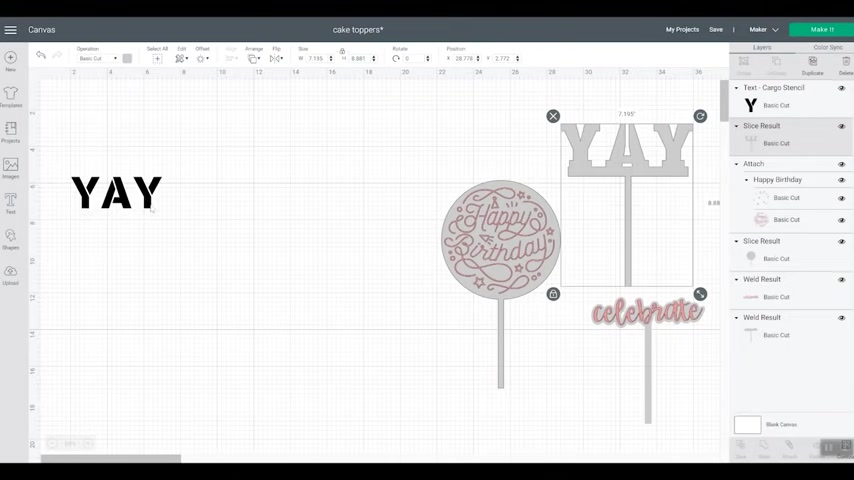
And so what you're looking for like this version , when I attach them all to the bottom bar , they would all stay in place if I was to do that with this font , these wipe pieces , these upper pieces would not make it because they wouldn't be attached to the cake tupper .
So I need a different stencil font .
So basically , you're looking for a font that will work with this special case scenario .
And I think this is the one I chose in the first place .
So it's called Authentic Stencil Calm Black .
And what you're gonna do is make this word first , whatever size you want it to be .
So , and I think I might move the letters a little closer together .
Yeah , let's move the letters a little closer together .
So that looks a little better and then we can make it a little bigger and that looks pretty good .
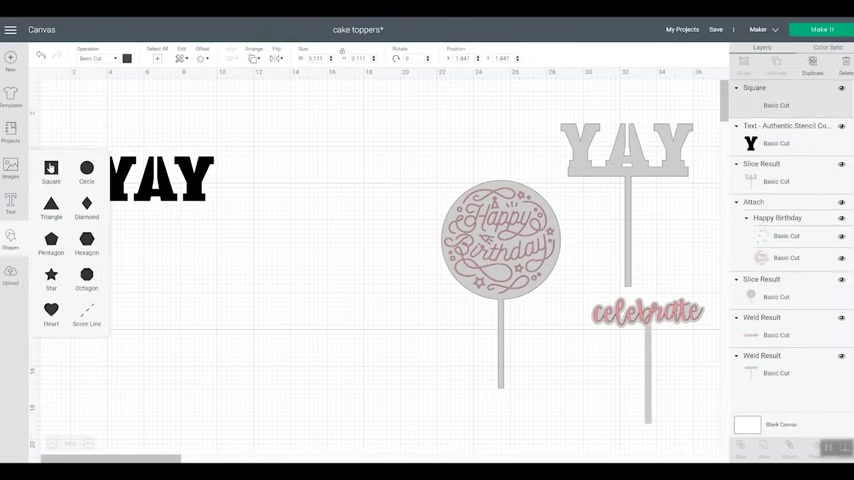
So now we need two squares , one to put the letters on .
So again , we're gonna unlock and we're gonna make it not like that .
We'll move it over to here looks pretty good .
We might move it down just a little bit and we'll click both .
Let's weld that together and make sure it looks ok .
So that looks pretty good .
And now we need a second square to stick into our cake .
So the first square holds all your letters together and the second will be able to put that in your cake and the size of these isn't completely important .
So then we'll pick both of these align center horizontally , weld it together .
And now we want to make sure once again that we change all the plastic pieces to the same color .
And there you have your second cake topper .
So there's another option for making a cake topper .
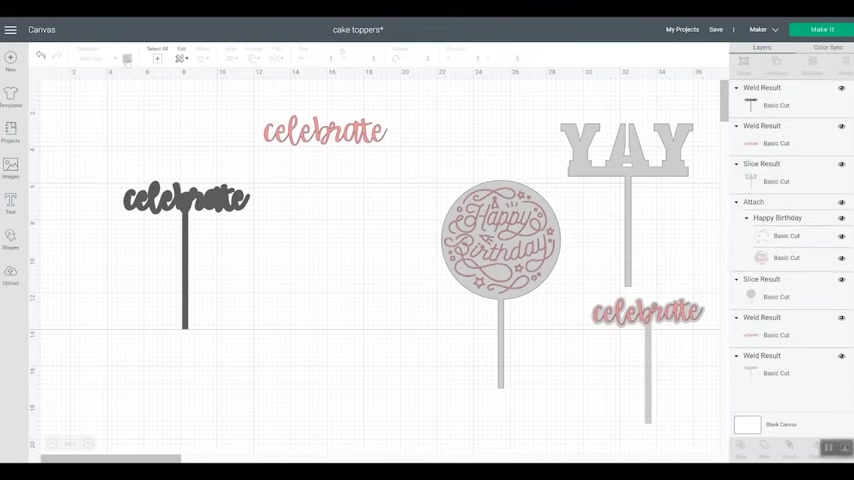
So now let's look at our third option .
Our third option uses the offset function .
So we're gonna add some text we're gonna celebrate and I used Babette as my font again , whatever font you would like to use .
Let me just go ahead and search because I know that's what I used .
So we can change it to babe and then can change the letter spacing , but it's not going to get it perfect .
So let me make this a little bigger so we can see .
So it is not going to make it perfect doing it that way .
So what I did was I ungrip the letters and then I just moved them closer together as I thought it needed it .
So I did not like the way that bar looked and I made the tea closer and then once like , OK , I'm happy with this .
We're gonna choose all the letters and we're gonna do weld .
So now we have one single piece and now I can make it kind of the size I want for my cake topper .
And then we're gonna do offset and I liked a 0.1 with the rounded corners and we can click apply .
So that looks really good .
And now I'm gonna move my word off and because this is gonna be cut out of vinyl , I'm gonna make it out of the same pink vinyl .
And then this one needs a square just like the other two to insert it into our cake and we'll connect that there .
Now , this one I'll try centering it up .
Yeah .
So if I center it up , it's not going to be just exactly right on that be .
So I'll probably just off center it just a little bit so that it kind of gets perfectly in the center of that be because it will work better and then we'll pick them both weld , change it to the color of our plastic pieces and we can move that to the back , put this over the top to get an idea of how to look .
And we are ready to cut three different cake toppers .
So hopefully that helps show you how to make your own cake toppers for whatever event you may be hosting .
So let's take a look at cutting the acrylic .
So the first thing I'm gonna do is the acrylic comes with a protective film and you'll definitely want to remove it on the side that goes against the mat .
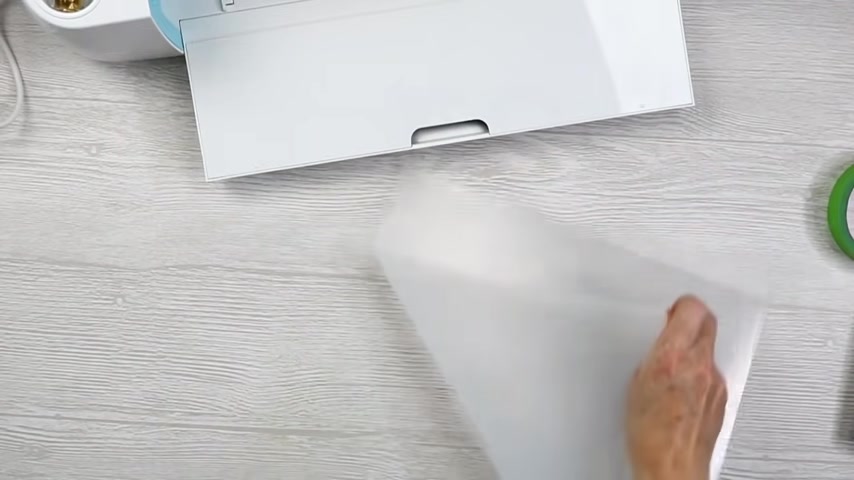
However , I am gonna remove it on both sides just so the cricket does not have to cut through it .
And I've moved my Star wheels all the way over to one side .
So I don't think it will , it will get scratched .
And then I have a strong grip mat and we're just gonna put the acrylic right on that mat .
And what you wanna do is get it down really well .
So I recommend the Brayer for that .
You just wanna press it down all over .
And then if you would like for some extra assurance , I'm gonna go ahead and run some painters tape around this outside edge , right ?
So I have my knife blade installed and I picked heavy chipboard as my setting .
Now , I may not need all the passes for the heavy chipboard .
So you want to watch it when you cut acrylic , you want to watch super carefully .
And you can see , I added painter's tape all the way along the outside edges .
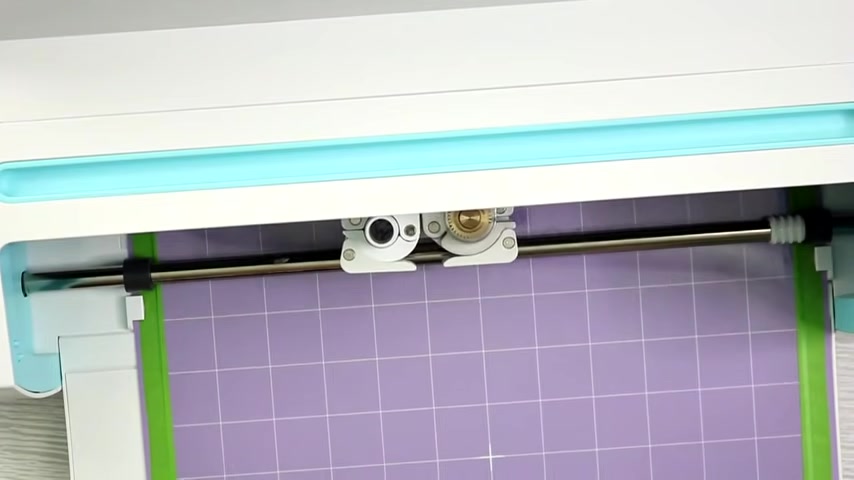
And now I'm just going to press my C to start my cut .
Then once your machine is done cutting , you can remove the mat from your machine and then you can start removing your pieces .
So I just watched this and it was done in about like 16 passes .
Just watch it once it's done , the curved areas will cut last .
So be sure to check the curved areas and then you can remove the pieces from your machine and then just remove the pieces from your mat .
Sometimes it's easier to turn your mat over .
And so I have a couple of different , um , types of cake choppers and I'm gonna cut some vinyl to go with a couple of these and then we'll take a look at putting these together .
OK .

So at this point , your pieces are cut , you can do whatever you want to them .
So you can paint the back .
I'm gonna add vinyl to a couple of them .
This one , I'm just gonna leave the regular plain color um of just the acrylic just to see what it looks like like in photos .
But you could definitely add some paint to the back of these , just customize however you would like .
So for adding the vinyl .
So I cut my pink color graphic vinyl on my cricket just with my fine point blade .
And then I , we did everything .
So we did all the excess away and then we'll just pick this up .
So I do like to use the cricket brand of transfer tape for this .
So you just want to transfer tape that won't leave any residue on this acrylic because it's clear .
Um So I , I like to use like just the duck brand shelf liner from Walmart a lot .
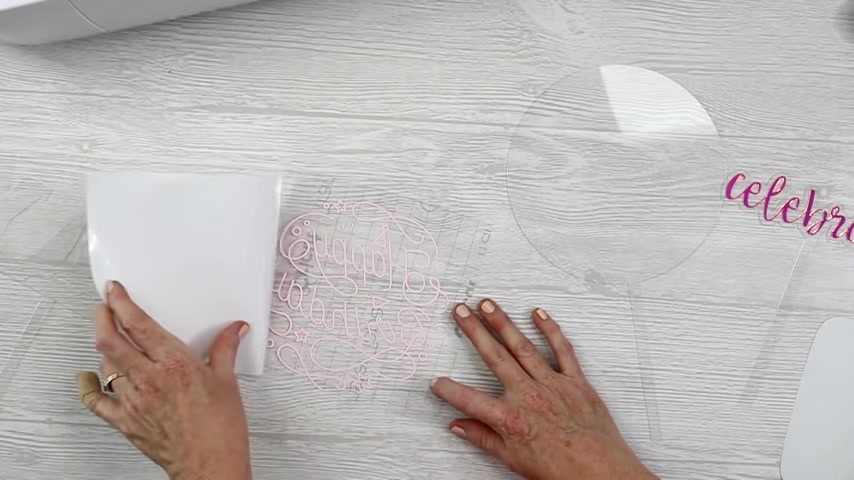
But it does tend to leave a residue sometimes , especially if you leave it a while .
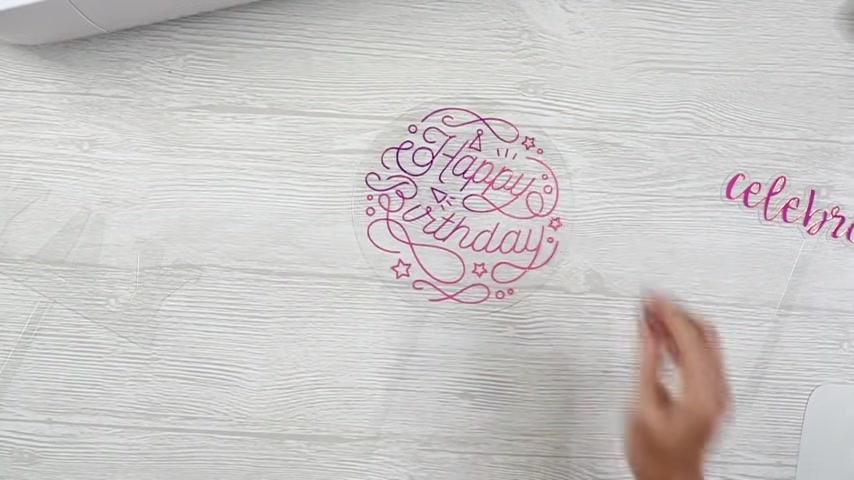
So I tend to avoid it for projects like this and I just go for the more expensive option just so I don't have any residue on my project and then we'll just locate .
So this is Happy Birthday again , I would just make these for whatever event you like with whatever colors you like .
And I'll just stick that down and pull up the transfer tape , leaving that vinyl on our acrylic piece and all that's left to do at this point is add this to a cake .
So this is 100% ready to be added to a cake and you can start celebrating the birthday or whatever other event right away .
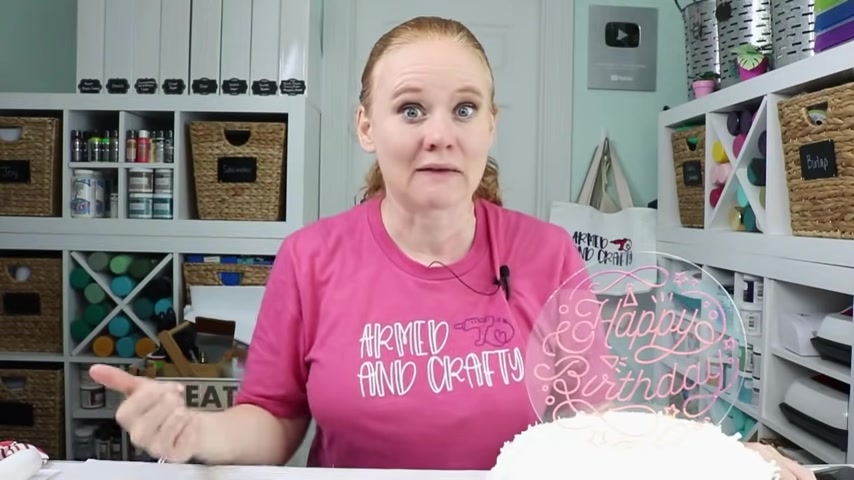
So you can see how easy it is to make an acrylic cake topper .
So let's put this in a cake and take a look at it .
All right .
So while these are like , they're not super thick acrylic .
So standing on their own like if I was to hold it from the end , it would probably be a little wobbly .
But once you get it in this cake , it is gonna hold it pretty securely .
So you just want to insert it into the cake and I like to go pretty deep with it .
So that is my acrylic cake topper with my holographic vinyl on the top .
Now you can do this with any of the ones I design or make up your own .
All right , so I did wanna point out so I inserted to celebrate on the video .
Couple of things .
First of all , if you make the stick too long , so your cake isn't as tall as you thought it was just grab a piece of scissors and you can literally just snip it off to the whatever length you want and change the length .
Second thing , the larger the cake topper , the more likely it is like this is really thin plastic , the more likely it is to try to fall over .
So like on this version , I had to stick it further down in the cake so that the bottom of the cake topper is in the cake just a little bit to help hold it straight up .
And so it looks good and doesn't like look floppy in the cake .
So just a couple of things .
So you might want to , you know , not make yours as large .
That's the first option or the second option would be to push it down a little bit further into the cake so that it's not flopping around if that makes sense , this is super thin little plastic sheets .
But if you want the look of an acrylic cake topper are out of time .
Have your cricket maker in the knife blade just make your own , think they look amazing and will look amazing at your next event .
So I hope this helped you .
Hope you learned all about how to make your own acrylic cake topper for every event .
If you did , please give us a thumbs up .
If you haven't already hit over to youtube channel , hit that subscribe button .
We have videos like this every single week about your cricket machine and you don't want to miss any of those .
If you have any questions about anything , we've covered , drop down in the comment section and ask away until next week .
I'll see you next time .
Bye bye .
Are you looking for a way to reach a wider audience and get more views on your videos?
Our innovative video to text transcribing service can help you do just that.
We provide accurate transcriptions of your videos along with visual content that will help you attract new viewers and keep them engaged. Plus, our data analytics and ad campaign tools can help you monetize your content and maximize your revenue.
Let's partner up and take your video content to the next level!
Contact us today to learn more.