https://www.youtube.com/watch?v=H8ugju_dNIA
EASY WAY to Draw Faces at ANY ANGLE! (Face Drawing Tutorial #2)
Hello , everyone .
Welcome back to my channel .
I'm the Buns and I'd like to welcome you to the second tutorial of my face drawing series .
In this video , we're going to be focusing on how to draw heads at any angle using the Luis method .
The Luis face drawing method is something that I covered in my very first tutorial video .
So I'll be posting a link down below in the video description and you guys can check that out if you would like to know the basics .
In any case , I will quickly re summarize the Lummi method for drawing faces as I explain how to use it in different angles .
And then we're going to jump right into two specific examples commonly used uh face angles , for example , the three quarter view and also the profile view .
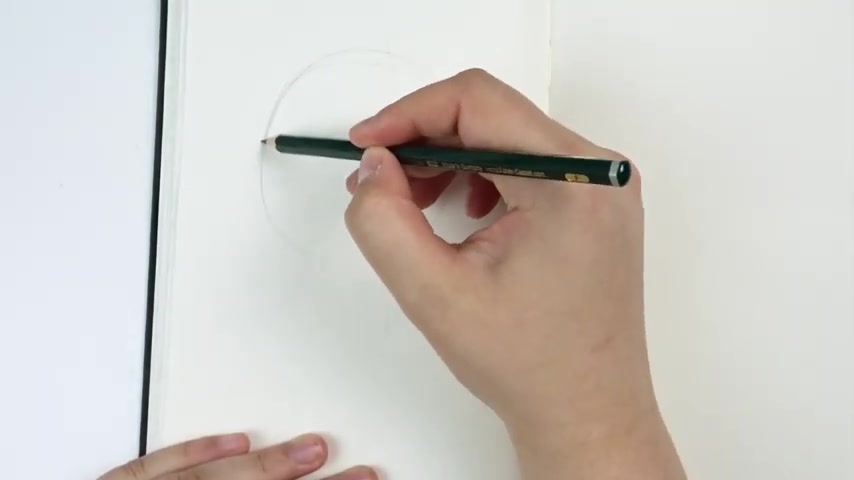
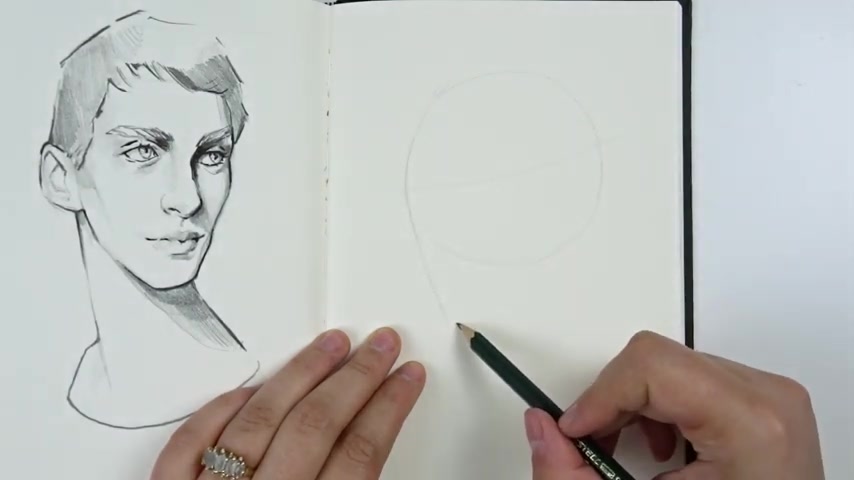
Perhaps one of the most important elements of the Lummi method are the lines that you draw across the circle of the face .
These lines are basically reference lines that provides you with information on where certain facial features would go .
And also it helps determine the overall proportion of the head when drawing faces at any angle , whether it's a character that's looking up at the sky or looking down below or slightly off a center , I guess you can say like in a three quarter view , it's really important to actually remember that these lines exist and actually utilize them to your advantage .
So in this case , one of the most important lines are actually the ones that cross .
So you have a horizontal line that goes across , which indicates where the brows and eyes will go .
And this typically cuts across the circle that you draw .
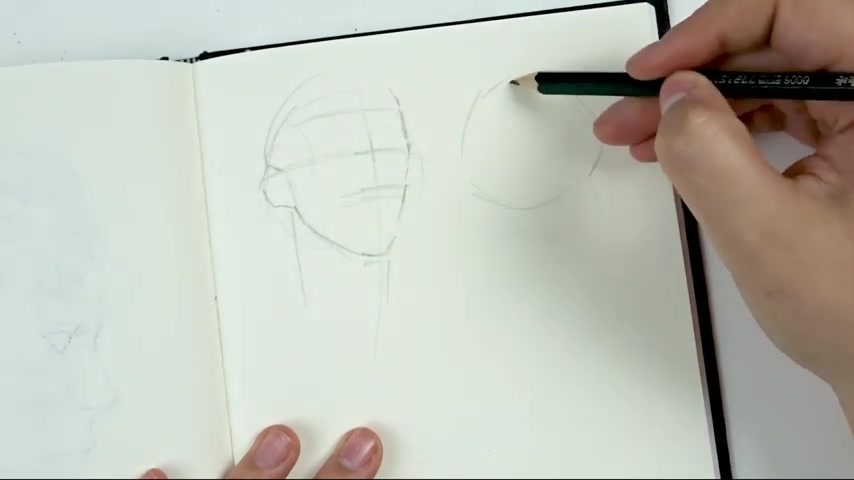
And the second important line is the one that goes vertically and this cuts across the face and uh divides the sphere or the circle into uh two equal pieces and also determines the sort of angle where the character is looking at .
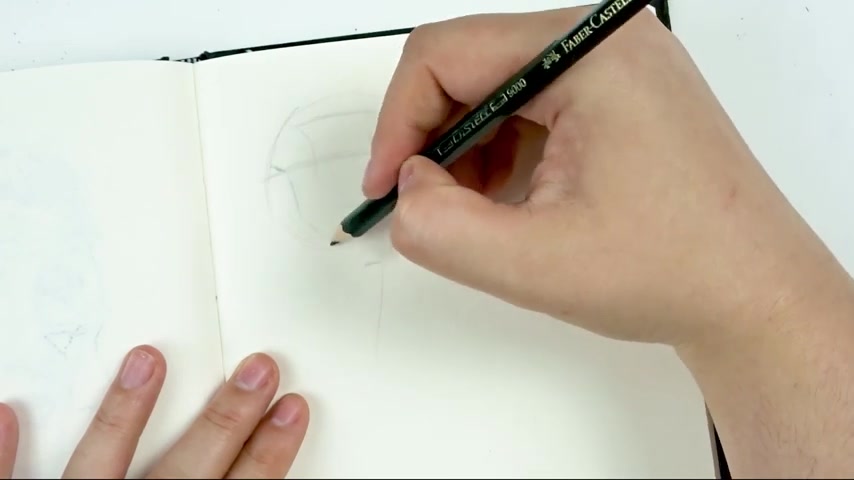
So when I'm drawing faces , I tend to start with a circle and then I go into the vertical line which provides me with the angle and then I go into the horizontal line across which also provides me with whether the character is looking a little bit upwards or downwards .
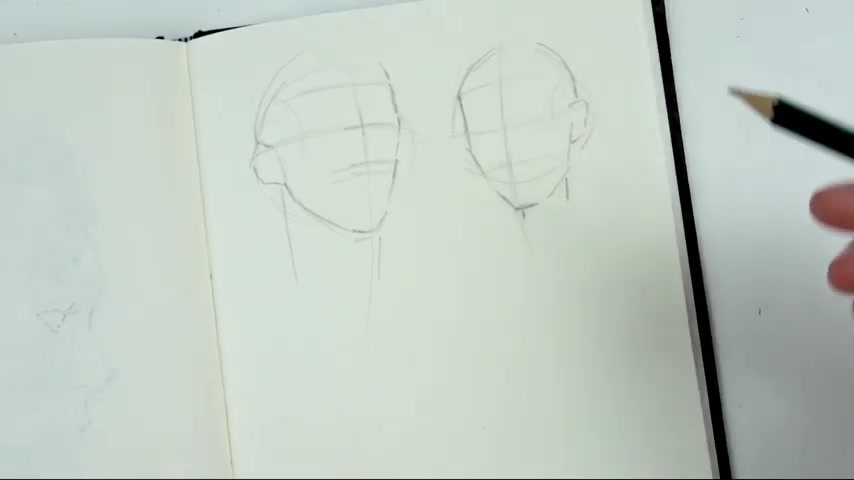
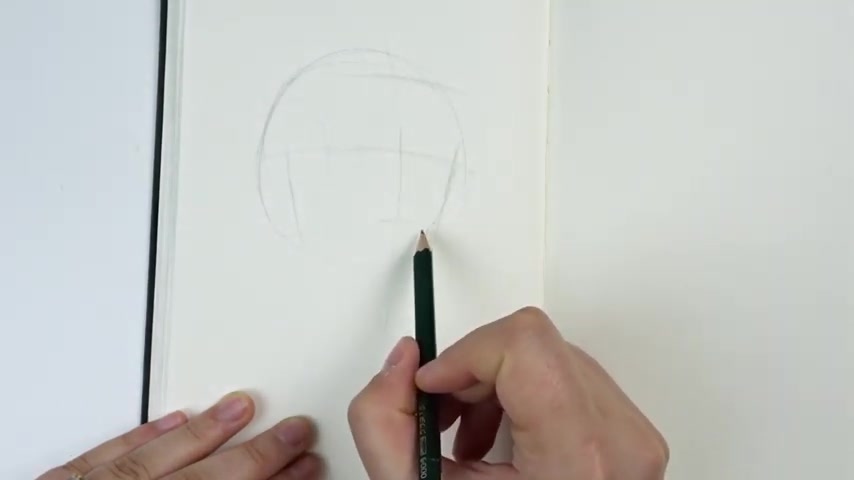
And from then on , I basically map out the rest of the face with the other reference lines .
You've got the hairline , you've got the nose line and you've got the jaw line , something to take into account .
In this case , is actually the side of the face .
So especially when you're drawing in a three quarter view , you have to realize that the circle that you drew should actually be a sphere with a sort of cut off on the side .
When you take a look at the human skull , this , the human skull is not , you know , a circle shape .
It actually has different pains and it has um crevices and especially on the sides of your head , it is more flat .
I'll be covering this flat and bulk concept in the examples that I'll be showing in just a few seconds .
And it's going to make a lot more sense when I'm actually drawing a full sized character .
Oh And by the way , doing this exercise in your sketchbook is an amazing thing that you can do for practice , take some reference photos that you find online , whether it's on Google images or Pinterest or Instagram and find models that you want to draw , try to find unique sort of angles and practice them in your book .
Just draw the basic shape .
Don't worry about the facial features for now , just try to get that sort of head angle and shape and you know , sketch the reference lines and the more you do it , the more you'll get used to it .
And eventually you'll be able to sketch faces without the need of any sort of guides .
They say that the three quarter view is one of the hardest angles to draw .
But to be honest with you , I actually find it , the easiest one .
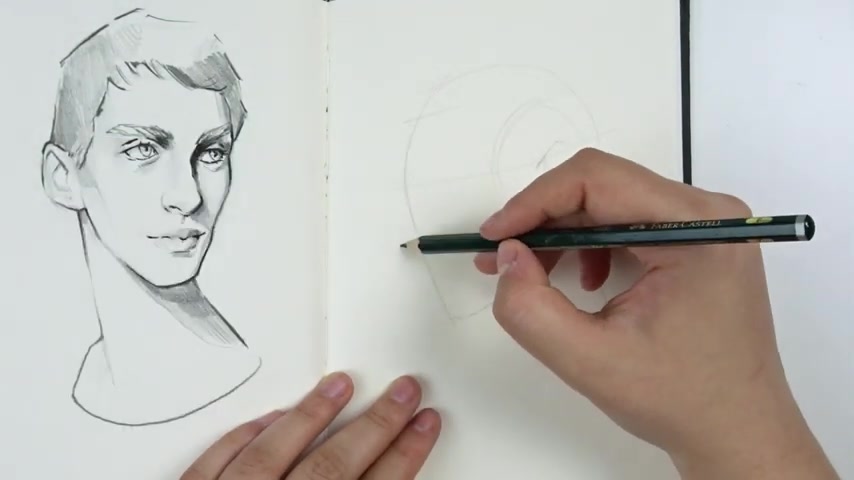
I do struggle a lot more with the front facing view for some reason , not sure why , but in any case , three quarter view , you of course , start with a circle and from that circle , you then divide with your vertical and your horizontal line .
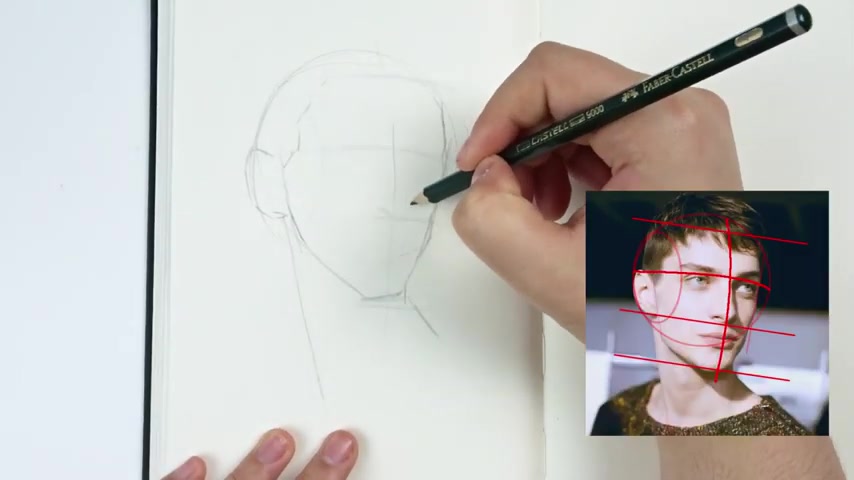
The vertical line indicates where um sort of the angle of the head and the horizontal line indicates the eye level and in which angle the eyes or the head is facing , I'm going to pop up the reference photo here just for you to see exactly sort of how I'm structuring based on the angle of the head with the horizontal and the vertical line from that point on , I do slice off the circle so that it has a flattened side on the sphere .
And this is where you're going to start to play with the angle .
A lot more .
I start to build the sides of the face , so his cheekbones , his jaw , um and then all the way up to his ear and of course , hairline and the sort of slicing off of the sphere is what , what's going to help you build the overall head shape .
Here's another reference photo with this sort of reference guides built in just for you to see exactly what I'm going for here in the three quarter view .
And also the profile view , the side circle that you draw within the overall larger circle is definitely more prominent than in the front facing view of a face .
And this side circle can then help you even further guide where the draw will end and also where the ear will start .
So as I keep drawing , I slowly start to build up the face .
And I'm also looking back at my reference photo a lot and just trying to get those angular shapes down , right , especially for the cheekbones and for the jaw .
And then once I have sort of a frame set in place , I then kind of work on the neck a little bit just to kind of give a little bit more reference or detail to the sketch .
And then I deep dive into the facial features .
When drawing facial features at this angle , you have to be acutely aware that there is an angle to the head and therefore the facial features should sort of flow with that angle .
In the case of the eyes , you , in this case , on the left side or yeah , his left eye should be a little bit higher than his right eye .
And this is sort of just going along with the flow of the horizontal line that I drew .
When you're initially drawing your line , it does help if you curve them a little bit um especially for the horizontal and vertical , just to kind of see exactly where your facial features will go .
And in sort of which direction should they flow in ?
Same goes with the mouth , the mouth should be at a little bit of an angle .
Um and the ear as well in terms of how to draw eyes , noses and lips .
And again , I just wanna kind of restate that I will be doing a separate video tutorial on this .
So I won't be dwelling on these details for this video .
It's gonna take too long to explain .
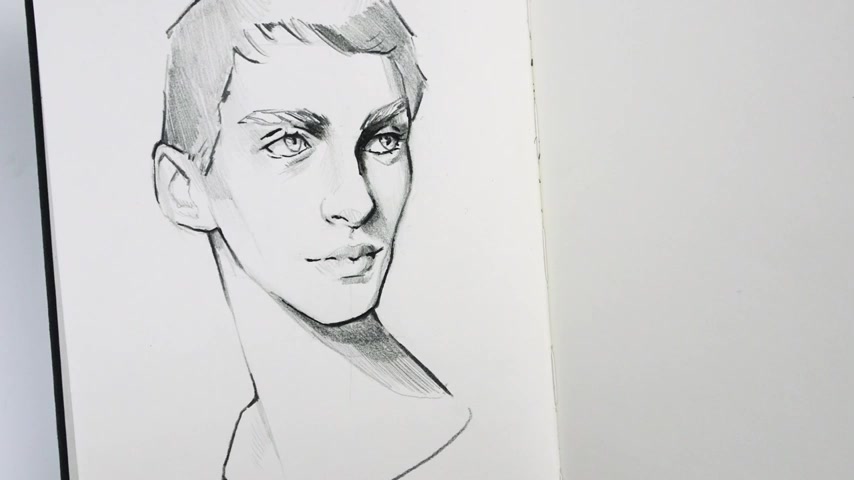
So I'm going to separate this topic up into multiple videos and after some rough shading and playing along with the thickness of the lines as I typically do , this is sort of the outcome of the sketch .
Um And yeah , this is the three quarter view .
Let's jump into the profile view .
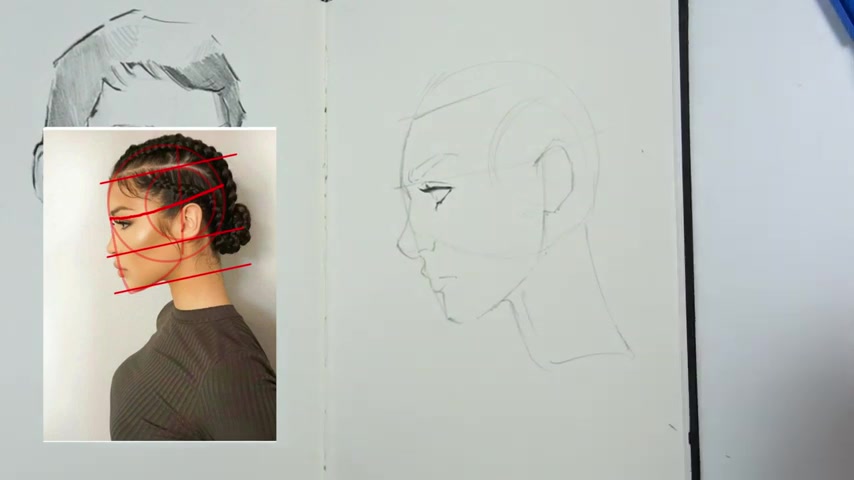
Now , just like everything else we've learned in drawing faces , the profile is no different .
You start off with a circle and then you have your horizontal line to indicate the brow and eye area and you also have your vertical line to indicate the front of the face .
What is a little bit different is that the sort of sliced flatten ball concept of the face drawing method is a lot more apparent in the profile by drawing a second circle that's a little bit smaller inside the larger circle .
This will indicate the sides of the face and also by cutting this circle in half , you will then have a starting point to where the jaw will end .
Here's a reference photo indicating how this is actually built .
The flat and bulk concept is something that you can apply to any angle of your face .
The three quarter view .
We did touch base on it and you could see if you go back to this .
I do um split that little circle into half and this is where I can then start with drawing the jaw .
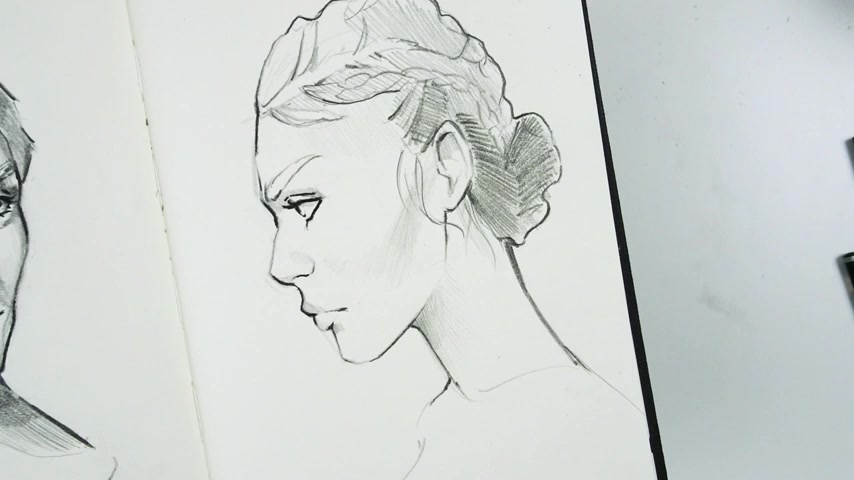
So this does help a lot and actually it does help to give more dimension to the head and produce rather than a flattened shape , something that's a little bit more um spherical in nature and something that resembles the human skull from that point , I then just proceed with the other reference lines with the hairline , with the nose line and with the jaw line and then I start to fill in all of the facial features .
Here's another reference photo where I indicate where these reference lines will appear .
And also you notice based on the angle of the head , the reference lines will also be angled and therefore your facial features should also follow those subtle lines .
And that's basically the technique I think that this technique is an amazing technique that applies for any sort of angle that you're trying to draw a face in .
It definitely works and it definitely helps to um figure out the sort of angles and also the proportions of the face and the more you practice , the better you'll get at it .
So I would definitely recommend in your sketchbooks as a sort of daily exercise or a weekly exercise to just practice drawing different angles using this method .
Um you can practice the same one over and over again until you get better .
And eventually you'll notice that you won't even need to draw the reference lines and you'll just kind of realize how things should appear and how things should go .
But this goes without saying that there are different proportions out there .
Humans don't look alike .
Obviously , this is again , just a rough guide to getting the things started off , right .
Things will be a little bit different .
You can draw characters that have wider jaws , more narrow faces , some characters that have maybe an oval shaped or square face .
Um The noses can be obviously different lengths .
It really depends .
But by using these guides , you can then have a good starting point for everything that you do .
So after some rough sketching and just playing around with the thickness of the lines , this is the final result of the sketch and that's basically everything .
I hope you did learn a lot in this video .
And also I hope you are learning a lot with this tutorial series .
Please let me know in the comments below if you enjoy it .
Um I'll be posting the third tutorial next week and this is actually gonna be facial features .
We're going to start off with the eyes , drawing female and male eyes .
So I quite excited to get to that one .
Then we're going to progress to the nose , the lips , the hair , and then we're going to talk about expressions .
So there's a lot coming to this tutorial series .
Don't forget to subscribe if you want to stay tuned to that and follow um or you know , follow for notifications on when I have a new video that's being posted .
But yeah , I'm excited for this series .
I hope you guys are too and I want to wish you all a fantastic weekend .
We will see each other next week .
Are you looking for a way to reach a wider audience and get more views on your videos?
Our innovative video to text transcribing service can help you do just that.
We provide accurate transcriptions of your videos along with visual content that will help you attract new viewers and keep them engaged. Plus, our data analytics and ad campaign tools can help you monetize your content and maximize your revenue.
Let's partner up and take your video content to the next level!
Contact us today to learn more.