https://www.youtube.com/watch?v=eQT0k7kR2_U
How to apply Fondant to Cake Tutorial

Hey , I'm Liz Merrick today .
I'm gonna show you how to cover your cake in fondant to get those beautiful nice sharp corners .
And I'm gonna use my LMF , which is on my website artisan cake company dot com slash recipes .
And I'm gonna do a kind of a tone down bluish green .
So I'm gonna take a little bit of ivory and a little bit of blue , but you can make your face of your cake , any color you want .
When you first use LMF , I always recommend that you heat this up until it's very , very warm .
That's going to improve the elasticity because it's been sitting , it's very stiff and crumbly right now .
This is not usable .
So you got to put it back on the microwave for 30 to 40 seconds until it's nice and warm .
You want it to be to feel very warm like you just made it and then we're gonna need it until it's stretchy before we even attempt to cover our cake and fond it .
Ok .
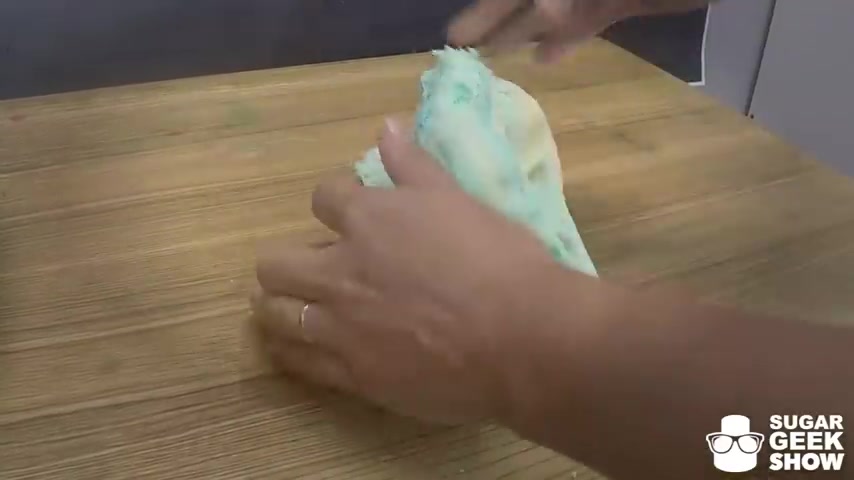
So this was in there for 30 seconds .
It's very warm .
I'm just gonna start needing this .
And at first you see it's very , it's full of pock marts and it's very crumbly and I'm going to do something that's called the Taffy method of needing a little bit of shortening on your hands .
And this is gonna actually help moisturize the fondant as well .
You put one hand here and pull like taffy .
This helps reactivate the stretch and it also helps reduce air bubbles and it's a lot easier to need instead of doing this like this is a lot of work on your back .
So this is more a workout for your arms .
So it counts as your workout for the day as well .
You can see how beautiful and stretchy that is .
Now we want to do that every time .
So fondant that it can appear dry and oily and cracked and crumbly is actually just not conditioned .
We got this beautiful perfect stretchy fondant ready to go .
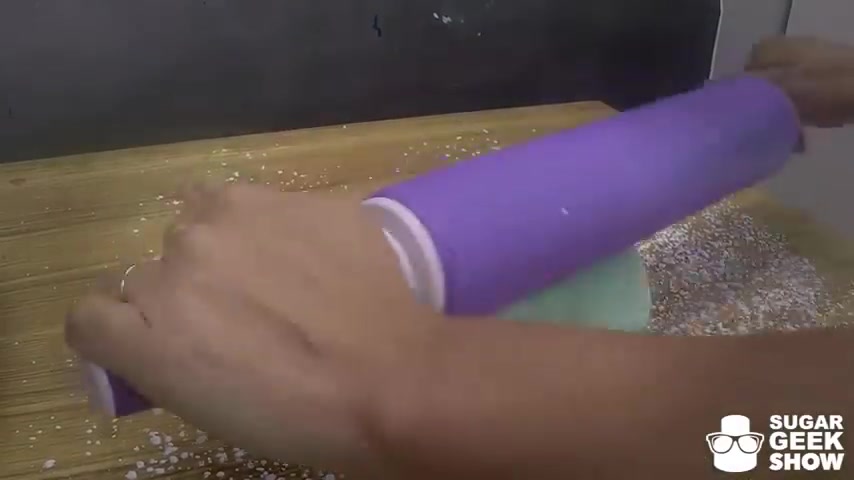
Let's put a little powdered sugar down on the board here .
Take our rolling pin to about eighth of an inch .
Make sure you frequently move your fondant around as you're rolling so that it does not get stuck to the surface of your table .
Put more powdered sugar down if you need it .
Love this sea foam green color .
Take my gnashed cake set it there , make sure you don't have any chocolate on your hands because that will get onto the surface of your fondant and you will cry roll fondant onto your rolling pin just to unroll over .
Make sure we've got enough room all the way around .
We're gonna take our smoother and smooth out the top first .
Now we're going to fluff the dress .
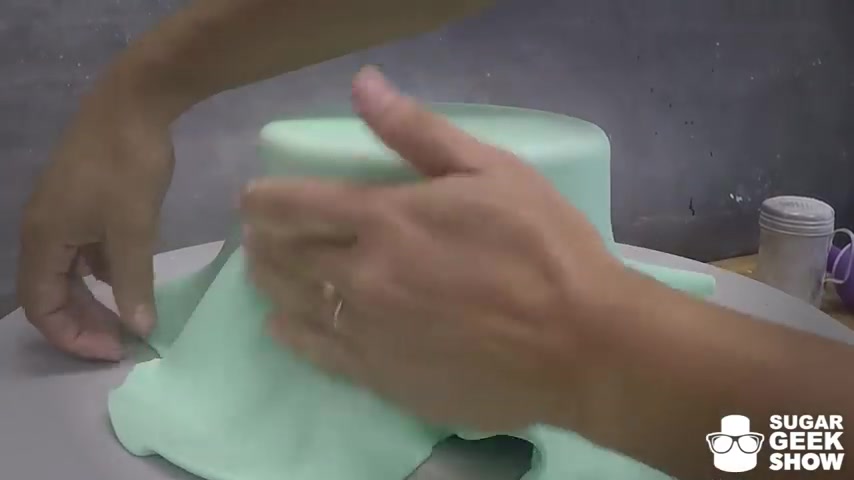
So everywhere where there is a ruffle , you're just gonna pull it out and press against the cake , pull out , press against the cake .
So that's how you do it .
And , and LMF Fondant allows you to kind of take your time and you don't get elephant skin .
It's very forgiving .
So that's why one of the reasons I love using it .
But as you get more advanced , you , you'll be able to do it with one hand like this and you'll go a lot faster .
I'm just going slow for the purpose of showing you guys the technique .
Oh , I forgot to mention if your fondant is not sticking to your age , then you can spray it with a little bit of water before you add your fondant .
Mine doesn't have any problem with sticking .
So I don't usually worry about any of that , but a lot of people do .
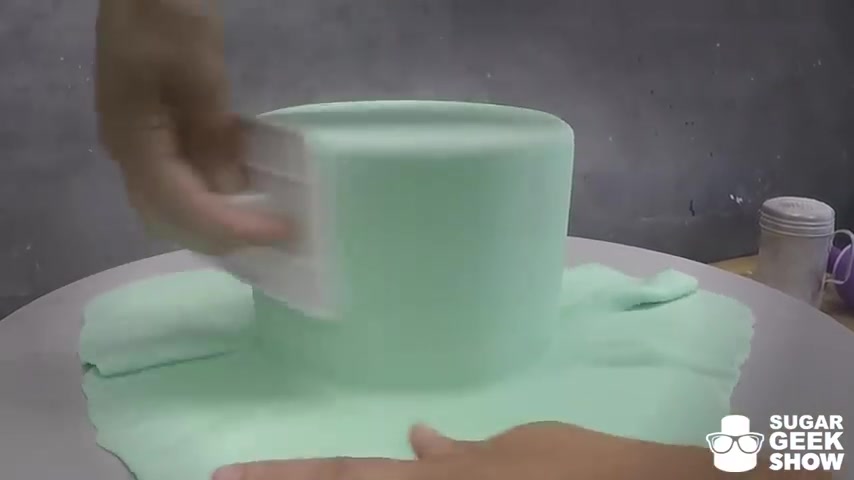
So I'm just gonna go around with my smoother , just smooth out any perfections and get that fondant up against the cake .
I have this special bowl that I like to use for my six inch rounds .
Otherwise I use a cake pan , but this is what I do to finish off my cakes .
This fondant you can keep , use that for later because our cake is chilled .
You can handle it pretty easily .
You can lift it up and put a bowl down or a small object that has a flat surface and a wide base .
So this bowl works out perfectly because it's pretty stable and it's just smaller than a six inch , you know , cake .
So it works out perfectly for this again .
Make sure you don't have any chocolate on your hands .
Take one smoother on top , one smoother on the side .
I'm just gonna go around and push the sides flat .
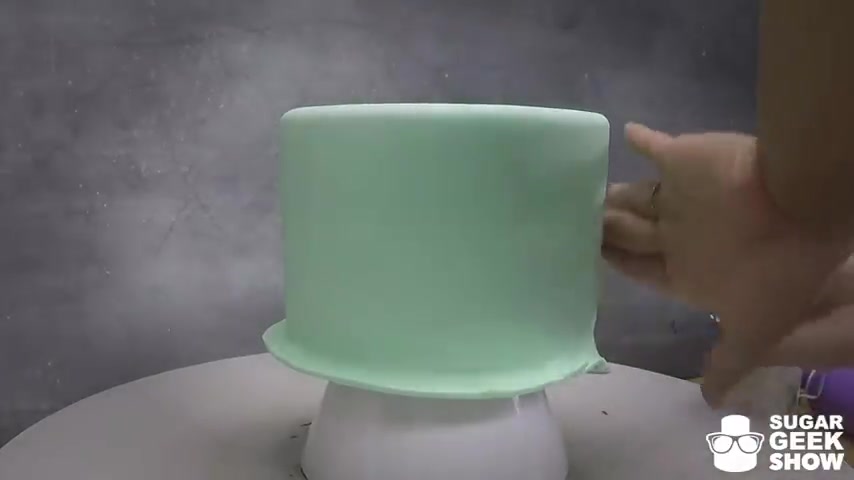
If you have any bubbles between the surface of your cake and your fondant , they will turn into tumors .
So make sure you press those out and take care of them now or they will come back to haunt you .
Does this happen ?
You know people say , how do you avoid bubbles ?
Well , it's just inevitable .
So you just got to take care of them , not cry about it and just move on with your life .
You see a little bubble there , you got a tiny little piece of chocolate on the top from somewhere probably from the surface of the turntable extender .
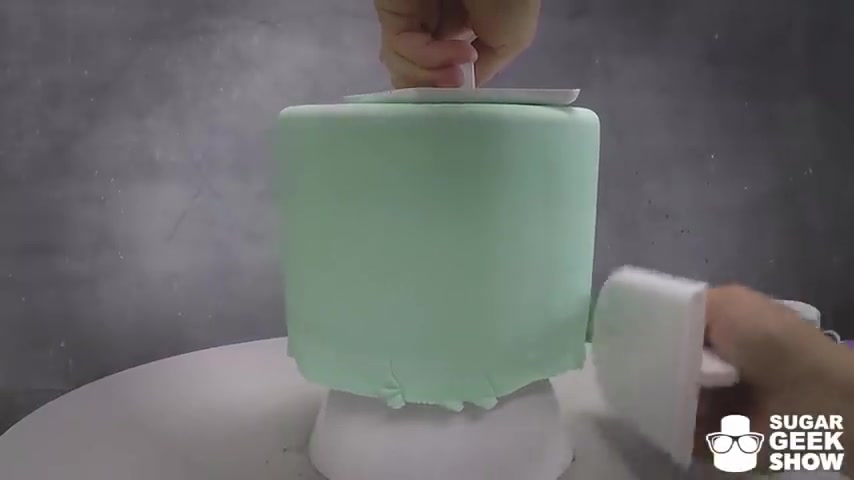
So after you have um smoothed out the base , sure , it's real smooth , smoother on top .
Find the bottom side of your board with a nice sharp Exacto blade or a razor blade , you can now cut off the excess fondant , which will probably have a little bit of chocolate on it .
So you don't want to reuse that .
But if you have butter cream touching it .
That's fine .
You can remix butter cream into fondant , but you can't remix chocolate just smooth out that bottom edge .
Make sure it's nice and clean and now we're ready to place it on the cake board .
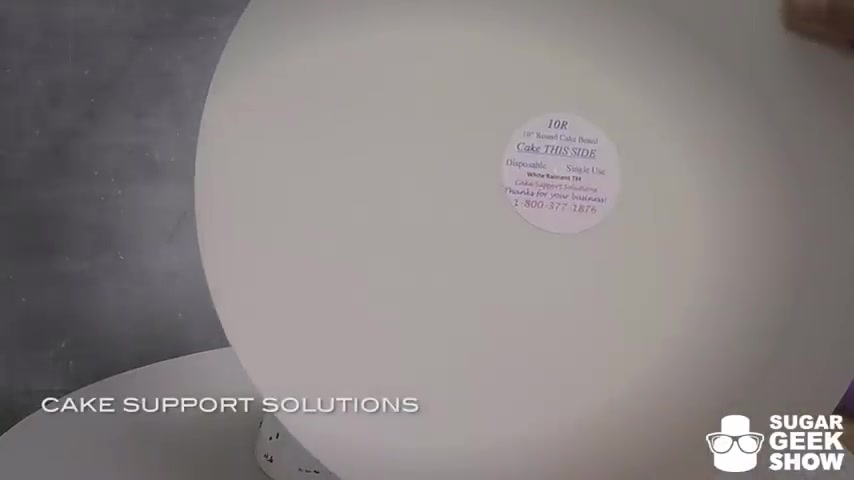
I like to use the boards from cake support solutions dot com pre coded .
So there's no reason make sure you clean off the chocolate .
So there now we have our cake on our board and now you are free to decorate or stack as you please .
And that's how you cover a cake and fondness .
Thank you guys so much for watching .
I'll see you next time .
Are you looking for a way to reach a wider audience and get more views on your videos?
Our innovative video to text transcribing service can help you do just that.
We provide accurate transcriptions of your videos along with visual content that will help you attract new viewers and keep them engaged. Plus, our data analytics and ad campaign tools can help you monetize your content and maximize your revenue.
Let's partner up and take your video content to the next level!
Contact us today to learn more.