https://www.youtube.com/watch?v=KA3dEAFMEmU
How to Make Cake Pops _ DIY Starbucks Birthday Cake Pops _ Homemade cake pops _ Starbucks COPYCAT
Hello , everyone .
Welcome back to Mama in the kitchen today .
I'm gonna be showing you how to make birthday cake cake pops .
And these are very similar to the ones that you purchased from Starbucks .
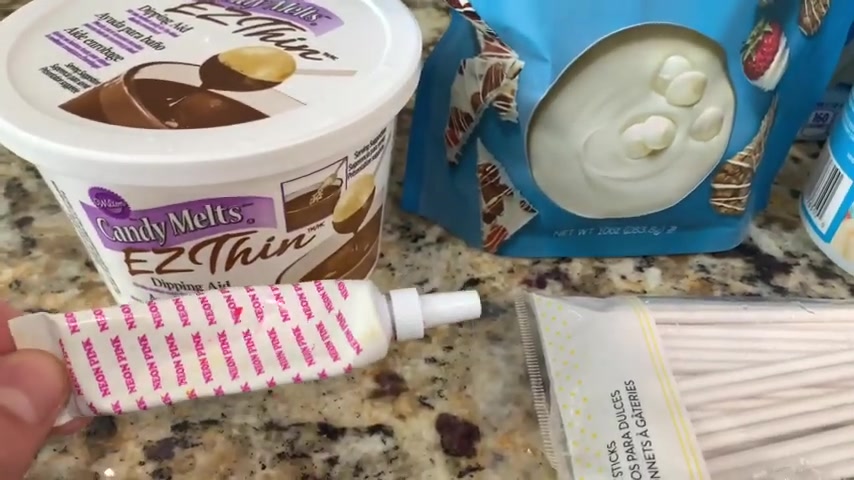
So I'm gonna show you what I'm gonna be using to make these cake pops over here .
I have some easy thin and this is a chocolate thinner .
So it does make it much easier to dip your cake pops into the chocolate .
But if you don't have this , you can definitely go without it .
But I'm gonna be using just a little bit of it and then I have some pink food coloring and then some white vanilla flavored melting wafers .
I'm using the Garelli brand .
You can use the Walton brand or any brand that you like .
But I like the taste of these .
And then I'm also going to be using some cake pop sticks .
You can purchase this from any local grocery store I purchased mine from Amazon .
I will leave the link down below for that .
And then I have some vanilla frosting .
I use the Pillsbury brand and I'm going to be using two tablespoons of that one cake box .

I'm using the white cake with the Pillsbury brand and then also some sprinkles .
This is a little bit bigger than the Starbucks .
Sprinkles , the white sprinkles , but I couldn't find smaller .
So this is what I'm using and a cake pop stand .
You can use styrofoam , a box with holes , anything to stand up your cake pops .
So let's go ahead and get started .
So the first step is just to bake your cake according to the box .
So for this cake , I just added half a cup of canola oil , three eggs and a cup of water , mix that in .
And then I baked it on 3 50 for 34 minutes .
And then I'm gonna set it aside and let it cool down for about 15 minutes and once it has cooled down , I'm gonna go ahead and just cut the edges because I won't be using that for the cake pops .
And I'm also gonna be cutting off that top brown par as well .
All right .
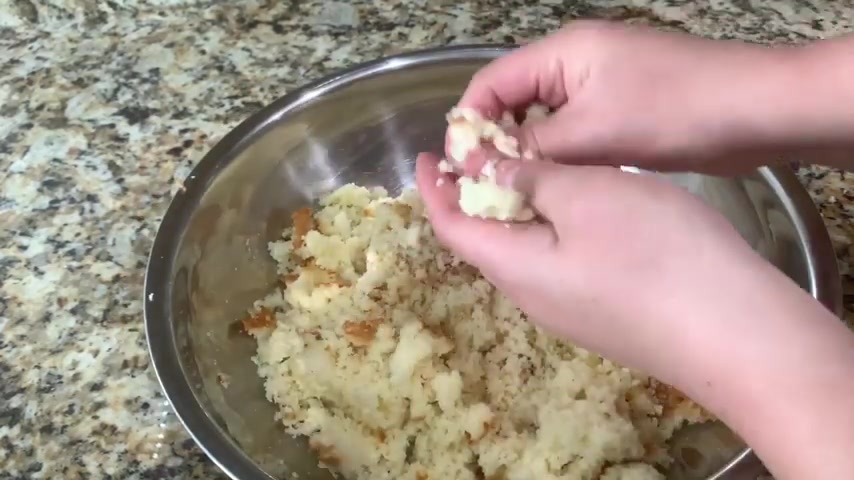
So after removing most of the golden parts off of the cake , I went ahead and transferred my cake to a bowl and now I'm gonna be crumbling it with my hands .
You could do this with a food processor instead , but I'm just gonna be using my hands .
So you're just gonna crumble it until it's very soft .
Alright .
And this is what the cake looks like after crumbling it with my hands and now I'm gonna go ahead and add two tablespoons of the vanilla frosting .
And again , I'm using the Pillsbury brand .
You can use anything that you like or even homemade frosting .
But this is what I'm using .
So I'm just gonna add two tablespoons of this and I'm gonna mix it into the cake very well until it becomes into a consistency that you can make a shape out of .
So we're gonna be making this into balls .
All right .
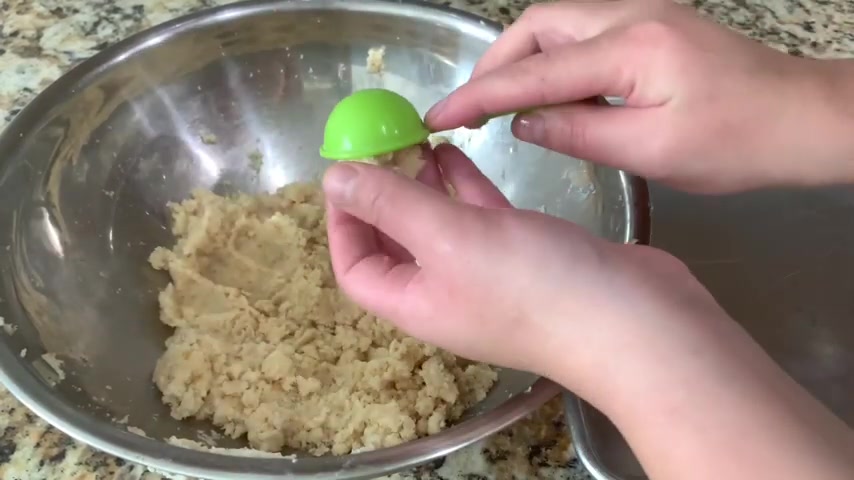
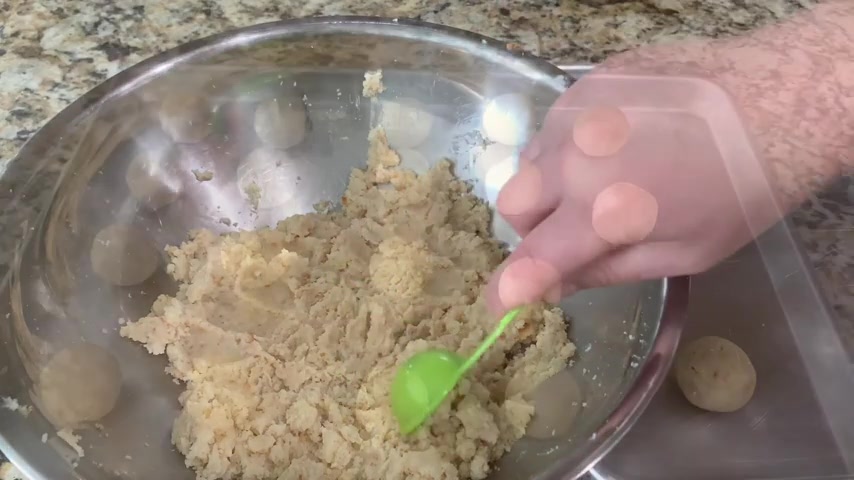
So now I'm gonna go ahead and take 1.5 tablespoons of this cake mixture .
And I'm gonna form it into a ball .
So first I'm gonna kind of form it into a ball using my hands and then I'll be rolling it around without so much pressure .
So it doesn't crack .
So first you're gonna go ahead and crumble it kind of into a ball and then you're gonna go ahead and roll it in between your hands , but not with a lot of pressure , rolling the ball , you wanna make sure that there's not big cracks .
So if you see big cracks like that , you just want to squeeze them together .
So that way they don't fall apart when you put the stick in or when you dip them into the chocolate .
So you wanna make sure there's not any big cracks .
So you're just gonna roll it until it's nice and smooth and then I'm gonna lay it out on my pan and I'm gonna go ahead and continue to do the rest of them .
All right .
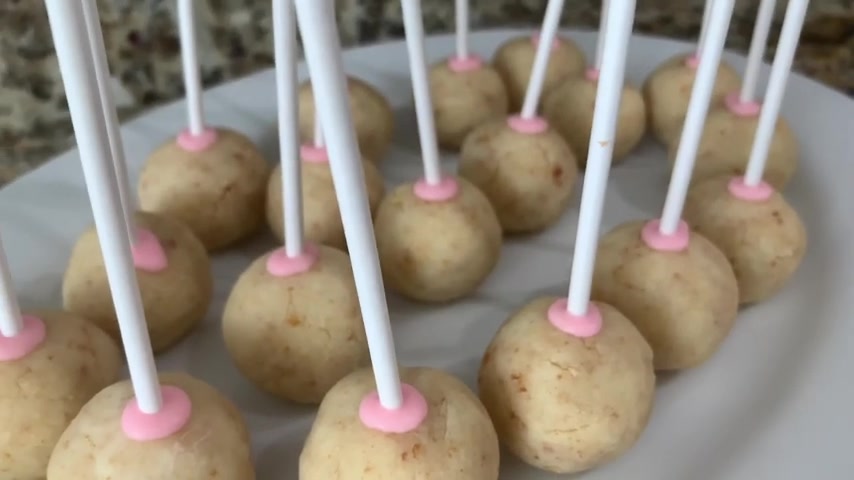
So I went ahead and rolled out all the balls .
So now I'm gonna go ahead and place the sticks in there .
So to do that , what I'm gonna do is I'm gonna melt about eight pieces of this melting wafers .
And I'm gonna place them in the microwave for about one minute and then there'll be a perfect consistency .
So I'm just gonna place them in the microwave for a minute and I'll show you what they look like .
So this is what they look like once they're melted .
And now I'm gonna add just a drop of that pink food coloring because I do want my cake pops to be pink .
So I'm gonna add one drop of that gel food coloring and I'm gonna mix it into the chocolate .
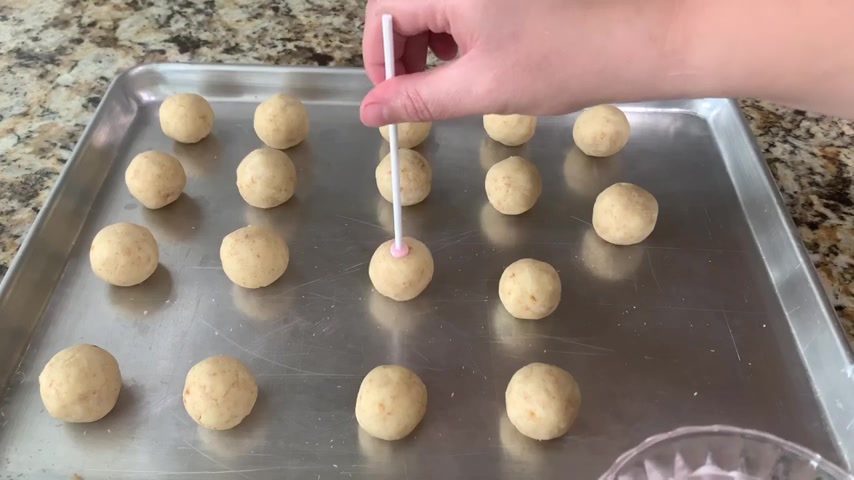
So now what I'm gonna do is I'm gonna go ahead and dip my stick into this chocolate kind of twirl it around and then I'm gonna stick it into the middle of my cake pop and you wanna stick it halfway through .
You have to make sure that you stick it deep enough .
Or else when you dip it into the chocolate litter on it is gonna come off the stick .
So you wanna make sure that you stick it at least halfway through .
And then after I put all the sticks in the cake balls , I'm gonna put these in the freezer for five minutes .
All right .
And after placing the sticks into the cake .
Now I'm gonna go ahead and place this in the freezer for five minutes .
I just took the cake pops out of the freezer and now we're gonna go ahead and dip them into our chocolate .
So I went ahead and added the rest of my chocolate into my cup and I'm gonna microwave this first for one minute and then I'm gonna take it out , give it a mix and then microwave it again for 30 seconds .
So I microwaved it for a minute .
Now I'm just giving it a good mix and then I'm gonna put it back in the microwave for another 30 seconds , right ?
So I'm gonna have to microwave my chocolate for a minute and 30 seconds total .
I'm just gonna mix that in and then I'm gonna add a few drops of the pink food coloring .
Alright .
So now I'm gonna go ahead and add this easy thin .
So you don't want to add too much .
I actually added too much .
You only want to add like maybe 3 to 4 pieces of this .
Um because if you add too much like I did , the chocolate will become a little too thin .
So when you um dip your cake pops into the chocolate , the chocolate is just gonna keep dripping down and it'll take forever to stop dripping .
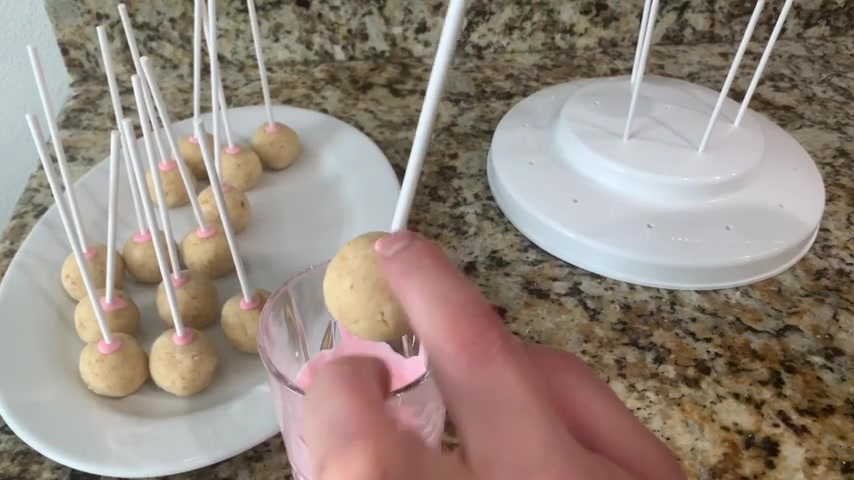
So just add a few of those pieces and mix them in and now I'm just transferring my chocolate to a more narrow cup so that I can dip my cake pops all the way in .
So you're gonna dip them down straight down and then you're gonna dip it where it meets that other pink chocolate .
So you don't want to dip it too far where it gets on the stick , but you want to dip it enough where it goes over that pink part .
So you're gonna dip it down , take it straight back out up and then let it drip for a few seconds downwards .
And then you're gonna flip it to the side like this very slowly because you don't want your cake pop to drop and make sure you don't twirl it around because that's another reason your kick pop can fall into the cup .
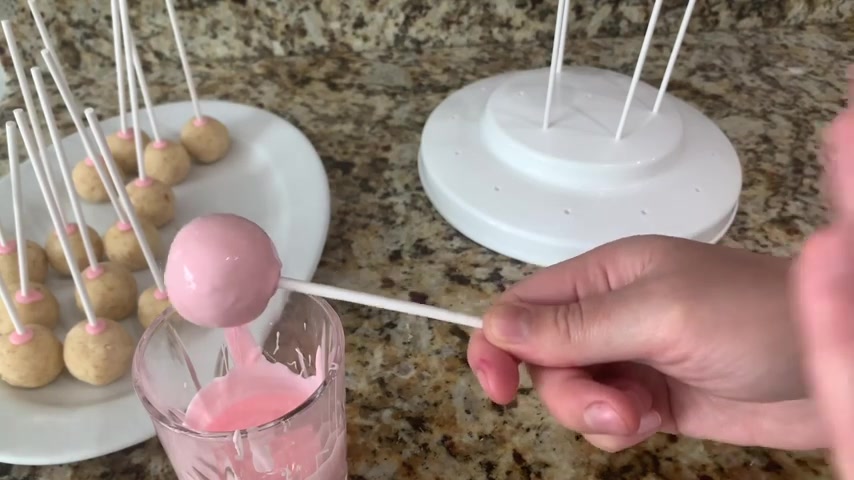
So don't twirl around , just take it straight up , let it drizzle for a little bit and then turn it to the side and kind of slowly tap your hand like this .
Do not tap the stick onto the cup .
So just tap your hand like this for the chocolate to keep dripping down .
And once it starts to barely drip , you're gonna it around just a little bit and then place it on your cake pop stand or if you're gonna be adding sprinkles , I'll show you how I do that .
All right .
So once you dip it in the chocolate , you wanna let it dry just for like five or six seconds before you add your sprinkles because if you add it right away , it's just gonna kind of sink into the chocolate .
So you wanna let it dry just a little bit like halfway through , but not all the way .
Because if it dries all the way , you won't be able to add the sprinkles .
So you wanna let it dry just halfway through and then add your sprinkles and then you're just gonna place it on the cake pop stand .
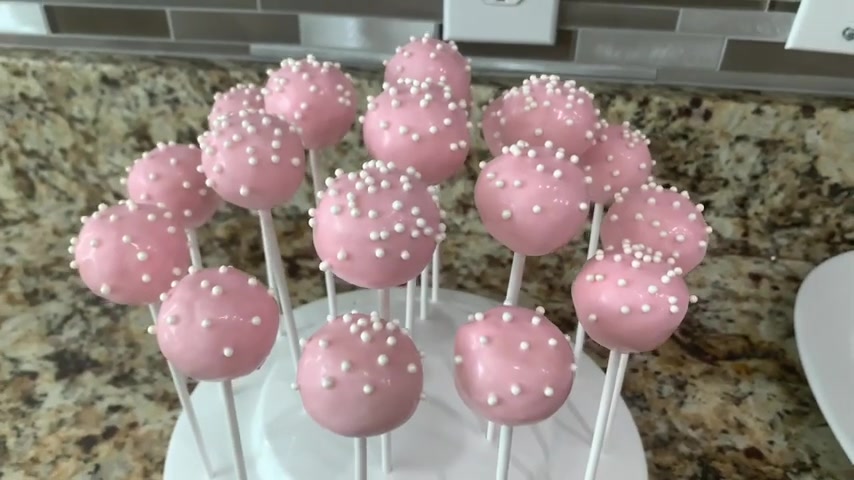
All right .
So now all my cake pops are dipped and sprinkled and now they're ready to eat .
Now , if you want to make these for an occasion , you can actually individually wrap each one with the treat bags .
They're like clear little plastic bags and you tie it with a tie .
You can purchase those as a set from Amazon .
It comes with the cake pop , sticks the bags and the ties and I'll go ahead and link that down for you in the description box below .
So let's buy into this and see what it's like on the inside .
Look at that so moist and so good .
These are so fun to make and super simple and you can make so much more for your buck than buying each piece for like three bucks from Starbucks .
So good .
I hope you guys enjoyed this video and please give me a thumbs up if you did and thank you for watching .
Are you looking for a way to reach a wider audience and get more views on your videos?
Our innovative video to text transcribing service can help you do just that.
We provide accurate transcriptions of your videos along with visual content that will help you attract new viewers and keep them engaged. Plus, our data analytics and ad campaign tools can help you monetize your content and maximize your revenue.
Let's partner up and take your video content to the next level!
Contact us today to learn more.