https://www.youtube.com/watch?v=MhWlIetmnZY
Portrait Drawing Basics 3_3 - How To Draw a 3D Head
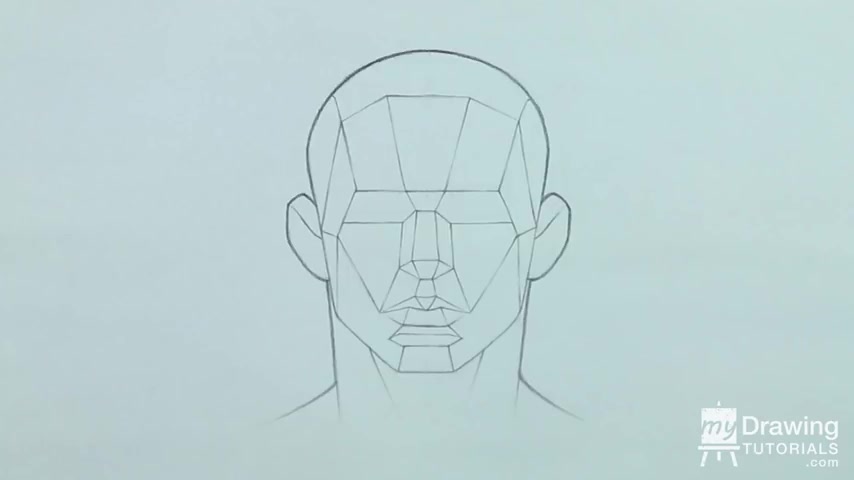
Now that you're familiar with drawing the luna's head , we can build upon that knowledge and draw a more fleshed out three dimensional head .
Drawing these mannequins heads will help you to better understand the placements and basic construction of the features and also how the head will be affected by perspective when viewed from different angles .
So let's get started .
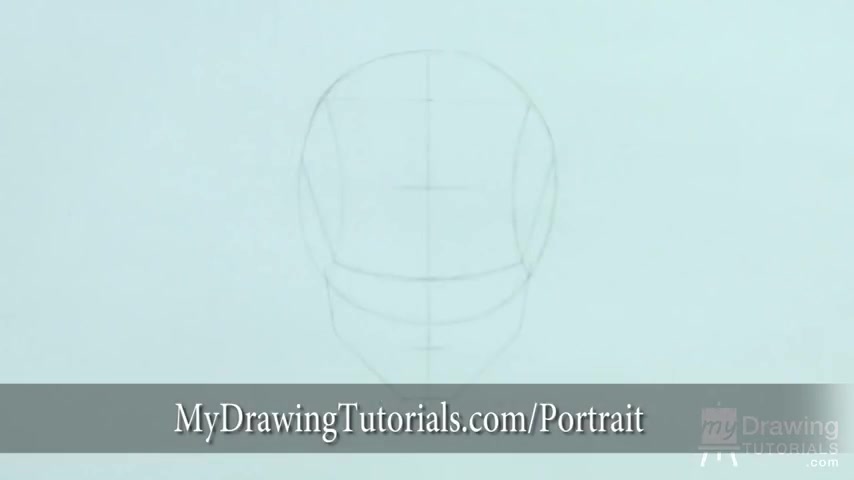
The first step is to draw a simplified head from the front view using the steps we covered in the previous lessons .
OK .
So here's our starting point .
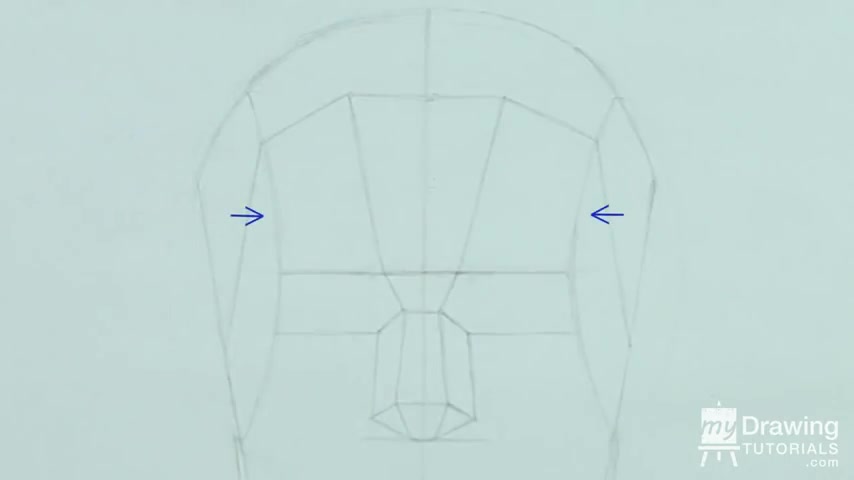
Now extend the jawlines upward until they meet the top portion of the head .
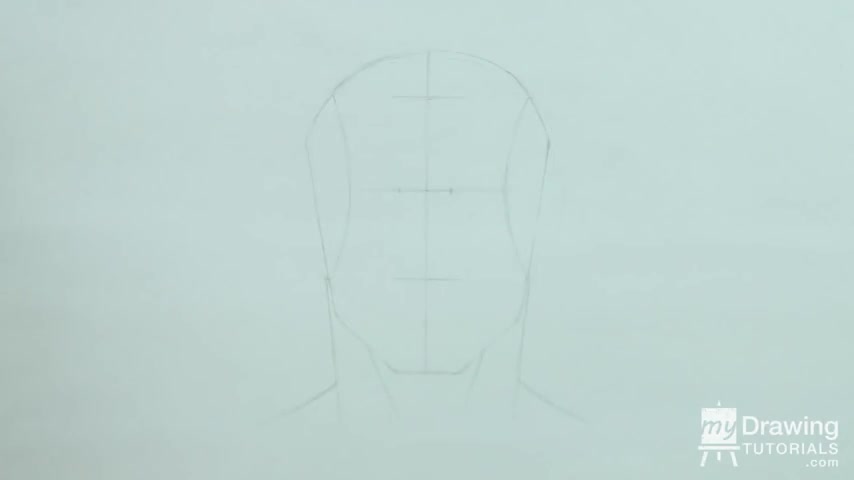
Then erase the extra side portion .
This will bring the drawing even closer to the shape of the railhead .
Now , let's find the placements of the features .
We know that the eyes will be one eye width apart with one eye width of space on each side .
In this drawing , the space on each side of the eyes has already been marked out .
So I'll just divide the brow line into three sections and this section in the middle will represent the space between the eyes .
And these two sections here will represent the eyes themselves .
If everything works out perfectly .
All five sections should be the same size .
But if they're a little off , that's completely fine .
Remember , the rule of proportions are meant to be used as a guide , not as an exact measurement .
OK .
We'll leave it at that for now and begin drawing the nose .
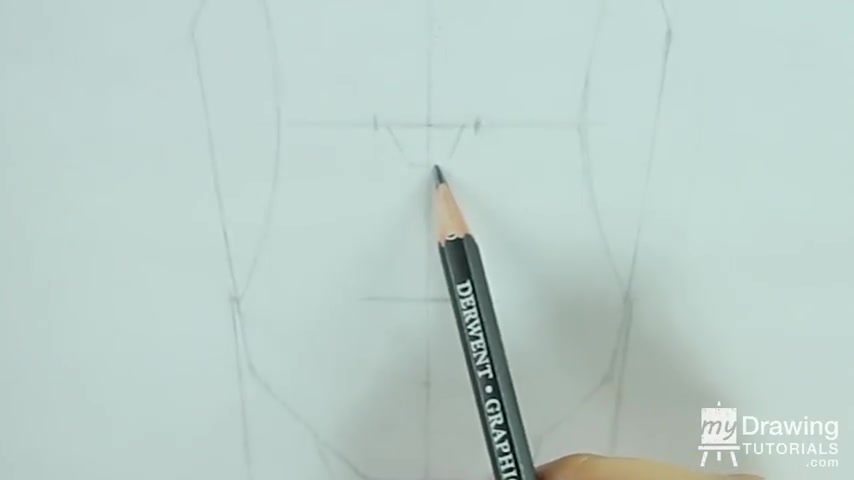
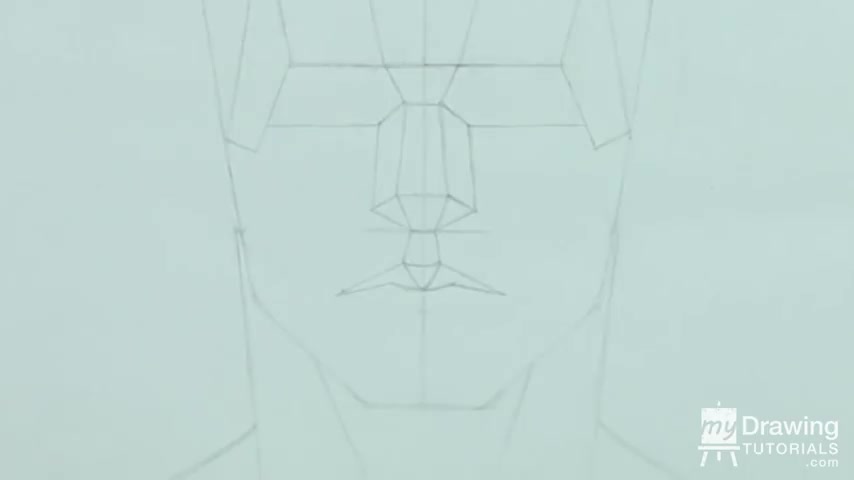
There's a keystone shape called the glabella that sits between the eyebrows and at the top of the nose , let's draw this in the shape is slightly narrower than the space between the eyes .
Then we'll go to the nose line and draw another keystone shape to represent the bottom of the nose .
This shape will be slightly narrower than the first .
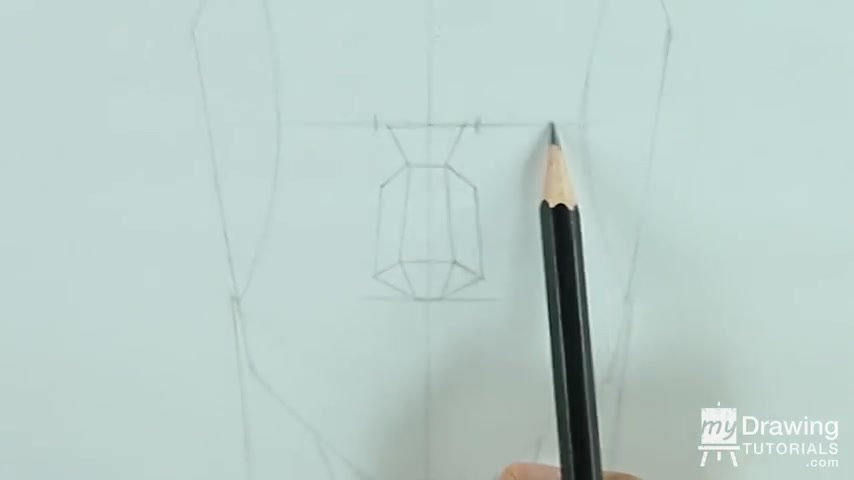
Now connect the two shapes via straight lines .
This will represent the bridge of the nose to finish out , the nose will draw two small triangles on the side .
These will represent the nostrils and then connect them to the top of the nose bridge .
By the way , as you might recall , the width of the nose is equal to the space between the eyes .
So as you're drawing the nose , be sure to calibrate the size so that it will fit within that gap .
Now , we can turn our attention to the eyes .
For simplicity , we will be drawing the eyes and the eyebrows as a single unit .
So I'll reinforce the brow line and close out the bottom portion of the eye area .
Next , we'll fill in the forehead , draw another large keystone shape that extend from the brow line to the hairline .
This will represent the front plane of the forehead , then connect this keystone shape with the side of the head using slightly sloping lines , then connect that point to the edge of the face , using steeper lines .
You'll want this line to connect with the edge of the face at slightly below the eyes .
Now , we'll just erase these lines here and change them to straight lines and we do the same for these curves , erase the curve and change it to a straight line .
I'll end the line right about there and connect it to the edge of the face .
OK ?
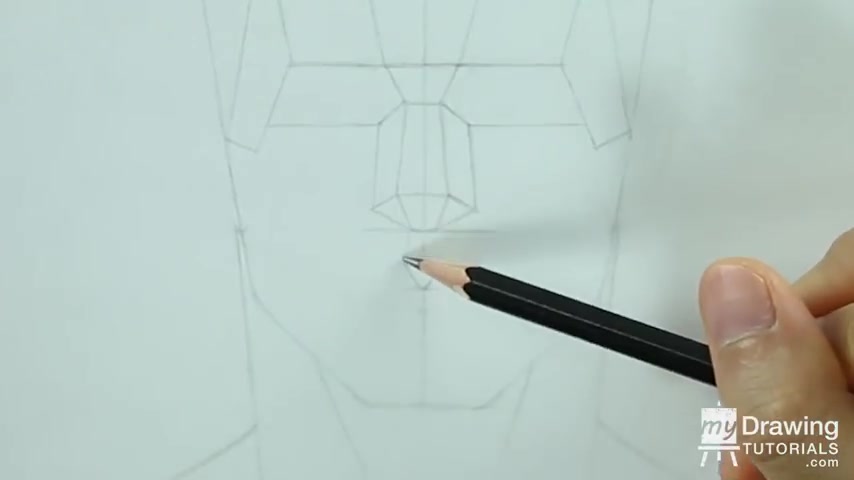
Now , for the lower portion of the face , the lips will be about one third of the way down from the nose .
So if we divide the space between the bottom of the nose and the chin into thirds , the center of the lips will be right about here .
From here .
We'll draw a small V shape and close it out with a smaller V shape .
We should end up with a sort of triangle shape like this .
This will represent the center of the upper lip and will just connect it to the nose like .
So this area will represent the fru the is this little groove that sits between the base of the nose and the top of the lips to finish out the upper lip , we just have to figure out how wide it is going to be the width of the lips will roughly correspond to the pupils of the eyes .
So if we estimate that the center of the eyes would be at these points , then the corner of the lips will be right about here .
If you think this would make the lips too wide , feel free to bring the points in a little closer , extend the upper lips to these corners and then finish out the lower portion .
The line will curve up in the middle before sloping down to meet the corners to draw the lower lips will first draw a short horizontal line and then angle it upward until it connects with the corner .
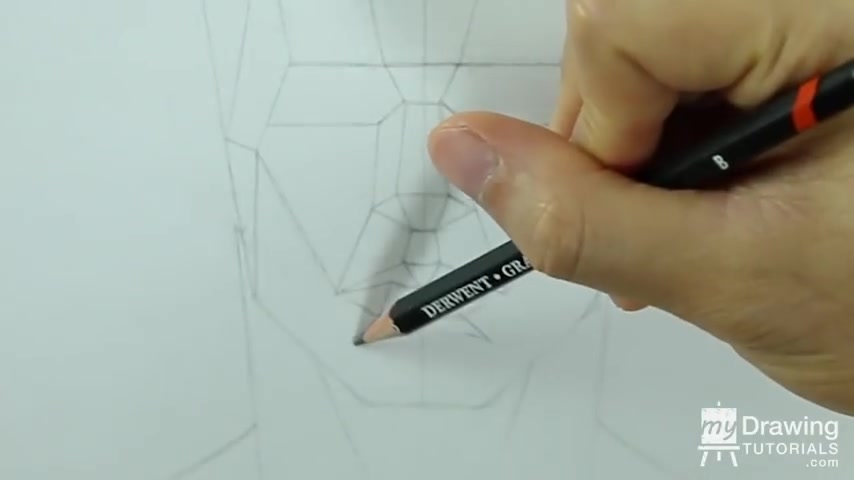
Then we'll divide up the planes of the lower lip by drawing in these lines .
Now connect the corner of the lips to the corner of the nose , then connect the corner of the lifts to these points here , then connect these points to the corner of the jaw .
These new lines we just made represent yet more plain changes on the face .
Next , we have the chin draw two small keystone shapes underneath the lips like so these will represent the divot that lays between the lower lip and chin .
Now just connect the corner of this shape with the corner of the chin and we got ourselves a three dimensional chin .
Lastly , we draw in the ears , the ears will fit between the brow line and the bottom of the nose will depict the ears with simple shapes formed with straight lines .
And that's it .
We're all done .
If you want to learn more about portrait drawing , check out my po fundamentals course .
It's a very beginner friendly course that walks you through all the basics of portraiture from constructing a basic head , facial proportions , drawing the features and finally drawing a realistic portrait step by step .
You can learn more about it by going to my drawn tutorials dot com forward slash portrait or clicking on the image on the screen .
Thank you so much for watching and until next time , happy drawing .
Are you looking for a way to reach a wider audience and get more views on your videos?
Our innovative video to text transcribing service can help you do just that.
We provide accurate transcriptions of your videos along with visual content that will help you attract new viewers and keep them engaged. Plus, our data analytics and ad campaign tools can help you monetize your content and maximize your revenue.
Let's partner up and take your video content to the next level!
Contact us today to learn more.