https://www.youtube.com/watch?v=o7NDagVBYV0
THIS REALLY WORKS! Drawing Heads with the Loomis Method (Tutorial #1)
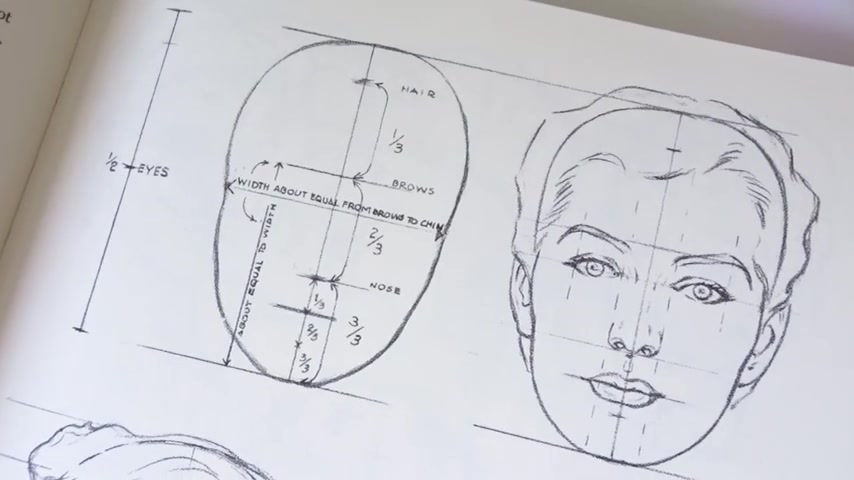
Hello , everyone and welcome to the very first video tutorial of this face , strong series .
I'm brushes and bunnies and welcome to my youtube channel .
I've been wanting to do a video tutorial series for a very long time to have something that is kind of a finished series from the first video to the very last video and I decided to start with drawing faces .
I did do a lot of videos in the past talking about how to draw faces , but a lot has changed since then and I have learned a lot .
So I really wanted to dedicate an entire playlist to this entire concept .
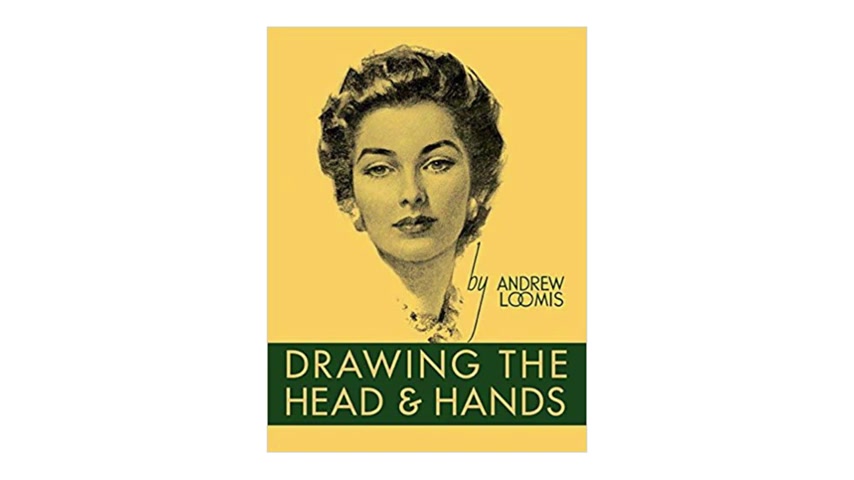
This will be a 10 part series and basically , it's all going to be about drawing faces , drawing expressions , how to draw heads at certain angles .
And of course , we're going to be talking about specific detailed facial features such as noses , eyes , ears and mouth for both female and male .
This tutorial series will have a focus on the Luis method , which was popularized by the artist Andrew Loomis and it is his own method on how to draw heads and hands for both female and male .
So without further ado let's just jump right into it .
First step is to get started with the basic construction of the face .
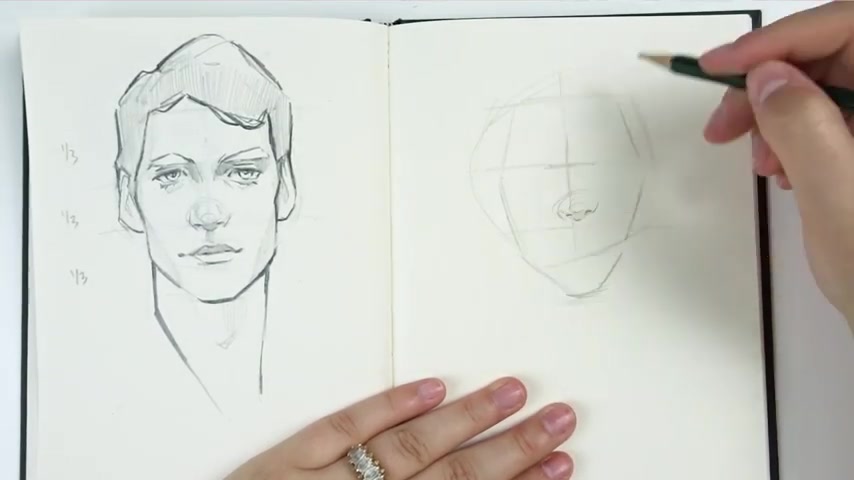
In this case , the starting point is to roughly sketch a circle shape .
I always tend to sketch something that is a rough type of circle .
It never actually is a perfect circle , but just something that resembles a circle as a starting point .
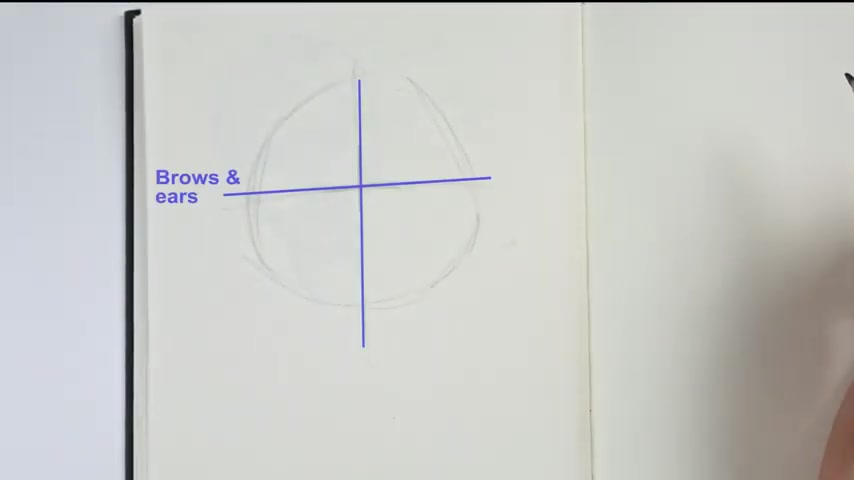
And then from then on , I will roughly sketch the cross across the circle .
The cross is an important part of the facial construction because not only does it determine where the facial features will go , but it also determines at which angle you're going to be drawing the face .
The next thing I do is slice off the sides of the circle and this will then resemble the shape of a skull or a cranium .
And by doing this , you're basically building the overall frame of the contour of the face .
And you're gonna be able to then see where the hairline goes and also where the jaw will start from this point on .
We can then start measuring where additional key features of the face will start starting with the hairline which appears halfway from the first point and the top of the head .
In this case for the sketch , it is not halfway .
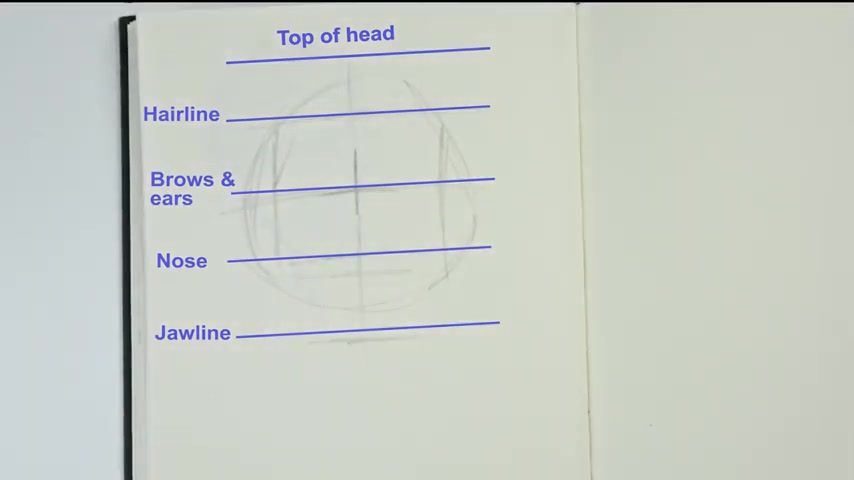
I did adjust the general circle of the of the head shape later on in the video , taking the same measurement between the hairline point and the brows and ears point .
We can then take the exact same space and move it downwards for the nose and also once more for the jawline .
And that will basically give you three equal parts from the hairline points down to the jawline point .
And by also using the brow line point , we can even further separate the head into two equal parts from the very top of the head down to the very bottom of the head .
Now that we've got all of the points aligned for the face , we can begin with the actual construction of the facial features before I get to drawing eyes or noses or lips , I tend to start with the general outline of the face .
And this is where the jaw will be .
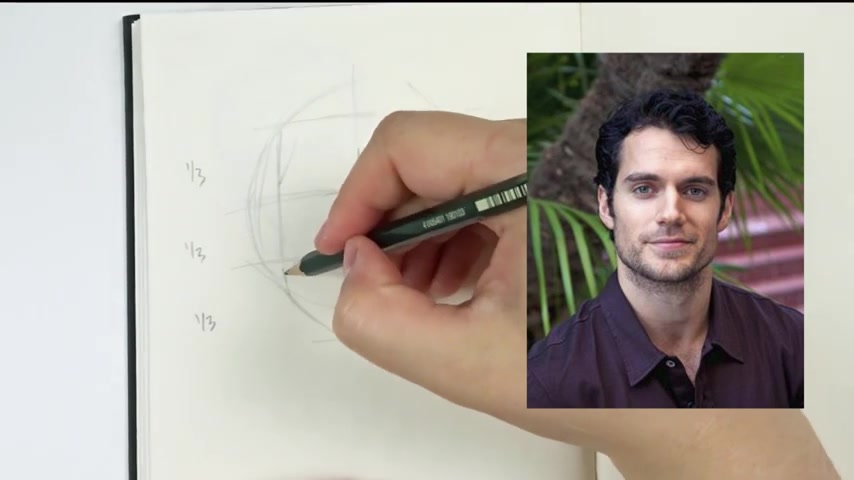
This is also where the cheekbones will start to stick out depending on the angle of the head , the cheekbones will be a little bit more prominent .
The jaw line may be a little bit more prominent , but at the end of the day , what I'm focusing on is the sort of bony understructure of the face .
And this is something you just have to be aware of while you're kind of sort of constructing the outside or the contouring of the area of the face before you get into the facial features .
So things will be a little bit more angular , maybe they'll be a little bit more softer , but you just need to be aware that there are bones beneath the skin and this is something that should influence the way that you draw your lines .
The next thing I do is I start drawing the facial features .
I always start with the nose , which begins at the third point of the sort of guidelines that we do across the face .
And from that point on , once the nose is done , I then go ahead and draw the eyes , the eyebrows and then I go down and draw the mouth .
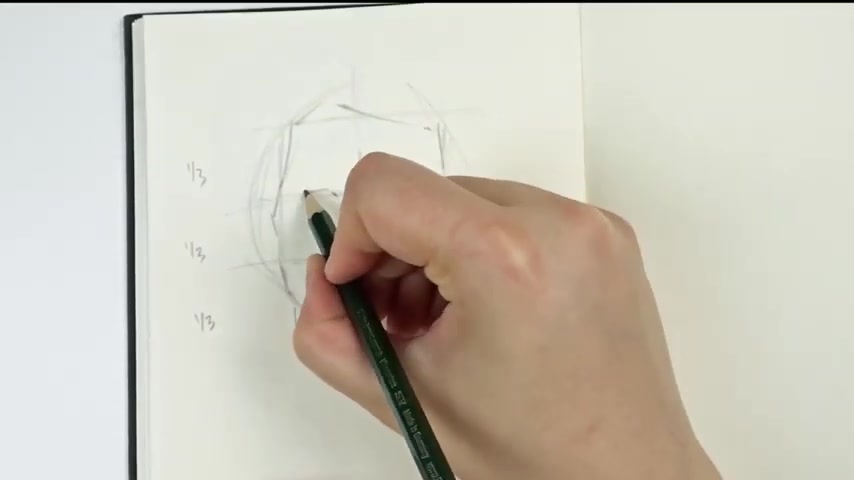
In this video tutorial series , I will be covering how to draw the nose , the eyes , the eyebrows , the the mouth , lips and ears in more detail .
So I'll be having specific videos for this topic .
And this video is basically just , you know , just to show you where these features go more or less and just kind of talk about the basic proportions of how to place your features and how to create the head shape .
It's also important to note that at this stage in the drawing process , we have to realize that not every head shape or features will be the same .
So the guidelines are just a very basic kind of guide for you to figure out where certain things go .
But in general , when you're drawing , male or female things will vary a little bit , maybe the nose will be a little bit longer , shorter , the jawline will be curvier , maybe a little bit more boxier things differ , people look different and facial features will not always look the same .
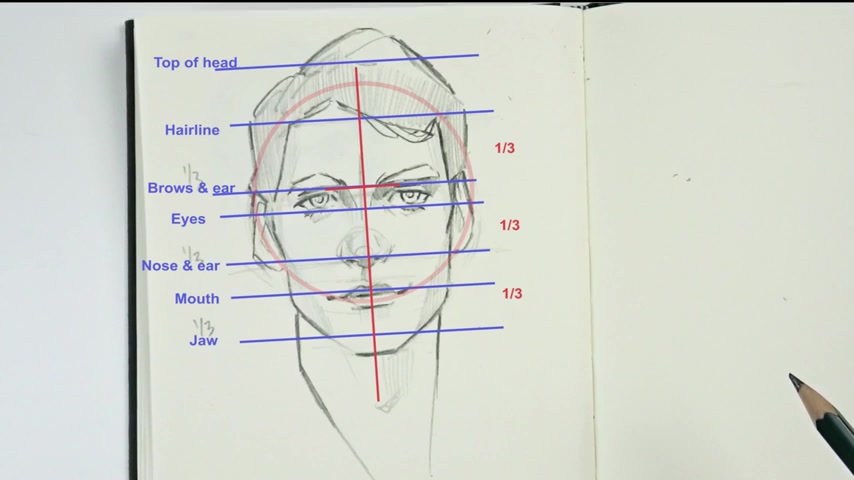
So using these guides , you can definitely set up your face in a good way for constructing it later on .
And then you can just play around with the facial features .
And this is where a lot of the fun comes into play when you're drawing a character .
OK .
So now that we've added the facial features , the ears , the hair and the neck , we kind of have an understanding of how the character will look like .
We can then go and add more detail .
At this point .
I start to outline with a heavier lead pencil and or graphic pencil , I should say , and I can then proceed with some shading .
In this case , I just want to kind of re summarize what we have learned in terms of the proportions and how things should look like .
And here is sort of the final result .
The overall concept of the Lummi method is to show that the head is constructed with various units you can see here , we've already talked about all of these lines .
We've got the top of the head , the hairline , the brows and ears , the eyes , nose , and ear , mouth , and jaw .
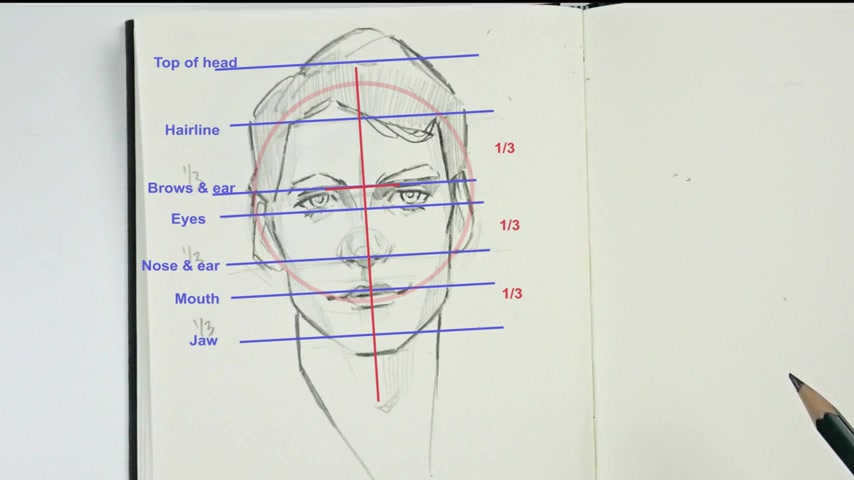
By using these points of reference , you can then construct your character and assure that you have the facial features in the right locations as well as you can keep a proper proportion for your face .
Now , of course , this is just a basic kind of overview of the method there are a lot of other things that goes into play in terms of building a character and a face .
And this is something that I will further expand in my upcoming video tutorials on this topic .
I'll basically be covering how to draw heads at any angle .
Using this method .
We'll also touch base on expressions .
Talk about the muscle , talk about the bone structure , talk about um how to create hair , how to create and draw um certain elements of the face such as the nose , eyes , mouth and ears .
There's a lot that's gonna be coming .
But this will all be covered in later videos when it comes to drawing female heads .
I take the same approach as what I just showed you for drawing a male head .
Basically , the proportions are more or less the same .
There are subtle differences between the two genders , but these differences tend to come out in the facial features such as the eyes and the mouth .
And these are things I will talk about in my other video tutorials in general .
When drawing female heads , I do take the same approach .
I draw a circle and then I start to use my preference lines to divide the circle into different in parts .
And then I can then further divide it with the horizontal reference line such as where the hair comes , the hairline , the eyes , the brows , the nose , the lips and the jaw .
And of course , depending on the character that you're drawing .
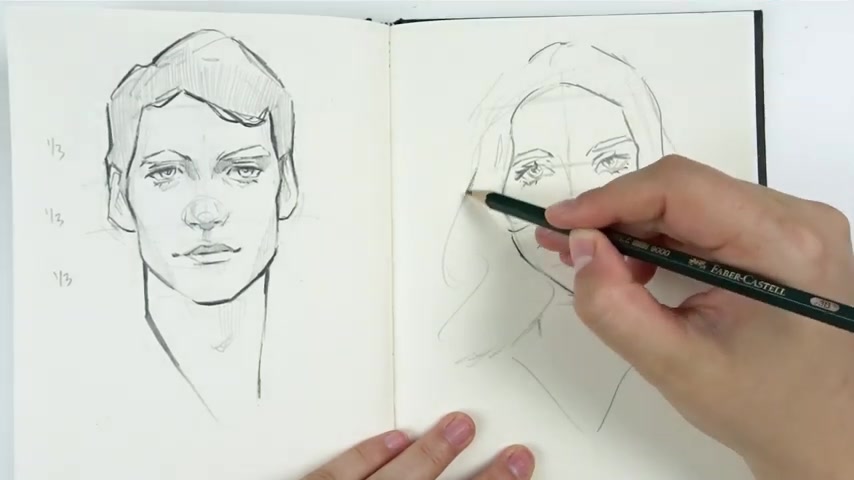
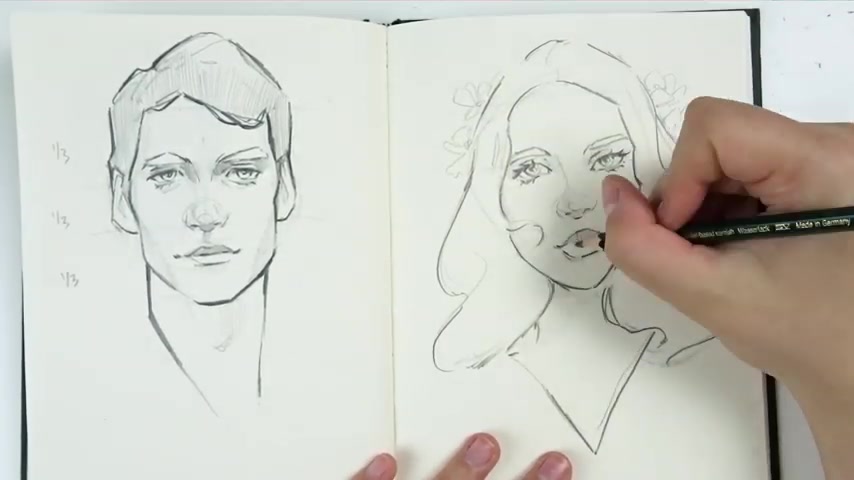
This will vary a little bit , something with female faces that I tend to do is I do round the draw a lot more , it will be less angular , less boxy and something that's a little bit more oval shaped .
And um of course , with more curves rather than angular sections .
On the topic of reference lines , there is one major difference and that is the brow line for females .
The brow line does sit a little bit higher than the men's face .
So for this reason , I tend to draw my characters , my female characters with brows that are higher up on the face than I would for a male .
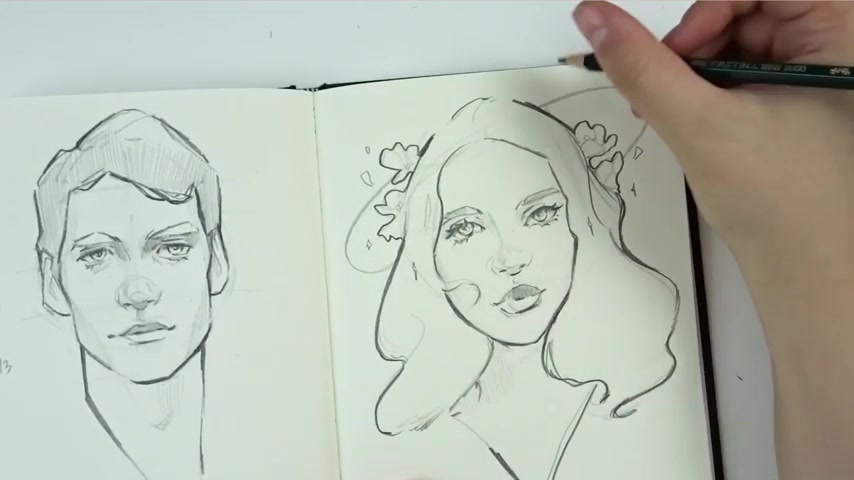
But overall , the general construction of the female head is very similar to what I showed you in the first part of this video .
So I would suggest following those steps for both genders and basically having fun with it and following sort of the proportions and the guidelines that have been outlined in this video or in the Luis method .
This method has definitely helped me a lot and I think it's actually one of the best out there .
I was able to grasp it very quickly and I was able to quickly practice with it .
And in no time I saw a huge um kind of result in growth in my own drawing ability uh in terms of drawing human faces .
So I would definitely go ahead and give this method a try and see what , you know , happens for you .
And yeah , I think it's a , I think it's literally one of the best ones out there and it's so easy to learn and very quick to understand that being said , I hope you did enjoy this video tutorial .
I really , really , really was excited and wanting to do this sort of series for a very long time .
And , yeah , I hope , I hope you learned something .
I hope it was broken down in an easy way to understand .
This method has helped me so much and it's probably one of the best out there .
Uh So I hope you guys will get some value out of it as well .
Um The next video tutorials will be all about different things .
I believe the next one in the series is going to cover how to draw ahead at any angle using the Luis method .
So we're going to be doing some pretty fun things in there and that will be released next weekend .
So I do hope you have a great Sunday and we will see each other very soon .
Bye .
Are you looking for a way to reach a wider audience and get more views on your videos?
Our innovative video to text transcribing service can help you do just that.
We provide accurate transcriptions of your videos along with visual content that will help you attract new viewers and keep them engaged. Plus, our data analytics and ad campaign tools can help you monetize your content and maximize your revenue.
Let's partner up and take your video content to the next level!
Contact us today to learn more.