https://www.youtube.com/watch?v=oxilT7Mv3gg
2023-07-12 12:50:06
Farmhouse Crusty Loaf (Handmade, Quick, Simple & Delicious)
Hello again .
My name's John .
I'm a retired cook from the northeast of England in the UK and welcome to my latest bread video .
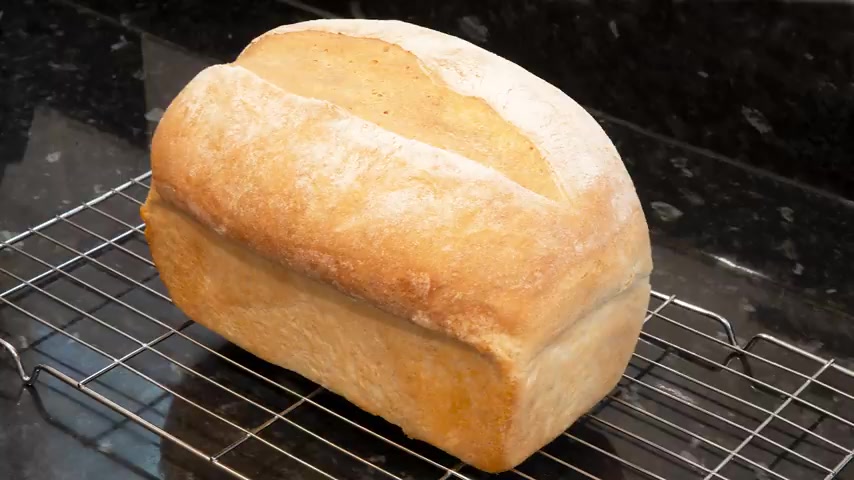
And in this very easy bread recipe , I'll show you how to make this fantastic and delicious farmhouse sandwich loaf .
And for a change , I'll be making this one entirely by hand .
But if you prefer , you can use a stand mixer , too .
You can view the ingredients list and follow written method for this recipe on the recipe page on the Channel's website .
I leave a link in the description under the video , or you can click on the eye icon top right of the screen to take you directly to the recipe page .
And I'd like to thank the Patreon and PayPal supporters for their very kind help .
I'll be doing the shout out and name Splash a little later in the video .
OK , let's get on with today's recipe .
I start the recipe by making sure my yeast is alive and well .
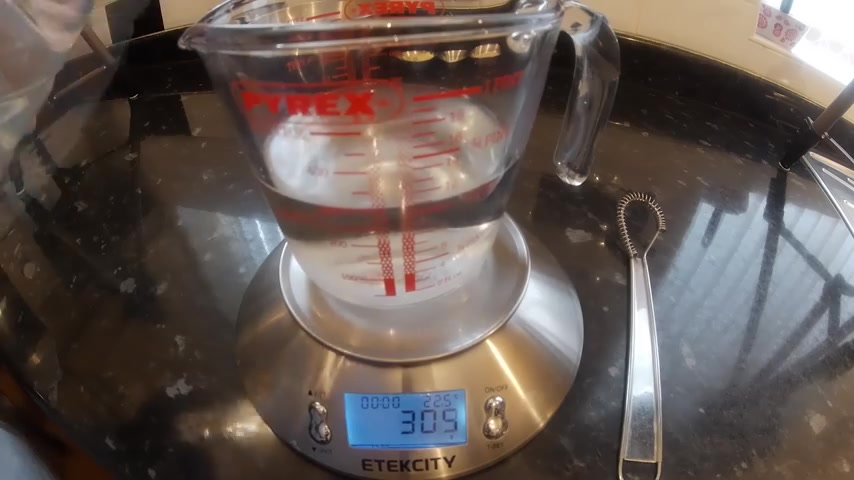
First , add the sugar to a jug if you're interested .
This loaf is a 61% hydration recipe , and it works out that we need 305 grammes or 305 millilitres for this recipe , it's always much more accurate to weigh your water so carefully .
Measure your water and heat it up in the microwave to approximately 40 Celsius .
That's 100 and four F .
Make sure your temperature is correct .
Then add your yeast .
Give that a good stir until it's all dissolved .
Now set it aside until it activates and that will take approximately 10 minutes onto the mixing .
Add your 500 grammes of white bread flour to a bowl .
Add your salt to the flour and mix it in .
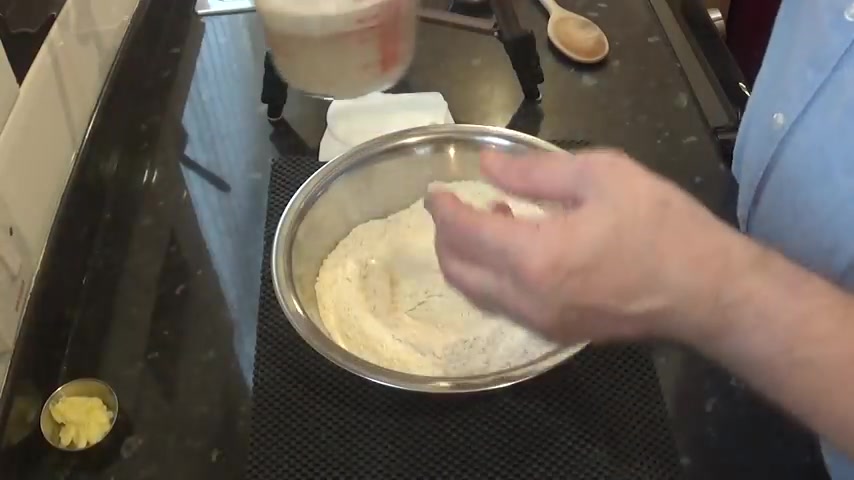
Make a well in the flour and pour in your now active yeast mixture As you can see , mine's nice and frothy .
If you don't see any activity , your yeast must be dead and it needs replacing .
And that's why it's always best to test your yeast before you start any bread recipe .
And that's Number four in my basic bread making rules , and I'll add all four rules to the recipe page on the website .
Now add the soft butter to the bowl .
You can use oil or soft larder if you prefer .
You OK using my trusty wooden spoon handle I'll bring it roughly together .
Now switching to my bowl scraper , I turn it out onto the worktop .
Make sure you scrape out all of that flour .
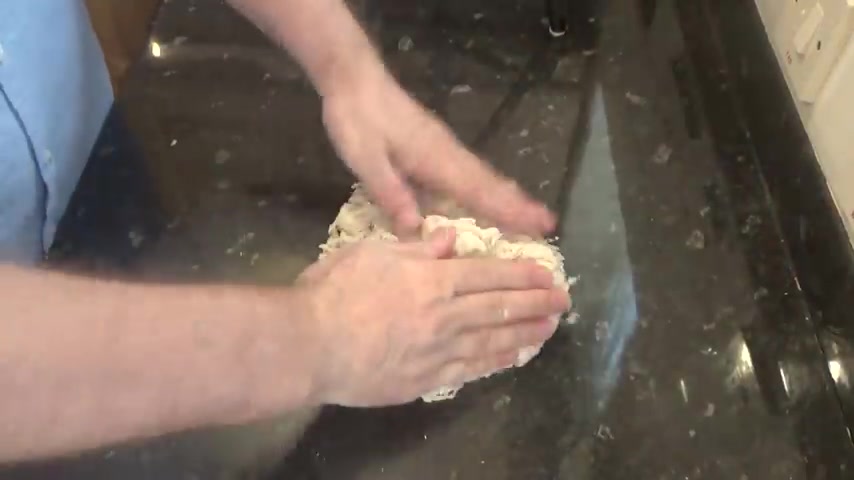
Now , using your hands , bring it all together into a sticky muss .
Your bench scraper is a great tool to use at this stage .
Now it's quite a sticky dough , as you can see in my hand .
But don't be tempted to add more flour .
It'll get a lot less sticky and smoother , the more you need the dough .
Now such a timer and hand need the dough are shown for 10 minutes .
Try to follow my needing technique .

The more you practise it , the easier it becomes .
Once the time's up , your door should be now smooth and supple .
Now form the dough into a bowl and get it into a lightly oiled bowl .
And there's about a teaspoon of vegetable oil in this bowl .
Cover the bowl .
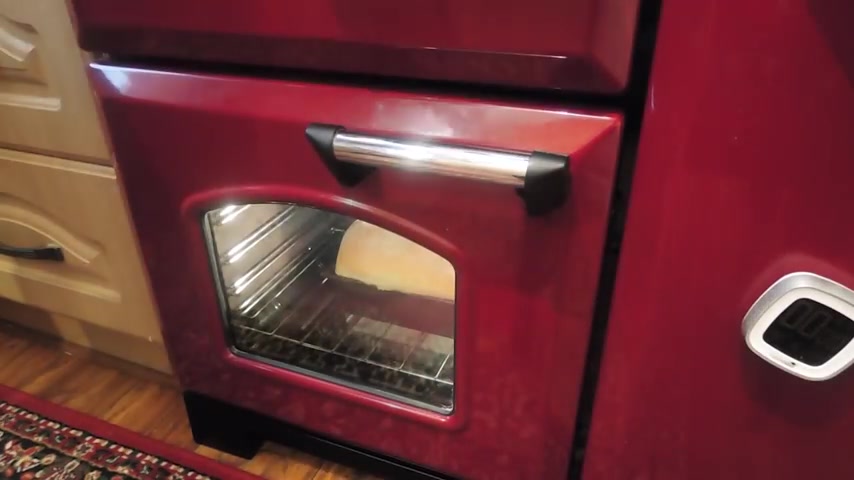
I like to use the shower cup for this , and these and other shower cups are available in the website shop if you're interested and now get it into a nice , warm draught free spot .
I like to use my oven with just the light bulb on for this , it seems ideal now .
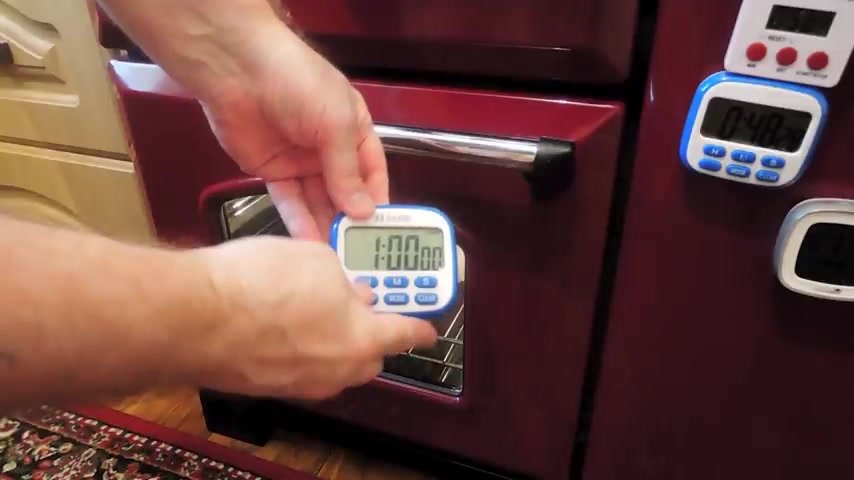
Set your timer for at least one hour now , I say at least one hour , as the time may vary , depending on the temperature of your house .
And while that's proofing that you need to grease a 900 gramme or £2 loaf tin with lard , butter or oil , I like to use lard for this .
No set that aside for now .
Once your proofing time's up , your door should have at least doubled in size .
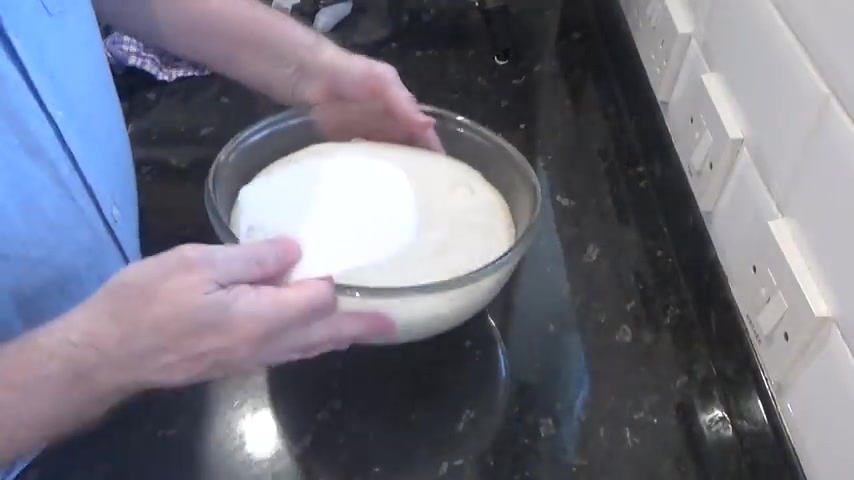
Mine is looking very good and well written , so I turn it out onto the bench and knock it back .
That simply means get all of the gas out of it .
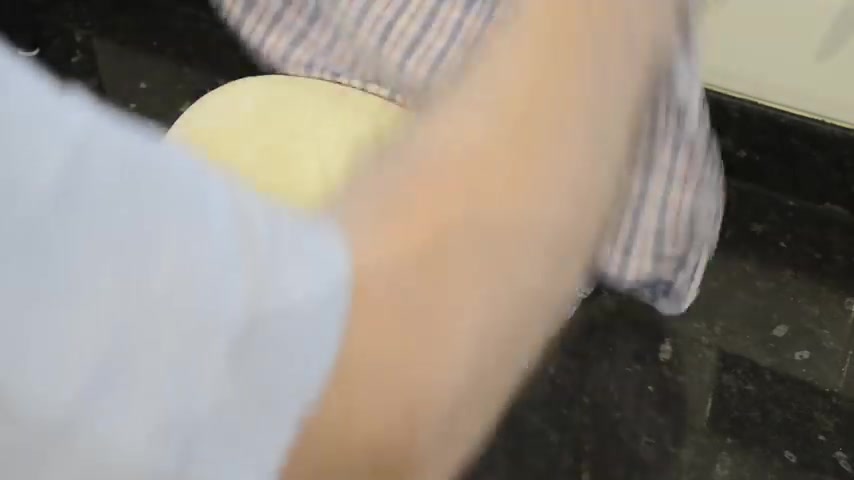
Once your dough is degassed , form it into a sausage shape as shown .
Try to stretch the outer skin of the dough as much as you can .
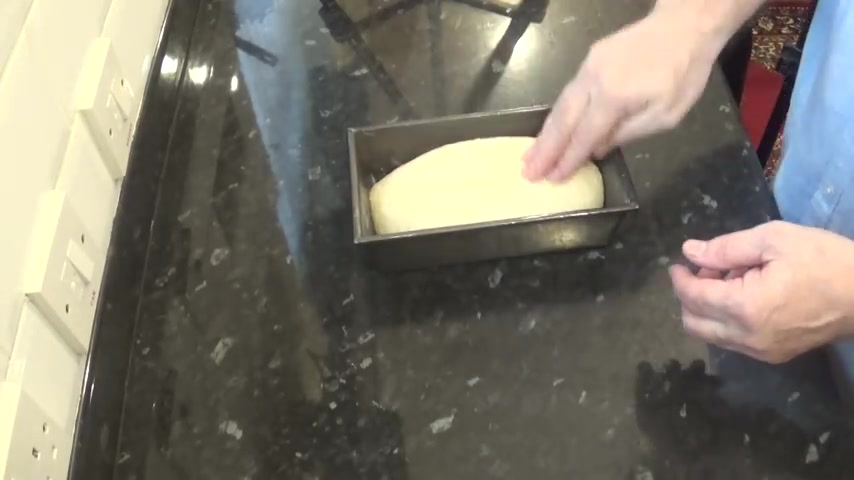
Place the form dough into your prepared loaf tin .
Sprinkle a little flour on the door and cover it with a lightweight dry cloth .
The dust in a flour will prevent the dough from sticking to the cloth .
You leave a couple of plates in a cloth at the top of the tin , and that will allow the dough to rise unimpeded .
Now get that into the warm spot .
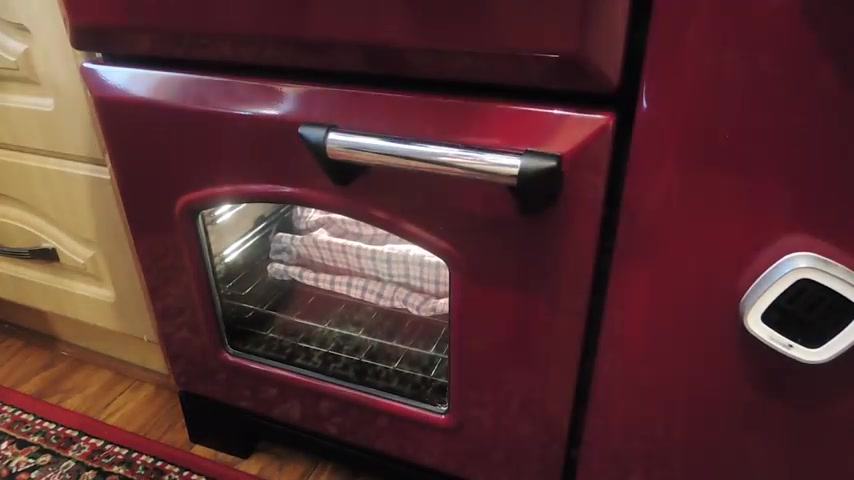
Mine's going back into the oven with just the bulb on and set your timer for 30 minutes .
This time .
OK , it's been 30 minutes , so I need to take mine out of this warm spot and let it sit on the bench for a further 10 minutes while the oven heats up .
And as you can see , mine is rising very well , and it's still got about 10 minutes to go before turning on your oven .
Place a pan of hot water on the very bottom of the oven , and this is just hot water from the top , about 50 Celsius and nuts around 100 and 20 F .
The steam created from this water will make the top of the loaf very crispy .
Now set your oven to 100 and 80 degrees Celsius .
Not 3 55 F or gas mark .
Four .
OK , the oven has been heating up for the last 10 minutes .
Time to prepare the loaf .
Now take your baker's lame or blade and make a slush right down the centre of the loaf .
If you're not confident in using this tool .
Do it a little at a time like this .
Once you're happy with the slice , get it into the oven and set your timer for 30 minutes .
And while I love speaking , I hope you don't mind if I give my two recipe books a bit of a shout out .
The books have lots of our favourite , easy to follow recipes from our work kitchens in them .
Both books are available in the website shop , along with lots of other equipment I use in the videos and by popular demand .
The skeleton style oven gloves will soon be available , too .
Just click on the eye icon top right of your screen , and that will take you directly to the website shop .
Once the time's up carefully and slowly open the door so you don't get a blast of steam in the face and get it out of the oven and take it straight out of the tin .
Now , if the bread is sticking to the tin that you use , there's a couple of explanations why Number one .
It hasn't been greased properly , and number two the tin has probably lost its nonstick coating .
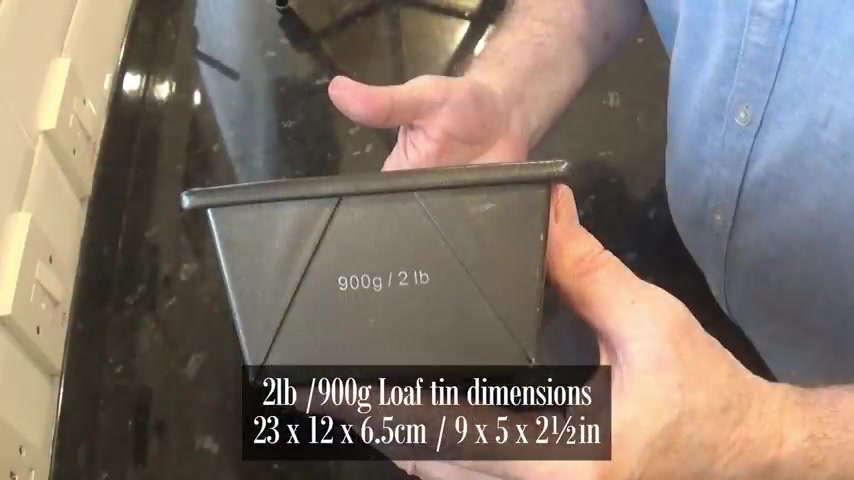
I'll leave a link to the UK Amazon page in the description box below for this tin that I use and I've never had a loaf or cake .
Stick to this brand yet , and I'm not being sponsored by this company , by the way , but credit where it's due .
Now place it back into the oven in what I like to call commando style and increase the temperature to 210 Celsius at 4 10 F or gas mark seven and set your timer for a further six minutes .
This will give the loaf a rich golden brown colour and a much crustier texture .
After the time's up , get this beautiful loaf of bread out of the oven and onto a wire rack to cool for a while , and it looks magnificent .
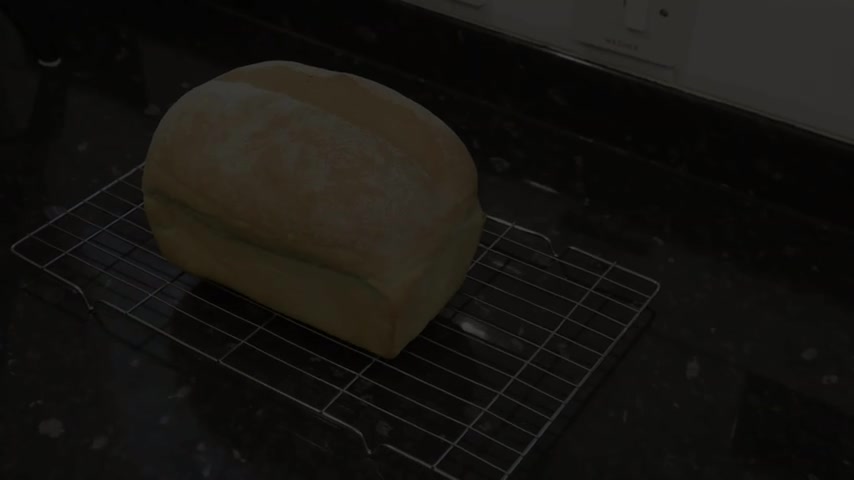
Once it's cooled , I'll come back , cut a couple of slices off and have a little taste .
OK , the smell of my kitchen is so amazing it's still on the warm side , but I can't wait any longer .
Time to cut a few slices off , and as you can see and here it's really crusty and the crumb inside looks soft and light , and you just know it's going to be delicious .
right .
I'll try some of that encrust bit with a little of my homemade butter , and the key to making beautiful bread is get your measurements correct .
Digital scales in grammes can't go wrong And , oh yes , there is nothing better than a slice of freshly baked bread straight from the oven .
Absolutely delicious .

You can't not give this simple loaf of crusty for mouse bread a big thumbs up guys , and it's so very simple to make and from us at the beginning .
Here is the latest list of my Patreon and PayPal supporters , and they are .
Marie began , Georgina McDowell , Michael Churchill , Michael Kate , Bartolome Josh , Ian McClelland and there's also three who wish to remain anonymous .
Thanks very much , guys .
I really do appreciate all that you do in supporting the channel .
Well , thank you again for watching please like share comment and subscribe by hitting the circle above .
If you do subscribe , activate the bell icon next to the subscribe button on my channel page , and by doing that , you'll be automatically notified every time I upload a new video .
Partnership
Are you looking for a way to reach a wider audience and get more views on your videos?
Our innovative video to text transcribing service can help you do just that.
We provide accurate transcriptions of your videos along with visual content that will help you attract new viewers and keep them engaged. Plus, our data analytics and ad campaign tools can help you monetize your content and maximize your revenue.
Let's partner up and take your video content to the next level!
Contact us today to learn more.