https://www.youtube.com/watch?v=S6DJVdLINzI
Making White Bread at Home
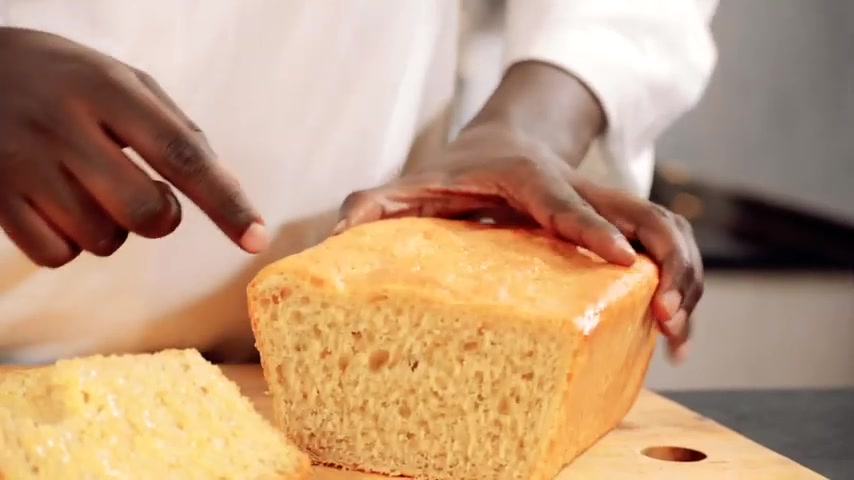
Hi , I'm Chef Rafael .
And today's episode of Baking with Chef Raffel , I'll show you how to make a simple white bread .
It's nice on the inside .
You can see and crusty on the outside .
Now it's a very delicious uh recipe and very simple .
You'll see the ingredients .
Let's get started .
So if you're new to the show , subscribe to the channel so that you are notified , you have a new recipe .
And what I love about today's recipe is that it's simple .
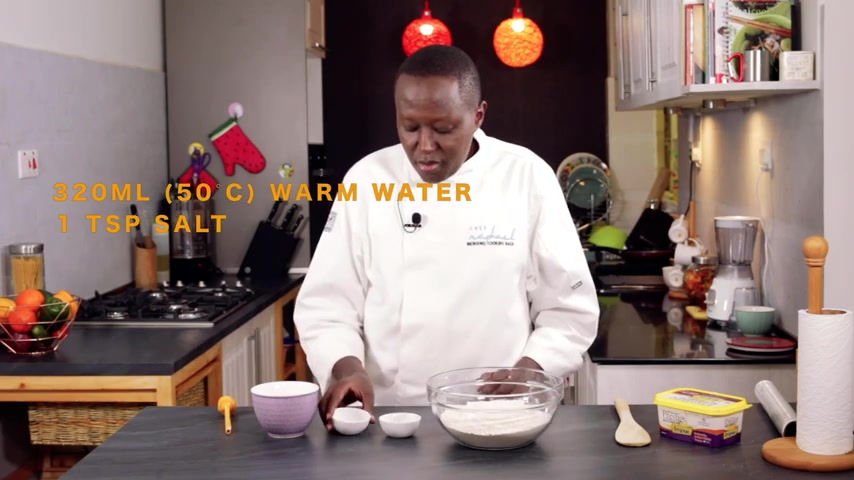
It only has four ingredients , water salt , yes and flow .
So for the water , you need it at 50 degrees Celsius .
How do you know that is either by having a probe thermometer like this one right now .
It's at 48 48 is still fine because what usually happens when it comes to yeast , yeast , it needs some warmth and something to work on .
In this case is the flag salt is for completing the flavor .
So you just mix all this together .
And if you don't have a pro theme and I'm sure not , this is not something that many of you would have .
You can just tell by if you dip your finger in at 50 degrees to not be too hot , to not be hot , to burn .
And it will not be on the warm side .
It will be on the luke warm side .
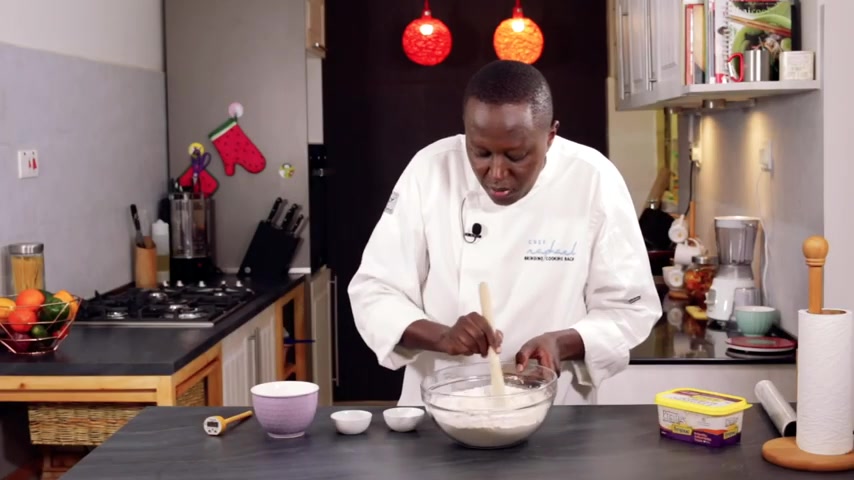
So we'll mix the yeast and the salt first and then create a well at the center where we pour the water .
So I'm using a wooden sparkle that first mix the water into the flour and add slightly more .
So that's good now to make sure that all this flag gets into the dough .
What I try and do is um use my fingers to like that .
You press the door and what I'm literally doing is making sure that the flat gets into the door .
So that's a technique I usually use .
Now at this stage , what I'll do , I'll actually transfer the mixture to the surface so that I have more room to need the door .
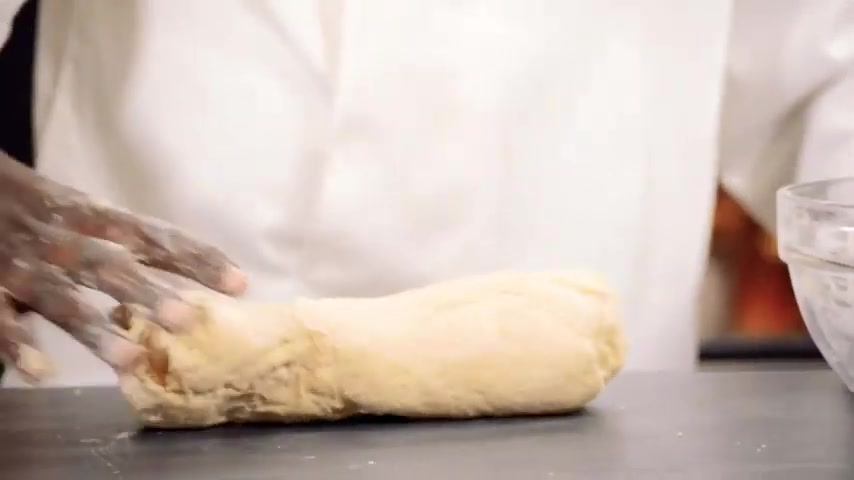
And the technique that I usually use is roll it into a , a strip like that and then turn it .
So I'll repeat this process for about 4 to 5 minutes and all you just need to do is roll it , turn it and then roll it again .
So this is ready .
You can see it's nice and smooth and it's not sticking to the surface , make it into a ball like that .
And um I'll place it back to the bone that I was using and then take a plastic wrap and cover it .
The idea about covering is to make sure there's no air getting into the um the dough .
So when you cover it like this , we are actually going to place it in a warm place .
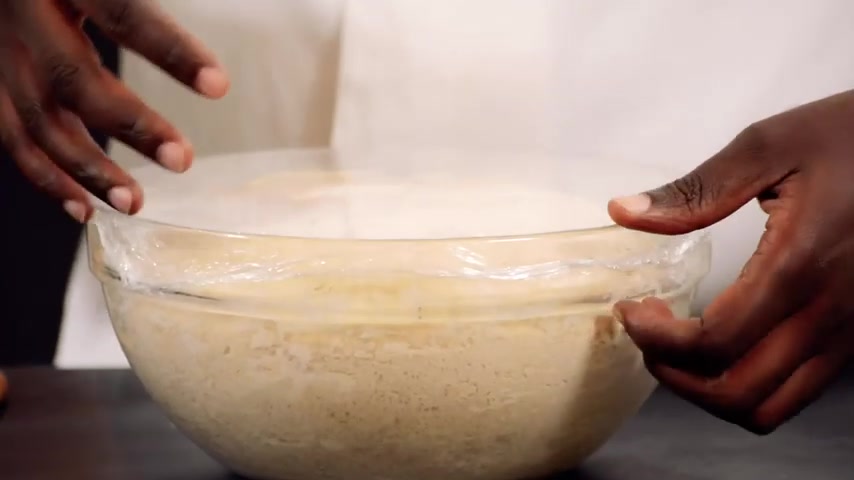
So , you know , it's really uh it was already proved when it's double its size .
So it will rise , rise and rise and almost fill up this bowl .
So it does take about 30 minutes to um to double in size .
Remember what I said is that needs to double in size .
The next stage is after this is to put it in a baking tin , uh just a little bit of the oil and then brush it all over the surface , the bottom on the sides .
So this will prevent it from sticking .
And also it will also help in the cooking .
The the bottom side will actually be nicely brown .
Now , if you leave it too long uh to rise , then it it actually takes longer than it has .
What will happen is that it will like start to ferment and then it will even change the taste .
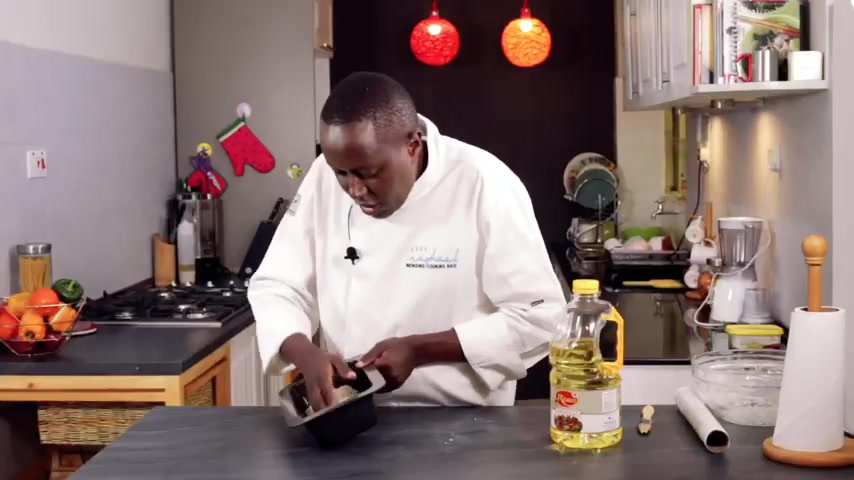
So right now , what I want to do is to shape it into the size uh the length of the baking pan .
The idea is just to place it inside a baking tin just like that , make sure it has touched the whole surface .
And also on the sides , we will cover it with a click film plastic wrap because now we want it to rise again and then after this stage is when , now we'll actually put it in the oven , apply some oil on the surface of the plastic wrap , especially the , what I'm doing is applying on this side and then I'll turn the paper , applying it like that and then done it like that .

Because what will happen is that the bread will start rising and as it starts rising , it will touch , uh , you want it to rise until it forms a dome and it will start um touching the , the plastic crap .
And if you don't apply oil , when you go to remove it like this , what will happen is that the dough will easily puncture and then deflate and we don't want that .
So we are just making it nonstick .
It will take about 20 minutes , 2030 minutes again , depending on the warmth of your , of your kitchen .
Um until it actually rises and then it forms a small dome on top of the baking tin .
So as you can see the um the bread has risen now , at least you want it to rise to the extent where that it forms a carb on the top like we know bread usually does .
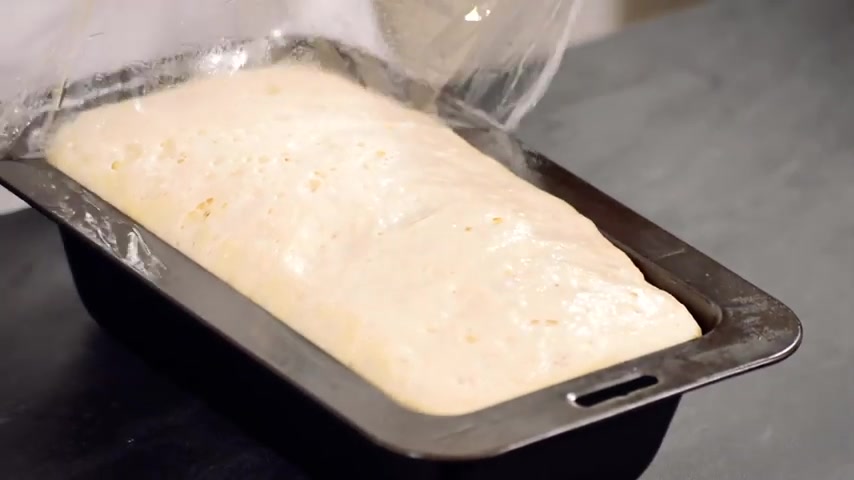
Now , if you don't do that , what will happen is that if you don't let it rise um enough time to rise to form , at least that dough , what will happen is that it will have a dense looking bread and now when it comes to removing the uh plastic film .
Remember you put some oil .
Now , at least that will help when you're removing it and now we'll place it in a hot oven .
Uh We start at 220 degrees and then after about 10 minutes , we'll reduce the heat to 1 80 for it now to uh continue baking .
So the bread is ready , it was even cooled down .
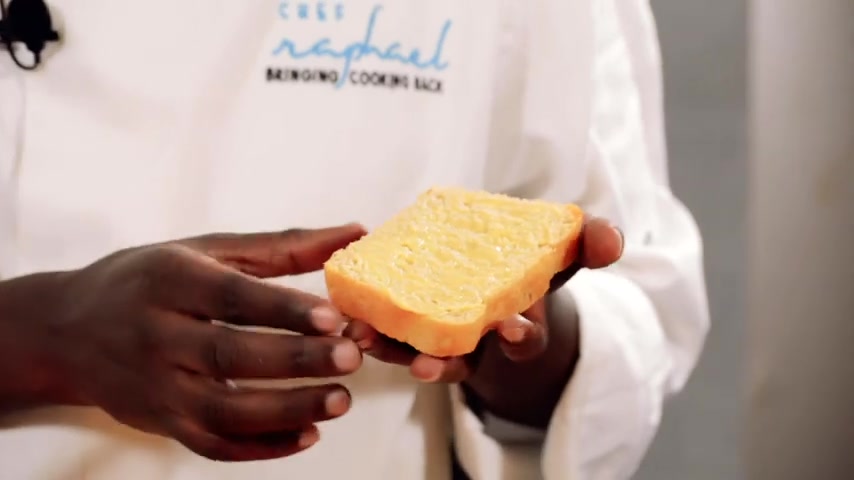
Um It took about 23 minutes to bake how you know it's cooked is that it will actually start browning on top evenly .
Um And as you can see when it's fully brown on all sides and the good thing about making your own bread , you can control the quality .
Now , this one doesn't have any sugar .
Um It's simple .
I chose this recipe because of how simple it is and yet it produces very good quality bread .
I have um online course on how to make bread .
I'll put it on the link on the description below .
So take the call so that you also learn more about bread .
I have brown bread and other types of bread on that course .
I've been your host , Jeff Rafael until next time I'm signing out .
Goodbye .
Are you looking for a way to reach a wider audience and get more views on your videos?
Our innovative video to text transcribing service can help you do just that.
We provide accurate transcriptions of your videos along with visual content that will help you attract new viewers and keep them engaged. Plus, our data analytics and ad campaign tools can help you monetize your content and maximize your revenue.
Let's partner up and take your video content to the next level!
Contact us today to learn more.