https://www.youtube.com/watch?v=DwqNEwqpJ08
How To Draw Faces- Side View - CARTOONING 101 #3

What is up youtube ?
I'm BJZ .
And this is episode three of cartooning 101 , a new series of videos that I'm doing on youtube showing you the basics and fundamentals of cartooning .
On today's episode , we're gonna be focusing on drawing the head from the profile perspective .
So basically turning the head all the way to the side and drawing that I'll give you some guides that you can use to make sure everything is lined up and some tips and tricks that can turn you into a better artist and cartoonist .
So if you wanna learn all about that and more , keep watching .
Hey guys , welcome to episode three of cartooning 101 .
If you have not watched the first two episodes in the series , I highly recommend you jump back and check those out .
Uh Those were also focused around drawing the head .
In the first one , we took the head from a front facing position and then the second one turned it a little bit to the side for that three quarters perspective .
And then this one , we're gonna do the profile , but we did learn some tips and tricks and some techniques in that first one that are going to be used in this one .
So it's uh highly recommended you watch those two first .
This will be the last one in the head series .
Uh But today I'm using an ipad Pro 12.9 inch with procreate .
This is the first GEN model in the Apple pencil .
Uh But that being said , this is not a digital tutorial series .
We will not be discussing digital art .
I'm doing this just basically to speed up the process , you'll see some of the things that I can do on here will make these videos go a little bit faster .
Uh So if you don't have an ipad , if you don't have a tablet or a computer to draw on at home , as long as you have a piece of paper and a pencil , you can follow along with any of these videos .
So let's go ahead and jump into it .
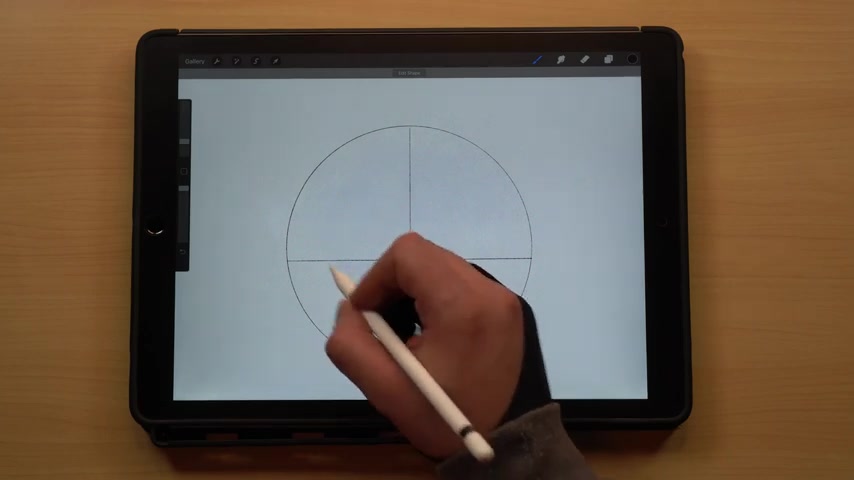
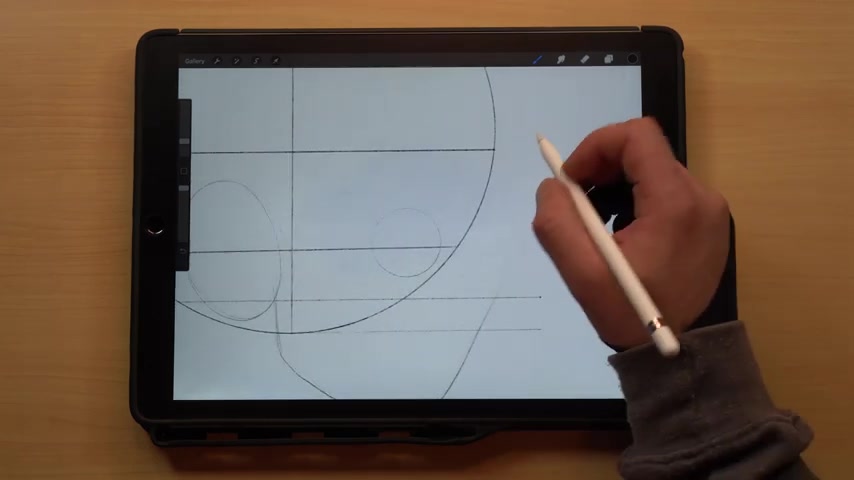
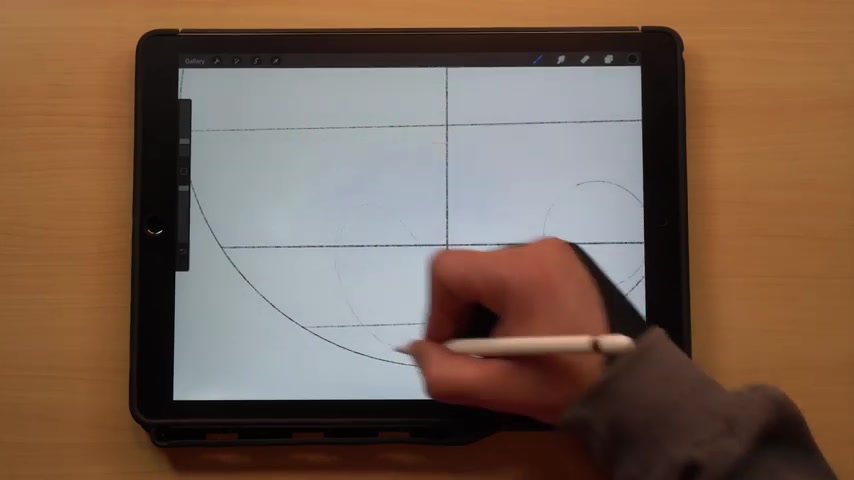
And like I stated in the , the first video and the second one of the series , basically all of these heads , it doesn't matter if you're drawing a human or an animal or anything , it's all gonna start with your basic circle shape .
Now , this one much like the first video we're going to break this into half by drawing a straight up and down vertical line and then we're gonna break it into half again with a nice horizontal line here in the center .
So this gives us the four even quadrants just like the first video in the series .
Now we're gonna go down about halfway here , draw another horizontal line and then we're gonna have the face facing to the right .
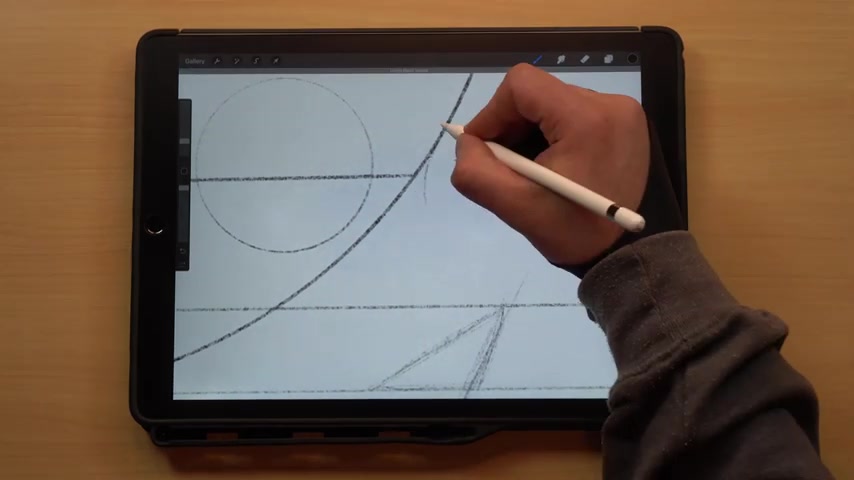
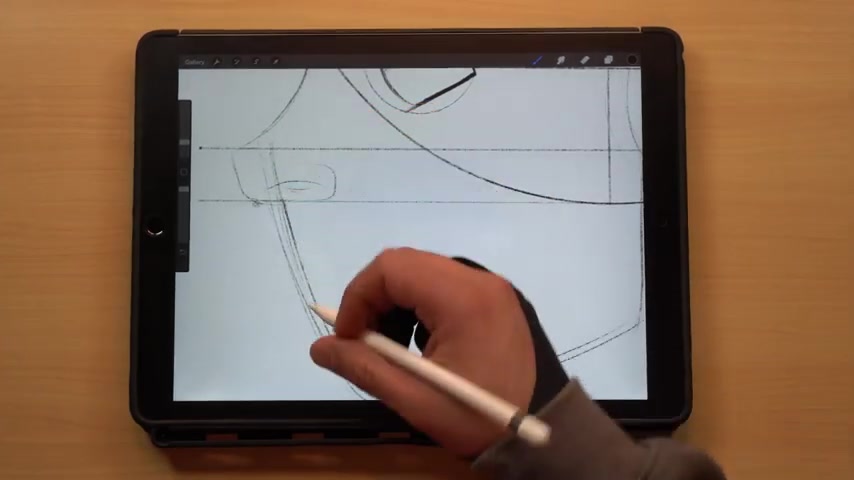
So the next thing we need to do is draw the nose line .
So let me get this one locked back in .
Oops , go ahead and redraw that one .
So we're gonna go about halfway down here .
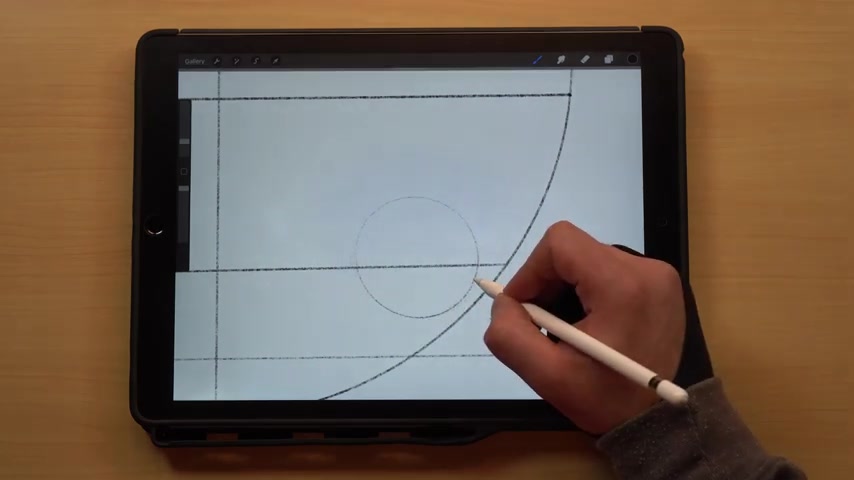
We're gonna draw this line and I'm actually gonna pull it out .
Like I said , this one's gonna be the nose lines , so we're gonna pull it out further .
It's not necessarily going to go out this far , but we can erase later if we need to .
And then from the bottom here , we're just gonna follow a line directly across the bottom and drag this circle line all the way out .
So there we are left with the , the start of the head .
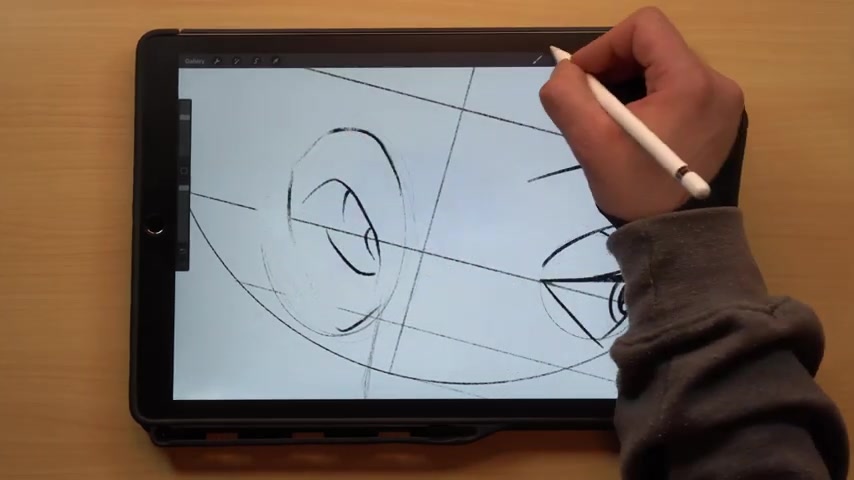
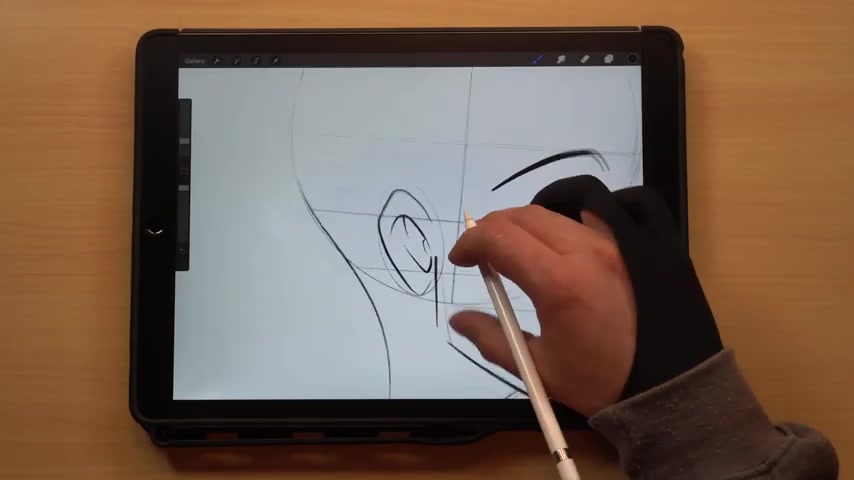
So the next thing I wanna do is go ahead and throw in the eye .
Now , the eye , once again , we're just gonna start with a circle and the eye is like I said , uh basically a sphere underneath .
We can do some extra lines here to kind of bring out the shape of the eye but uh removed from the skin and everything else .
The the eye is gonna be that spherical shape .
So we've got the eye there .
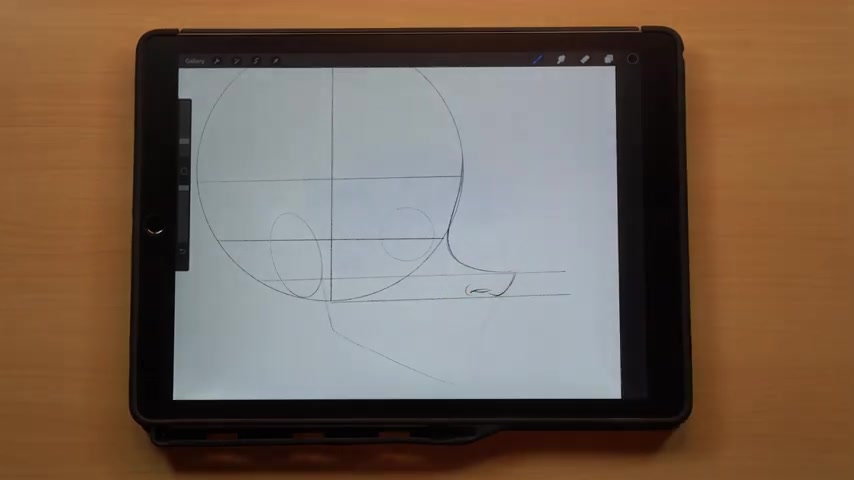
And the next thing we need to do is add in the ear .
So the ear is gonna go in this back section here and we can just do a circle kind of centered in this section in between here and here .
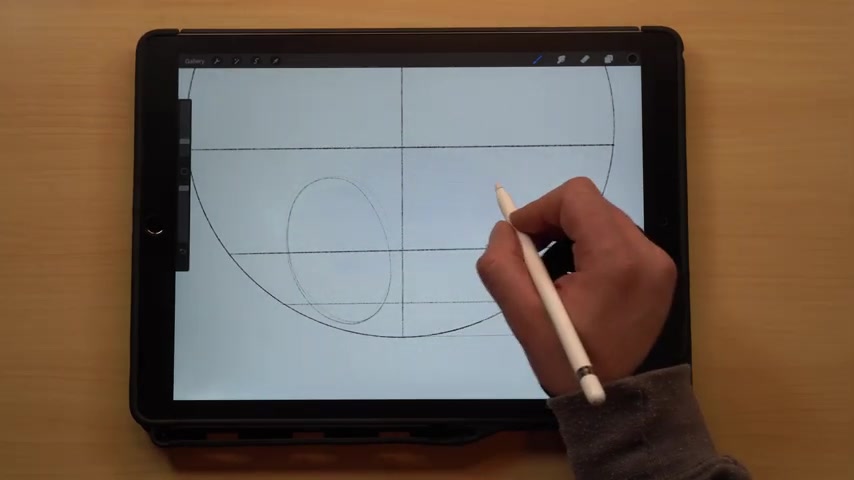
And it's gonna come down to about the bottom here .
Like , so go a little bit higher than the eye because if you kind of feel along the side of your face , your ear is gonna come up to uh about your brow and we're gonna drop this brow down a little bit here .
So if you kind of feel along , that's about where your ear is gonna be and pretty close to this center line here .
So now that we've got our basic shape , I'm gonna go ahead and duplicate this layer just so I can come back to it later .
And that's gonna make the uh the rest of the tutorial go a little bit faster and that's what I was talking about .
So now that we've got this in , let's go ahead and draw a female character .
First thing we're gonna do is we're going to come down from the front of the ear here and this is gonna be that jawline in the back coming down , we're just gonna kind of curve this around and then bring it back up to the front of the face here .
So this gives us the the basic shape of the chin .
They got the jaw coming down the jawline into the chin and up into this section here where the nose is gonna be now these lines that we drew , if you remember from last time , this was the brow line , this was the eye line .
This is going to be the top of the nose and this one is going to be the bottom of the nose .
So that kind of gives you an idea of what we're looking at here .
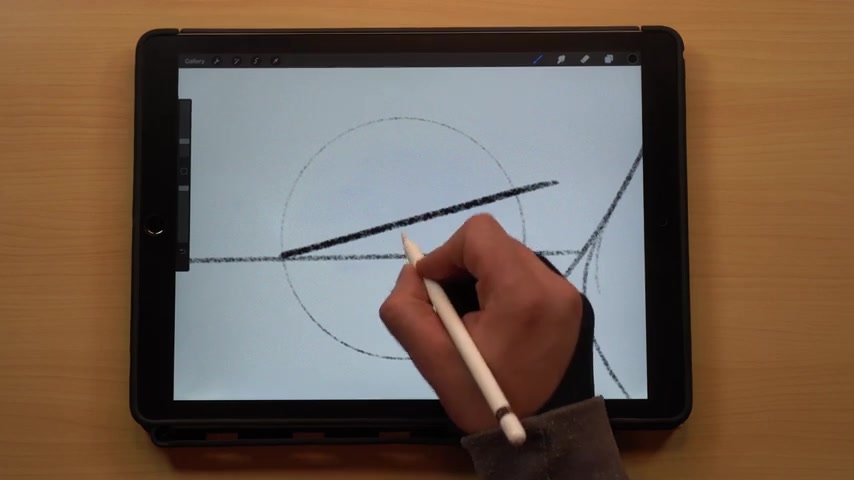
So let's go ahead and clear those out .
Like I said , this is why I'm using the ipad and stuff like that .
I can draw and write in and just erase really quick .
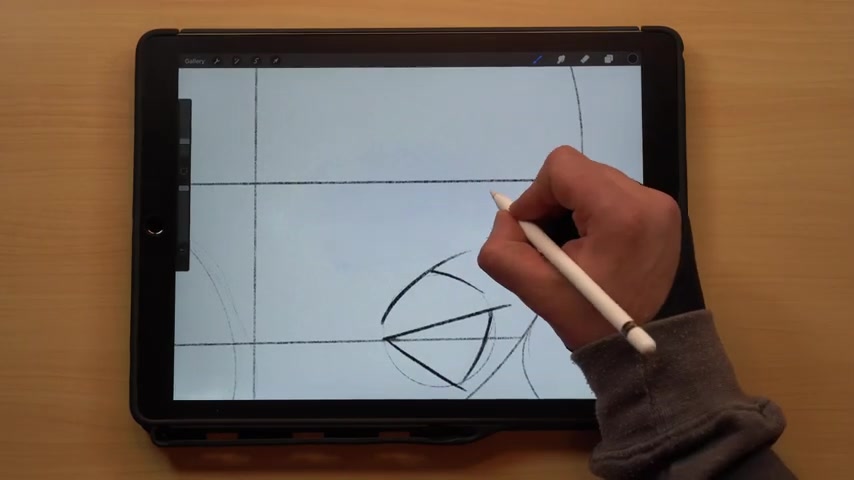
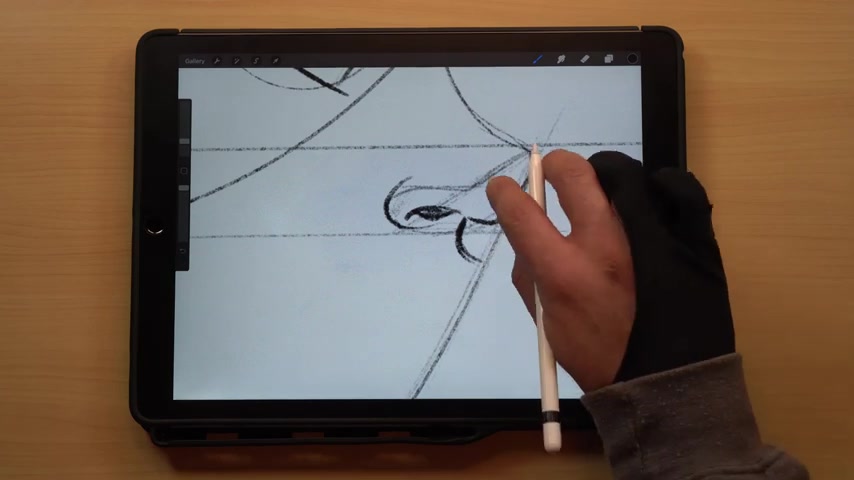
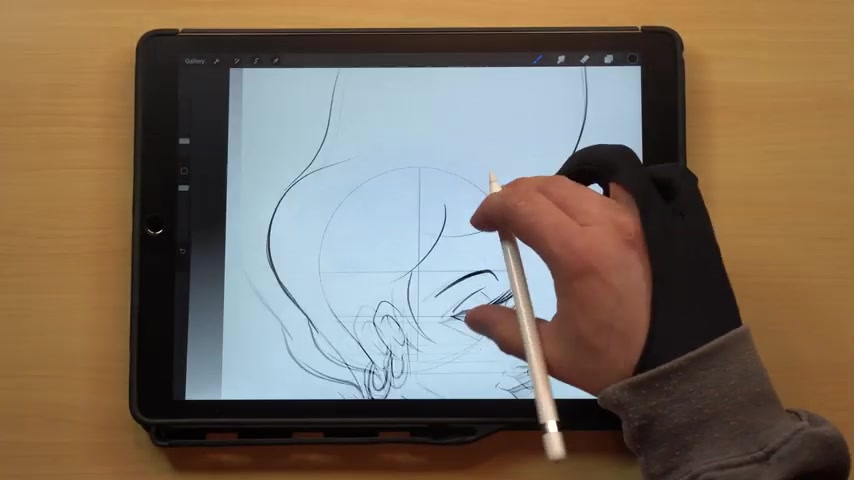
So the next thing we're gonna do is we're going to draw in our nose .
And like I said before , in the videos , the nose is gonna be kind of this triangle pyramid shape so we can kind of block that in there .
So we know where it's gonna go and we'll kind of tweak that once we actually draw it in .
Now , the , the bridge of the nose is gonna follow along this forehead line and then as it gets to this eye line right here , it's gonna start to curve out .
So as you can see , as I'm pulling this down , I'm starting to curve out and around and that's gonna connect to that top of that nose .
So basically , this motion right here that I'm doing and I'm erasing this , not because I'm messing up , but I just want you to see the natural motion that it's taking .
It's just bringing this down and pulling it back out .
It should be just a nice clean motion and you can see it just connects really nice to the top of the nose there .
So this is what we're left with so far , that's the basic shape of the head that we've got .
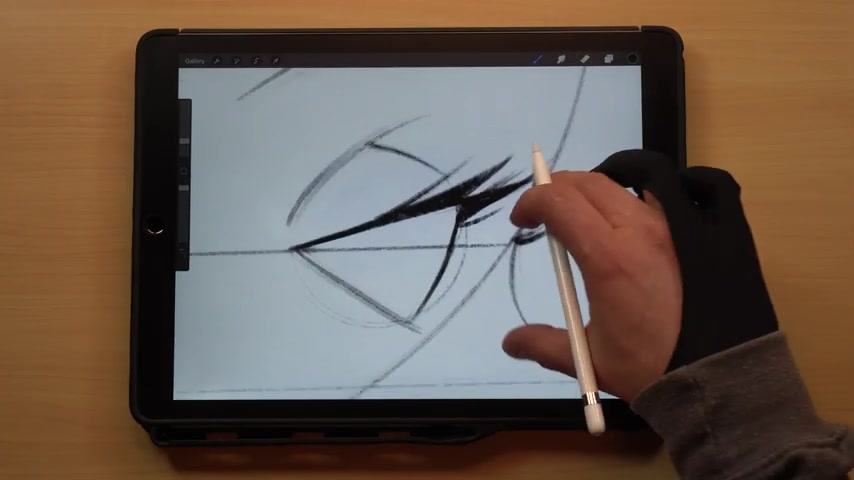
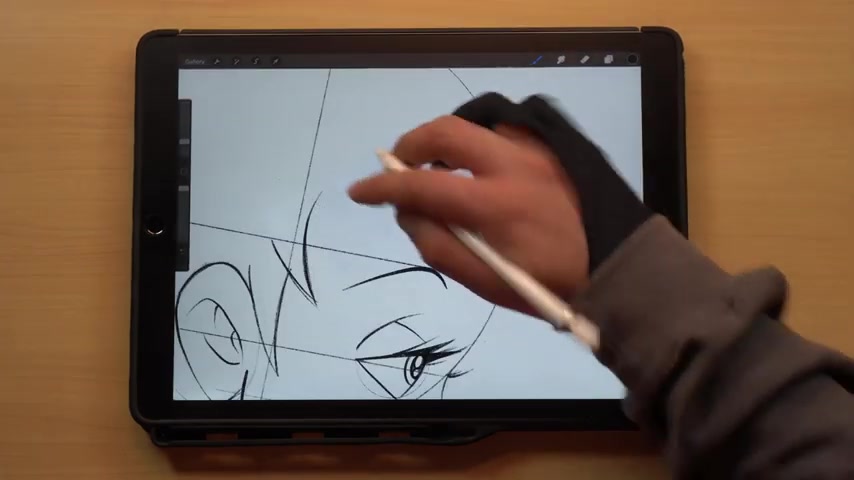
So next up , we can go ahead and kind of work on this eye for the eyes .
I usually , especially for the females .
I like to do kind of like a triangle shape , usually bringing the top out at a little bit more narrow angle compared to this line .
So this this angle here is pretty close as compared to when we pull it out here .
This is gonna be a little bit wider angle and it's gonna come down a little bit more .
So you can see the the angle that makes this one smaller , this one's a little bit bigger here and then we can kind of pull this eye around here .
I show you what that looks like and now go ahead and kind of follow this around .
Like I said , you can kind of see where this eyeball sits underneath the skin and this is going to show us where kind of the the creases for the upper eyelid need to go .
So we can pull those in just like that .
Uh the top crease .
I usually like to have a little bit more angled here at the top , not following exactly around the eye , it'll come up a little bit further and then bring this one down at kind of an angle too .
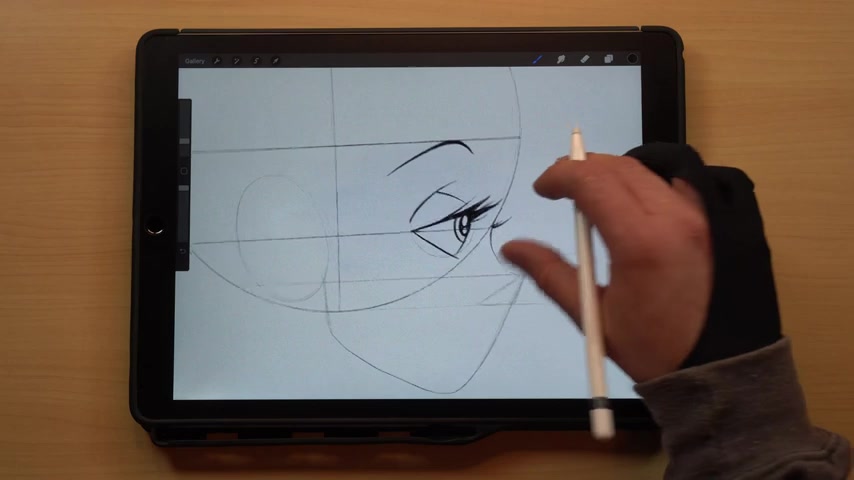
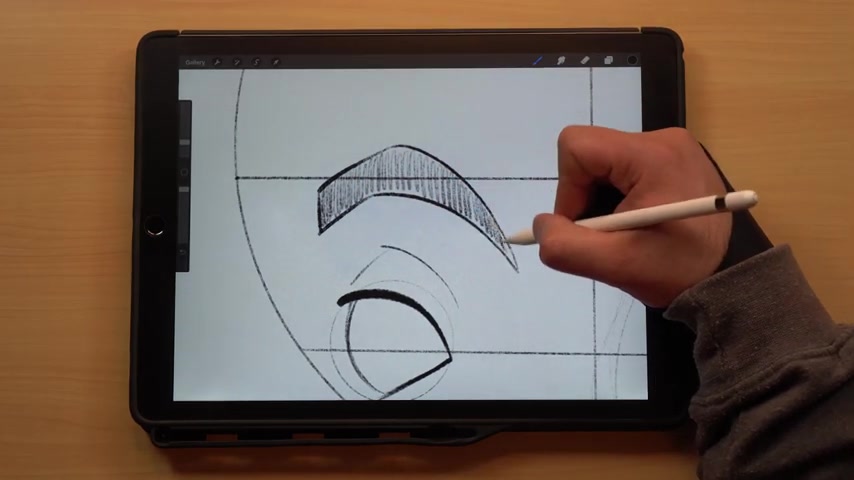
So that gives us the eye and then we can go ahead and add in the eyebrow up here .
Of course , with females , the eyebrow is going to be quite a bit thinner than a male's eye eyebrow .
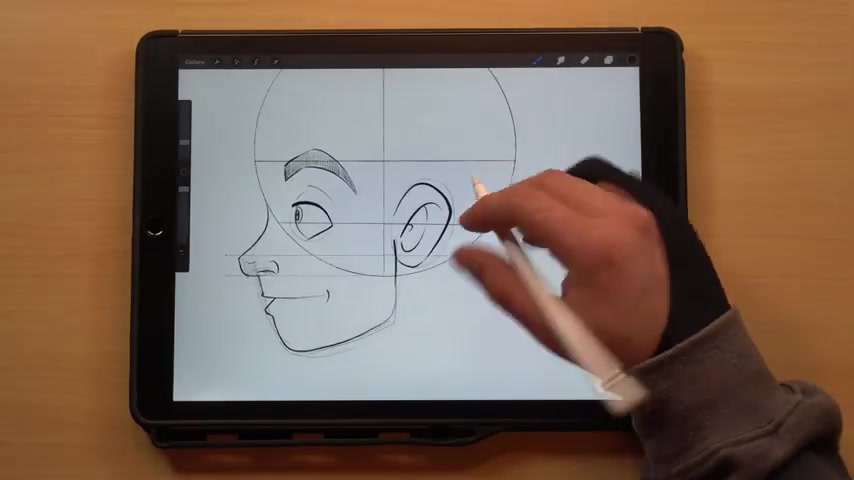
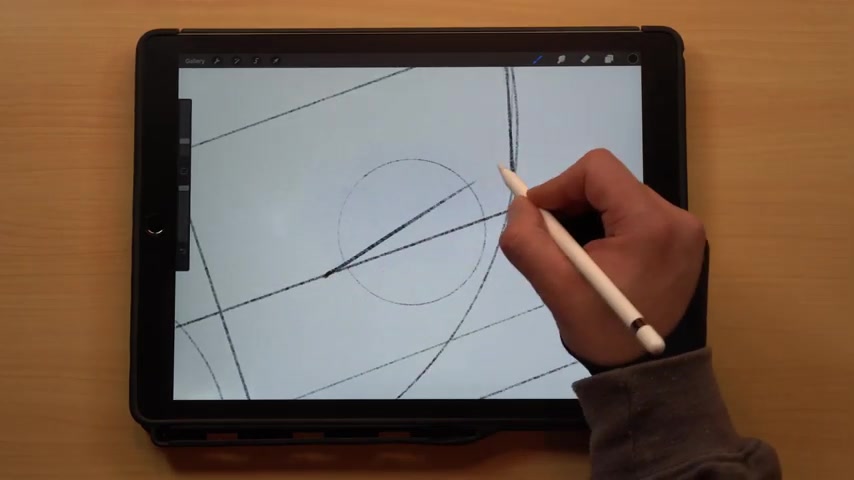
And that's one thing to definitely keep in mind and you'll see here too where I drew the circle .
I think this is uh the thing , I , a lot of people struggle with drawing profiles and it comes down to the eye placement and kind of the nose placement as well .
And I think the eye placement is one of the biggest ones , people will either have it back too far or they'll have it set forward too far .
So if you see here , I've got it really close to this front section .
I don't have it quite touching because you don't want it touching that bridge of that nose , but you want it pretty close .
So that's one of the keys to definitely kind of play around with uh over and over again , so you can get that locked in .
And I think that's one of the things that's really the most important in making these in the correct perspective .
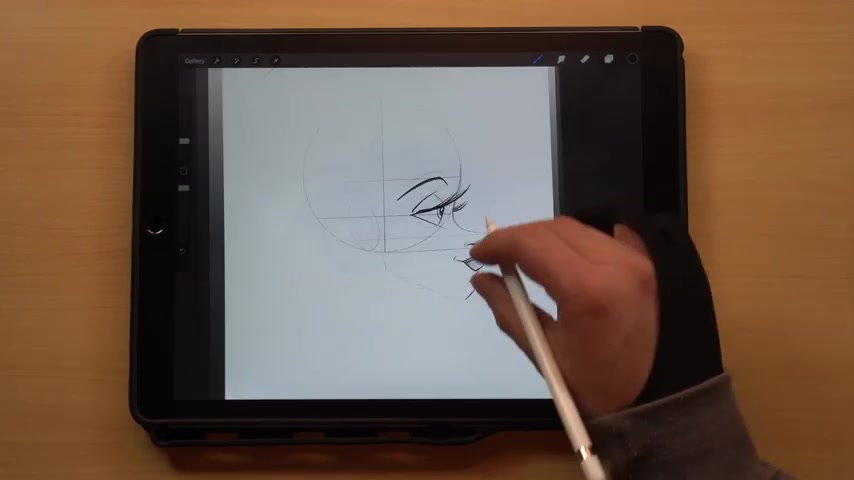
So now that we've got that , let's go ahead and add in some eyelashes here .
And once again , since this is a female , we'll add these in , we're not gonna go super crazy on a male , obviously with eyelashes because it's gonna read super feminine and then depending on uh you know how long you have these eyelashes , you might wanna go ahead and add some in that are visible coming from the other eye that's hidden behind the side of the head .
Once again with these videos , I'm not going over , you know , super crazy on how , how to draw the eyebrows and the eyes and everything else .
We are going to focus on that in a separate video .
So you can kind of just see what I'm doing here and kind of adjust it to your own work .
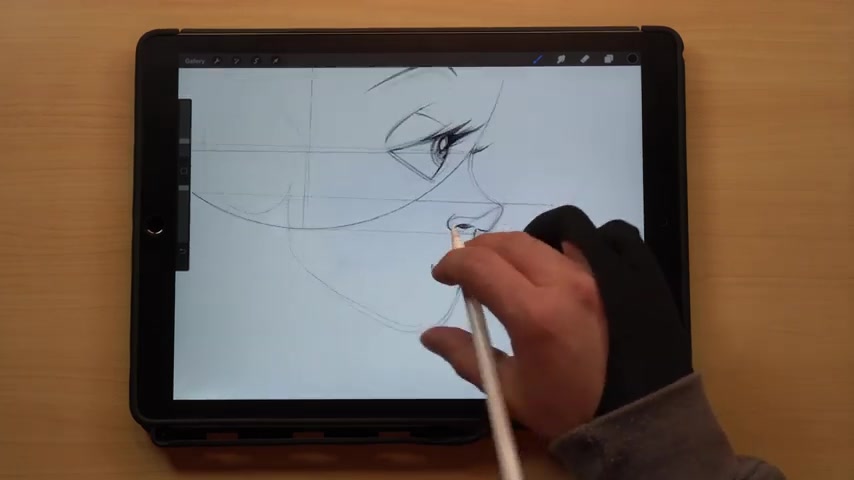
So we'll go ahead and add in the pupil there and then the iris coming around here in the back and now we've got the eyes laid in so we can go ahead and work on this nose now .
So obviously , this is gonna be the top of the nose here .
This is the bottom .
So as this comes down and around , we'll kind of pull it in and make it a little bit more feminine here and then do the back and then the , the nostril here , this is gonna kind of be the bottom so I can pull that back and see how everything connects .
So everything's looking good so far .
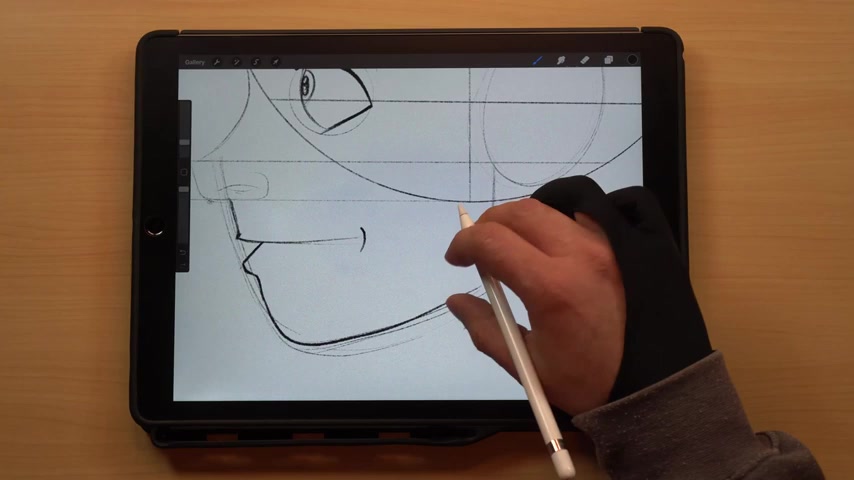
Next step that I usually do is the lips and with the lips , you want to start here kind of further back than what you have this line you want .
It kind of right here .
In this nose area and you want that curve of the top of the upper lip where it connects to kind of come out and touch right there and then I'll pull this out a little bit and this is gonna be the , the top lip here that I'm pulling out right now .
So you can kind of see that from there .
Bring this down and around into kind of a smile here .
OK ?
And then we need to do the bottom lip .
So this one's gonna come down and stick out just a little bit further and come out from that top one and we've got the bottom lip .
So now we just need to connect everything with the jaw and this is gonna curve out just a tad bit where it connects to the lip and pull that down and around .
You'll see it'll come out a little bit further than what we initially did .
The jaw line just to or the chin line just to give that extra crease right there under the lip .
And then we'll pull this back in around .
All right , looking good .
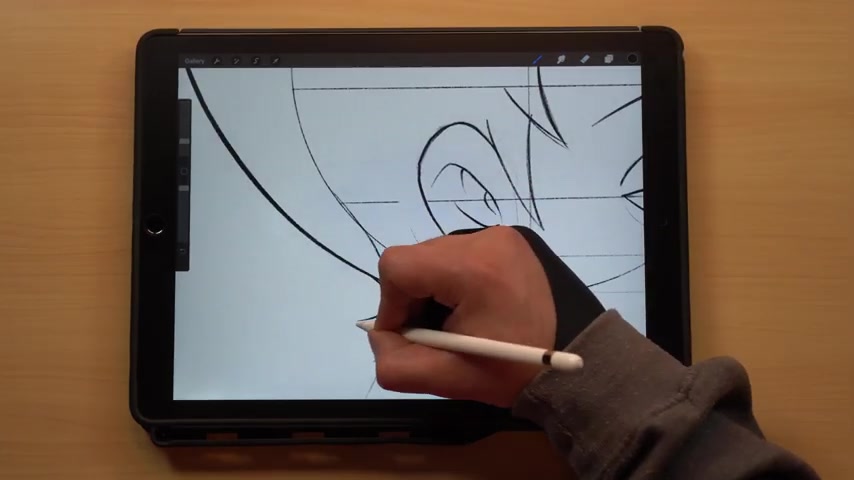
So next up , then we can go ahead and do oops , do the ear here .
And once again too with the ear , we will talk about doing ears later .
So I'll just kind of block this in fairly quick and we won't worry too much about talking about the , the anatomy of the ear or anything like that with this video .
Ok .
So we've got the ear in there .
I think the ear is looking a little big towards the back here .
I'll just pull it in .
That's a little bit more natural looking there .
That's one of the things too .
Once you have these lines in place and you've got all the guidelines and stuff .
Don't worry about having to , to go back in , in a race if something doesn't look perfect .
It's kind of a uh a back and forth playing around to make sure that you've got the perspective and make sure that everything lines up and like in that case , you know , make sure that the ears aren't too big and make sure that the , the eyes are sitting in the right place and the nose comes down and the , the lips come down in the right place as well .
So kind of pull this neck back around here so you can kind of see where this all sits and then let's see here .
We'll go ahead and we'll pull this down into the neck as well .
Ok ?
There's that .
So let's go ahead and just knock in some hair here real quick .
Like I said to you with the , the hair , we will talk all about that in a upcoming video as well .
Uh for hair , honestly , I , I talked about it , I think in the last video there's so many different options and and resources out there to get reference photos for hair .
Uh I mean , with just kind of hairdressing sites and learning how to cut hair and what kind of hairstyles are in fashion and popular .
I mean , you can just type in hairstyles for men or hairstyles for women and get just quite a bit of valuable information just from that .
So I would definitely recommend going that route if you need to get some ideas for hair , that's a , a pretty good choice and a pretty good route to go .
Just Google search that and be done with it , the hair , uh just like a lot of different things with your drawing is going to really kind of relate to the viewer .
What type of character this is ?
So I'm drawing this kind of like a short , almost like Pixie Punk Rocky type of thing .
So you can maybe see her having an attitude and maybe wearing a leather jacket or something like that .
But that gives you the the basic idea of this character .
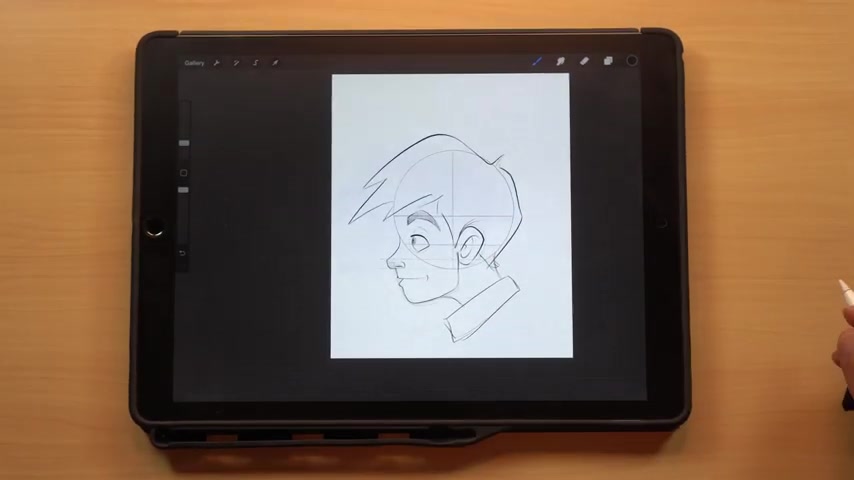
And then from here , you can go ahead and add in some highlights and or some shading to , to kind of bring out the design a little bit more just by filling in these lips on the top of the nose and or the bottom of the nose there for the shadow and kind of thrown in a , a shadow here for the upper eyelid and then even in here for the , the ear and then down here underneath the chin or the , the jawline here where it connects to the , the neck .
So there we go .
That is a profile view of a girl from start to finish .

So for this next one , let's take what we learned and do a boy .
So we'll go ahead and turn off this layer and turn back on this one .
Like I said , this is what really kind of speeds up that process of , of doing these .
So we've got the boy and let me go ahead and flip this so we can kind of do this in the opposite facing direction .
So we're gonna flip this horizontal .
There we go .
So we've already got the eye laid in , we've got the ears , we got the brow line , the eye line , the top of the nose and the bottom of the nose .
So let's go ahead and get started .
Um One thing with the , the boys to remember is the jaw line and just the overall kind of angles and stuff like that is gonna be a little bit different .
You're gonna have a little bit harsher lines and a little bit more just like masculine features , especially if you're doing men , then it's gonna be even more .

So if you're doing boys , it's gonna kind of be in between the man and the woman .
So let's make this one kind of like a a teenage boy look .
So let's go ahead and pull out the jaw here or the nose into the chin and the jaw and with the boys , I usually pull this out just um , not as far , just because with the females , we usually leave extra room to do get the kind of that puckish nose into those bigger lips with the boy , everything can be a little bit closer towards the face .
So we've got that in .
Let's go ahead and knock in this eye real quick .
And once again with the boys , you do not want to have that eyelash coming out of the top .
So I usually go a little bit heavier on that bottom or the top just to kind of give the appearance that there are eyelashes there without actually drawing them in .
It works a little bit better to , to make sure that those just have that kind of overall appearance that they are there without physically drawing them in individually .
And then once again , two boys are gonna have bigger eyebrows so you can make those a little bit larger .
We'll just kind of fill this in real quick here .
All right .
And we'll go ahead and do our people here along with our iris .
There we go .
You can see already .
It actually just from the , the eye and the eyebrow .
You do get the feeling that , hey , this does look like a boy rather than a girl .
And then we're gonna bring the nose out and this is gonna come out a little bit different .
It's not gonna have as much as of that tight curve here and back , it's gonna come out a little bit further out and then I usually like to pull it down a little bit more squared off like , so , so we pull back and you can see it's , it's definitely reading a , a lot more male like next up is the upper lips and mouth area .
And for this , once again , you don't want to draw in individual lips , even though , you know , male males do have the individual lips here .
If you draw them in like we did the females , it's gonna look really feminine .
So I usually like to just kind of use the mouth line to break that up and to kind of leave in a kind of indent right here for the top lip and then for the bottom lip , same thing just like a , a little indent right there .
So it , it looks like there's lips there , but you're not really seeing those individually drawn lips and then we'll pull this back in around and this , we're gonna have a little bit more rounded here coming back up .
Let's go ahead and darken this in here .
Uh what you put this part into to represent that bottom part of the nose .
OK .
So the final part here is putting in the ear .
So let's go ahead and knock that in real quick here .
So we've got our ear in there and then let's bring our neck down here from the back and then from the front , just gonna kind of follow this around .
There we go .
Let's go ahead and get that hair in there .
Just gonna do some spiky hair coming off here .
A little collared shirt here .
All right .
So there is our boy .
So that's number two .
How to draw from a profile just using a little bit of a change there flipping everything to do it , the opposite facing direction and then how to use a little bit different angles to make it look like a boy appearance rather than that female look .
So for this next one , like I ended the previous videos , let's go ahead and do a just really crazy uh elongated face .
So uh I should have duplicated that one and I didn't ha ha .
So now I have to redraw everything that'll be OK .
All right .
So let's go ahead and do the circle break this in half and I'm gonna keep everything where it's at as far as the lines go , I'm just going to change .
Were anything else ?
I think the nose and then the , the chin area .
So let's make this uh a female character again .
I'll draw that circle in for the eye once again , kind of look where I'm placing that .
It's pretty close to the front there , but it's not touching all the way , but it's centered on that line .
That's what that line is there for .
Then let's draw the ear in here .
We've got that in now .
Let's go ahead and decide where we want this to come out .
This is gonna be the back of the jaw coming down and around .
I think I want the nose like , really far out here .
So , yeah , something like this haven't maybe even upturned a little bit like that to where the top's actually coming above that line might be kind of fun .
It's gonna be like , kind of like a , uh , the bourgeoisie woman .
And sometimes here too , you might kind of pull this line in .
You don't have to follow this 100 percent to the t .
So if you kind of want to play with that and get a little bit different of a curve , feel free to play around with that too .
This is really the , the time where you get to have fun and throw that perspective out .
Uh Not worry about it with cartooning , like I've said numerous times before .
It's really a lot of fun to just play around with what's possible cartoon .
You don't have to worry about that realism and you can just really come up with some crazy disproportion shapes that make it look like a lot of fun .
That's what we're focusing on with this one .
Definitely .
It's gonna have that weird , just really insane proportion view for a cartoon .
This is gonna be more almost like a caricature type thing , but I think it could be a lot of fun here .
So let's keep going .
And with the eyes .
Once again , this top one , I'm gonna make it to where it's not as big of an angle as this bottom one .
Let's go ahead and throw the eye in there really big brows there , just thick , not big , like a , a man's brow , but just a little bit thicker than what we did last time .
And then get this people in here along with the iris and then let's go really nuts with these eyelashes too .
So these things are gonna be just super huge come way off that front .
Of course , these are gonna come quite a bit out too for the backside there just because they are so long .
We'll get this inside part here and then maybe kind of pull the chin down here just to give it a weird different angle .
Looks like a lot of fun .
We'll just meet this up here .
If we get the line correct , there we go .
And then this neck is gonna be a really elongated neck here in the back .
So we'll pull that out like that .
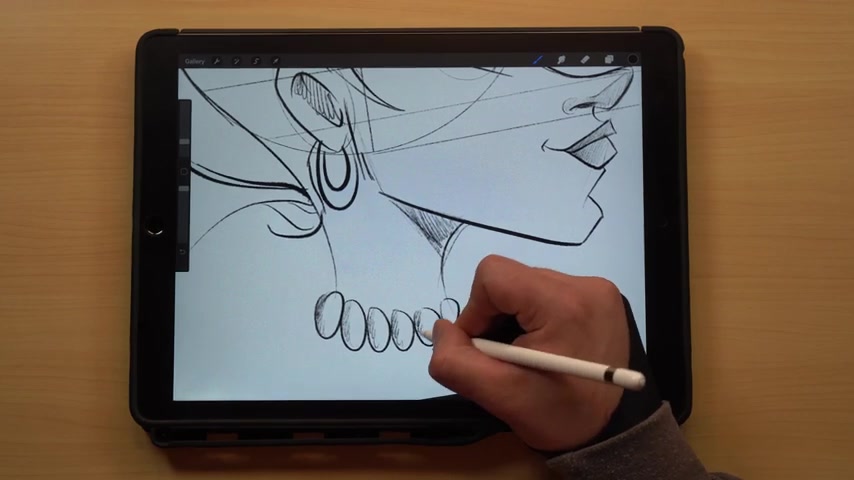
And then down here get these ears knocked in and maybe give her just a really big earring here just like the hint of this jawline coming in front of the ear , not going super crazy with it , but just so you can see that it is coming up there .
Let's do this necklace here around the front and then for the hair , let's let's do some crazy hair .
Here , let me pull this whole thing down .
Do a really fun , big kind of bouffant hairstyle here have these hairs kind of off the back .
It's kind of the upper crust , the 1% the elite .
You can see her like a uh fundraiser in the ballroom sipping on her glass of wine while she eats her caviar .
Something along those lines .
I always kind of like to tell stories as I'm , you know , thinking of the character and kind of getting the feel for their background .
It always makes the drawing so much more fun and definitely let you add some characteristics that you might not have thought about to begin with .
And then once you're done with these two , if you want to go back in and of course , race these lines for that you use for your , your template , you can feel free to do that too and then just do some shading in here and there we go .
So that was taking those same drawing templates that we started with and just kind of elongating and stretching everything out just like we did in the past two videos .
If you remember the first one , we did the kind of bouncer , heavy set guy and just took every thing and spread it out this way , made him really heavy set and big .
And then the last one , we kind of did the same thing as here and kind of stretched everything out .
And so this one just shows you that you can use the exact same principles and come up with some really cool character designs .
All right guys , that's it for today's video as always .
Thank you for watching .
I appreciate it .
If you like today's video too , make sure you give it a thumbs up .
Subscribe to the channel if you haven't already and hit the bell for notifications so you can get alerted when I post new videos in the series .
And speaking of new videos , the next one will be coming up later on this week .
The episode number four , we'll be talking about how to draw eyes , walk through a few different styles of eyes , how to draw them in different perspectives .
And there will be a lot of information to digest .
So look forward to that one .
Also , if you like the content that I'm putting out like the channel , make sure you hop on over to Patreon , you can support the channel over there .
The link is in the description below doing a bunch of fun behind the scene stuff and Patreon exclusive tutorials too that you don't want to miss out on .
So join me over there as well .
Got a Discord set up too so you can reach out and connect over there .
As for me , I can be found online BJ dell dot com as well as on Instagram and Twitter at BJ Dell .
So until next time , keep creating
Are you looking for a way to reach a wider audience and get more views on your videos?
Our innovative video to text transcribing service can help you do just that.
We provide accurate transcriptions of your videos along with visual content that will help you attract new viewers and keep them engaged. Plus, our data analytics and ad campaign tools can help you monetize your content and maximize your revenue.
Let's partner up and take your video content to the next level!
Contact us today to learn more.