https://www.youtube.com/watch?v=YP0nvg7uxU0
CAKE POPS (Fast & Easy)

Hey , everyone in today's video , I'm gonna be showing you how to make cake pop .
I love these little treats .
They're such a great addition to any dessert table and they're a hit with everybody .
So , what you'll need today are some cake pop sticks which you can find at any craft store like Michael's in the baking section .
A cake mix that you want to use .
Some canned frosting from the store and your candy melts and the colors that you'd like .
So what you want to do is just bake your cake as normal .
Follow the directions on the back of the box .
So here I'm just adding my cake mix and I'm following the directions .
Exactly .
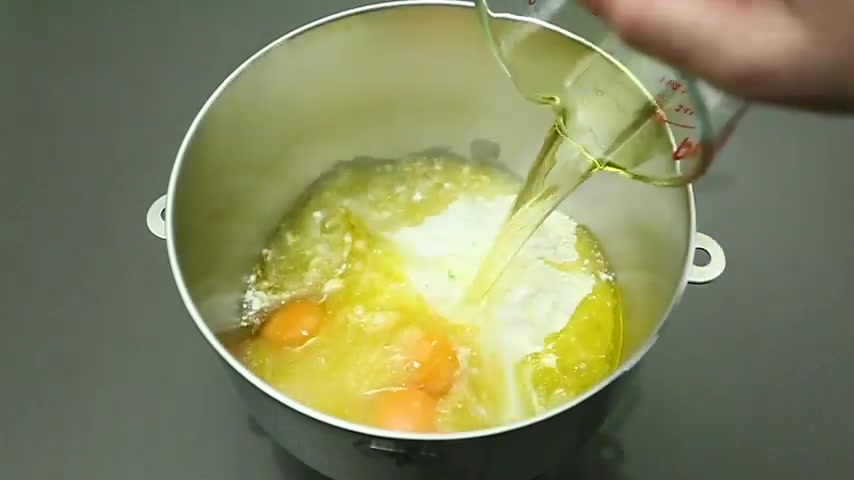
So adding my eggs and I'm gonna be adding my oil and my water and then we're just gonna mix this up for a couple of minutes and once it's done , I'm gonna put it in the oven .
Once your cake has cooled down completely , you can cut it into pieces .
I just do this , make it easier to put it into my bowl .
Some people like to cut the edges off and keep just sort of the inside of the cake and nothing of the crispy part on the outside .
To me , to be honest , I don't like to waste cake .
So I just put it all in there and use it all up .
It really won't make a difference in , you know , the flavor or anything .
Some people just prefer when you bite into it that you don't see those dark pieces .
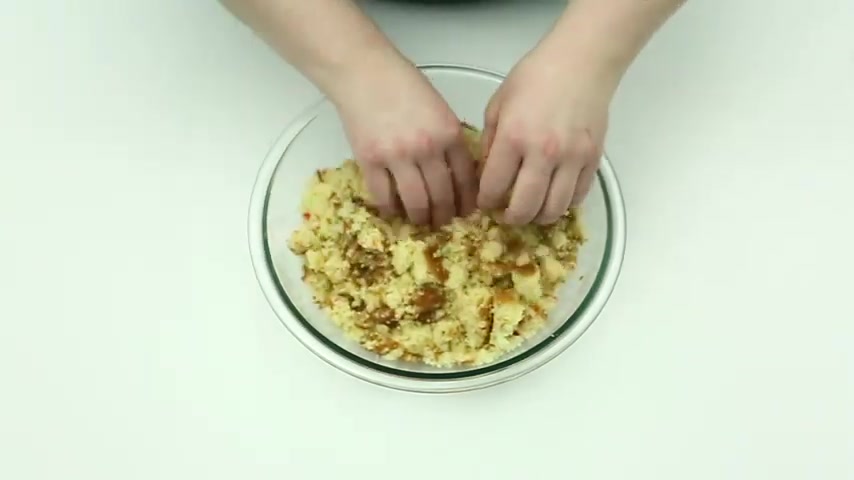
So what you want to do is just crumble up all the cake with your hands .
So I'm just going through and just running it to my fingers and just want to make it nice and crumbly and try to make it as even as possible and all the same size .
So once you have all the crumbs nice and small and all around the same size , we want to add a little bit of our canned frosting .
So I usually do like a tablespoon and a half or so you can always add more if you need to .
So if you want to add less to begin with , that's totally fine .
What we want the frosting to do is to make it a little bit more doughy and for the crumbs to start sticking together and you can see it slowly comes together and starts making a little bit of a ball .
So I grab a little bit of dough and I squeeze it between my hands to make it nice and smooth .
And then I wanna roll it between the palms of my hands to make the most perfect ball I can .
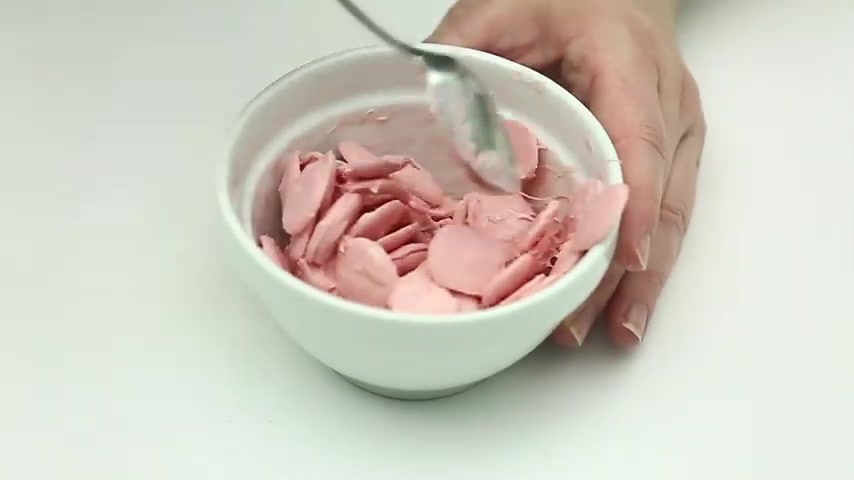
So once you have all your balls rolled out , we're gonna go ahead and melt our candy melts .
And what you wanna do is be very careful when you're melting these .
So I want to stick them in the microwave for , you know , 10 to 20 seconds .
When I'm first starting out and do them in increments , they may not look like they're melting .
At first , you can see I'm mixing it up but it doesn't look like they're melted .
But make sure you give it a good stir before you put it back for the second and the third time , every time you take it out of the microwave , you want to give it a good stir .
The bowl is going to get hot in certain spots , especially on the edges .
And so those candy melts that are along the edges are going to melt and you don't want them to get hotter and hotter in the microwave .
So that's why we're trying to mix as much as possible to distribute the heat there and cool them down before we go back and make sure that they're all the same temperature before we put them back in the microwave to melt again .
You can see slowly they're starting to melt .
You can still see the , the form of the chips of the candy melts there .
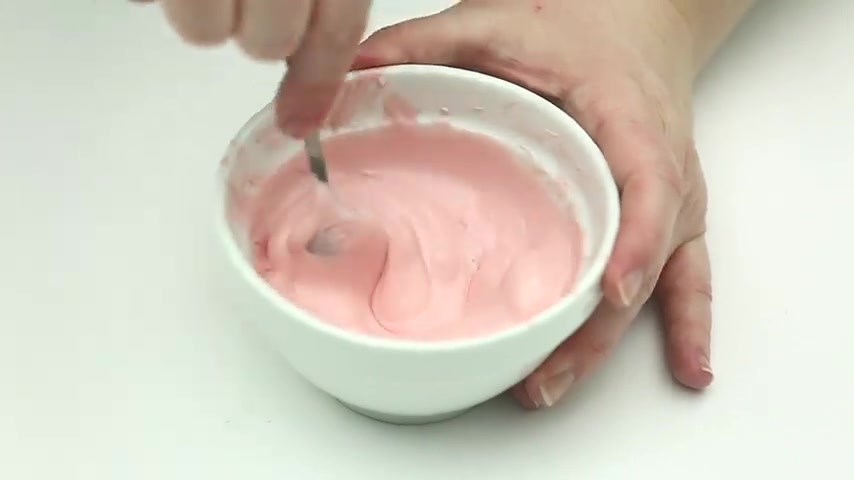
But you can see that they're starting to get going and once I get about half melted you know , it's a lot liquid , more liquidy .
Now , there's still chunks in there .
I'm going to mix as much as possible because I'm almost there .
So the heat of the candy that's already melted can melt the rest of those little pieces .
If you do need to stick it in the microwave again , because it's not full melted .
At this point , you want to decrease your increments in about 5 to 10 seconds .
It's always better to do less than more and make sure that you give these a really good stir .
You can see it's almost completely smooth .
Now , I started out with a lot of chunks .
I have just a few left .
So I'm gonna be throwing that back into the microwave just for a few seconds just to get those last few chunks melted .
And we should be good to go .
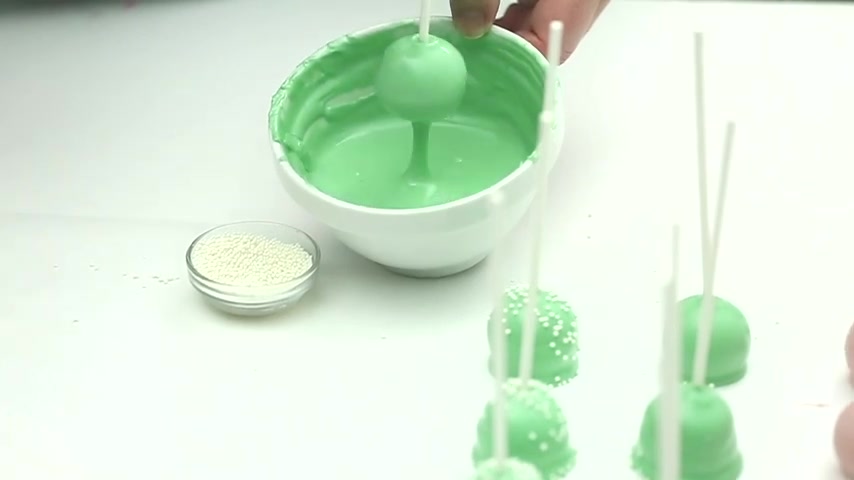
So now that we have the right consistency and it's all smooth , I'm gonna go ahead and dip my sticks into the candy melts and then put them straight into the balls .
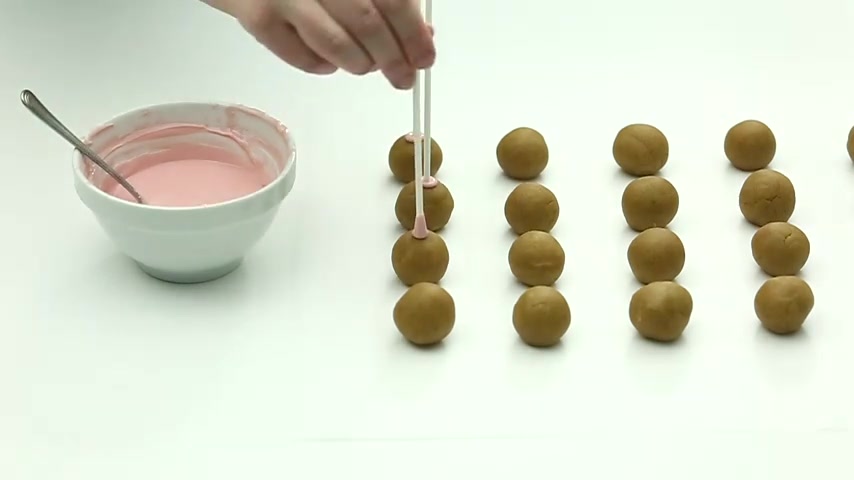
I like to do mine upside down like this .
I used to always do them the other way , but it was really hard .
Not only to , uh , when you dip them to have them upright and them and stop them from dripping and not getting the perfect circle .
But when I took them somewhere or put them on a dessert table , they were really top heavy .
And so even if I had them in jars or something else , they always seemed to topple over .
It was so hard to transport .
So now whenever I make cake pops , I always make them upside down because it's so much easier , not only to do them , but when you're presenting them on a table , they look so much better and it's so easy to place them on the table however you like and you don't have to really worry about them falling over or if someone takes a few out of the jar that it goes on one tips over on one side .
So I'm gonna do a couple of colors here .
So I did my pink ones .
Now I'm doing the same ones with the green after you poke all the sticks into the cake pops .
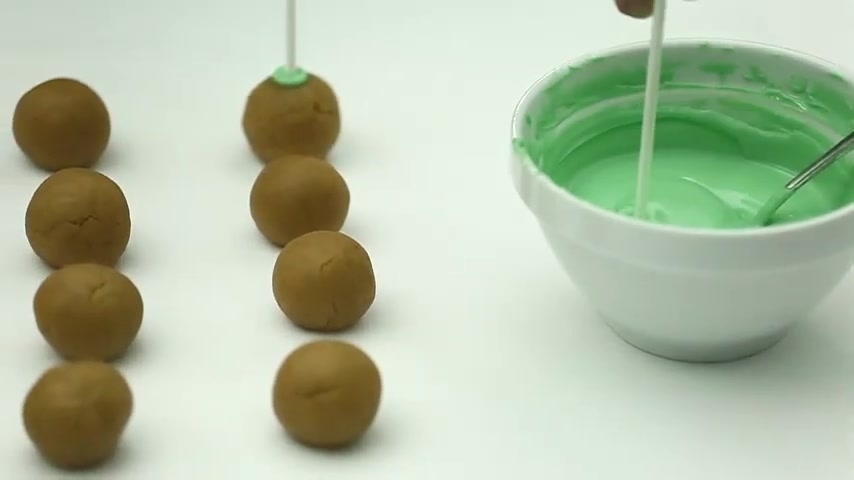
You want to let this dry for a little while , so , you know , give it at least 15 minutes .
You wanna make sure that it's nice and hard so that the sticks stay in the cake pops .
Normally , by the time I finish putting all the sticks into my cake pops , the first ones have already dried .
Ok .
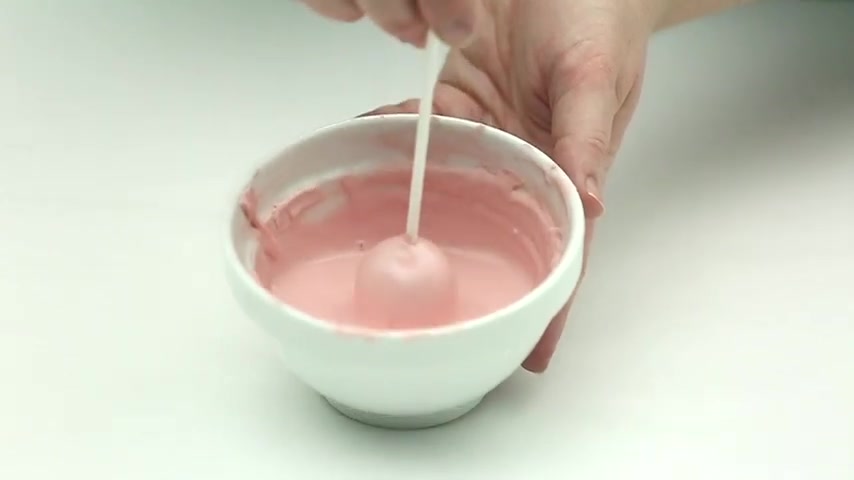
So now to dip our cake pops dip straight down into the bowl and if you have to turn the stick , you know , to the sides a little bit , just to get the full coverage on top , you can do that and then you lift straight up for a couple of seconds and then we're gonna just place them on some parchment paper .
When you place them like this , it'll dry flat on the bottom so they won't to over anything .
And while they're wet , I'm gonna add some sprinkles on them just to give them a little extra special .
Look here .
You wanna be really gentle with them .
You don't want to dip them and start turning them in there and , you know , mixing them in there and trying to get coverage , they fall off the sticks quite easy .
So if your ball is too big , you know , that's maybe one reason why they're falling off .
If you're doing too much movement within the candy melts , candy melts , it's just a little bit of cake held together with a touch of candy melts inside .
So you don't want to move them around too much .
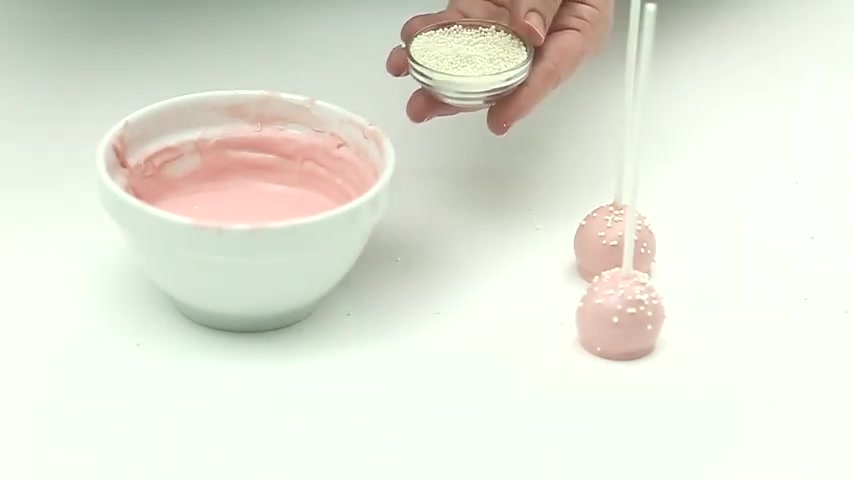
So the deeper the cup , you know , sometimes even you do it in a tall glass so you can just dip them straight down and pick them straight up and place them on your part paper .
So I'm gonna do another little design here .
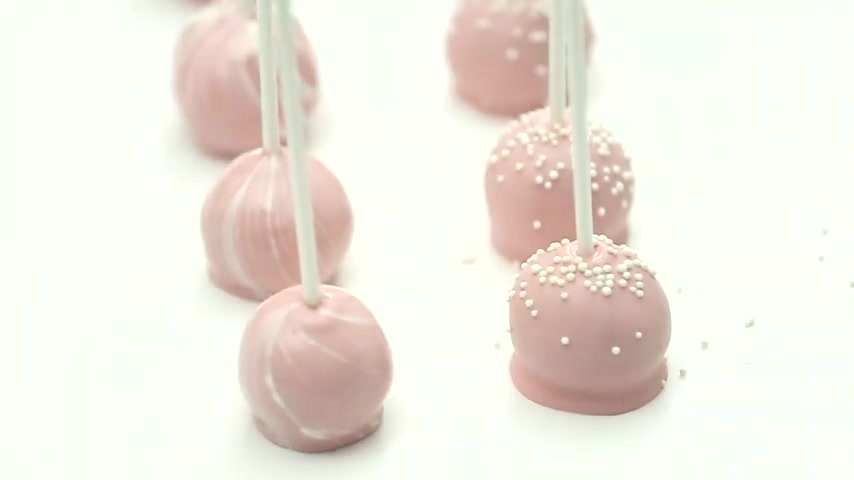
So I've got some white candy melt that I melted and I put it in , um , a pastry bag and I'm just gonna go back and forth here on the surface of my pink candy melts .
And again , I'm going to dip straight down and I'm going to tilt my stick a little bit just to get full coverage on top .
And as I pull straight up , I'm going to turn my cake pop ever so slightly and you're gonna get a nice marbled look out of that .
I love this look .
You can do it with any color .
It looks really cool and fancy .
And what you want to do is just keep adding , um , white drizzle on top .
If you're running out , if you see that space in the middle , there's not enough drizzle .
Um , and you wanna dip where you see the drizzle .
So if you need more , just go ahead and add more .
If you find that your candy melts are starting to harden a little bit or they're not getting as smooth .
I have a few here .
The video is taking a little bit longer than normal .
So they're starting to dry on me very fast .
You can always pop them back into the microwave for a few seconds just to get them nice and smooth , the longer it sits on your counter , they will harden eventually .
And so if you find that you're working a little bit slower and they're not as smooth as they were , you can just go ahead and melt them and again , only for , you know , 5 to 7 seconds at a time because they're already melt them .
You do not want them to get too hot and just remember if you're adding any kind of sprinkles or anything , you want to do it right away when the candy melts are still somewhat wet .
So the sprinkles adhere onto them and there you have it .
You've got these beautiful cake pots fit for any occasion , any dessert table that'll be a hit with anyone .
I promise .
I hope you enjoyed the video , but thank you so much for watching and as always Happy baking .
Are you looking for a way to reach a wider audience and get more views on your videos?
Our innovative video to text transcribing service can help you do just that.
We provide accurate transcriptions of your videos along with visual content that will help you attract new viewers and keep them engaged. Plus, our data analytics and ad campaign tools can help you monetize your content and maximize your revenue.
Let's partner up and take your video content to the next level!
Contact us today to learn more.