https://www.youtube.com/watch?v=pYX-UNVvGA4
How To Create A Mobile App for Your E-commerce Website

Hi guys today , we're going to see how you can create an online shopping app for your Ecommerce website .
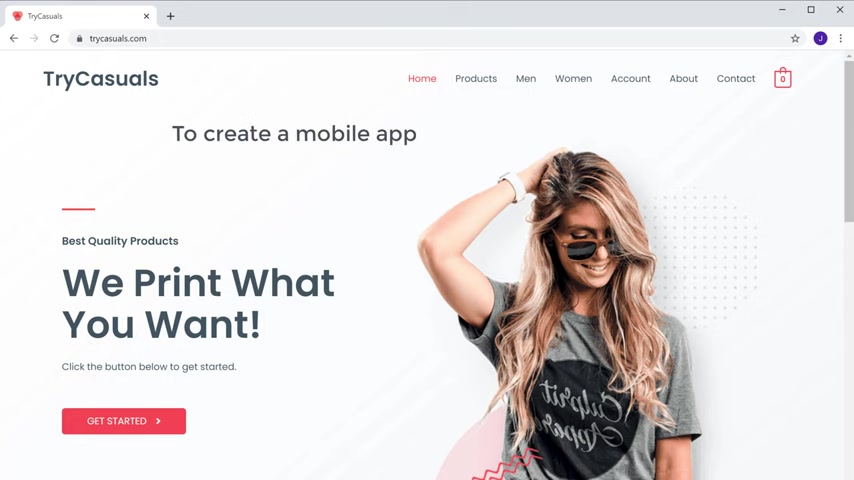
Let's say you have new Comms website like this and now you want to convert this entire site into a mobile app like this .
How can you do that ?
So after watching this video , you'll be able to create an online shopping app like this .
And anyone who is listing your app , we'll be able to add the product to the car and then purchase it from your app .
So all you need to have to follow this tutorial is an e-commerce website .
Now , if you don't have an e commerce website , you can easily create one by clicking the link in the description .
If you're making a site for Indian customers , you can watch this video .
If you're from a different country , you can watch this video .
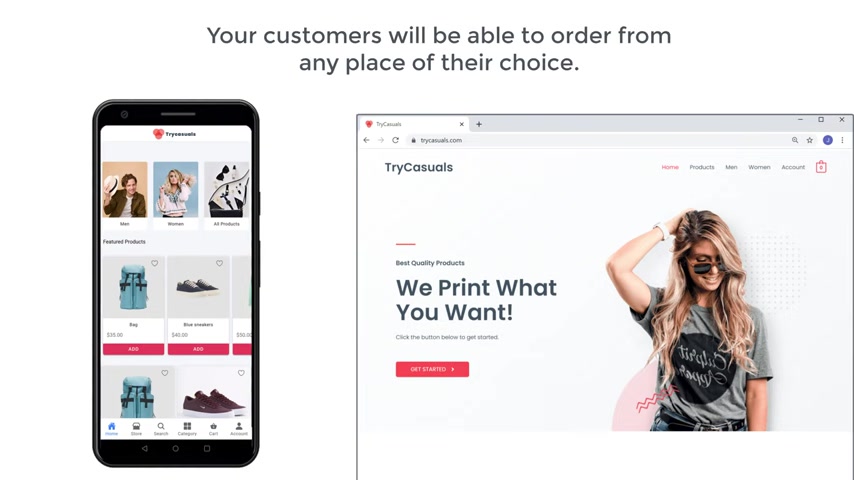
Once you create an app for your ecommerce site , your store will be available both on app and website at the same time and your customers will be able to order from any place of their choice .
You don't need to buy a separate hosting or pay monthly fees for your mobile lab .
It will be hosted on the same server where your site is hosted right now , the orders you get from the app can automatically be seen on your website and you can process your orders from there .
All the products you add to your site will be automatically added to your app .
You can just have all the controls in one single place and you need to maintain just one platform instead of making changes on multiple platforms .
The app which we are going to create is a native app which means it is fast and loading and doesn't have the delay time like a web browser .
It has much better user experience compared to browsing the same website on the mobile browser .
Ok .
I'm Brian from website learners .
And let's create a mobile shopping app .
First , let's see the e-commerce site which we have created here .
It is , this is the site which we created using this video .
So to create a mobile app for the site , we are going to do three parts .
The first part is to set up a website for creating the mobile app .
So to set up our side , we are going to do two steps .
The first step is to install a plug-in on your site .
So to install the plug in , just click the link below this video and it will take you to this page .
Now , this is the plug in which is going to help us turn our website into a mobile app .
So to install this plug in on our site , we need to do two steps .
The first step is to get this plug in .
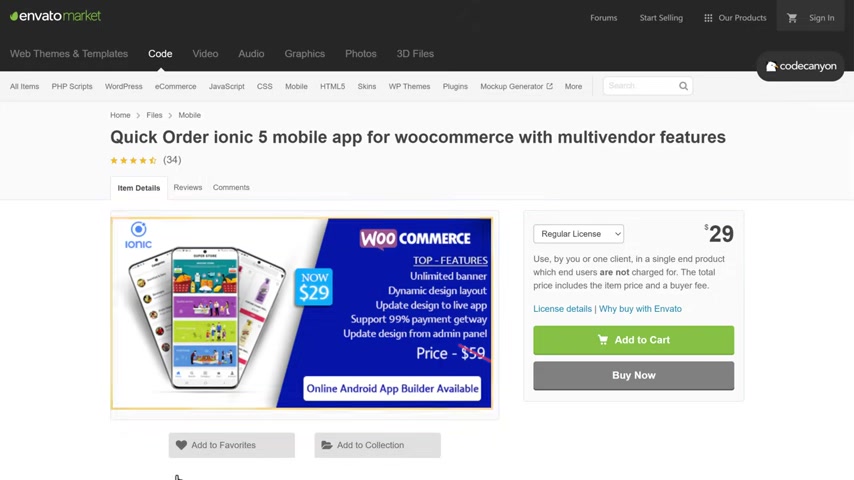
So to get this plug in , we need to purchase it .
Now , remember that this is a one time fee and you don't have to make any monthly payments .
Other products on the internet might ask you for a monthly fee for creating an app .
But using this tool , you may not pay any monthly fee .
Let's click by now and now it will ask you to create an account .
So let's fill up these details and click next .
No to get the plug in .
Select a payment method , enter your details and click , make payment .
So now we have successfully got our plug in .
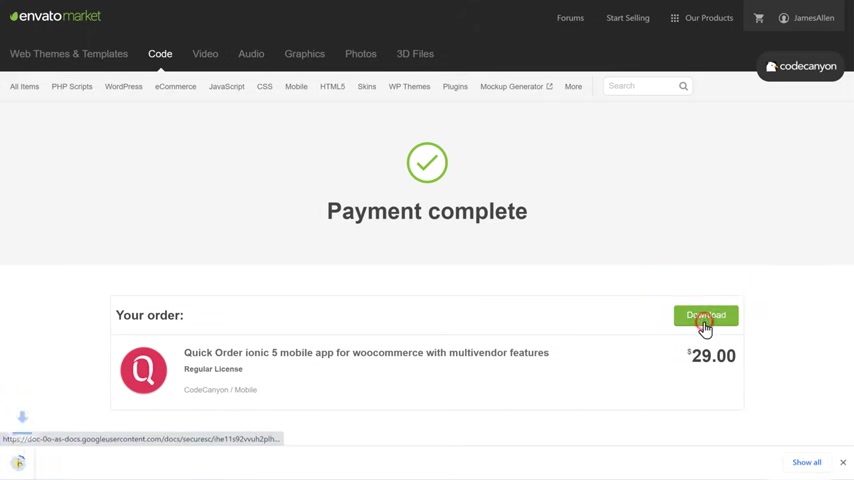
No to download the plug in .
Let's click download and the plug-in will be downloaded to your computer .
So now we can go to step two of installing the plug in which is to get the zip file of the plug in .
So to get the plugins as a file , let's open this and then right , click and select extract all , then again , click , extract .
And as you can see , we have got an extracted file .
Now , if you open it , you can see the zip file of our plug in .
So once you've got the plug in zip file , we can now install this plug in on our website .
So to install this plug in , let's go to our Wordpress dashboard .
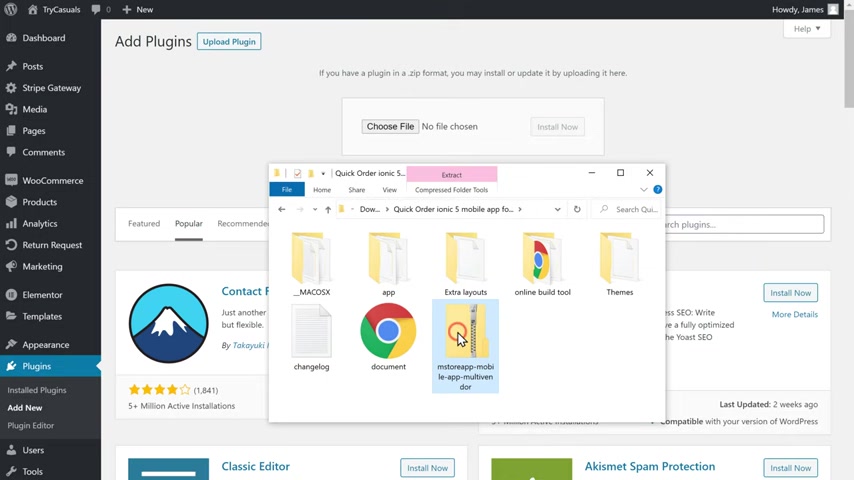
Now go to plugins and click add new .
Now , click upload plug in and then drag and drop your file like this and click install now and then click activate .
So now we have successfully installed the plug in on our site .
Once you have installed a plug-in , we can go to step two of setting up our website which is to install the Redex plug in on your site .
This plug in will help you control the app directly from your Wordpress website .
So to install the plug in , let's click , add new and then search for a plug-in called Redux and you will get this plug in .
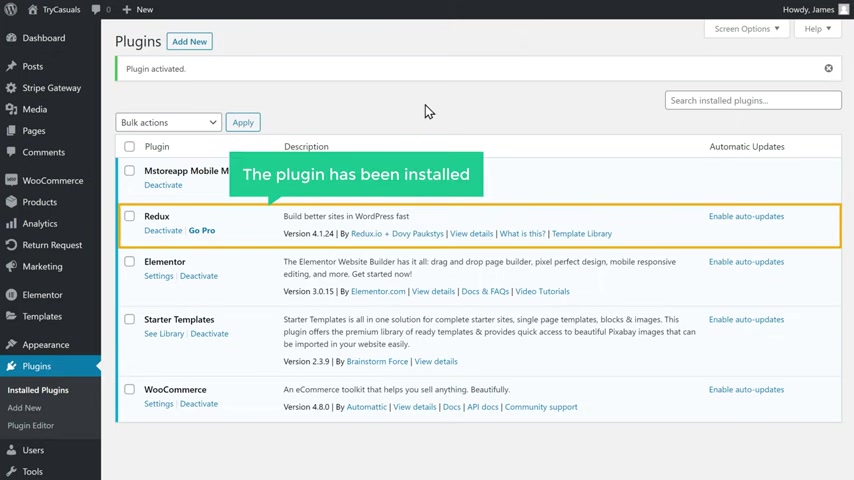
So let's click , install and click activate .
And the plug-in has been installed .
Once you have installed these plugins , your site is now ready for creating the mobile app .
So now we have successfully set up a site .
Once you have set up your site , we can go to part two of this tutorial , which is to create your mobile apps , a PK file .
So this is the file which will be used to install your app on any Android phone .
So to create your A PK file , just click the link below this video and it will take you to this page .
So to create our app file , we need to do three steps .
The first step is to get the purchase code of our plug in and then enter it here .
So to get the purchase code .
Let's go to Iron Works here .
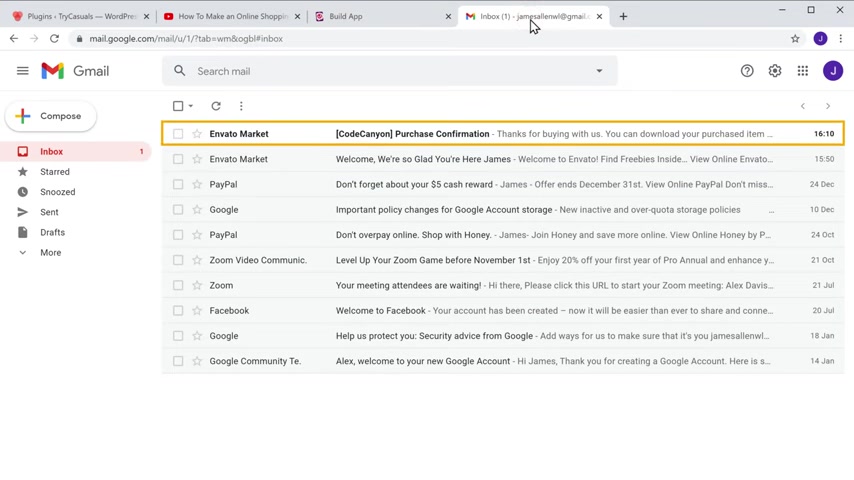
You can see that we have got the mail about the plug-in purchase .
Now to get the code , let's open this email .
And as you can see here , we have got our purchase code .
So let's copy this code .
No , go back and then paste it here .
Ok .
So now we have added a purchase code .
Now , once you've added this code next here , you need to add your website URL .
So let's go to our website and then copy this URL and paste it here .
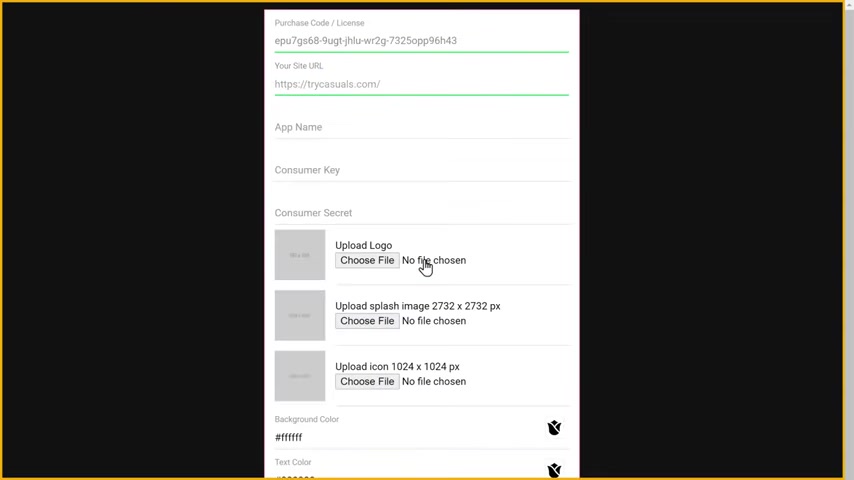
Get started and you will get this page once you reach this page .
Now let's go to step two of creating a app file , which is to enter the details required for creating the app .
So first you need to enter a name for your app .
I'm going to enter my website's name which is try casuals .
Once you have entered the app name , next , you need to get these details from your website and then enter it here .
So to get these details , let's go back to our wordpress dashboard and then to and click settings .
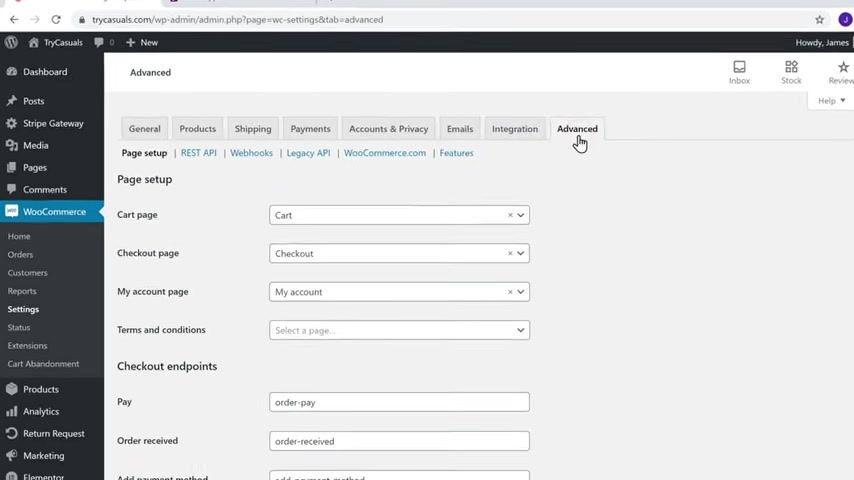
Now go to advanced and click rest API now to get the details , click , create API and then enter a name in this field .
I'm going to enter mobile app , then click here and select read and write .
Now frequently generate API key .
You can see that we have got the details which we need for creating our app once you have got these details , all you have to do is just copy these details and paste it here .
So first let's copy this one and then paste it here .
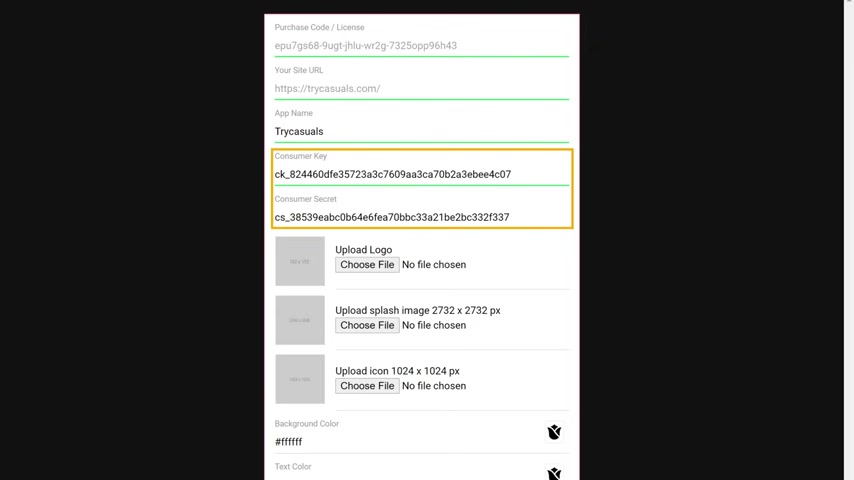
Next , let's copy this one and then paste it here .
So once you have entered these two details , we can now go to step three of creating an app file , which is to add the logo of your app .
So to add the logo , just drag the logo from your computer and drop it here .
And as you can see our logo has been added .
So now we have successfully added our logo .
Next , we need to add a splash image for our app .
Splash image is the startup image which appears when opening are up to add the startup image .
First , we are going to resize our logo in this size .
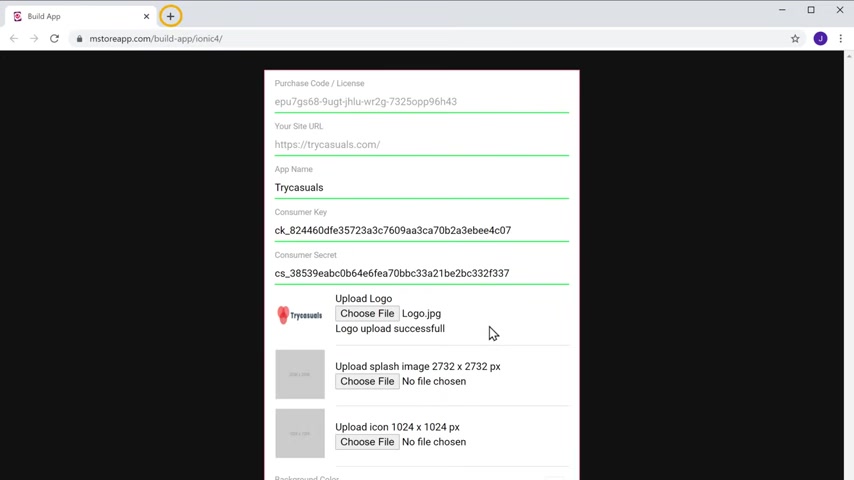
So the reason is our logo , let's go to a new tab and go to resize image dot net and it will take you to this page .
This is the page which will let us resize our logo image .
So to resize the image , just click upload and then select your logo and click open .
And the image will be added here .
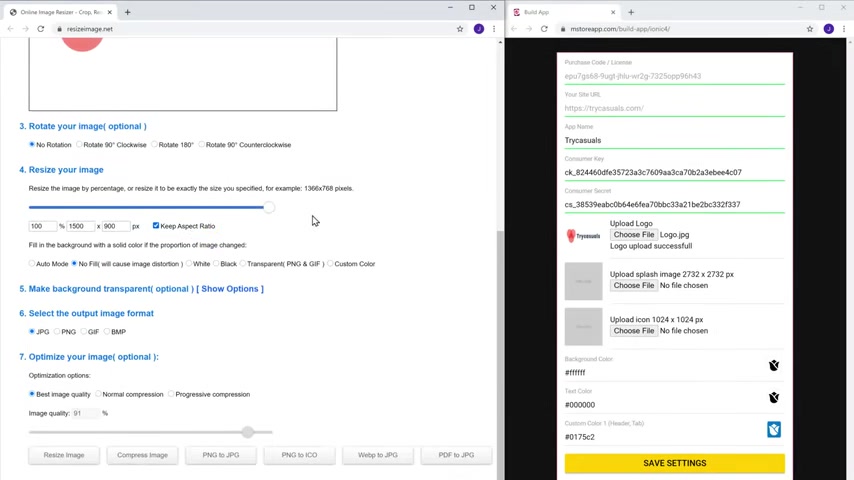
Now to resize this image , just disable this option and then enter the dimensions which is shown here once you have entered this choose auto mode and now if you click this says image , our image will be precise to the required dimensions and we have got the download option here .
Now if we click download image and then open it , you can now see the precise image .
Once you have resized the image to add this image to our app , let's go here , not drag they mate and drop it here .
And as you can see our image has been added .
So now we have successfully added the startup image of our app .
So now when we open our app , it will show this image .
OK .
Now , once you've added these two images , next , you need to add your apps icon .
This is the icon which we will be clicking to open our app .
So again , we're going to add a logo here before we add a logo , make sure to resize our logo to the size and then drag the maze and drop it here .
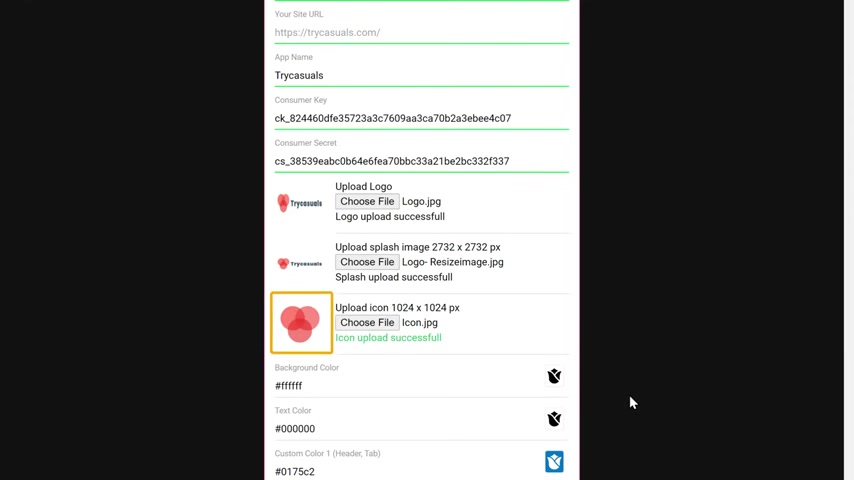
And as you can see our image has been added .
So now we have added all the details needed to create our app now to create our mobile apps dot AK file .
Let's click save settings and click build android .
And as you can see we can now download our app .
So now if you click download , you can see that our app has been downloaded to a computer .
Now , in order to get your wraps dot A PK file , first , we need to extract the zip file .
So let's open this file .
No , right .
Click on it and click extract .
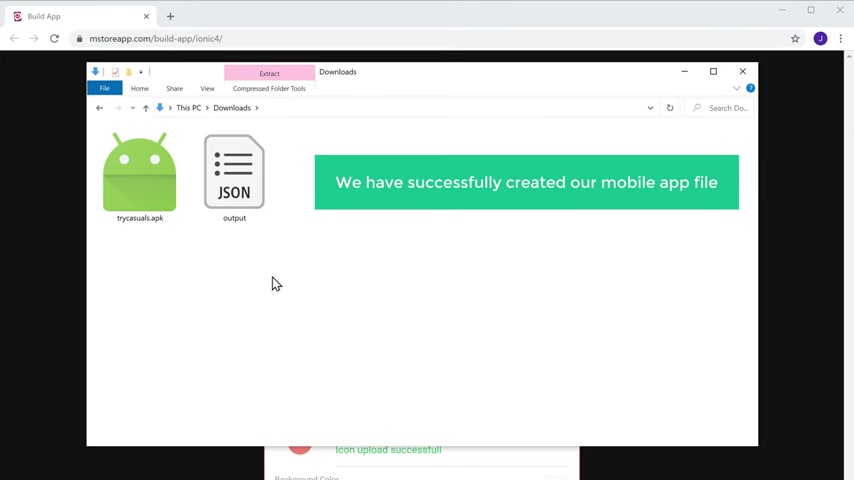
Now if we click extract , you can see that we've got this folder and if we open it , you can see that we have now got the A PK file .
So now we have successfully created a mobile app file and now we can start using this app by installing it on our mobile phone .
Next , let's see how you can install this app on our mobile .
So to install the app , we need to copy this file from our computer to our mobile phone .
So to copy this file first , let's connect our phone to this computer .
So to connect it , let's plug a USB cable to a computer and then connect it to our mobile .
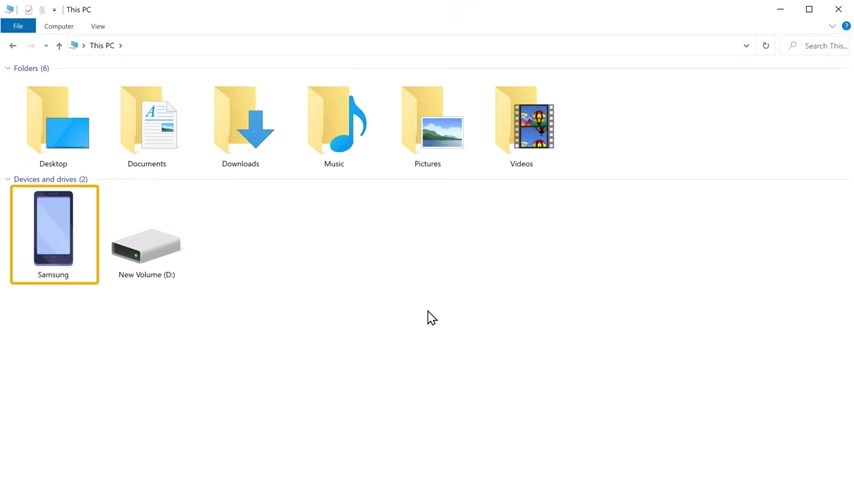
And now if you open your file explorer , you can see that we've now got a mobile phone here now to copy this app file to our mobile .
Let's open this now go to any folder and then drag this file and drop it here .
Ok .
So now we have successfully copied the app file to a mobile phone .
Now to install this app on our mobile , let's disconnect the cable and then open the file manager on our mobile .
Now , let's go to downloads and here you can see the app file which we copied from a computer , not to install this app , just open it and press install as you can see our app has been installed .
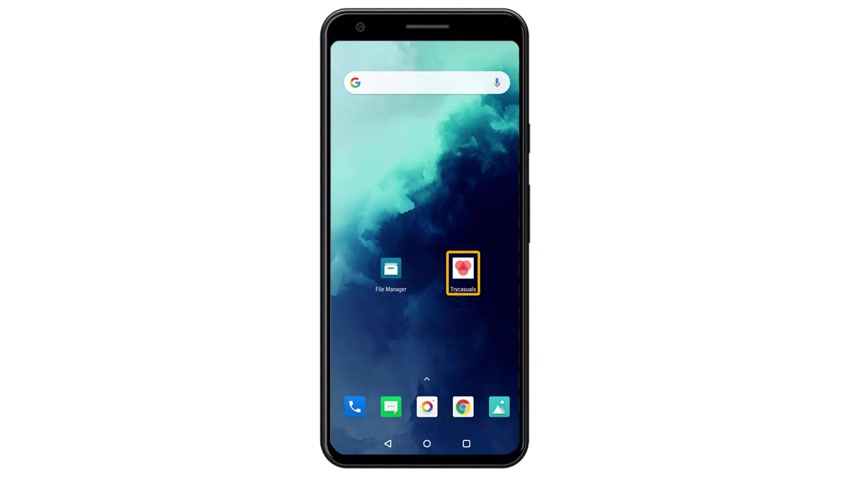
So now if you press done and go to a home screen , you can see that we have now got our app .
So this is how you can install the app on your mobile phone .
Now , if you open the app , you can see the splash image which we have added .
And here you can see that we have our products .
Now , if you go to our website , you can see that we have the same products which we have here .
Now , if we go here , you can see that we also have the categories .
Ok .
Now let's try buying a product from our app .
Let's say a customer wants to buy this product .
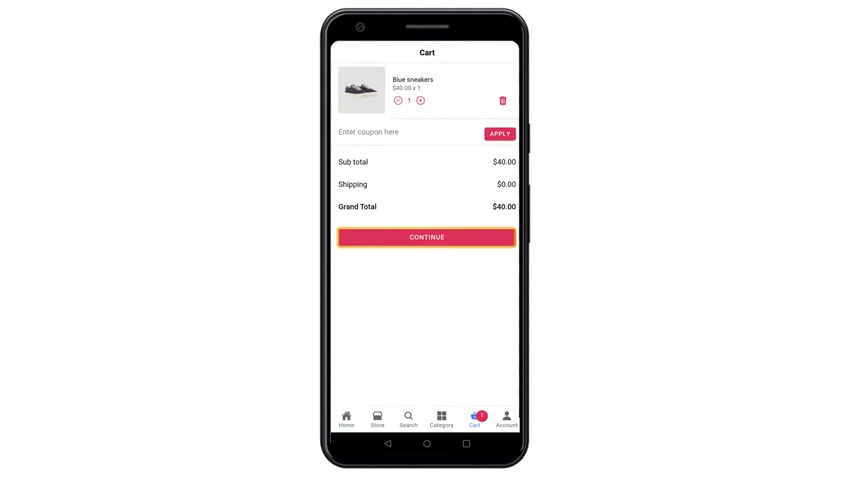
All they have to do is just click on the product and click add and the product will be added to card , no big card and click continue .
It will ask them to log in .
Now , if a customer has an account on your website , they can use the same login details and make their purchase .
If they don't have an account , all they have to do is just click register , then fill up these details .
Now , if they click register , it will take them to this page where they need to fill up the billing details and click continue .
Now , here you will find the same payment in the returns which you've added on your website .
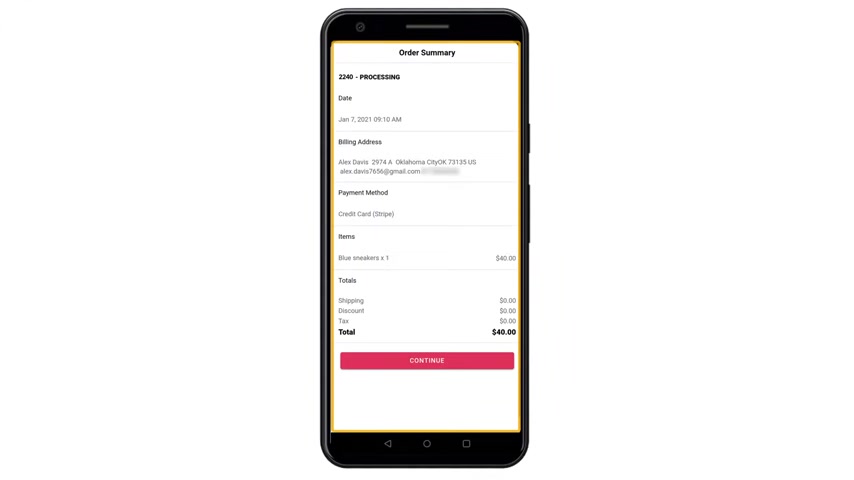
Now , to order the product from your app , all they have to do is just select the payment method and enter the details and click place order .
And as you can see , we have not successfully placed the order from our app .
Now , let's click continue .
Now , once a customer places the order from your app , how do you know that you have got an order ?
Now , as soon as someone purchases a product , either from your app or from your website , you will receive an email to your inbox .
Now , if you go to the website admins inbox , you can see that we have got a mail about the order .
Now , if we open this mail , you can see the details about the order and where you need to ship the product .
Now , you can also see the same order on your wordpress website .
So see the order on wordpress .
Let's go to our Wordpress dashboard .
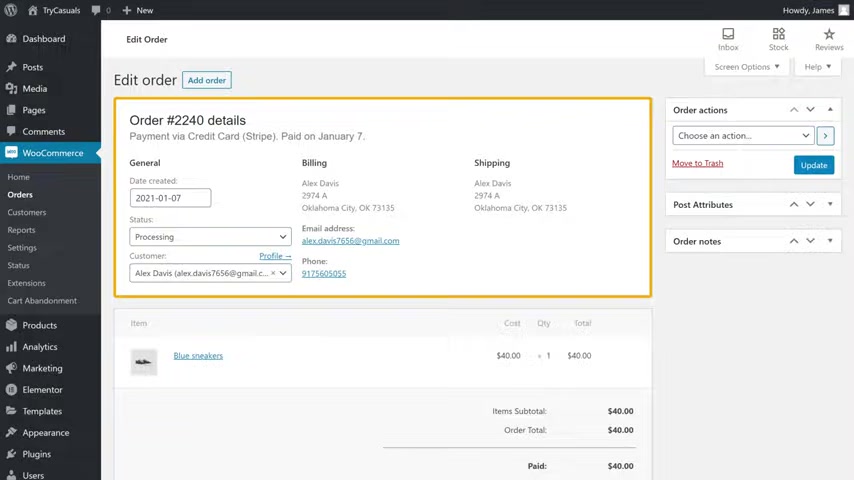
And now if you go to commerce and click orders , you can see that we have got the same order here , not we click here .
You can , I can see the order details .
So this is how you will receive new orders from your customers .
And once you get an order like this , you can go ahead and deliver the product to your customer .
Now , if you want to learn how to deliver products to your customers , you can watch this video .
Now , once you ship the order , you need to change the order status here and just completed and then click update .
So now you know how to track orders from your wordpress site .
Next , let's see how your customers can see their order status from their mobile app .
So now if your customer goes to the app .
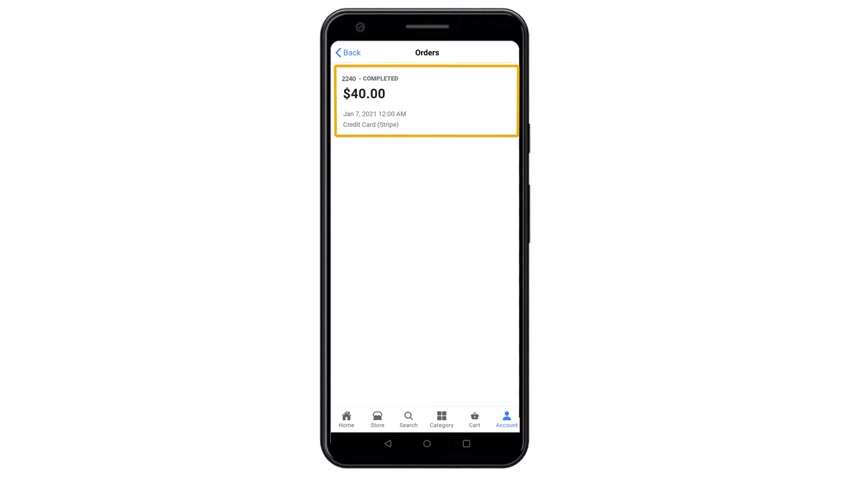
You can see that here we have in our account section .
So if you open that and go to orders here , they can see the order which they placed and if they open it , they can get more details about the order .
So now we have successfully seen how orders work on our mobile app .
Now , as we saw before , we have installed this app on our personal mobile phone .
Now what if you want to publish this app on the Google Play Store so that anyone can download your app , you can do that by following the next steps .
Next , let's go to the final part of this video where we see how you can publish this app on the Play Store .
So to publish the app on the Plays store , we are going to do five steps .
The first step is to create an account on the Google Play console .
This is the site where you can publish apps on the Google Play Store .

So to create the account , let's go to our browser then type Google Play console and press enter .
Now click the first link and then sign into your Google account .
Once you have signed in , you need to create a developer account in order to create the app .
So let's fill up these details and click create .
Now , here it will ask you to pay a one time registration fee to create the developer account .
And here you can see the registration fee .
So to make the payment , just enter your card details and click by .
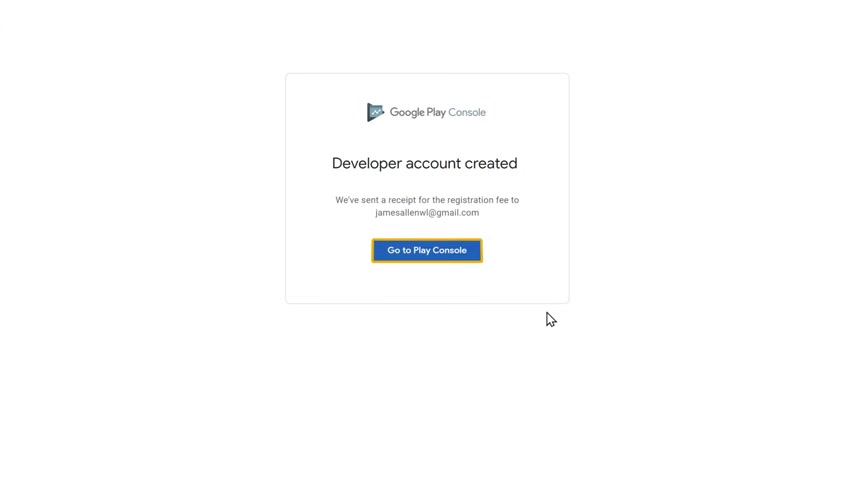
So now we have successfully created a developer account .
So let's click go to play console and now we can create our Android app on the Google Play Store .
So now we can go to step two , which is to create your app on Google .
So to create it , click create app and then fill up these details .
Here , you need to enter the name of your app .
I'm going to enter try casuals .
Now here , choose app or game as we are creating an app .
Let's select app .
Now , here you can make your app paid or free .
I'm going to choose three .
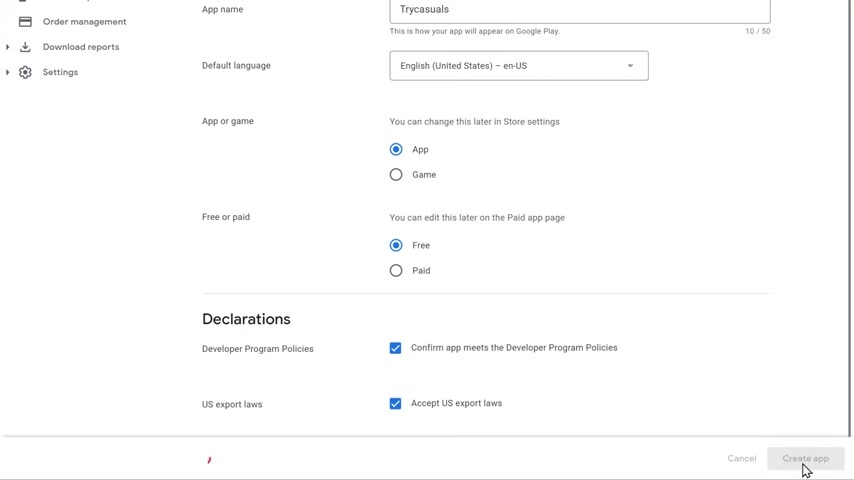
Now let's enable these options and click create app and it will take you to this page .
Now , we can go to step three , which is to set up your app .
So to set it up , you need to provide details about your app .
So let's click view tasks and go to the app access .
I'm going to select this one and click save .
Now let's go back and then go to adds here .
You need to answer whether your app contains any ads or not .
If your app contains any ads , just select this option .
Since our app does not have any ads , I'm going to select no and then click save .
Now , click here to go back next .
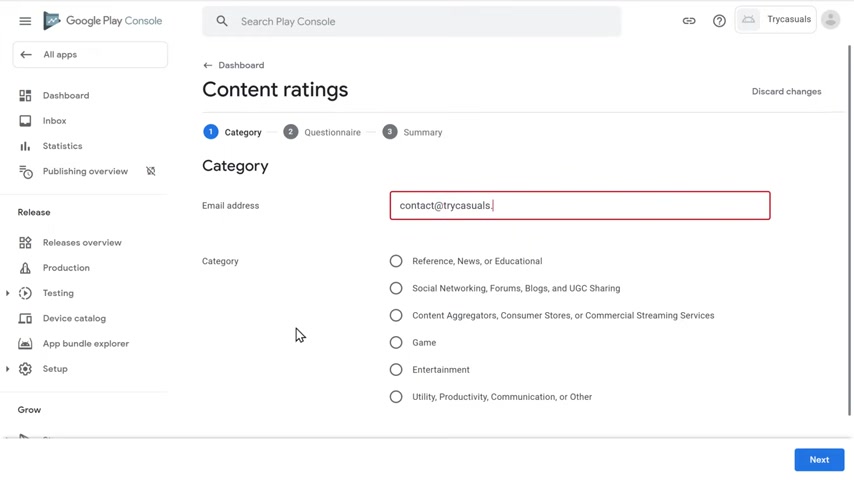
We need to add a content rating .
So let's click here and then click start questionnaire , not here , enter your email address and then we need to select our apps category .
Now , as that happens related to shopping , I'm going to select this category and click next here .
You can see a list of questions .
Now answer these questions based on the items you're selling on your app .
You need to just answer yes or no to all these questions .
I'm going to select these answers .
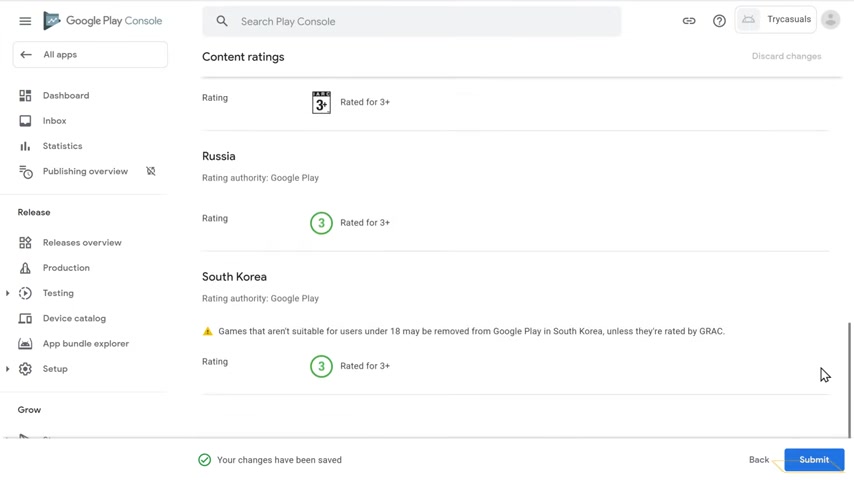
Once you have answered these questions , click save , now , click next and then click submit .
Ok ?
So now our app will be given a rating based on our answers .
Once you have got the rating , click here to go back next , you need to select your audience .
So let's go to target audience and here select the age group of your audience .
I'm going to select 18 and over and click next .
Now here , select node and again , click next now to save the changes , click save next .
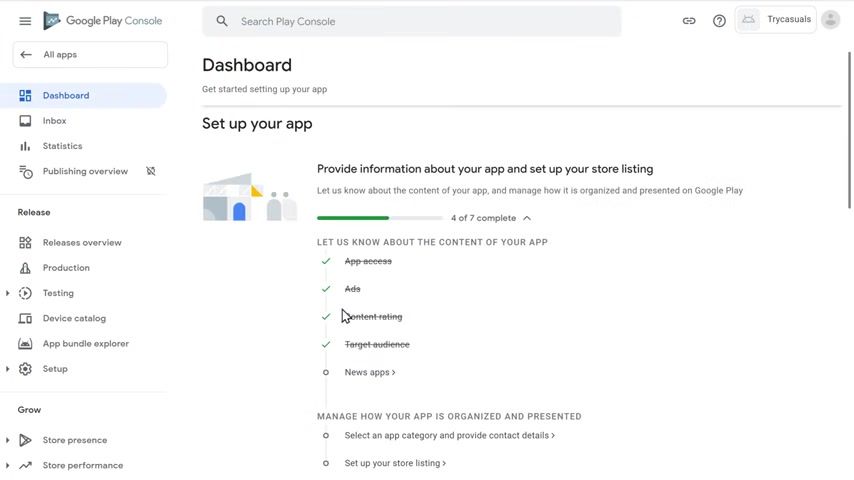
Let's go back and go to news app here .
You need to choose whether your app is a news app or not .
I'm going to choose no .
Now , click save and then go back .
Now , scroll down , click here and choose your app category , then scroll down and enter your contact details and click save .
Now , let's go to the dashboard here .
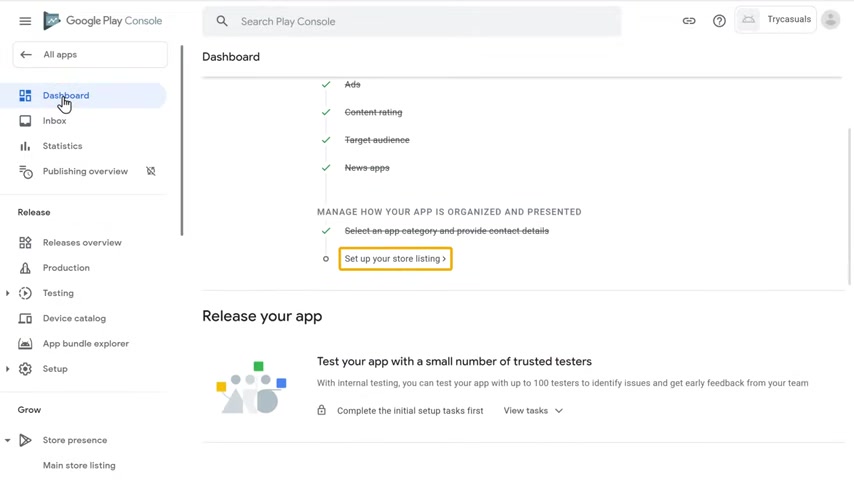
You need to set up the look of your app on Google Play .
So let's click here and then fill up these details , these details will be visible on Google Play .
So let's enter that and here you need to add your apps icon .
So let's dig our logo and drop it here and here .
You can see a preview of how your icon will look on the play store .
Once you've added the icon , let's scroll down now , here we need to add an image which will appear here on your app .
So let's drag the image and drop it here .
And next , we need to add a screenshot of our mobile lab .
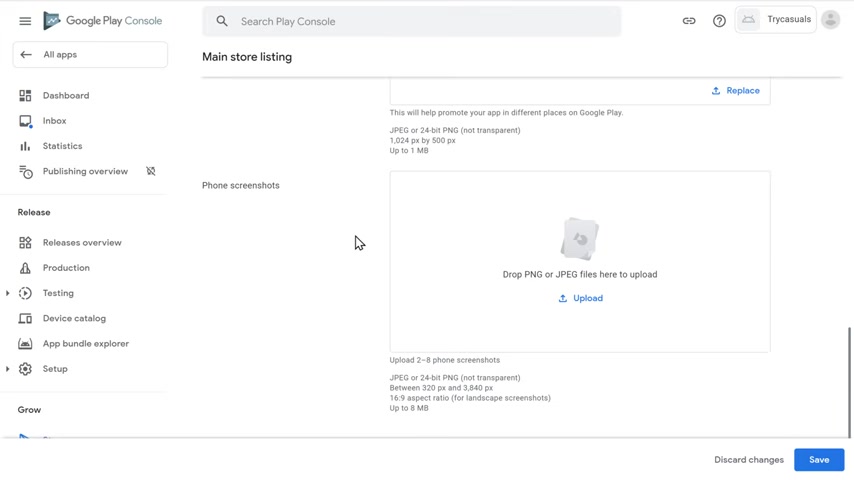
So let's take screenshots of our app and then add it here and click save .
So now we have successfully added the details of our app .
Once you've added these details , we can go to step four of publishing our app , which is to upload our apps file , which we created before .
So to upload your apps dot A PK file , let's go to dashboard .
Now go to publish your app and click view tasks here .
You can select which countries your app needs to be available in .
So just click on it and click add countries .
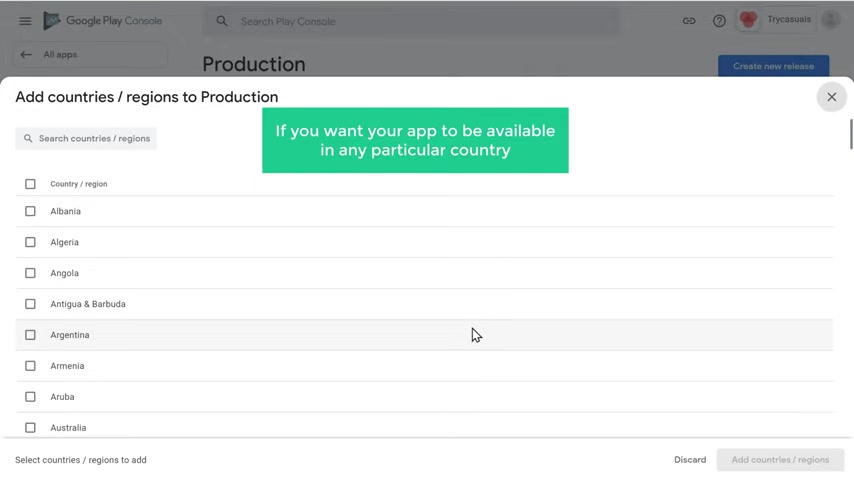
Now , if you want your app to be available in any particular country , you can click here .
And if you want to make your app available in all these countries , you can click here and click add countries and then again , click add , no app will be available in all these countries .
Now to upload your apps file , click create new release and click continue now , rather mobile app file , which we created and drop it here .
And as you can see our file has been added here not to save this .
Let's click save .
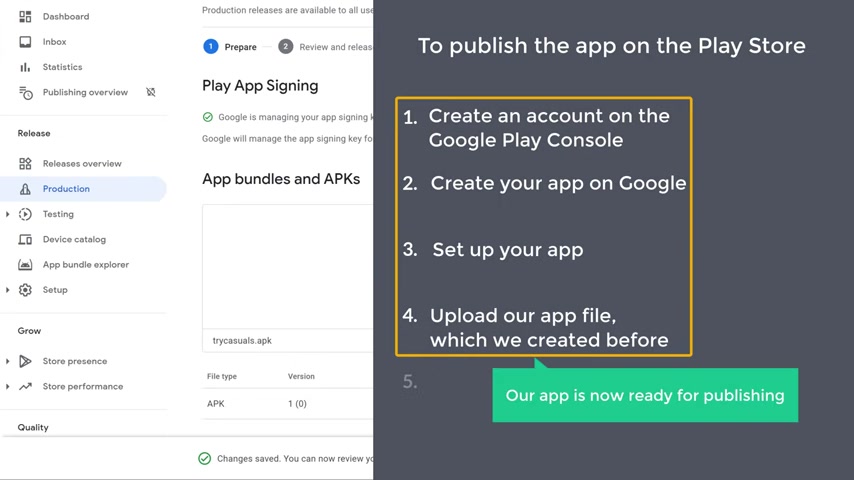
So now we have successfully uploaded the app .
Once you've completed these steps , our app is now ready for publishing .
Next , let's go to the final step , which is to submit our app for review .
Once we submit our app for review , our app will be reviewed by Google and then add it to the place to .
So to submit our app , click review release .
Now click start roller to production .
Now if you click roll out our app will be successfully submitted for review .
So now if you go to all apps , you can see that our app is under review .
So now Google will review our app and it will be published on the Play Store in the next 48 hours .
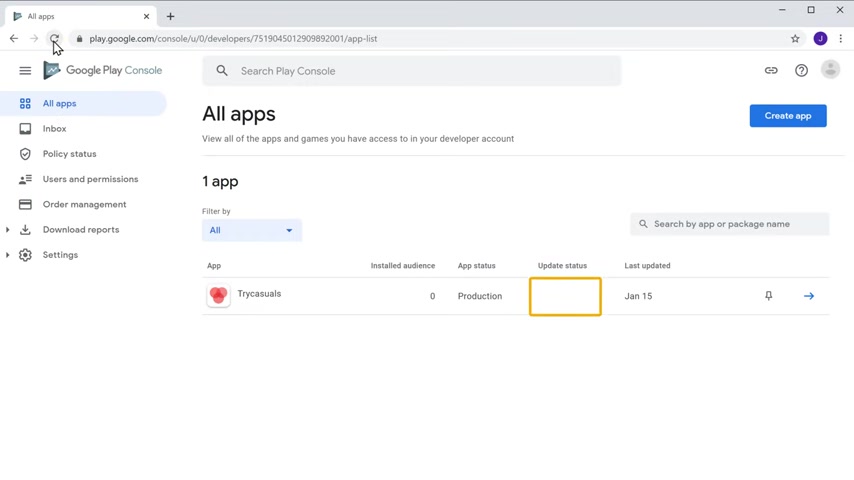
So after 48 hours , if we go back to this tab and click refresh , you can see that we do not see interview here , which means our app is now live .
So next , let's see how our app appears on the play store .
So now if you click here and click view on Google play , you can see that a rap is now lying on the play to next .
Let's take it on our mobile .
So now if you open the Play store on mobile and search for try casuals , you can see that we now have our app here .
So this means anyone can find your app and then install it now to install this app .
All they have to do is just click here and then click install and the app is installed .
Now , if you click open , you can see that we have now installed our app from the plays to .
So this is how you can publish a wrap on the plays to .
Now you know how you can create a wrap and then publish it on the plays to .
Now how do you let your website visitors know that you have a mobile app on your side .
So next , let's see how you can add a button like this to your website .
And if someone clicks on this button , it will take them to your app .
So to add a button like this to your website , let's go to our wordpress site .
Now go to edit with the mentor and click photo and now you will be able to edit the photo of your website .
No , this is the place where we are going to add a button .
OK .
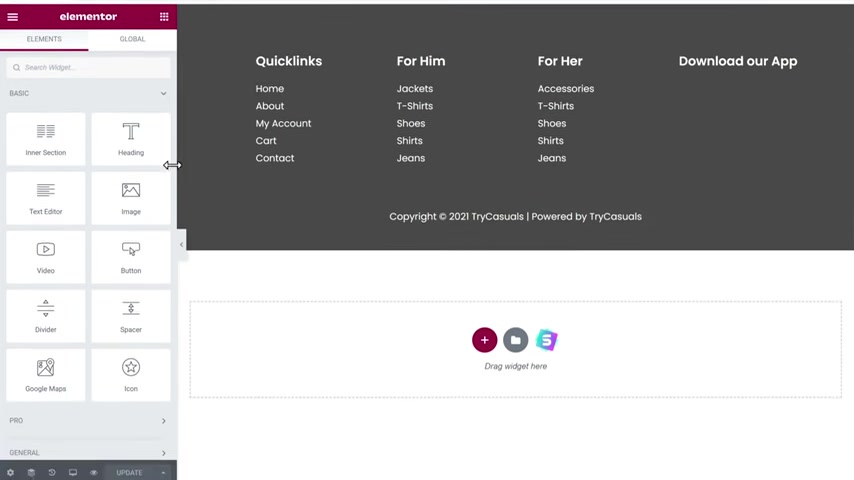
Now to add the button , just drag this image element and drop it where you want to add the button .
And as you can see , we have got a default image not to add an image here .
Just click here , then drag and drop the image of the button here .
You can find the link to those images in the description .
Now , if you drop this image , you can see that the button has been added here .
Once you have added the button to add a link to this button , let's click here and select custom URL .
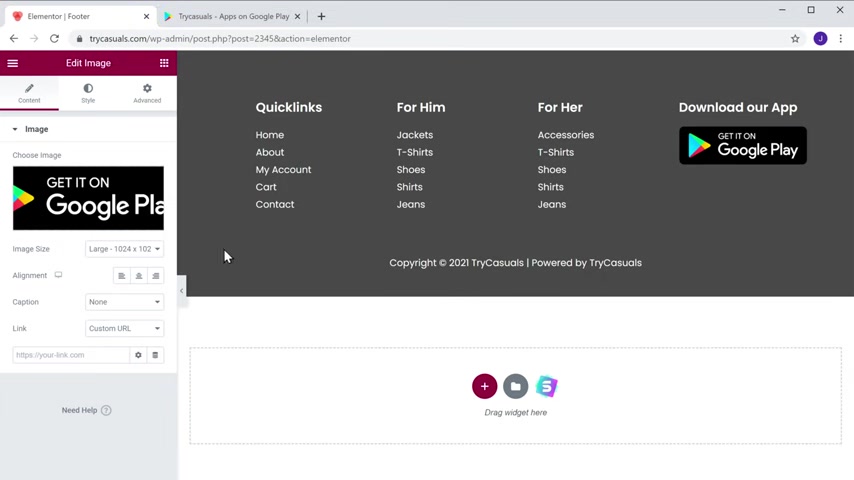
Now to add an apps place to link , go back to this tab , then copy this UR A and come back and past it here .
OK ?
So now we've added the button and it's link .
Once you have added the link , if we click update and then go to our website and click refresh , you can see that a button is now added .
No , if you go to our website on mobile and scroll down to the bottom , you can see that we have got the same button here .
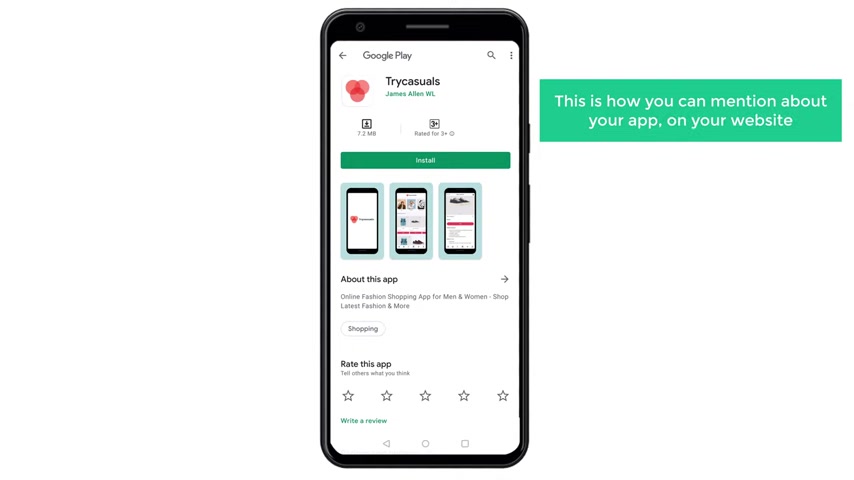
Now , if you click on this button , you can see that it now takes us to the app on the Play store .
So this is all you can mention about your app on your website .
That's it guys .
Now , you know how you can get your own mobile app for free .
And if you want to learn more about wordpress , you can check out a complete wordpress course by clicking the link in the description and also make sure you subscribe to website learners to get more videos like this one .
Thanks for watching .
I'll see you in the next video .
Take care .
Bye-bye .
Are you looking for a way to reach a wider audience and get more views on your videos?
Our innovative video to text transcribing service can help you do just that.
We provide accurate transcriptions of your videos along with visual content that will help you attract new viewers and keep them engaged. Plus, our data analytics and ad campaign tools can help you monetize your content and maximize your revenue.
Let's partner up and take your video content to the next level!
Contact us today to learn more.