https://www.youtube.com/watch?v=DiI-1PF_Mr0
Amazing Sourdough Bread Recipe
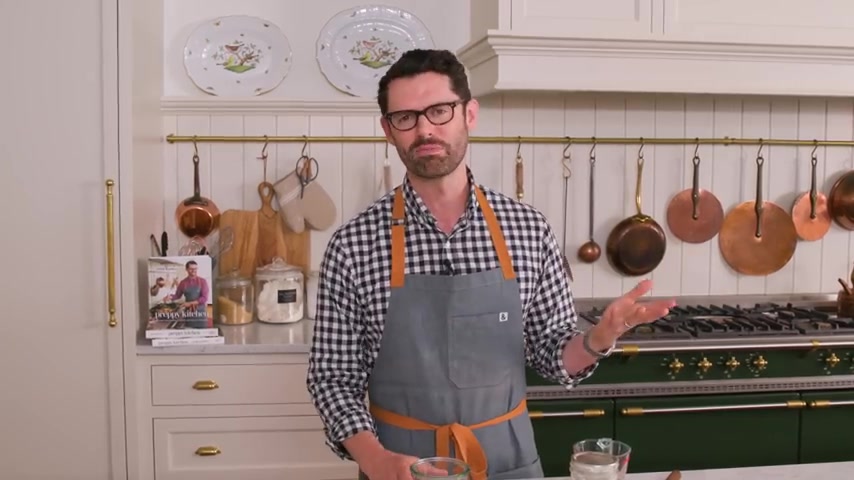
Hey , I'm John Cannell .
And today on Preppy kitchen , I'm showing you all the tips and tricks to make perfect delicious sourdough bread .
So let's get started .
Last night .
I took my sour dough starter out of the fridge .
It only gets fed once every two weeks there .
I fed it and let it sit on the counter overnight .
So now it's alive and bubbling .
It smells amazing .
If you don't have sour dough starter , you can make it or buy it a lot of bakeries will sell it to you .
You can also buy it online or if you have some water and flour , you can make it on your own and it's really fun to start .
You just need a quarter cup of filled , altered water .
No , chlorine , please .
That kills the yeast and half a cup , which is the same amount by weight of whole wheat flour .
You use whole wheat flour to start because it has more nutrients for the yeast which are just in the air around us .
Stir it together until it comes together .
It's gonna be like a thick paste cover this loosely after a day or two .
You'll start to see some bubbles forming .
You might even see some liquid on the top .
That means your yeast is hard at work and would like to be fed .
So you'll feed them a half a cup of all purpose flour and a quarter cup of that non chlorinated filtered water .
You'll see your starter start bubbling .
It'll be growing and happy .
You might see some liquid on top .
You'll add a half cup of all purpose flour , a quarter cup of that non chlorinated water .
It'll keep growing .
You'll discard some and repeat the process for 4 to 5 days .
Then it'll be bubbling , happy and ready to use .
That's a very abbreviated explanation .
If you want the full step by step for how to make sourdough starter .
Let me know in the comments .
I'll be happy to oblige right now .
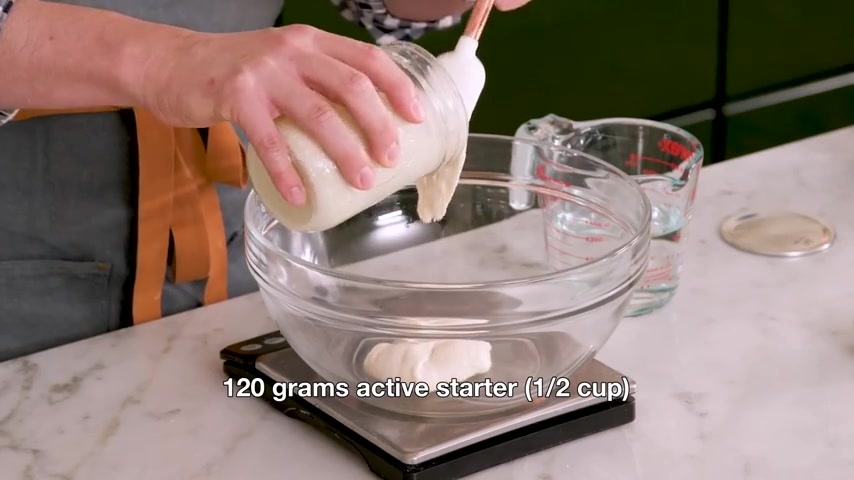
I'm adding half a cup or 100 and 20 g of starter right into a big bowl .
Here we go .
Sourdough bread is one of it .
Like it is my favorite bread and it's so cool because it's the most ancient bread .
There is the most ancient levent bread there is , we're just taking natural yeast that exist in the environment .
You make a starter with that .
So it's like a ton of yeast in here and because they're wild and fancy free , it has like a wonderful , really strong taste to my starter .
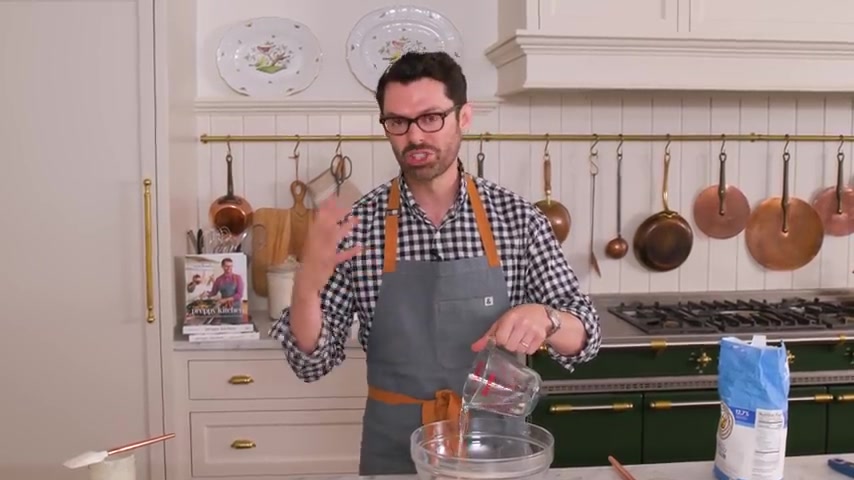
I'm adding one and the third cups or 310 mls of 90 degrees .
So like warm , not hot water and do not use water if there's chlorine in it .
So , in a lot of municipalities or if you have a , well , even there could be chlorine , treating your water that will kill your precious beautiful yeast .
So don't do it .
Go for the bottled water .
If you have any doubts , I've killed sour starter more than once using water that just wasn't as pure as I thought it was stir that starter in until it's mostly combined with the water .
I want it all broken up .
So the yeast are distributed .
Now , I'm adding five 100 g or four cups plus two tablespoons of bread flour .
So add that right in , I should tell you that sourdough bread is not a quick bread .
It's not like making zucchini bread .
It's not even like making like a regular bread with active yeast .
It takes a while .
This is wild yeast and it's doing some beautiful things and making delicious bread .
But we're gonna go through some steps to have a beautiful open crumb and a wonderful flavor throughout scale is done .
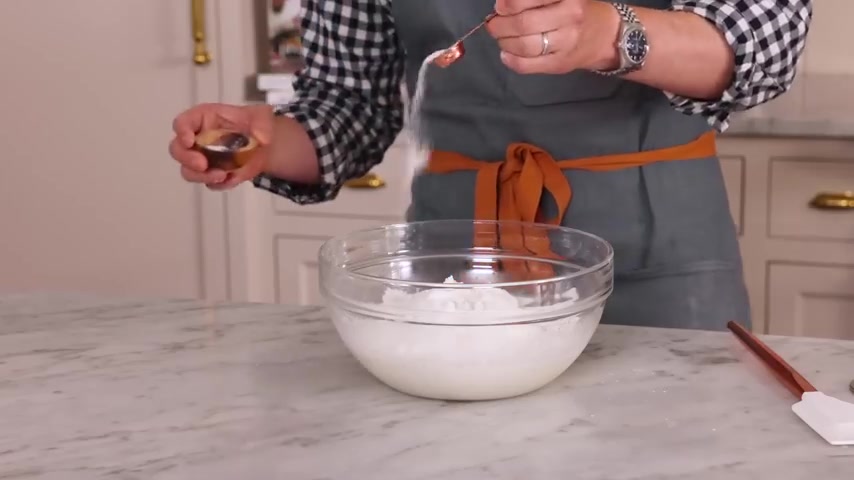
I'm also adding in two teaspoons of fine sea salt .
It's fine .
So I want to mix in really well .
There we go .
That will give us some wonderful flavor .
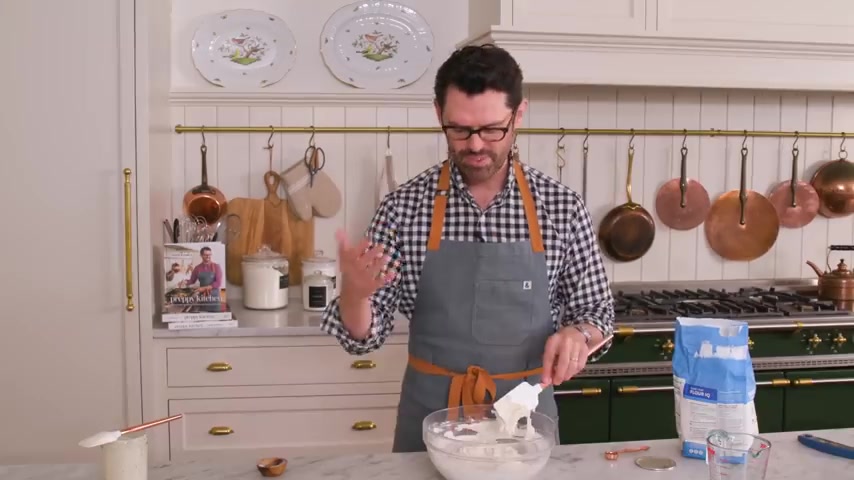
Now you can use your clean hands or a spatula to mix this into a shaggy mixture .
Don't mix it until there's no flour left , mix it until it's almost combined .
This first step .
Is called the auto lice .
And what we're doing is hydrating the dough with the water and starter and you're activating enzymes that are in the flour .
The enzymes are gonna start breaking down some sugars .
They're going to do a couple of different things .
But the end result for you is your bread will have a wonderful open crumb like those big holes .
You see in sourdough bread and it'll have a really nice flavor as well .
You can make sourdough bread without this step .
But trust me and just give it a try .
If you were in ancient times making sourdough bread , there wouldn't be an auto life stuff .
This was developed in the 19 seventies , but we really like it because of what it does for our bread and really improving the flavor and texture come take a look at this texture .
This is the definition of shaggy dough , shaggy strands of dough held together , but lots of flour too still .
So it's not fully mixed .
Grab a clean kitchen towel .
I want to make it damp .
So nothing dries out .
Cover your shaggy dough with your damp towel .
We're gonna let this sit out at room temperature for an hour .
When we come back , it'll be hydrated and happy and we can go on to the next step about an hour or later .
Things have become hydrated .
But if you look down , you'll still see like flowery bits here and there and you're not gonna worry about that because you're gonna wet your fingers as we do the next step and your wet fingers are gonna do a little bit of hydrating too .
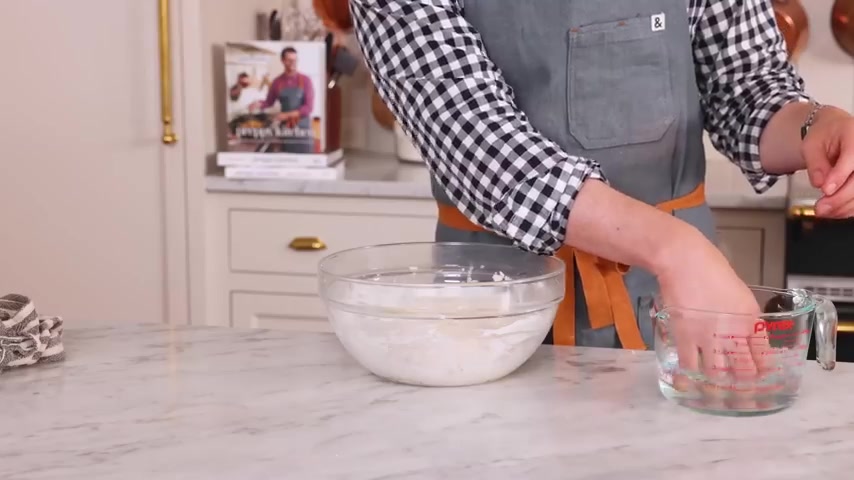
So wet your hands in some clean water .
And if you've ever made before , this is gonna be so familiar to you .
We're gonna fold this dough four times .
So reach into the bowl , we're gonna lift it up and fold it over , then turn bo 90 degrees and repeat , you'll do four folds and this will happen several times with breaks in between .
We're developing the structure of the bread , but we don't need to go crazy on this because there's a lot of built in time .
Things that are gonna happen and make our sourdough delicious .
So we're not needing a lot .
It's just a few folds here and there come take a look at this .
I want you to see all the , all the details .
So lift underneath and we're gonna stretch this over .
Turn it .
A couple of sprinkles are fine , lift it over and fold it over .
That's my third stretch .
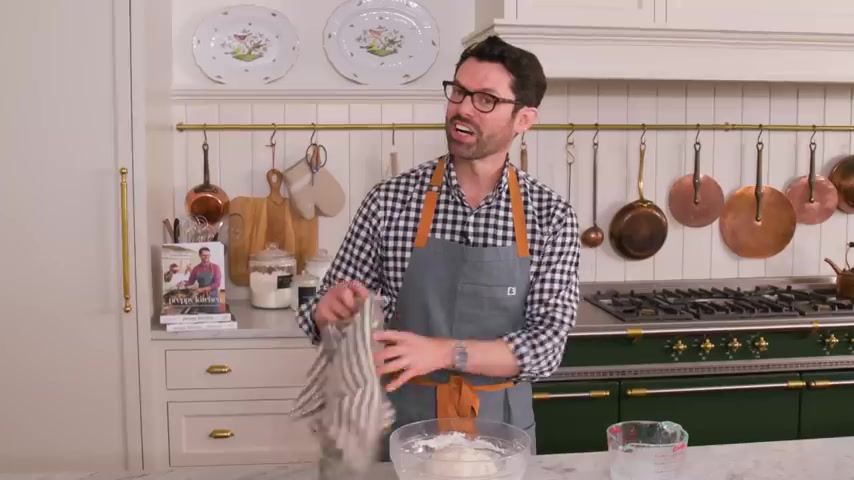
And you can see it's starting to get a lot of height and finally we're going to lift it up and stretch it over .
There we go .
Ah Now you're gonna cover your sour dough once again with a damp towel and let it rest for about 20 minutes .
We developed some gluten and it has some structure .
It needs to chill out and relax after 20 minutes .
It's time for another stretch and fold , dip those fingers into cold water , release the dough from the bottom because it tends to stick and we're gonna stretch it up and fold it over right now .
What you're doing is developing the gluten structure of the bread .
So you're giving it a chewier like texture , which is one of the things that makes sour dough .
So amazing , you can do this stretch and fold situation four times with 20 minutes in between each time or you can just do it twice .
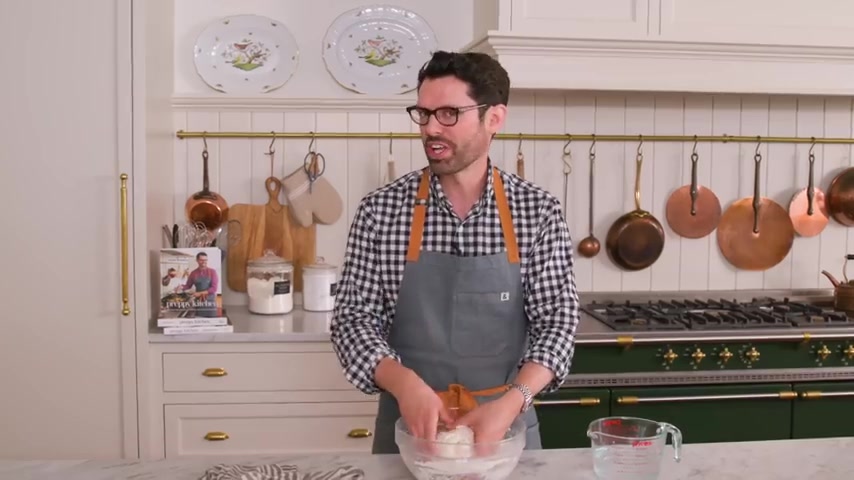
It's not gonna make all the difference in the world , but you will have a chewier loaf if you do it this way , stretch and fold , that gluten is really developing last stretch , last fold and we go .
Yeah , here we go .
I'm doing a couple of things in the kitchen today as usual .
So I don't mind coming back every 20 minutes and doing my stretches and folds .
If this is like not OK with you just do it once or twice and you'll be totally fine on to the next step .
I wasn't gonna show you extra folds because you get like you get it .
But I wanted you to see the texture of the bread .
It's really coming together and becoming silky and just like more what you expect .
It looked so crazy at the beginning .
Look , see it is like much softer .
It's hanging out .
That's nice .
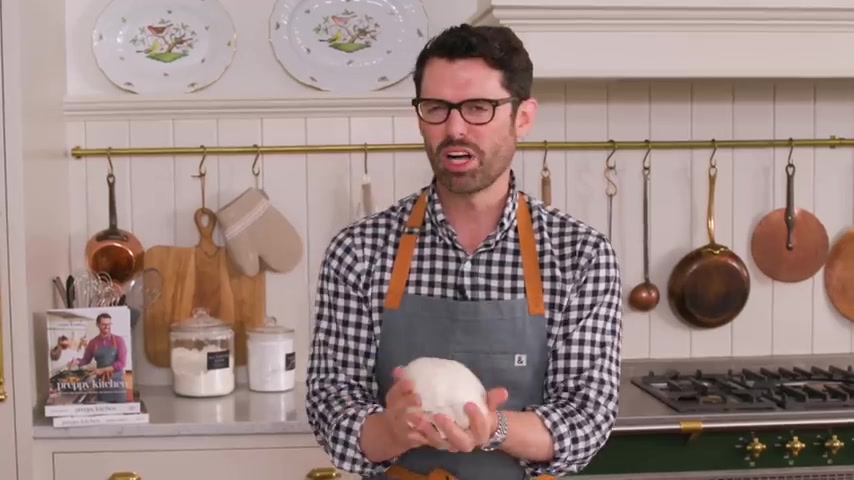
It's really neat when you make your own starter too because you're catching like the native yeast that you have just hanging around the room and it's gonna give you a slightly different flavor .
I did a final set of folding off camera and now this delicious bread is ready for a rise .
But why does this taste so delicious and have that wonderful sour flavor ?
It's because our yeast are working really hard to ferment sugars that are in the flour .
This tastes best if they're fermented slowly over time .
So right now I'm gonna shape this into a nice ball .
It's still really sticky though .
So you can wet your hands if needed .
And I'm plopping it into a clean bowl .
This one just is a wreck .
I don't want to deal with anymore .
Now , we're going to cover this up one more time and you have some options here .
You can go low and slow and just let this sit out on the counter for 6 to 12 hours .
And that'll give your yeast a lot of time to slowly ferment and make a delicious sour dough loaf .
Or if you don't have that much time , you can pop it into a warmer place for less time .
Basically , it will be well puffed and bounced when it's ready .
I'll leave mine on the counter for , I don't know , maybe six hours and we'll come back to it .
But if you're in a hurry , pop it into a warming drawer or an oven with the light turned on and it should rise much quicker than that .
We'll be back with the magic of editing .
My dough has been hanging out for a while and you can see it's really gotten bigger .
You might see some big bubbles underneath and on top the yeast is hard at work .
You can test to see if your dough is done using your finger .
I like to dampen mine because this is a bit sticky .
Press into the center and if it bounces back , like mostly it's done .
If it doesn't bounce back , needs a little bit more proofing time .
And if it's really slack and loose it over proofed , you can still make the bread .
It'll be a bit flatter and have less that nice structure , but it'll still be delicious and you go for it .
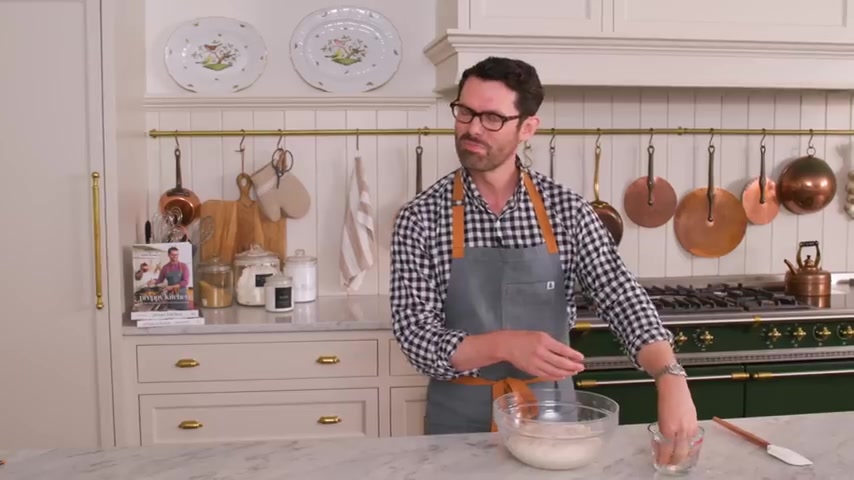
I'm a little worried that my dough is gonna stick to this bowl .
So I'm just using a wet spatula to loosen it up on the edge .
Dip your hands in cold water .
Nice and wet .
Clean hands , reach underneath the dough , lift it up .
You can see it's just draped over my hands .
It's nice and stretchy but holding together .
Oh my God .
My kids would love this .
It's like slime .
Now I'm gonna place this onto my counter .
We are done with water .
It's time for flour .
Grab a little bit of flour .
We're gonna Sprinkle this over the top of our dough .
So make it less sticky .
Now I'm gonna flip this over .
So it's flowered side down .
A little bit more flour .
OK .
Here we go .
Flip .
Perfect .
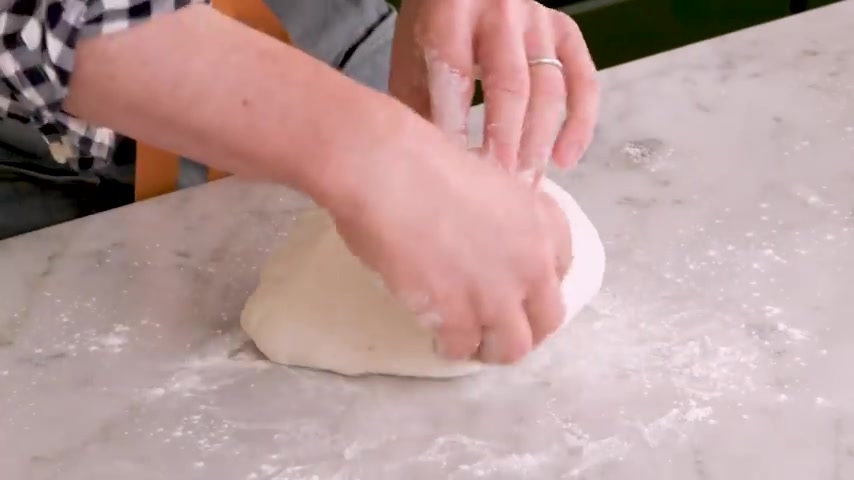
So we folded , we flipped and now we're gonna gather the corners up and make a beautiful little ball just like you're making a massive dinner roll , pinch those together a little bit more flour and now I'm gonna flip it again .
Oh Look at this .
It's beautiful .
I can see the bubbles throughout .
There's some really big bubbles .
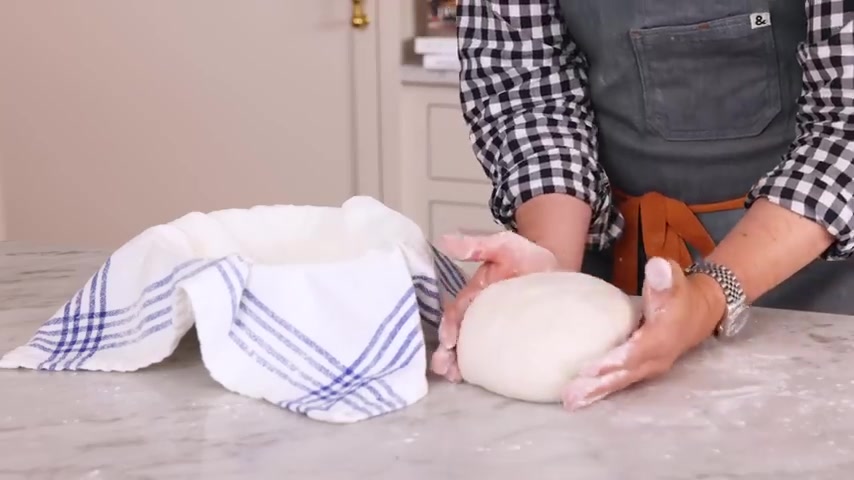
So I know this will have a nice structure and now I'm just going to shape it into a nice pretty ball .
Now , we want to tighten our ball .
So use your hands and bring the ball towards you .
You're kind of like scooting it towards you .
Then you're going to rotate it , place it back and scoot some more .
So you're just creating a tighter ball and more structure .
This way , this feels so nice in your hands .
It's really relaxing .
This looks nice and tight .
It's beautiful and full of those characteristic bubbles right on the surface which I love .
I'm gonna lightly dust this with flour .
That's one final scoot .
Now you can grab a smaller bowl or colander .
It should have a nice dome shape .
This has a flat bottom , but it doesn't really bother me .
We're going to line this with a clean smooth kitchen towel , so not the terry cloth kind Sprinkle liberally with flour .
Imagine you're making a roll cake right now .
Now you can use your hands or grab a bench scraper if this is kind of stuck and scoop the dough up and flip it over .
So it's beautiful side down , smooth side down , please .
Uh a little bit more flour .
You have two options .
You can let this rise at room temperature or you can cover this and seal it up in plastic so it does not dry out and let this hang out in the fridge for up to 36 hours .
The cold in the refrigerator will slow the rise age the yeast and give you a deeper , more amazing sour flavor .
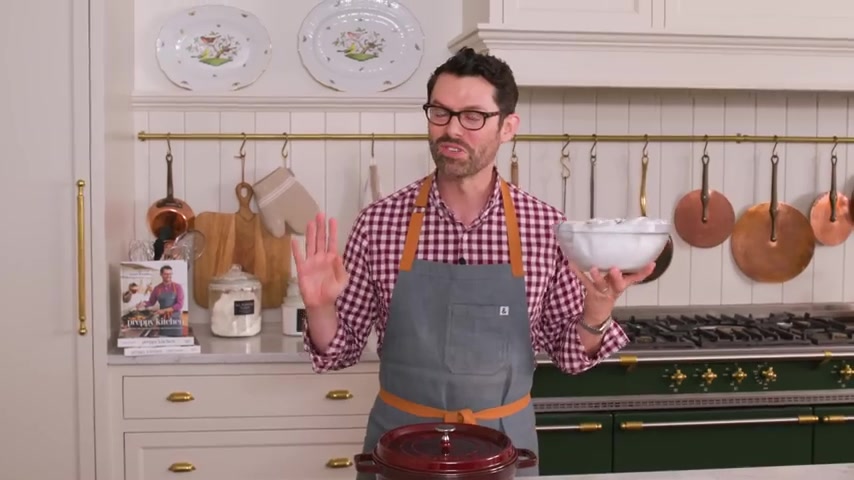
So mine's gonna go into the fridge covered up for 12 hours and we'll be back with the magic of editing .
It's a new day and this little baby was chilling in the fridge overnight .
Lots of slow fermentation happening so precious to my heart .
If you refrigerated your loaf overnight , bring it out and let it warm up while we preheat the oven .
If you just did the 30 minute rise , take your bread and pop it into the fridge for an hour , it's like reversed .
So our sour dough is gonna bake in a cast iron pot .
But I will tell you if you have a fancy beautiful cast iron pot , don't use it .
It will be permanently marked for life .
It's never gonna be the same again .
So if it has that beautiful white interior or it's like soft pink or something , no , you want one that's black inside or that you got at a garage sale that , you know , you're just gonna use it forever and it's gonna get kind of beat up .
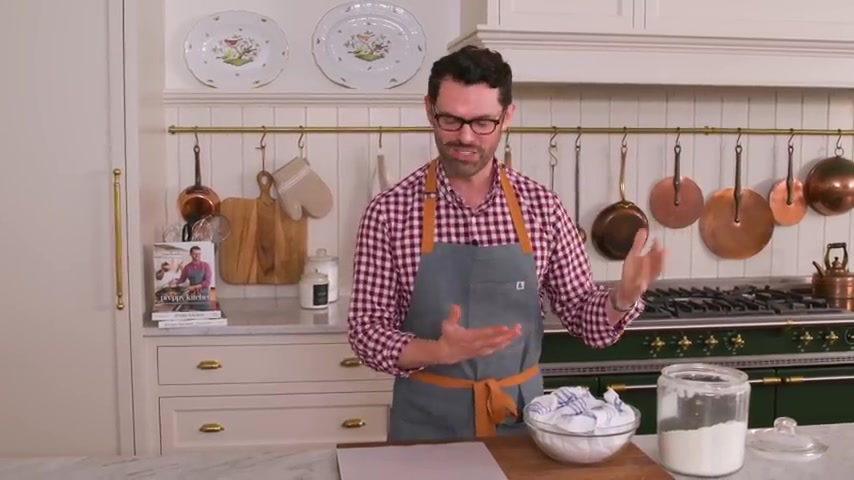
I'm telling you that because there will be some like scorching and darkening happening because we're baking this at 500 degrees .
It's very hot .
Grab your cast iron pot lid , all pop it into the oven and set that to 500 degrees .
It has to warm up for about an hour and this guy will get scorching hot .
My overnight loaf has been on the counter warming up for about an hour while that pot gets screaming hot in the oven .
If you didn't do the overnight loaf and you just did a 30 minute rise .
You should just be taking it out of the fridge because it was in the fridge for an hour .
Now we're gonna uncover the loaf .
It looks beautiful .
I've taken a few sniffs and it's nice and sour Sprinkle a little flour on the bottom because it's kind of sticky where we pinched it together .
We're gonna place our parent paper right on top and flip it over , remove the bowl and carefully removed your cloth .
Don't tear .
That's nice .
Ah , so satisfying .
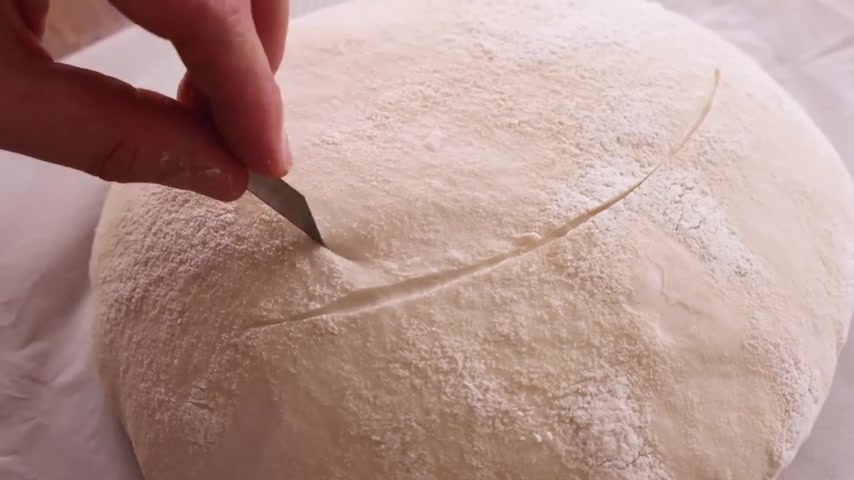
We're gonna give our Brett a nice light slice just to pierce the skin .
You're not gonna go too deep score lightly across the top .
You can do a fancy design if you want .
This is either a feather or leaf .
You tell me which one you see , set that aside , grab your oven mitts and we're gonna get this 500 degree pot out of the oven .
Carefully , open your pot and carefully using the paper as a handle .
Plop this right in , carefully , add the lid back on into the oven 500 degrees for 20 minutes .
And we'll be right back .
Note to self use a trivet .
The cutting board is not a trivet and more , you know , it's just , it's fine .
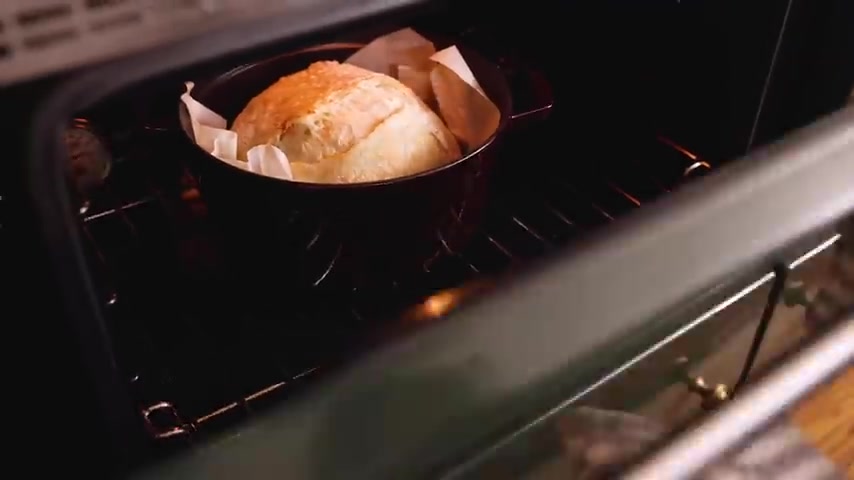
No one's gonna know it's totally gonna after 20 minutes reduce the oven's temperature to 4 50 carefully remove the lid .
Continue baking another 20 minutes or until your crust is a deep golden brown color .
Use the par of paper and a spatula if needed to carefully remove the bread and allow it to cool on a wire rack completely out of the oven .
Golden brown .
And I'm gonna carefully 00 Transfer it over .
Look at that beautiful loaf of bread , let it cool completely .
Then we'll give it a slice and see how that structure looks golden covered in these fermentation bubbles and so crusty on the outside .
Look at that big beautiful holes and it smells amazing .
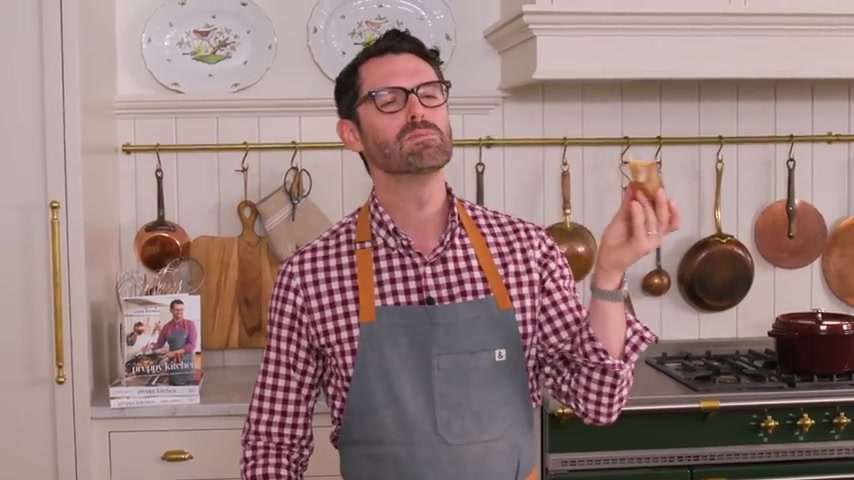
Give it a slice and you can see this bread has a beautiful open structure and it's so soft .
You can just see how chewy it's gonna be slathering butter , Sprinkle of salt .
Mm Yeah .
I the whole thing I know this was a journey but we went through it together .
The bread is delicious and I feel so satisfied .
This is an amazing piece of bread .
It's crusty on the outside , soft chewy spongy and sour on the inside the lashing of butter and a Sprinkle of salt .
It's just about perfection .
I hope you get a chance to make this recipe .
And if you like this video , check out my bread playlist .
Are you looking for a way to reach a wider audience and get more views on your videos?
Our innovative video to text transcribing service can help you do just that.
We provide accurate transcriptions of your videos along with visual content that will help you attract new viewers and keep them engaged. Plus, our data analytics and ad campaign tools can help you monetize your content and maximize your revenue.
Let's partner up and take your video content to the next level!
Contact us today to learn more.