https://www.youtube.com/watch?v=AL1Xrd8IScY
2023-06-14 18:56:32
How To Fix A Sunken Sidewalk With Spray Foam
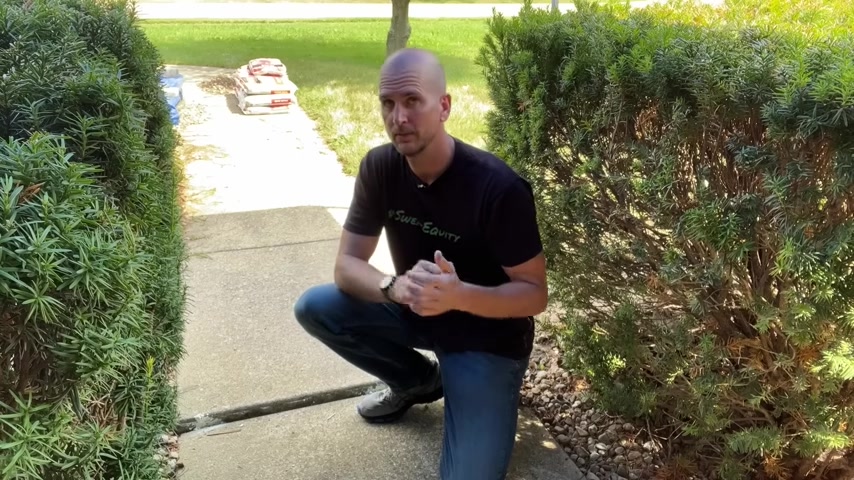
Right at the entrance of my home .
I have a bit of a trip hazard where the last section of sidewalk has accidentally sunk in over time , one in three quarters of an inch causing a trip hazard .
So I want to show you today how to raise up the section of sidewalk and also port it with some great stuff , spray foam .
So let's jump into it starting off .
I'm just going to mark some hole locations where I will actually drill through this concrete with a quarter inch by 12 inch long masonry drill bit .
These will give me access to underneath the slab to spray that great stuff foam a little bit later on in the project .
So all the holes are completed and just a point of reference , I did upgrade to the rotary hammer drill and the time it took me to do one with my standard Makita cordless in the hammer drill setting .
I was able to do the remaining 11 with this Bosch Rory Hammer drill .
So if you are struggling just now , you can rent a rotary hammer drill or pick one up if you have some concrete projects in your future .
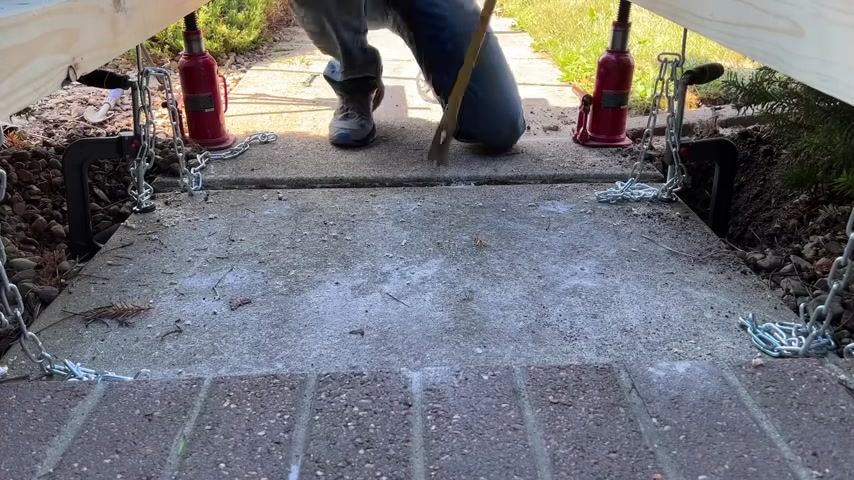
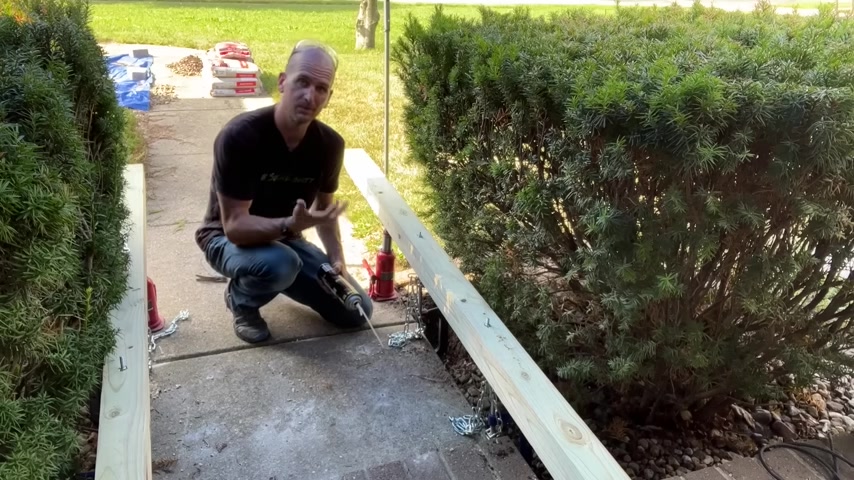
Next up with the use of some bottle jacks .
I'm going to raise up this section of the sidewalk and then once I have it perfectly in place and where I want it , that's when I'll put the spray foam down to get a secure foundation underneath the sidewalk and then keep it in that final location .
I'm gonna use four sea clamps and actually grab onto the side of the sidewalk .
So I just need to clear out a little bit of the gravel and dirt so I can get that sea clamp up underneath the sidewalk , two locations towards the actual focus of the lift point and then two locations closer to the actual brick patio .
Then I'm going to mark on the brick .
I don't expect much movement there , but I do want a reference point taking four by four posts , each of those being eight ft .
That's really what's going to do the heavy lifting .
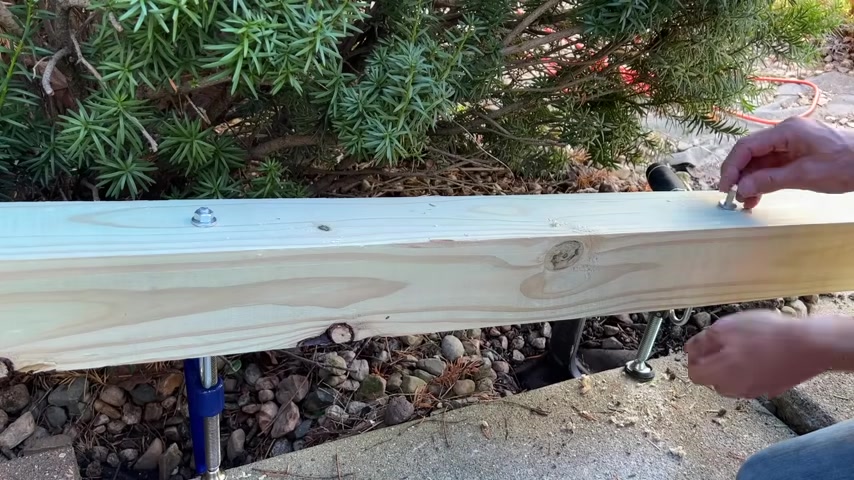
I'll drill four hole locations , one in each of these sea clamps and then those holes are gonna be used to pass through five sixteens by seven inch J bolts .
There's gonna be four of these .
I take two small washers and a nut and this also will give me a little flexibility to adjust later on .
Now with the bottle jacks , uh one at each of the four by four posts , I will take my chain and attach that around each of the sea clamps and then to the J bolt .
Now , just starting to tighten everything up .
I just want to get each of the sea clamps tight , making small adjustments and also making sure the bottle jacks are not out of line and want to tip over while you're doing the lift .
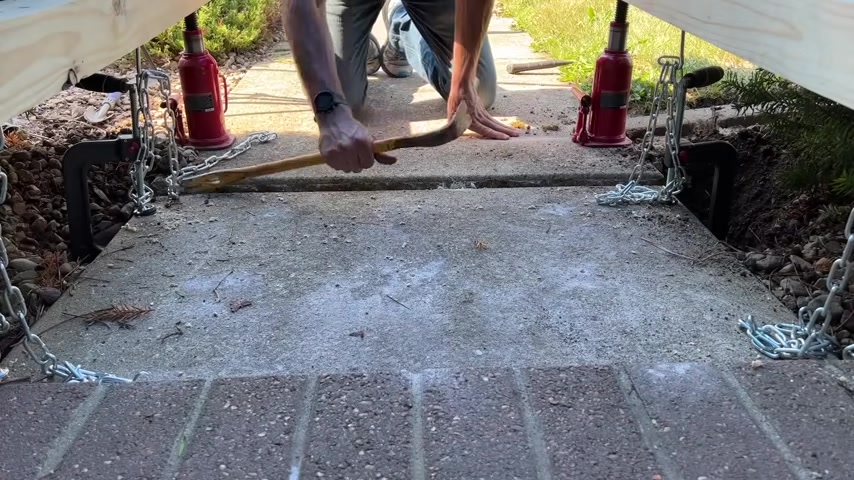
Then I'll start to do the lift here , going side to side and again , making small adjustments and using that 24 inch demo bar to kind of pry at the large gap to make sure nothing is getting caught like this right here .
I found a small rock getting caught and you can see it just loosened up there and I'll fully break this loose .
And this will really allow me to lift up that sidewalk now that it's not pinched .
So now we'll move on to the spray foam .
And remember this is really just to support the sidewalk where it's at right now , not to really lift it anymore .
So I took my torpedo level and I confirmed that I do still have a slight grade away from the home .
So any moisture will shed away from the home , which is what I want .
And now I have all 12 of my holes where I'll spray the great foam .
Really right here is the void that I've created .
So I'm gonna start in the middle two holes and then work my way out and I would expect to get foam coming out of the sides of the sidewalk .
Remember , we , we should have created the voids .
Now , that spray foam will want to go to the path of least resistance .
So once it fills the cavity , which is what I want , it should push out the sides , confirming that we have everything full and a secure foundation underneath the sidewalk .
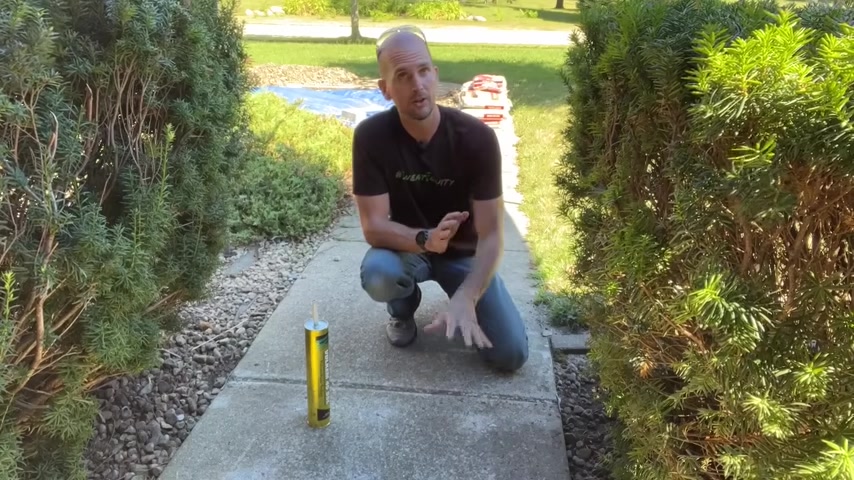
So I'm using great stuff .
Big gap filler .
It expands a little bit more than your standard great stuff and a link in the description will show you the exact 20 ounce bottles that I purchased and I used two of those bottles at a cost of about $8 per bottle .
Now I'm spending the most time on the part where we lifted because that's where we created the largest voids and we need to fill those .
And then once you're completed with the application of the great stuff , what you want to see is this , this is the 1st 15 minutes of the great stuff expanding out and starting to flow out the sides .
So then you just let everything sit for at least eight hours because that's how long it takes the great stuff to fully cure before you want to remove your actual structure that helped you lift and support the new location of your sidewalk section .
So I'm going to move everything now and then I'll show you that last step to seal everything up to make sure the sidewalk stays in the new location and doesn't just sink right back into place .
So I'll just have a little cleanup here , moving the rocks back into place .
But also starting to prep that crack that I'll be sealing here in just a moment and also using that quarter inch Mason bed to clear out those holes .
So I can also seal each of those holes .
That nylon cup wheel is going to be super handy to clean up that surface and get any dirt or debris off .
So I just finished up sealing everything off and this lab is good for years to come .
Let me know what comets you have .
But if you need a little more direction on sealing a gap in concrete , whether that's your sidewalk or driveway , my go to is this Remco Vulcan 45 semi self leveling sealant .
Here's a gap that I actually sealed up 12 months ago .
It's looking awesome .
It blends right into my driveway and here's the video for you that will walk you through that complete process .
So , thanks for joining me on this video and we'll catch you on that next one .
Take care .
Partnership
Are you looking for a way to reach a wider audience and get more views on your videos?
Our innovative video to text transcribing service can help you do just that.
We provide accurate transcriptions of your videos along with visual content that will help you attract new viewers and keep them engaged. Plus, our data analytics and ad campaign tools can help you monetize your content and maximize your revenue.
Let's partner up and take your video content to the next level!
Contact us today to learn more.