https://www.youtube.com/watch?v=Ru4Y3W103as
2023-06-14 18:54:07
How To Fix Short Wires In An Electrical Box
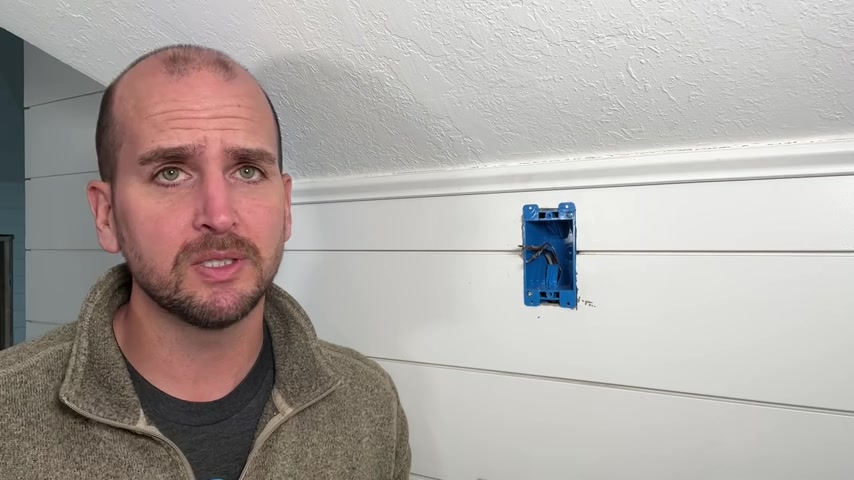
So you're jumping into what should be a quick little electrical update project .
You just want to swap out the solid confirming you don't have any power .
Now you take off your two mounting screws .
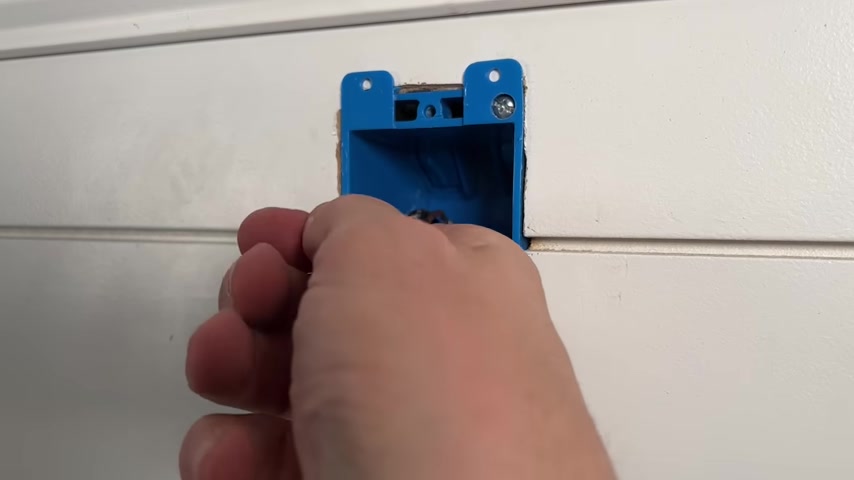
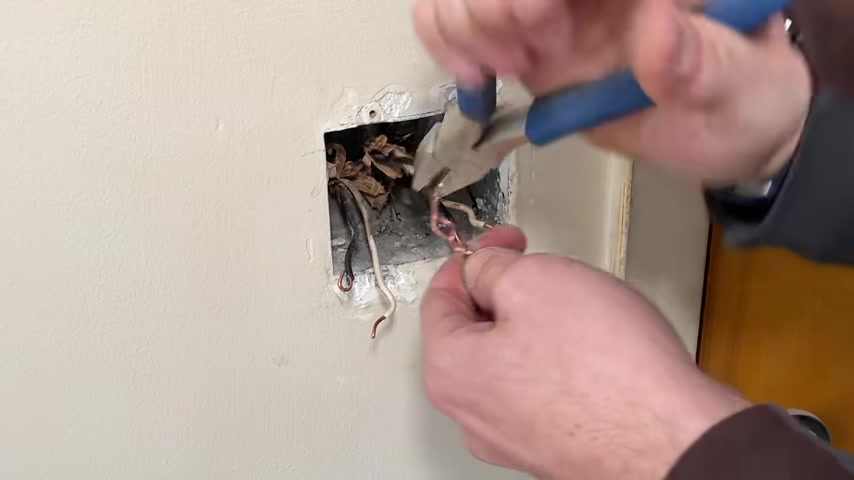
But when you go to pull the outlet out , man , you notice that it is not coming out very far and it's pretty tight .
So further investigation , taking off your three screw terminals , this is what we find and that is we have extremely short wires coming into this box and they do not meet code .
Now , this is an older home .
It's been updated numerous times over the years .
So this is not uncommon and the question is , what do we do ?
So let me show you a few different options that will get you out of this situation safely .
And also we'll touch on the electrical code that you should be meeting in your area .
So speaking of code , what would you actually want to see ?
And I'll mock up a piece of Rox here , which will give you a better example to meet code .
What you'd want to see is your nonmetallic sheathing from Rox extending at least a quarter of an inch through .
Then you want to see from the end of the sheathing to the end of your wire that being at least six inches with at least three inches extending past the box itself .
So that would be the code that you're looking for .
Now , for us , our wires , one are kind of missing that sheathing and also not extending more than an inch past our box surface .
So the question is , what options do you have ?
I'll walk you through three different options .
The first two will be focused on trying to get more wire into the box so we can meet code and have plenty to work with to safely mount that outlet .
And then the last one , one is the one I'm gonna have to go with where we're going to use connectors , not wire nuts , some different connectors to extend out those wires to give you enough to work with , to get that outlet securely installed .
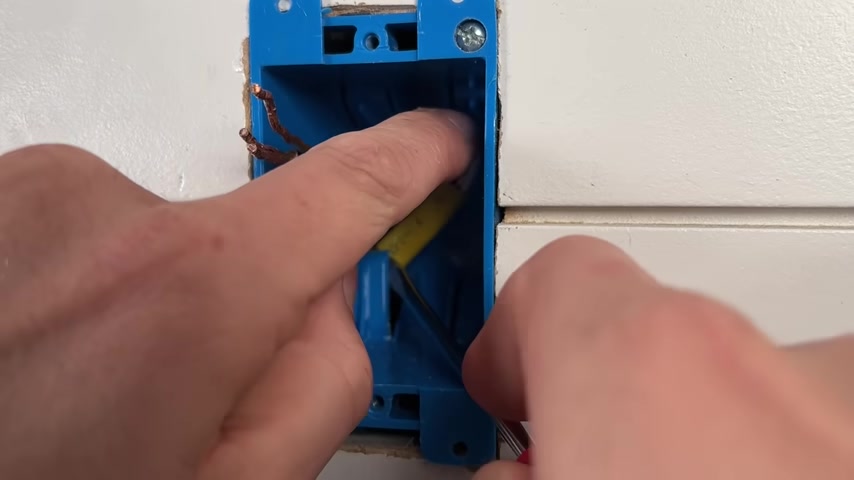
Now , hopefully step one here works for you because it's by far the easiest and really , that's just checking to see if we have a service loop or some extra Rolex back behind this box .
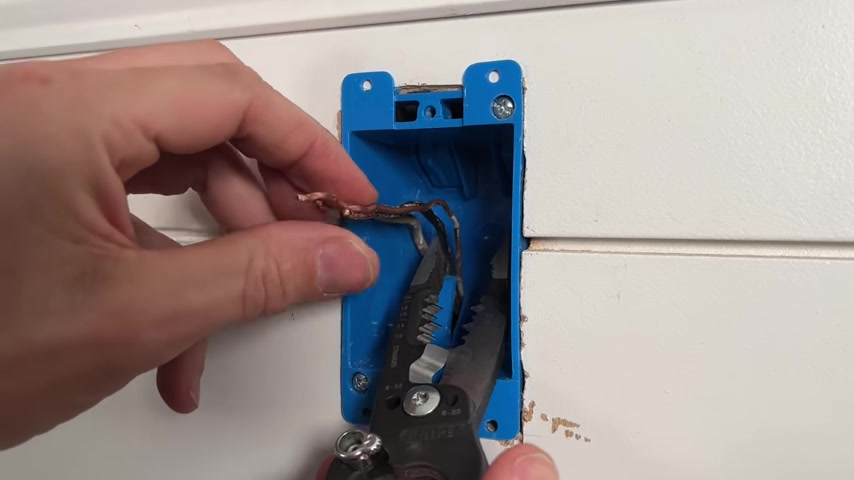
So you want to pull on your wires , but to do this without causing damage to your two conductors like your hot and you're neutral here , I'll take my hybrid wire strippers here or some needle nose pliers .
I will firmly grasp onto the bare copper and then I'll kind of use the bottom here for some leverage , pulling up on the wires to see if I can pull any more slack into the box .
Sometimes that works .
And then that will get you to meeting code where you have that six inches past the non metallic sheeting and three extra inches past the surface of the box .
But if that doesn't work , let's go on to step two .
So step two or more appropriately called option two is if you actually have access to the Roma or old wire that's feeding this box .
So maybe it's going through a wall cavity down to your basement or crawl space or maybe it's going up to your attic and going to a junction box or maybe you're close to your actual panel and then that will be pulling a new piece of row max through that section and let me give you a few tips .
I'll give you an example .
So here I'm pulling a new piece of 14 3 Rox and I've already stripped off all the conductors and using one conductor to connect to the old wire that's in the box .
So I wanna twist everything on both sides tight .
And what you're trying to reduce is any wires hanging out and make the overall package as small as possible .
So it doesn't snag on anything as you're pulling it through .
And it's very important to wrap several times with electrical tape , making that as smooth as possible as you're prepared to pull the old wire , which will then pull the new Rox up through here , crawling into the attic space , grabbing on the wire and then I'd pull that new wire up through the wall cavity .
Now , the challenge with option two is you literally can hit a snag .
And that most commonly is when that old piece of wire going up through your wall cavity was actually secured with staples onto the studs within the wall .
So that would obviously make it much harder to pull that into your attic or down into your basement or crawl space .
So it might not be an option for you , but it might be worth a try .
Now , moving on , if option one , you didn't have any slack , you could not pull any additional wire into the box .
Option two , you don't have access to the Roma or maybe it's secured in the wall cavity doesn't work .
Let's go on to option three , which is what I'm going to use for this one .
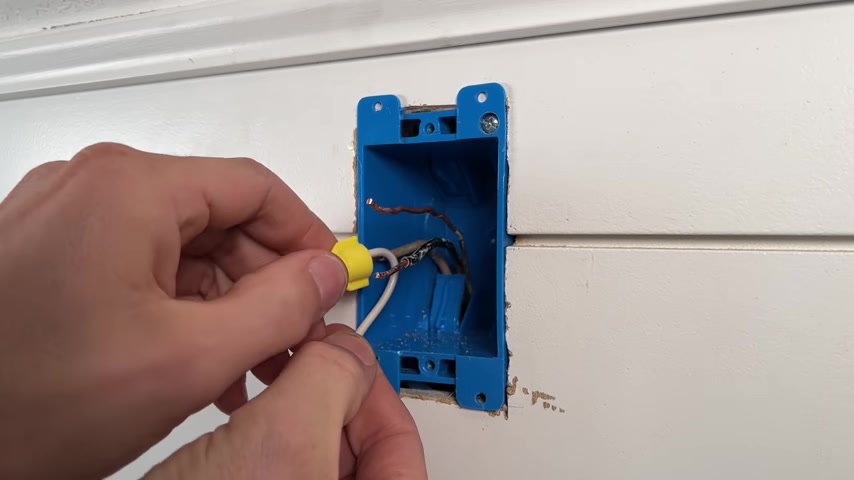
So , wouldn't be uncommon for somebody to use a small wing nut or wire net like this , introduce an extension of wire and then twist those together , letting the wire net do the work or to pre twist those before putting the wire net on .
Now , for most D I wires , they don't have a ton of experience with wire nuts and kind of struggle with them .
So if the wires are short , that's even more of a problem .
So for this instance , I really prefer the way go 221 , especially the small two wire , which is very compact and really ideal for these type of scenarios .
So unfortunately , I am going to have to trim these up a bit because I would like to have a little less exposed copper on my new two conductors .
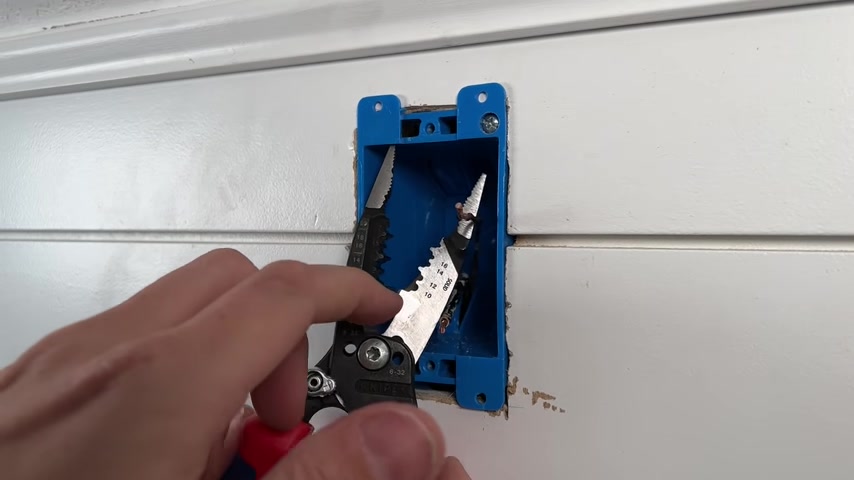
So I'll trim those up a bit and I'll show you how easy these wao are to install .
So once I have my existing wires where I want them , now I'll just take the way go and I'll pre install my extension here , making sure that it's fully seated and it goes all the way to the edge of the housing .
So it's fully seated on the bus bar .
Then I'll just open up the other lever again , confirming that the wires going all the way to the end and then close the lever and that's it .
Now you have the hot extended and we'll do that for the neutral in the ground .

So now with the extensions or most people would call these pigtails in place .
I'm gonna make AJ hook for the ground and we'll place that clockwise around the green screw first tightening that up .
And this is a commercial grade Laron 20 Amp outlet .
So I'm gonna use what's called back wiring and that's where you can just pass the straight section of wire in .
And then when you tighten up the screw terminal actually pulls a plate internally and that's what secures the wire into each of those terminals .
That would be as opposed to making j hooks on these and going clockwise around each of the terminals for the hot and neutral .
So once everything's secured , then you'll want to fold the wires back into the box , not just cramming them back .
So kind of make it where when you press the outlet back in and you're securing it with the mounting screws , the wires want to fold into place where you want them and not just kind of push all over the box .
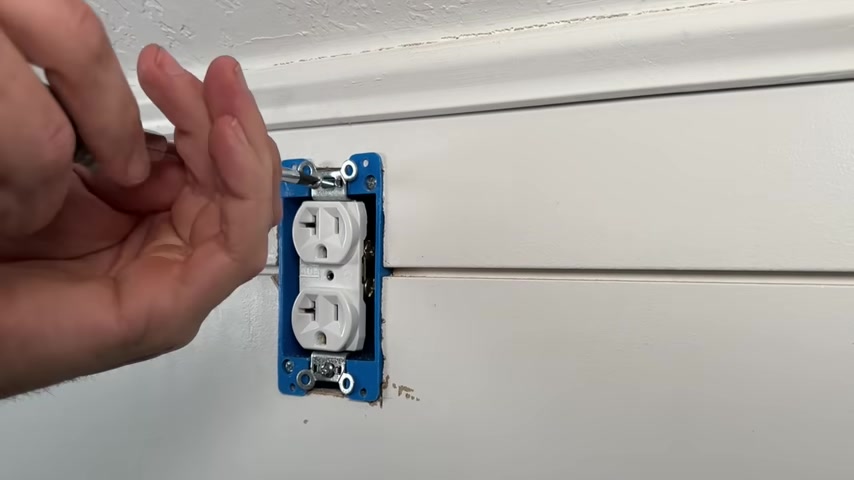
Then with the E C X screwdriver , we'll go ahead and secure the two mounting screws trying to get it as flush as possible with the ship .
Lap on the wall , tightening that up , basically finish line here and we'll just put the wall plate in place and we're done .
So , although I prefer option one or option two , sometimes like this case , you have to go with option three and splice in that extra wire length .
So let me know what you guys think .
Was there another option I missed that's helped you in the past .
But I think for the way 221 , this is a perfect example of where it makes the job much easier opposed to having very short wires and trying to get a tight hole with the wire nut .
Now , if you want a refresher or just want to go over the basics of an outlet check out this video right here and I'll walk you a start to finish to give you that knowledge .
So you get more comfortable and you can do electrical work around your house safely .
So thanks for joining me on this video and we'll catch you on the next one .
Take care .
Partnership
Are you looking for a way to reach a wider audience and get more views on your videos?
Our innovative video to text transcribing service can help you do just that.
We provide accurate transcriptions of your videos along with visual content that will help you attract new viewers and keep them engaged. Plus, our data analytics and ad campaign tools can help you monetize your content and maximize your revenue.
Let's partner up and take your video content to the next level!
Contact us today to learn more.