https://www.youtube.com/watch?v=UwGoU3XVpnI
2023-06-14 18:54:01
Electrical Outlet Basics _ How To Wire
Hey , what's up ?
You guys , it's Scott with everyday home repairs .
And today we are going to talk about how to wire and some of the common issues that people run into when they're wiring a standard electrical outlet .
First up is always safety when dealing with any sort of electrical system .
And that is to make sure you're cutting power to the box by hitting your circuit breaker or pulling the fuse .
And then also basic tools .
So the basic tool that should be in your toolbox before doing a project like this would be a voltage tester .
Uh This one's made by client tools I've had it for years .
Uh It's awesome .
So it just has the basic detector and then this one's nice because it has a small light which come in , comes in pretty handy when you're cutting power and may be cutting the lights to your area where now you can see what you're working on .
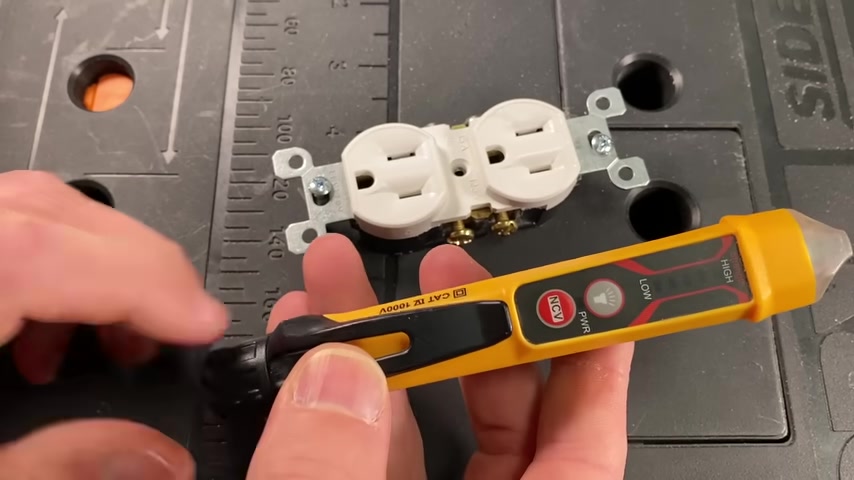
So I'll give a link in the description of this exact one , but there's many in the market that will do the job , but you really need one of those before jumping in .
So maybe you just bought a new home and you're doing a project for the first time or you just need a refresher .
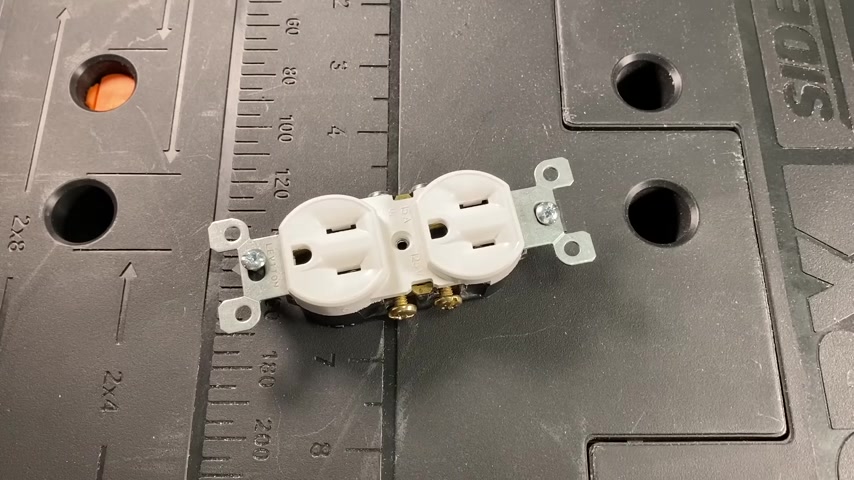
So let's get you acquaint it and get your bearings to a standard outlet .
The first side is going to be your hot side and that's going to be denoted by these brass screw terminals .
You'll also see black is the predominant wire color for hot .
But if it's a switched uh outlet or receptacle , you might also see red coming into this side .
One other thing to know if this is a switched outlet .
So if one side is always hot and the other is actually controlled by light switch , you'll see this commonly in homes with lighting that is not overhead .
So you have to turn on and off a lamp .
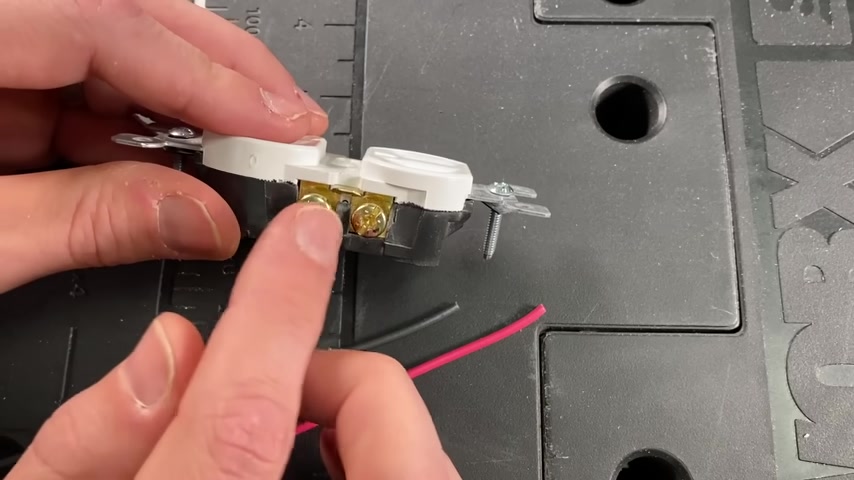
You do need to remove this connector here .
So then you could wire in black to one side , always hot and red coming from your slip , your sorry , your switch to the other side .
And then those will independently operate this connector here , connects them both together and that's OK for a common circuit .
So you can just connect hot to one side and it will , it will operate both the top and bottom plug .
But again , if you have a switched outlet , you're going to need to remove that tab , then that tab is easy enough to remove .
You just need some needle nose pliers and you can wiggle it back and forth and remove it .
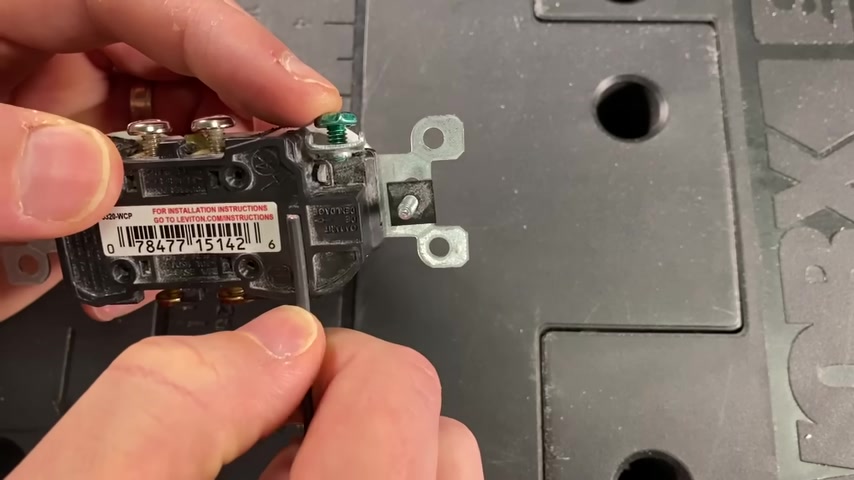
You only need to remove that from the hot side , the other side , you have silver and green .
So silver is gonna go to your white or neutral wire and then your bare or common wire will go to your green .

Then the only other thing you're gonna see , the small slot will correspond to the hot side in the brass terminals and the larger slot will be on your neutral side .
So a common question or what you'll see when you jump into some of these boxes in your house is it's inconsistent how much people strip in terms of insulation from the wire before they connect to the screw terminals .
And just note that most outlets these days do come with these push pins where you could strip the insulation off and then press the copper in to the outlet and there's a small retainer here that would hold it .
And then you do need to press that to release it .
That is not recommended in some places that's actually against code .
And that's because that's just going to be a weaker point of the outlet and could be a failure mode in the future .
So it's always recommended to go to the screw terminals once it's shown to you , which many people don't know is there actually is a strip gauge built into pretty much any outlet that you'll see .
So what you need to do is just line up your wire installation , kind of mark that with your fingernail or a marker and that's how much you need to strip off .
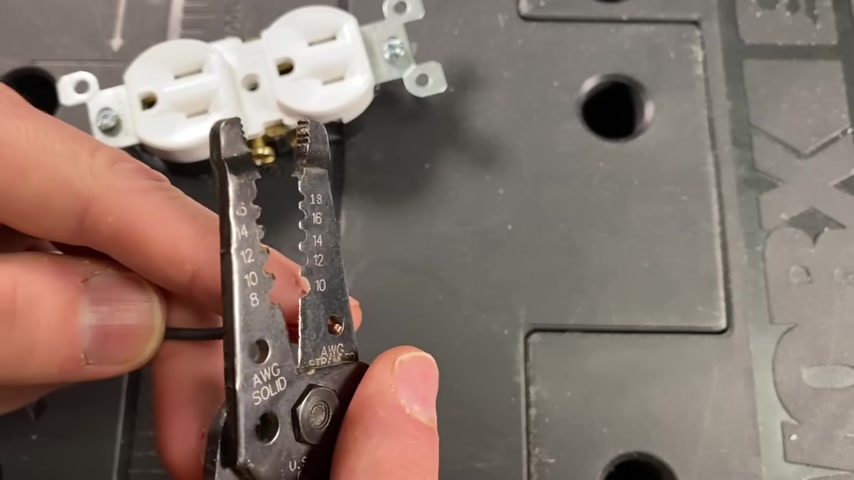
Another common tool is wire strippers .
So this is where you match up to .
In this case , it's 14 gauge wire and then that's how I'm getting the correct amount of wire to strip .
So two different ways on how to get a nice loop here .
That's appropriate size for the screw terminal .
If you do have the wire strippers , you can pass the copper just through this hole here and then wrap that around the outside and that's gonna give you a nice loop and you can just tighten that up a little bit and then you're ready to go or another way if you don't have the wire strippers , you can take , let's say these are needle nose pliers .
You can grip the copper wire and just wrap it around the players to get your loop right now with our wire and the loop .
We'll go ahead and place that around the screen terminal and then I'm gonna set it against , there's this little retainer here that really holds that insulation .
Well , so I'm gonna set that against the retainer and then we'll go ahead and secure down the terminal .
Ok .
And really that's , there's not much to it , right ?
But this is exactly what you're looking for .
The wire is secured against this retainer here .
And you can see you have copper all the way around connected to that brass terminal with no insulation between the terminal itself .
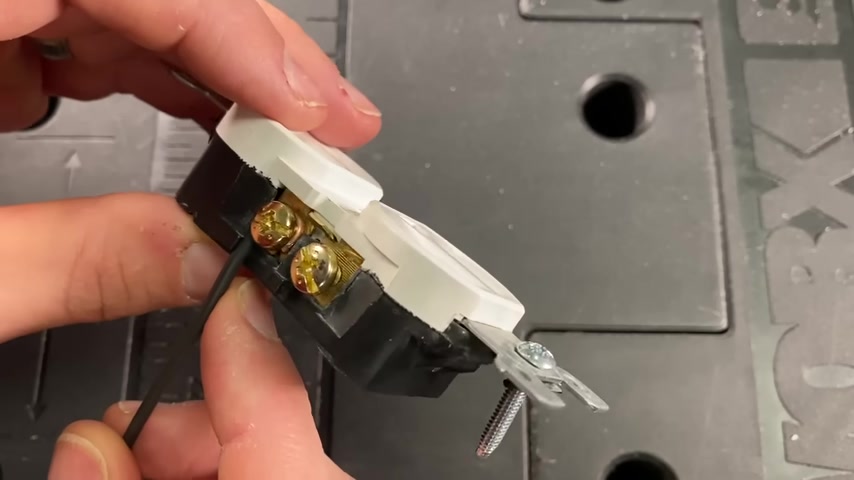
And this bottom brass piece just want to show you an example of stripping , not enough wire .
So it was too short in terms of the copper wire exposed compared to insulation .
And you can see the insulation will then interact with the screw terminal and not get you the connection you're looking for between the wire and the terminal .
On the other hand , if you strip too much wire , this is what you're looking at .
And this is just not best practice to have exposed wire past the outlet and can cause issues down the road .

All right .
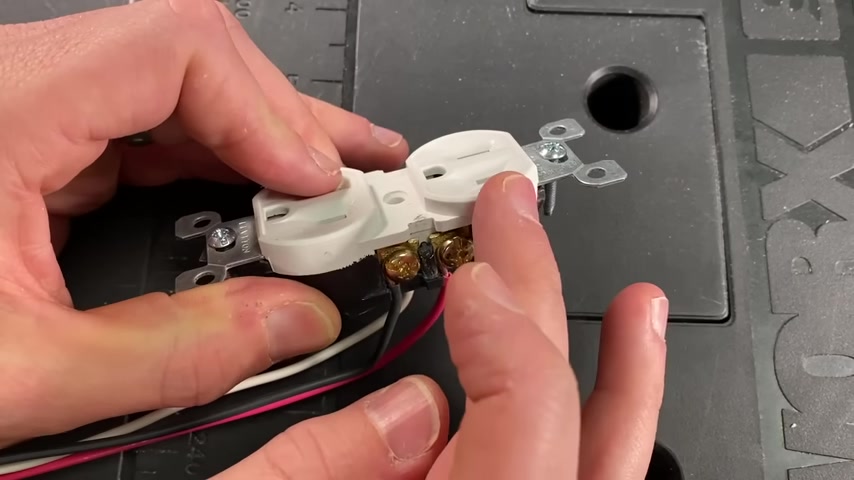
So here's an example of a basic circuit .
We have our hot wire connected to the brass screw terminals .
If it's a basic circuit , it does not matter if it's top or bottom .
And then we have our neutral connected up to the silver and then ground .
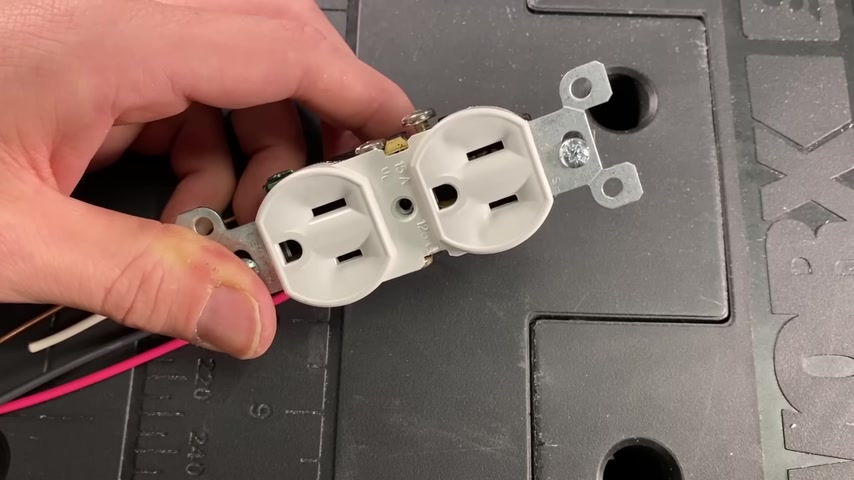
And really , that's all you're looking for .
There's , there's no wire that's pushed up .
Uh We have nice connection all the way around .
We have no insulation , interfering with the screw terminal .
The wires are set against the retainer and they're stripped all to the appropriate length .
So that is what you're looking for and easy enough .
So just one other example , if you have a little bit older home , maybe built in the sixties or seventies or uh some of the nicer homes , the higher end homes , you'll have switched outlets and that is where you're getting power from a light switch and that is powering the top or bottom depending on the setup , but powering one side and then the other is always on .
So in this case , you'd have two different hots coming in .
One being black , which should be your always on outlet side and then one being switched , which will be controlled .
And this is usually for lamps or something like that .
The one note is if you're swapping out an outlet and changing it out , one mistake that can be uh made or overlooked is you need to remove that , that little tab here , which was connecting these two terminals .
If that's not removed , obviously , you cannot uh control these independently .
So when you remove that , now I can provide power independently to both sides .
So that is it , hopefully , this helps you guys out .
Give you just an idea to make you more confident going into those uh simple electrical projects like changing out an outlet .
If this video helped you out , go ahead and subscribe to our channel , we'll keep these type of videos coming out on a weekly basis and hopefully help you guys out with your projects around the house .
Partnership
Are you looking for a way to reach a wider audience and get more views on your videos?
Our innovative video to text transcribing service can help you do just that.
We provide accurate transcriptions of your videos along with visual content that will help you attract new viewers and keep them engaged. Plus, our data analytics and ad campaign tools can help you monetize your content and maximize your revenue.
Let's partner up and take your video content to the next level!
Contact us today to learn more.