https://www.youtube.com/watch?v=sRvH-io-ZtA
The Most Common Reason Why A Gas Furnace Won't Turn On
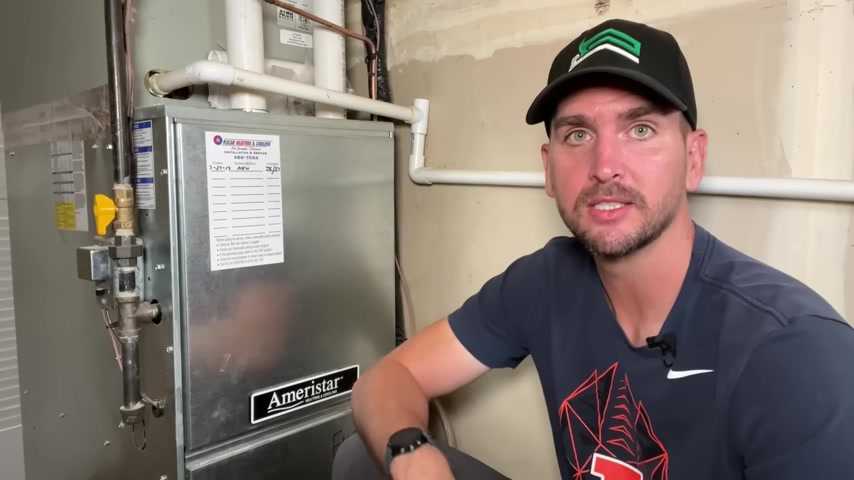
How's it going ?
You guys , it's Scott with everyday home repairs .
I'm going to show you quickly how to troubleshoot and solve a problem where your furnace is turning on and then quickly off and not providing any heat through your vents in your home .
With just a little knowledge on common furnace operation , you're going to be able to troubleshoot this yourself .
And out of the last five failures I've had in my rental properties , two of those failures have been this exact issue one time I was able to solve it without any parts .
And the second time I was able to solve it just $10 in parts .
So you can save a ton of money just with some basic knowledge of furnace operation and what some of the parts are and how to troubleshoot them .
So , key to troubleshooting is getting a baseline .
What is it supposed to look like ?
So let's run through that .
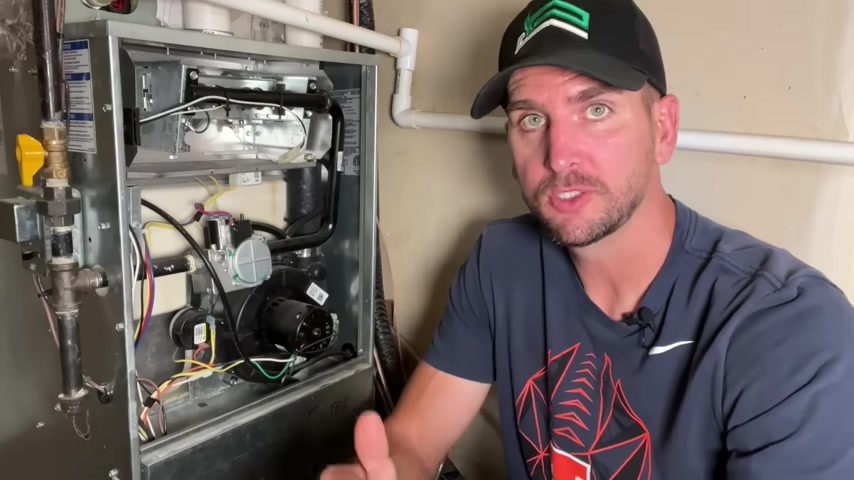
I'll take this top cover off this a star and yours might not look exactly like this , depending on how old your furnace is and depending on the brand , but it's pretty consistent across brands and really over the last kind of 15 or 20 years of furnace operation .
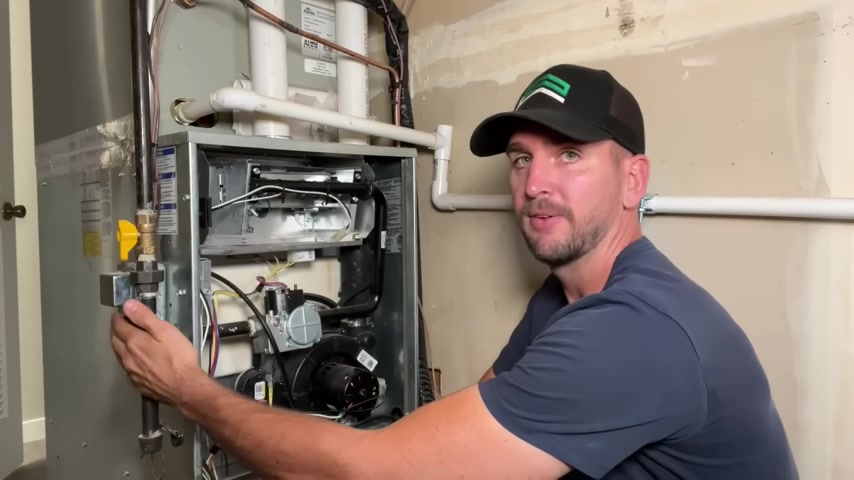
Now , your burners might be wide open .
Once you get to a little bit higher eff efficiency unit , they'll put a box around it like this .
So I'm just using a five sixteens nut driver to take off two screws and then I'll be able to open up and see my burners .
So I'm gonna turn on my furnace .
You usually should have an on off switch and you should be off if you're poking around inside your furnace .
But I want to run through the cycle and show you guys the six steps involved in startup of the furnace .
So I'll flip that on .
My thermostat is calling for heat .
So step one in this process is gonna be your draft inducer motor turning on .
So here a motor startup , then the draft is confirmed by a pressure switch .
Once that's confirmed , you'll see an ignited glowing hot .
That's step three .
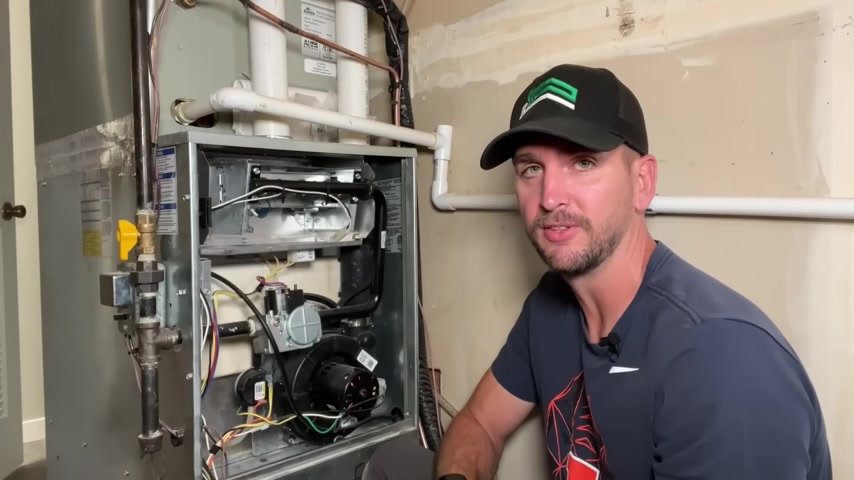
Once that glows hot for a few seconds , you'll have a relay in step four where your gas valve turns on and then the burners will light .
Now , step five , you're having a flame detection sensor confirming the flame .
And then once those flames are confirmed to be there and your heat exchanger starts to warm up .
After about 30 or 45 seconds , your main blower fan will start up and that's what's actually going to push that conditioned air through your duct works and out of your vents and we'll hear that blower fan come on here shortly .
Now , this complete cycle for this unit takes about a minute and 20 seconds and the blower fan just turned on .
So between the thermostat calling for heat and the blower fan going on for this unit is a minute and 20 seconds and you should be somewhere around that .
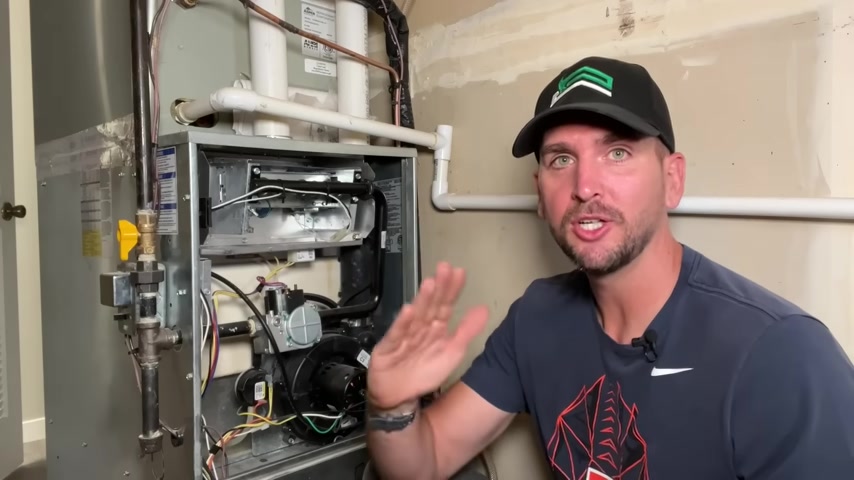
But now let's look at that common failure where the burner is turning on and off and how to fix it .
So , on this failure mode , I just flipped on the on off switch .
We're gonna go through the same steps and you'll see where the process stopped .
So the inducer motor turns on to step one , step two .
We're confirming that we have a giraffe .
Step three .
We're gonna start to glow the igniters and then going on to step four .
The gas valve is gonna turn on and try to start the burners with the gas valve , turning on burners start .
But then after two or three seconds burners will stop .
So they will not continuously stay lit and then your furnace can cycle through the same state .
So we're getting to step four , but we're not getting to step five or step six .
Now , your furnace will cycle through this condition , but then after 34 or five cycles , your furnace will go into a lockout mode .
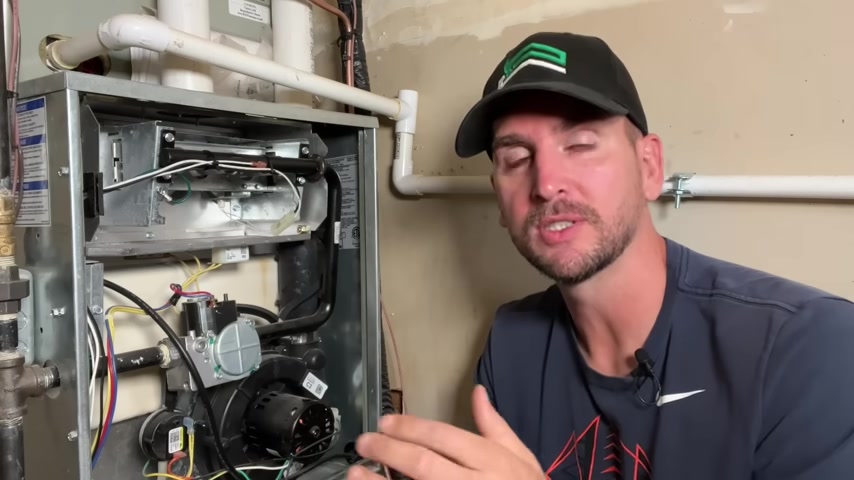
Now , that lockout will go on for hours as a safety protocol because what's happening here is we're getting to Step five .
And if you remember , step five was confirming that we have a flame right now , we're not able to confirm we have a flame .
So the safety system is turning it off because you wouldn't want your gas valve open with gas being delivered inside your furnace or inside your environment , but no flame being lit , that obviously can be a dangerous scenario .
So what is the issue ?
The issue is usually associated right here to the flame detection sensor .
For whatever reason that flame detection sensor is not detecting the flame and providing a small cur to your control board saying yep , we got a flame at the burners .
We're good to go on to the next step which would be heating up that heat exchanger and then the blower fan turning on .
But don't worry , this is an easy fix .
Let me show you how to remove that .
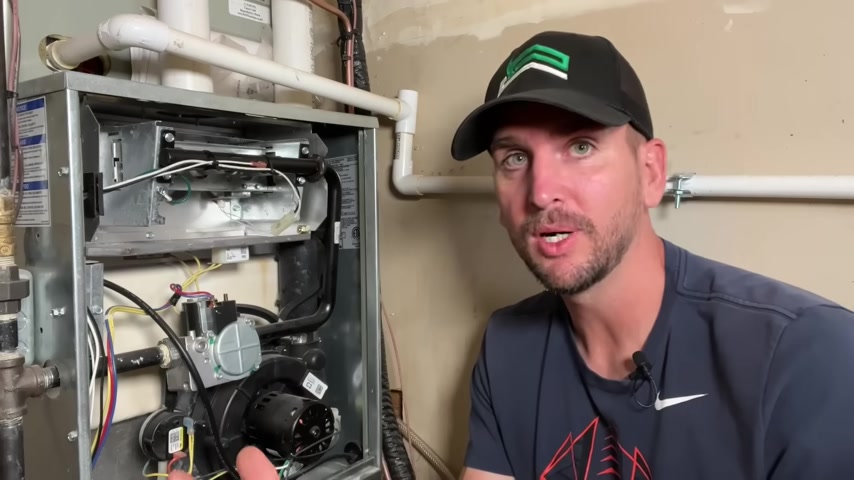
And also , again , remember one of my issues , I didn't need any parts because a simple cleaning can sometimes solve this issue .
So removal is super simple .
We take the connector off the spade terminal and then with that same client tools 14 and one , I'm gonna flip it from the five sixteens I needed earlier over to the quarter inch .
This screwdriver is awesome for HVAC work because you also have all your different bits in the base which will fit into the quarter inch nut driver , which is also serves as a bit holder if you just move it out a little bit further and then you can make it compact or extend out that shaft to reach things like this flame detection sensor .
I'm just going to back out this screw .
But if you want a link below the video , you'll see my Amazon store where you'll find all my tool and supply recommendation for D I wires .
And we got a magnet in the base there which helps me pull the screw out .
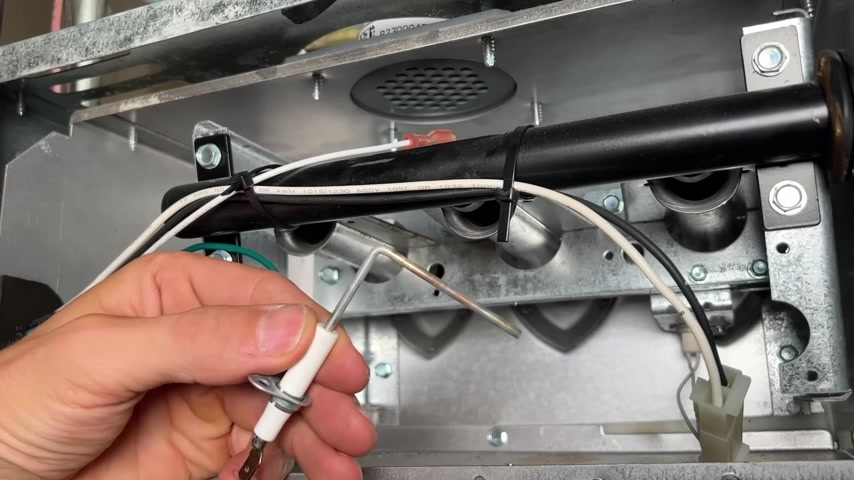
And then I'm able just to pull that flame detection sensor out .
And then what we're looking for is any carbon build up on that rod .
If there is carbon build up , that can impact its ability to sense that flame and be the source of your issue .
So cleaning super simple .
You can either use something like steel wool if you have it around or even just a $1 bill where you'll just work it across that rod , working off any of those carbon deposits .
And then once the carbon deposits are removed , you should be good to reinstall and then test this out .
One out of my five failures , just cleaning it , solved it .
The other one , I just got a new flame detection sensor .
You can get three or four packs for about $15 on Amazon .
I'll show you an example in the description of what would be a direct replacement for this .
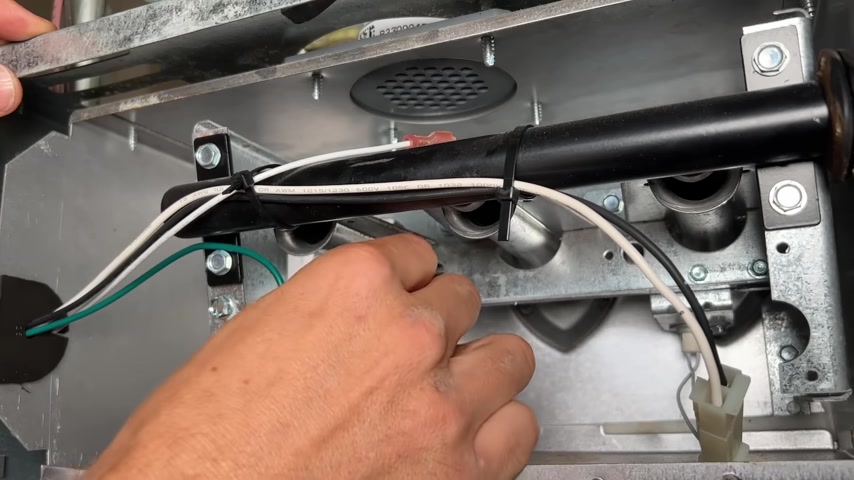
Basically , you want to get the same orientation , whether you have a straight rod , you have a 90 degree like this , but then pay attention to where that mounting hole is for the screw because that's really going to be the thing that orients that rod into the path of your flame .
And that's the key , it has to be in the path of your flame .
So for me , when this is fully mounted , that rod is pointing towards the last burner there and that would be critical .
You don't want to get a flame detection sensor that is going to position that rod in the middle of the burners and it's not gonna work effectively .
So that's it .
And then you just plug back in your connector on that spa terminal and then test things out to see if that solved your problem .
So just going through the standard steps again , we're on step three with that igniters looking to go to step four with the gas valve turning on and then the burner is actually lighting and this time , hopefully they stay lit for more than two or three seconds .
So it looks like we're good and our problem is solved .
Now , if you have rental properties where you're looking to avoid any long downtime on furnaces or maybe just live in northern states for the cost , it's probably not a bad idea just to have 12 or even three of these flame detection sensors on hand .
So you can swap those out any time you're having a failure mode .
Like this .
Now that the furnace is up and running , there's the other side of the equation and that's that you're not losing a lot of heat through your doors .
Check out this video right here and it'll show you how to replace the weather stripping if you need to , to make sure you have good seals at all the exterior doors in your house .
So thanks for joining me on this video and we'll catch you on the next one .
Take care .
Are you looking for a way to reach a wider audience and get more views on your videos?
Our innovative video to text transcribing service can help you do just that.
We provide accurate transcriptions of your videos along with visual content that will help you attract new viewers and keep them engaged. Plus, our data analytics and ad campaign tools can help you monetize your content and maximize your revenue.
Let's partner up and take your video content to the next level!
Contact us today to learn more.