https://www.youtube.com/watch?v=OUnUkrqsbA8
2023-06-14 18:51:22
How To Fill A Gap Between Garage Floor And Concrete Driveway

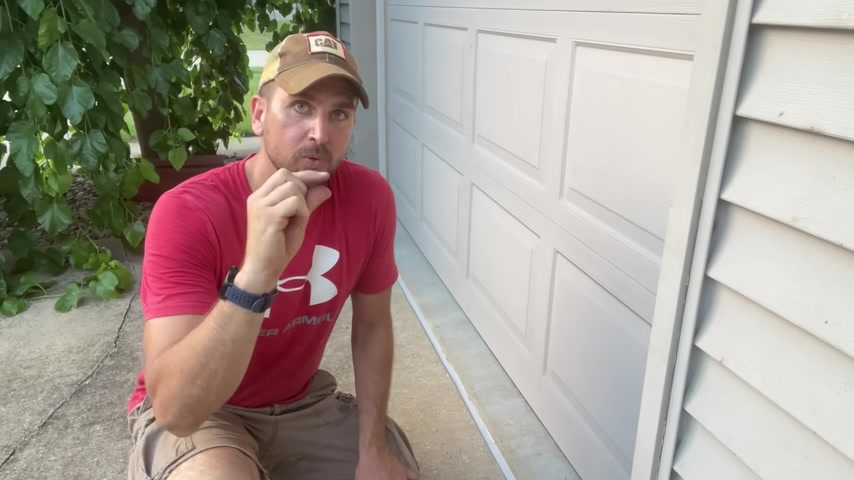
Hey , what's up ?
You guys ?
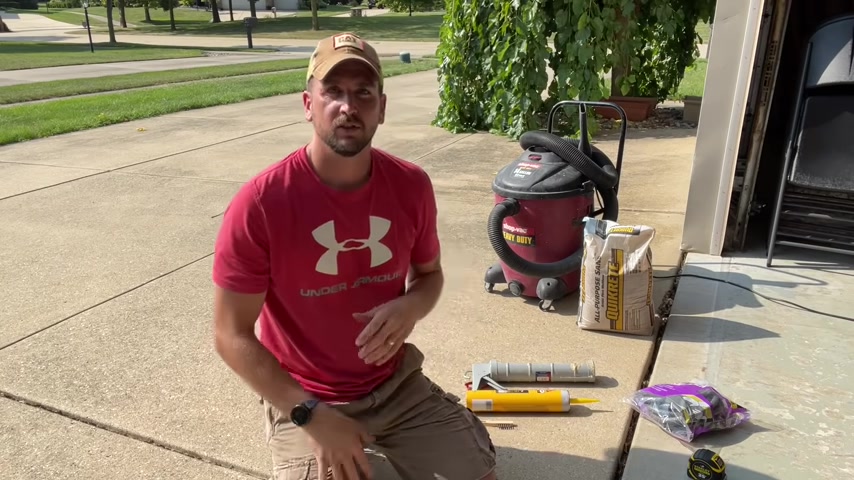
It's Scott with everyday home repairs .
And today I want to show you a very common maintenance item and that is sealing off any cracks that are forming between two slabs of concrete .
Specifically , the one we're gonna be dealing with is a three quarter inch gap that I have forming and it's been forming for many years between my driveway slab and then my garage .
I'm gonna walk you through the full process and you don't need too much for the job in the prep phase , which a lot of these projects really , the success is in the prep .
I'm gonna use the shot back to get everything out and then also a small wire brush to make sure the surface doesn't have any debris or dirt on it .
And then once we're prepped , I'll show you what I'm gonna do with that sand there .
I have some spots to fill in .
And then ultimately , we'll put the Backer Rod in place .
I'll introduce you to Backer Rod if you've never used that product .
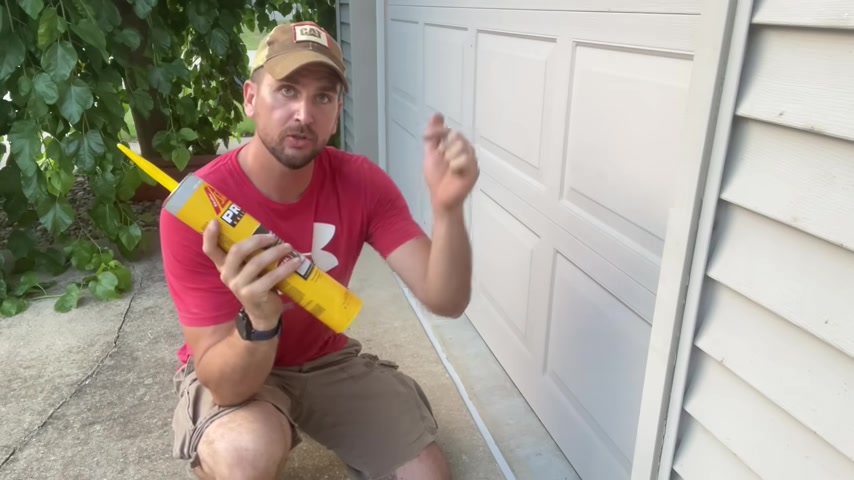
And then I'll be using a self leveling sealant by Sica .
Now , this was recommended .
I actually put this question out to my Facebook group called Everyday Home Repairs Community .
And this was highly recommended as the best product on the market to seal between to concrete surfaces .
So this is something a lot of us put off .
But if you're in those northern climates where you're getting the freeze thaw cycles , it is best to seal these off .
So you don't have water accumulating in the cracks and then starting to freeze maybe in the late fall , early winter .
And then you go through expansion and contraction , which can start to break down your concrete .
So if you want your patio to last long , if you want your driveway to last longer , this is a great maintenance item for you to do so .
Without further ado , I'll show you the steps involved by sealing off this gap right here .
So we got to get all the old junk out of this gap .
So I'll just use the shop back in an old screwdriver to pick up all the old debris .
And that includes that black old expansion joint .
You see me pulling out there .
In addition , you also want to pull out any loose pieces of concrete because you just want a flat , secure clean surface on both sides of the gab .
All right .
So the majority of the prep is done .
I have the leaves and twigs and sticks and dirt out of the gap .
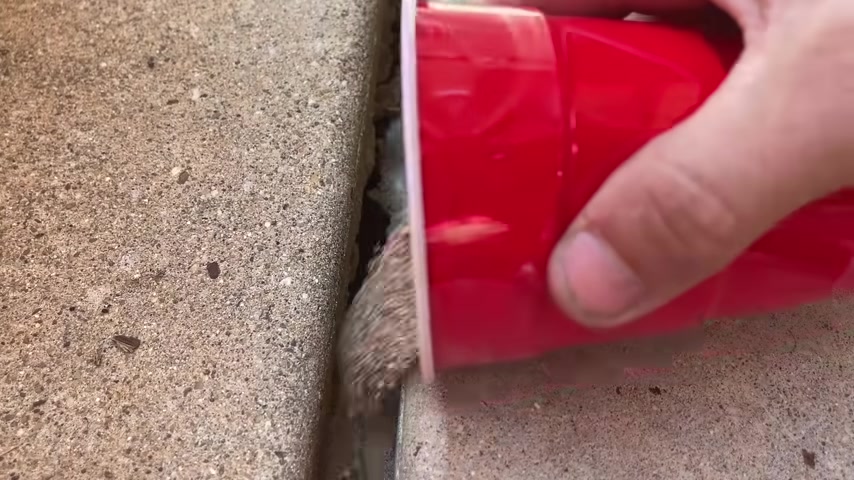
But now what I wanna do is just go through with some general purpose sand here .
I'm gonna pour that down into any holes , any gaps that are actually opened up that I can see down there and just fill those up because I don't want any cavities forming underneath the concrete .
So if a car pulls out and there's no support underneath that , then the concrete would be more likely to crack .
So I'm just gonna fill those up as much as possible , not getting too crazy with it , but just also not leaving big holes underneath the concrete .
Then once that's completed , I'll go back through with just one more round of light shot backing and then I'll be ready to start putting the backer rod in and then the self leveling seal it .
What I also like about filling these cavities with sand is you're confident .
Now , once they fill up and you see that sand accumulating that you don't have a larger cavity than you would expect forming underneath your concrete .
So you just fill that up , smooth it out a little bit .
And then I went down , I have a 28 ft gap here and I put most of sand actually right in this section .
What it ended up being is I used a full £50 bag of sand to fill in those gaps and that was enough to complete it all the way down the gap .
Then you'll do one more round with the wire brush , brushing off any loose debris and shot backing that up to get prepped for the backer rod .
Now , this part of the gap is the narrowest on my project here .
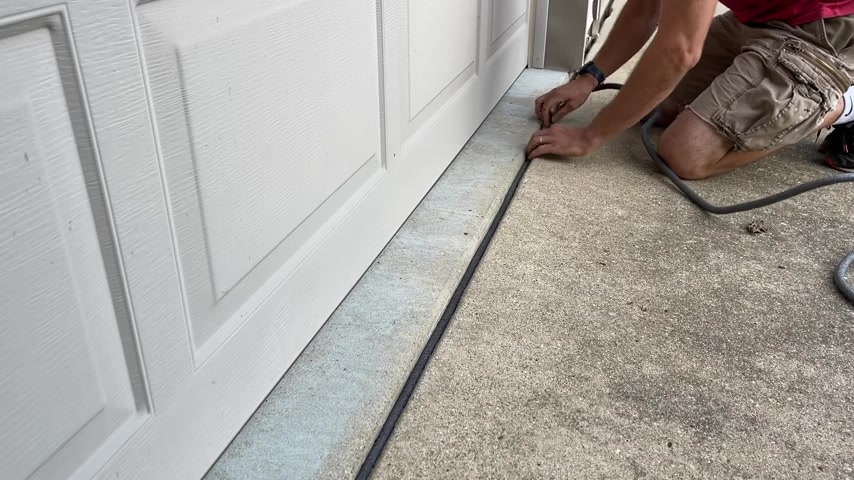
So the 58 inch back rod fits perfectly and I press that down a quarter to a half inch below the surface , the top surface of the self leveling sealant per the instructions .
Now , if the gap is larger , I can braid together the five eights backer rod to fill in the larger gaps .
Now , I would recommend maybe going a little bit tighter braid than I have right here because remember any of those low divots in that braid are gonna have to be filled by the self leveling sealant .
And you shouldn't have any divot lower than a half inch .
So you just keep braiding all the way down adjusting as needed .
And if you even have larger gaps , you can find some specialty back rod that's much larger than five eights .
But the stuff readily available at your Home Improvement store is gonna max out usually at five eights .
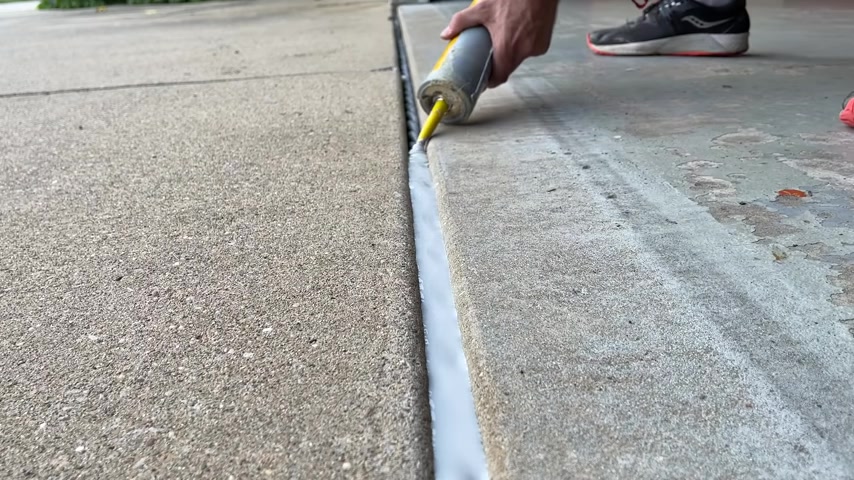
So you quickly notice that the self leveling sealant has a thinner consistency than that of normal cack that you're used to using .
So that'll just settle on the gaps .
But what you will see again in those braids is once it starts leveling out , it'll kind of soak into those cavities left from the divots of the braid .
And I'll talk about that a little bit later on on how to crack that to make sure it's smooth .
Uh Long term , when you have a single backer rod , this is gonna be easier to fill and you'll be using fewer tubes on the overall project .
So I just reached the finish line of the project and overall , I'm happy with the results .
Now , if you have a gap that is smaller than that 5/8 and you can just use a single backer rod to fill that gap that's going to help you a lot .
And what you want to make sure is that the depth is between a quarter inch and one half inch .
And that's the depth that you would fill with the self leveling ceiling .
Now , if you have the larger gap like I did , where you need to braid the backer rod to fill that in , just understand that any of those gaps are going to fill in and that self leveling sealant is going to settle down in .
So what I'm doing is you can see those little divots from the braid .
I'm going to let this set up for 24 hours and then I have another extra tube that I'm going to go back through and then fill add in after 24 hours to make a nice smooth finish even on the braided surfaces .
Now , to help you assess how much materials you need for your project , I had 28 ft of total gap that I was looking to fill .
It varied between 5/8 of an inch and 7/8 of an inch .
I used about 50 ft of five eights back garage and then I used four total 29 ounce self leveling sealant tubes .
Now you can look down in the description , you'll see the link of the supplies used on this project for your reference .
So four total tubes of this and 50 total feet of five inch Sacca rods .
That's what I use to do this and then just 1 £50 bag of sand to fill in those gaps .
Now , let me know what questions you have done in the comments or if you saw something that you do a little different , you think it works out better .
Just let me know down in the comments .
I always welcome the feedback .
And then before you take off , don't forget to subscribe to our channel if you haven't already , as we have multiple videos coming out per week to help you with repairs and improvements around the house and we'll catch you on the next one .
Take care .
Partnership
Are you looking for a way to reach a wider audience and get more views on your videos?
Our innovative video to text transcribing service can help you do just that.
We provide accurate transcriptions of your videos along with visual content that will help you attract new viewers and keep them engaged. Plus, our data analytics and ad campaign tools can help you monetize your content and maximize your revenue.
Let's partner up and take your video content to the next level!
Contact us today to learn more.