https://www.youtube.com/watch?v=BtHRR5Q65ZM
2023-06-14 18:48:22
Outdoor Spigot Replacement _ Sharkbite Frost Free
Replacing an outdoor spigot is an approachable project by pretty much any homeowner .
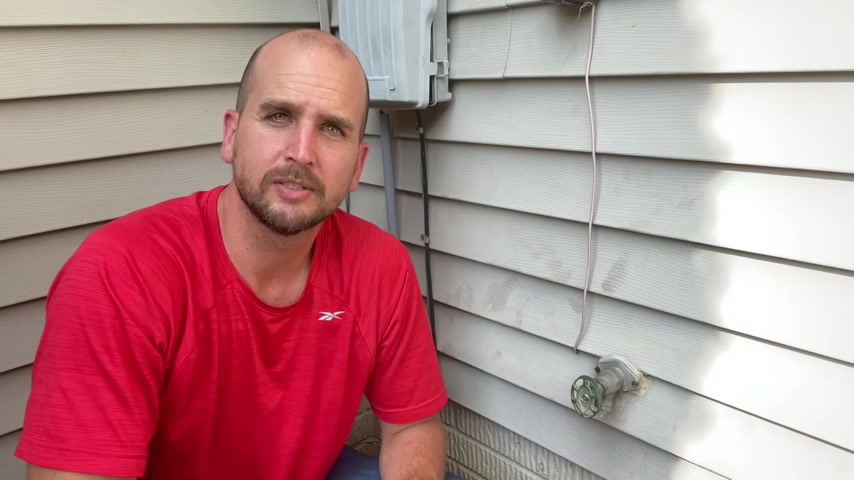
Now , what I want to do today is walk you through from start to finish how to replace an outdoor spigot .
Now , I live in Illinois .
So any of the outdoor spigots that we replace are going to be frost proof where the valve is actually inside your wall in the conditioned space .
So the valve and water are not open to the elements , so they don't freeze and then lead to damage and ultimately a water leak .
Additionally , since we're focused on the D I wire , I want to reduce the amount of specialty tools or skills that you're going to need to do this project successfully .
There will be no soldering .
We won't be using any press copper fittings where you need specialty tools or any packs where you're going to need a crimping tool , either what we're going to use is the D I wire friend and that is shark bite .
This is the shark bite .
Frostproof outdoor spigot with a 12 inch offset which will match up to the one I'm replacing .
So remember to look at the hardware .
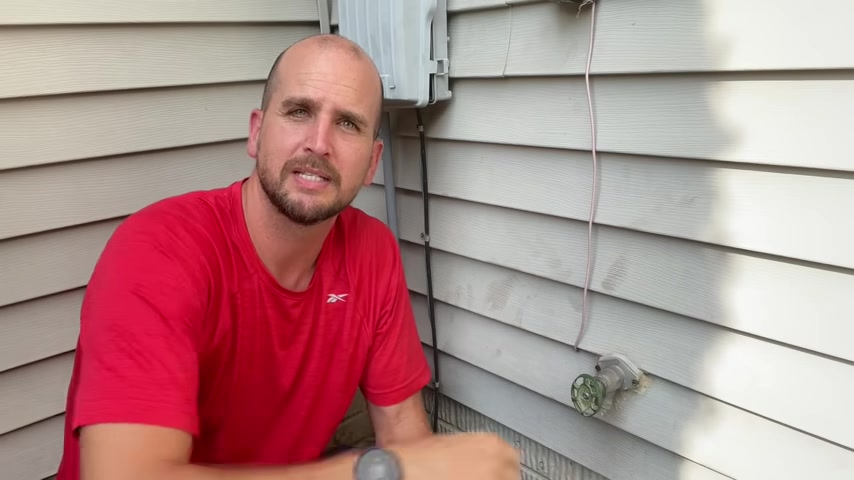
You have measure it out .
And if that's been working successfully for you for years , the valve is properly placed inside your home , then I would just replace it with the same type .
So let's jump inside and start the remove process .
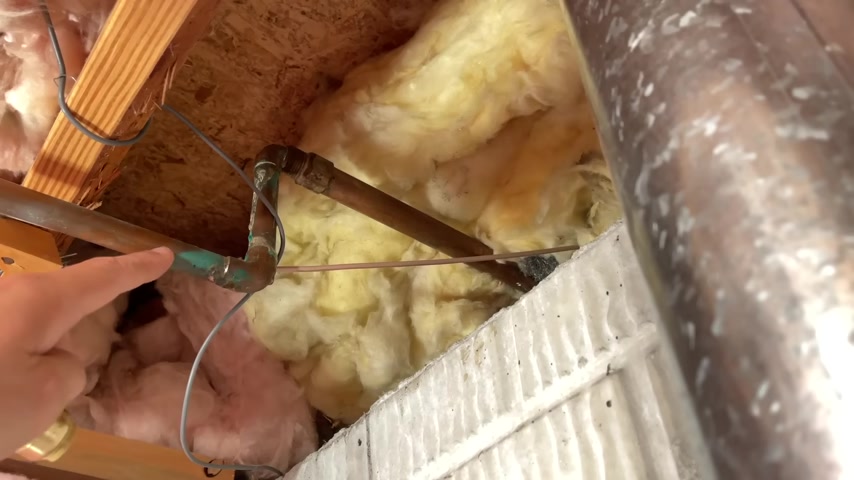
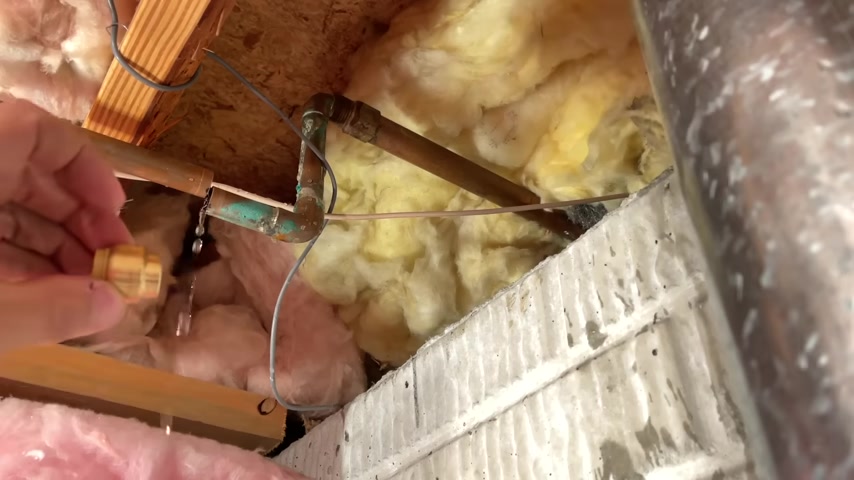
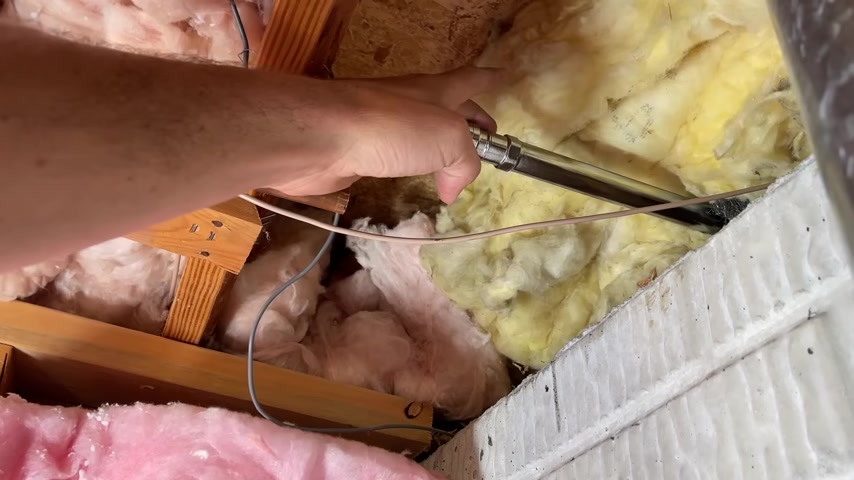
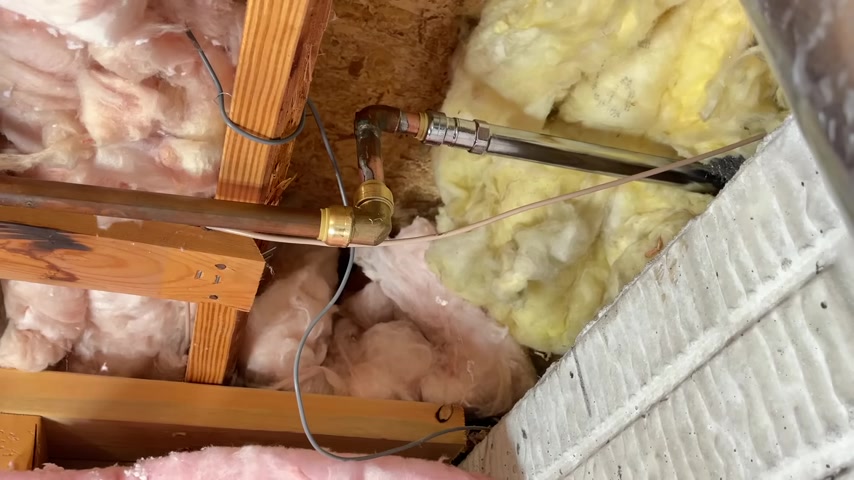
So now we're in the basement and here is what the spigot looks like coming in and then the copper pipes that connect to it .
So I'm going to have to break into this and modify to get my new shark bite spigot to fit up .
Now , before you get started , what you need to do is find your main water , shut off and shut that down and then you go to the lowest faucet in your home for me , it's a in the basement , turn that on and drain down all of your water before you break into these lines because you don't want a massive leak on your hands .
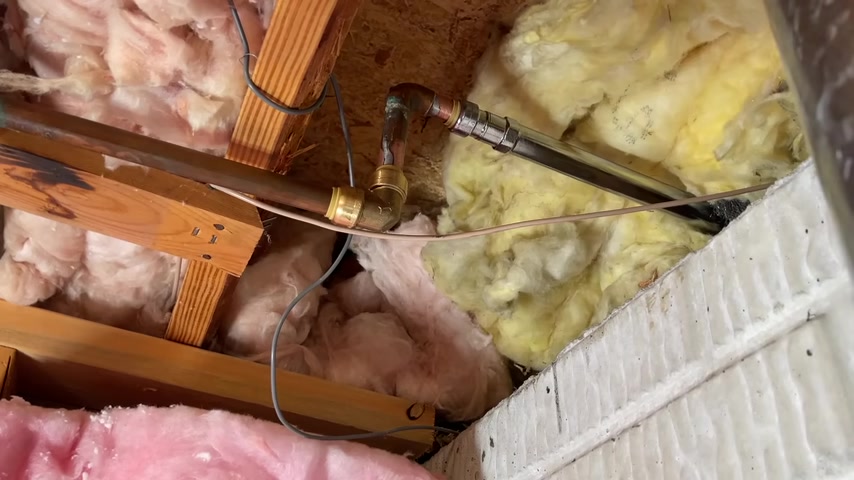
So here's my plan of attack .
I'm going to try to reuse this copper lines here and some in at least one of these nineties .
So I am going to cut it here and that is where I'm going to use a shark by 90 and then I'll start piecing things back together .
So first up , I'm gonna cut here .
Now , the distance that I need to cut because I'm gonna actually try to use this portion .
It'll make more sense later .
But I'm gonna try to use this at the top part connected into my new shark bite spigot .
We'll see if that works .
If it does .
Awesome .
It actually saves me a shark bite 90 and a little bit of half inch copper pipe .
But uh , if not , not a big deal , I can grab another 90 and then piece that in .
So I know a half inch shark bite needs one inch of pipe to be fully seeded .
Now , I'm gonna back away from a little bit of messy .
So here and then mark one inch , then I'll use my Milwaukee micro pipe cutter can easily handle half .
I do have a few wires here .
One of them actually goes to the water meter .
That's how they read the how much water usage I have .
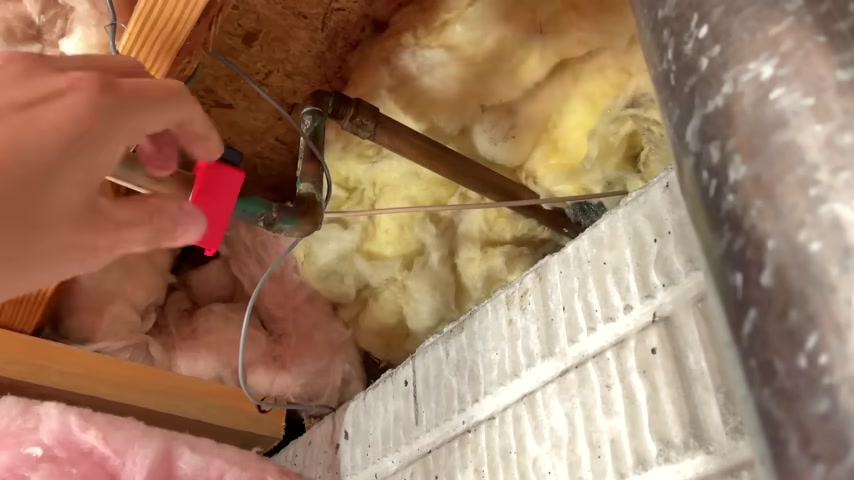
So you just start rotating that .
I do have a bucket below me right now .
So when this does break free , I'll be able to catch any of the water .
Right .
So catching the extra water here a drain down .
So even with everything shut off , you're gonna have some leaking .
That's why it's always good to have a bucket handy .
So the plan is I'm gonna see if I can zig zag this out of the exterior hole .
So I'm gonna take the two screws out outside and then try to pull that through .
If I can't .
No big deal , I'll come back inside and I'll cut the 90 right here so that I can get the old spicket out .
Now , in the meantime , if you want to turn the water back onto the house .
Obviously , we need to cap this line .
So I do use the half inch shark bite caps , which are awesome and , and you can reuse them , just make sure you get the demount or , or removal tool as well .
So I'll just press this on here .
What ?
Ok .
So now you could turn your water back on .
You have it capped .
Maybe you have to run some errands , maybe you got to go get some more parts , but now you're capped and say the family needs to use the water .
Not a problem .
You're good to go .
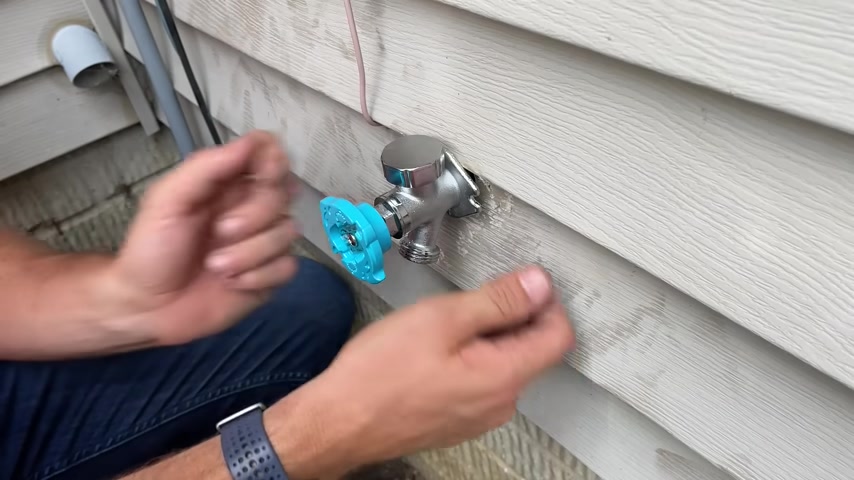
Now , let's go and see if we can remove this sp old spigot from outside .
And that don't , don't forget I do want to salvage this line , which hopefully will make my install easier .
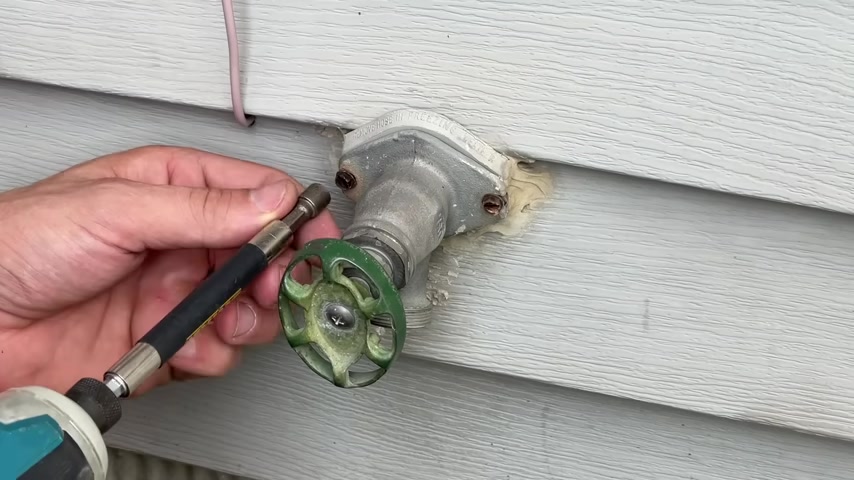
So just remove these two rusted screws here and then we'll see if we can pull it out from the outside .
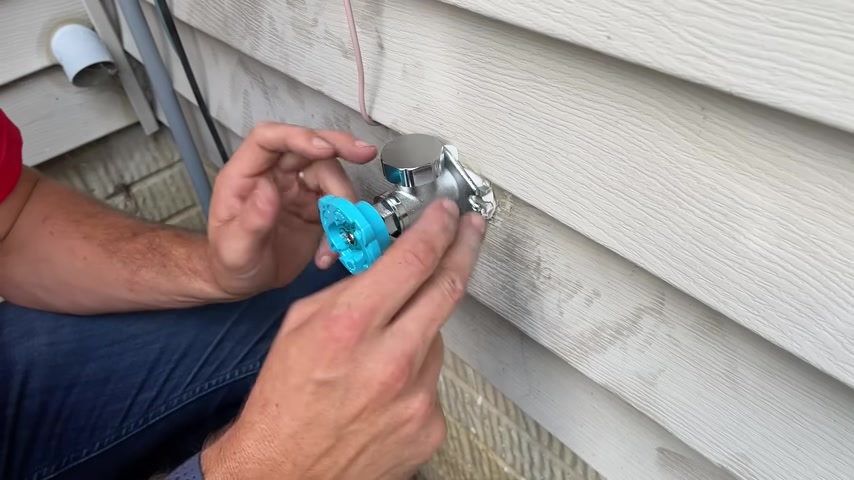
So loosening up , I got a bunch of old cock there that I gotta break loose but doesn't look like we're gonna be able to remove it from the outside .
So , what I'm gonna do is I'll remove the handle here .
Then once the handles remove , I'll take off the packing nut and then the bonnet nut .
And what I'm gonna do is I'm gonna pull out the internal stem so I can easily cut the pipe from the outside .
The stem washer here is pretty worn out .
So you should note that you can rebuild your spigots often , especially if they are a major brand .
And I'll just take my saws out with the metal blade .
You can easily use a hacksaw as well either way .
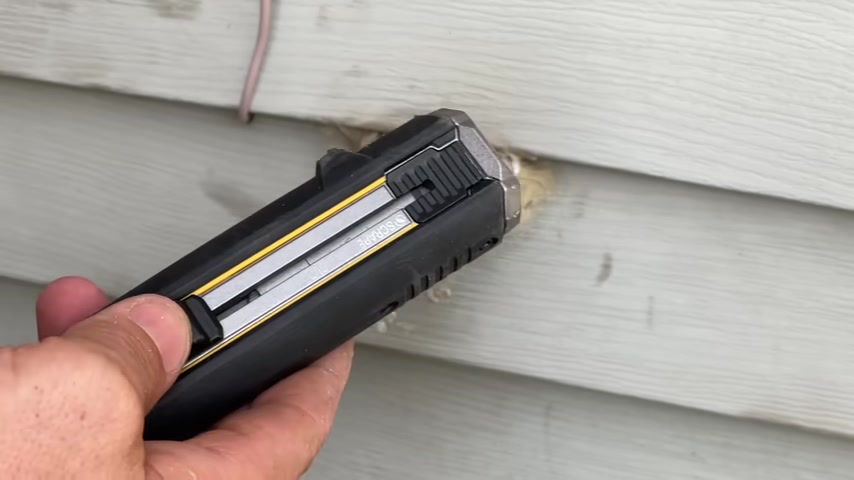
And then I'm gonna try out this new tool .
It's a tough built razor scraper .
I did a video on it and I was a little critical of it .
So I just want to give it a go at some of these common task .
And the issue I find is I can't get the angle of attack low enough to not want to like dig into the vinyl siding and damage the surface .
So I'm just using it , but I'm still not sold on it and I'm gonna revert back to old faithful to clean up the siding prior to removing this pipe .
So now we have the rest of the spigot itself and the part of the copper pipe that we want to salvage .
So I'm just gonna carefully take a hacksaw here and cut off the part that we want to save .
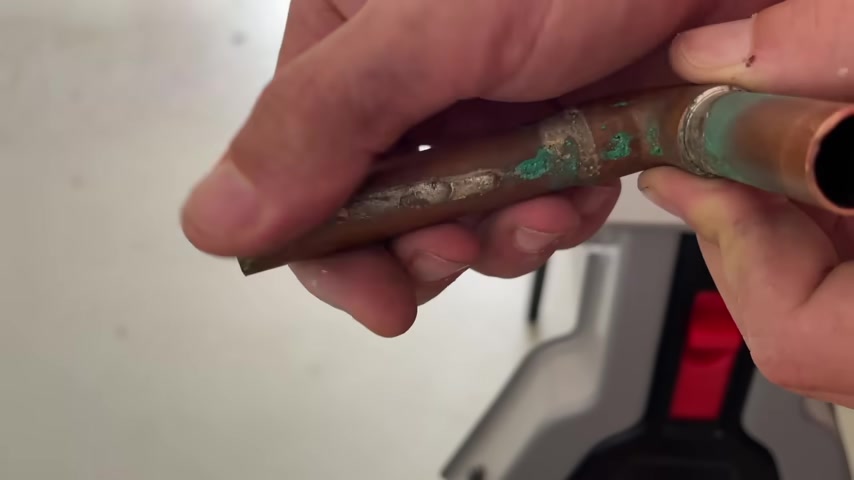
Now , you can see from the old solder job .
I have a bunch of extra soder and mineral deposits .
I gotta clean all that up .
If you're gonna use shark bites , you have to have a nice clean , round , half inch or three quarter inch or whatever size you're using .
So I'm just taking some sandpaper here and working that around the complete outside of the pipe at least one inch because I'm using half inch shark bite and they're gonna need one inch to bite into it .
There , you can see the results nice and round .
No burs cleaned up .
So this should work for our job and result in no leaks because the shark bites can actually seal around that pipe .
So now we'll fit everything back together .
I just have the spigot loosely held poking through the wall .
Now , it should be noted .
You need to make sure you know that the top is appropriately placed .
You can do that by either obviously seeing from the outside that you have that circular vacuum breaker valve on the top or on the inside .
It's actually engraved here .
It says top .
So you want that to the top and then you have it positioned correctly .
So I'm gonna take this piece that we're gonna reuse and I'm gonna place that within the spigot itself and then securely press that in .
Ok .
So that's fully seated now and then I'll take my 90 degree fitting .
I'll first go in with this side .
Ok .
So that's in and it should be noted .
These ends need to be de bird .
You should have no slivers of copper or anything hanging out because that could damage the O ring , which is inside and key to these fittings being water tight .
So make sure you have DeBord or sanded this down .
So nothing's gonna damage those O rings .
All right , we look like we're good in an ideal scenario , you would have this end higher than the exterior part of the spigot .
So that water would drain out and go downhill .
That's the way you should be installing these as you definitely don't want a negative angle coming back in .
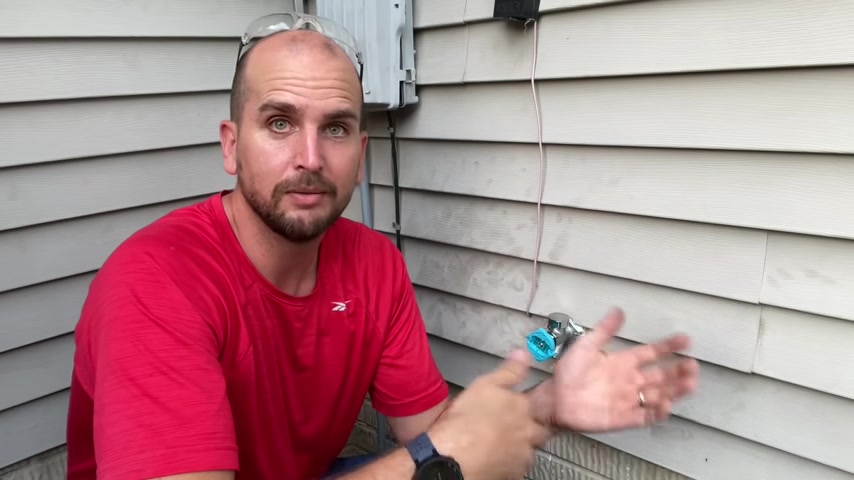
So now I'm gonna go outside seal things up and put the two mounting screws in .
So now we're ready to secure the spigot to the wall .
Now , unfortunately , the original installation , put the top of my mounting flange right against the lip on my vinyl siding .
So I have a big old gap here .
Usually you would use these shims to make sure you have a slight downward grade of the spigot .
So it drain water out and then that would go against the brick wall and it'd give you that slight downward grade .
That's not gonna be a problem here because I have this holding me up .
So as I tighten it in , it's gonna want to angle it down .
But what I did is I took the old Shem , I'm actually gonna put it in upside down and I chopped it off a little bit just to make up some of this gap and then combine that with some general exterior sealant to get everything secure and sealed up .
Now , I'm going to use some exterior , heavy duty quarter inch by one in three quarters inch , takes a T 30 torque bit and this is gonna give me plenty of strength .
A lot of people will shortcut here and kind of loosely hold this in the wall .
And then over time you have a loose spigot and that can obviously put pressure on your lines and cause leaks long term .
So you really want to make sure it's mounted securely , get each side started here .
So we have a very secure connection and that is the way you want it .
You're gonna be taking a hose on and off .
You want this to be extremely secure .
And then final test , I'm gonna go and run the water through the spigot and just make sure we don't have any leaks here at the shark bite fittings , ran a couple of gallons through the spigot and we look like we are good to go and everything is dry and that's the project .
Now , I have a brand new outdoor spigot and it should be ready for maintenance , free use for years to come .
Now , remember , don't leave your hose connected to your spigot .
Even with these vacuum brakes , it's best to take them off , especially through seasonal changes when you're up in the northern states .
Like I am now , I have a couple more spigots I need to replace , but they're not gonna be quite as easy as the one I just showed you .
And that's because they're in the finish part of the basement where there is textured knockdown texture , dry wall that is covering them .
And I'm going to have to cut into that dry wall and then repair it .
Let me know if that interests you .
Let me know if that's more like the project that you're facing and you want to see the complete project , not only to install the spigot , but also how to handle the drywall part of that project .
Let me know what other comments you guys have .
We all have a little different plumbing situation .
So I'm sure you guys might have some questions out there and then before you take off , don't forget to subscribe to the channel .
If you haven't already , we have multiple videos coming out every week to help you with repairs and improvements around the house and we'll catch you on the next one .
Take care .
Partnership
Are you looking for a way to reach a wider audience and get more views on your videos?
Our innovative video to text transcribing service can help you do just that.
We provide accurate transcriptions of your videos along with visual content that will help you attract new viewers and keep them engaged. Plus, our data analytics and ad campaign tools can help you monetize your content and maximize your revenue.
Let's partner up and take your video content to the next level!
Contact us today to learn more.