https://www.youtube.com/watch?v=GdCD39O_vb4
2023-06-14 18:48:16
How To RESTORE your Headlights the PROPER way!
What is up guys .
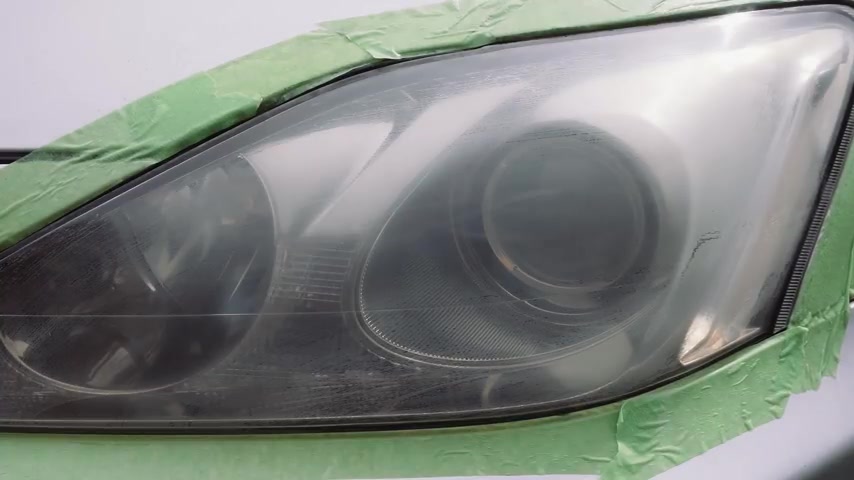
So from Canadian Rider here , I'm gonna show you how to properly polish your headlights to take them from this to this .
I'm gonna show you the exact proper ways any professional detailer would do this .
So it lasts you the longest time and it gives you the best results .
First , I'm gonna show you everything that you're gonna need and it's gonna be linked down below .
You're gonna need some painters tape to tape around the headlights to make sure you protect the paint , some sandpaper .
So I have three M 1500 grits and I have three M 2000 grit sandpaper .
So this is going to be really important .
This is going to be wet sanding paper that we're going to use .
And here's some 3000 grit , three M sandpaper .
So I'm doing in three different stages , 1500 the most aggressive to 3000 , the least aggressive .
And I'll speak to why the Porter cable , dual action polisher is going to be really important with the black finishing pad and the orange cutting pad .
Then you're going to have the ultimate polish and the ultimate compound .
So the ultimate compound is actually going to be used on cutting pad and this is going to help take out those sandpaper marks .
The really deep ones that we're going to have with the sandpaper .

Then the next step to that is that we're going to finish it off with the polish .
So we're going to use this with the black polishing and finishing pad to go ahead and refine that finish to make it really gloss .
So this is all the key things that you need here including the glove for protection because you're going to be using sandpaper , you're going to be using some chemicals .
It's good to have some glove protection .
You're going to need some water .
So some water solution with some soap , preferably because you're going to be wet and a dry microfiber towel .
I'm going to link again all these things in the description box down below .
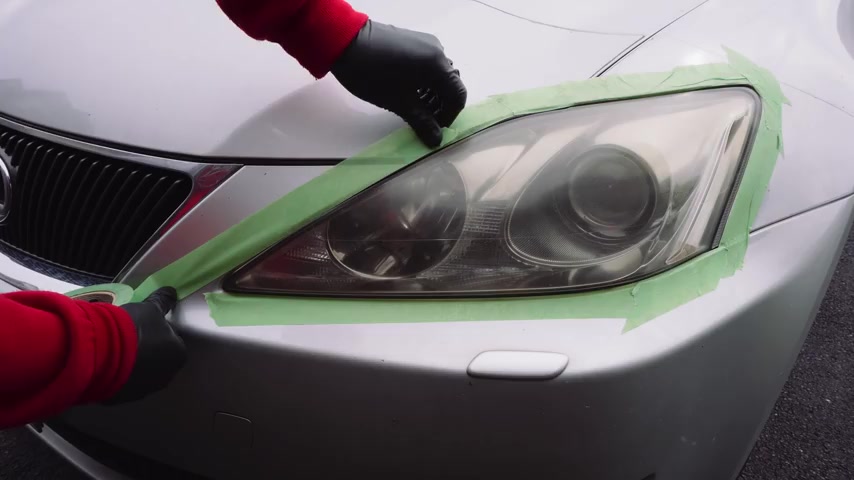
The first thing you're gonna want to do is tape around the headlights with the painter's tape .
This is going to make sure that the sandpaper doesn't touch the clear coat of your paint and scratch it .
Now , what you're seeing , what I'm doing , I'm taking the 1500 the 2000 and the 3000 grid sandpaper and I'm putting it in a little tumble water , warm water with one or two drops of soap .
So you can use any soap .
This is going to make sure that the wet sanding paper is going to perform optimally when we're going out and sanding the headlights .
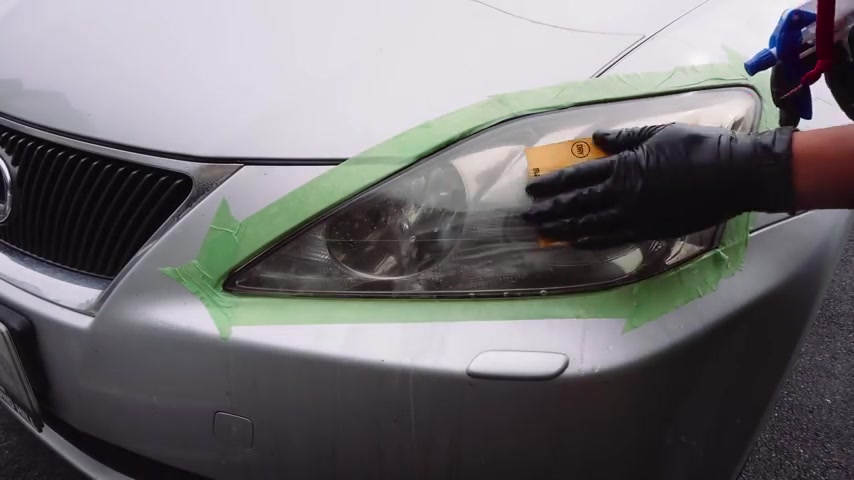
Now we're going to start sanding the headlights .
So this is very important .
We're going to use 1500 grit in this example .
But if you think your headlights are worse , you can use 1000 grit to start and ramp up like I'm going to be doing here .
So basically what we're doing with this wet sanding procedure is we're taking off all the oxidation , all the haze that's stuck on the top of the headlight on the plastic .
So what this sandpaper is going to do this 1500 it's going to act as a scrubber .
It's basically going to take off all that gunk all that oxidation for us on the headlight .
So this is extremely important that not only you're making sure that you keep the entire area wet , you're going in horizontal lines .
So I'll explain why in a bit you're gonna go in horizontal lines across the headlight and you're gonna make sure you get full uniform coverage and what you're gonna see when you're going through in sanding the headlight , you're gonna see all this gunk come off and you're gonna be seeing it in this video .
It's all this like orangey yellow kind of gunk and you're gonna think , oh , is that actually what's supposed to be coming off ?
And that is , that's all the gunk , that's all the oxidation that's gone on and stuck onto the headlight .
So you're gonna continue this until you get uniform coverage and you're happy with the sanding .
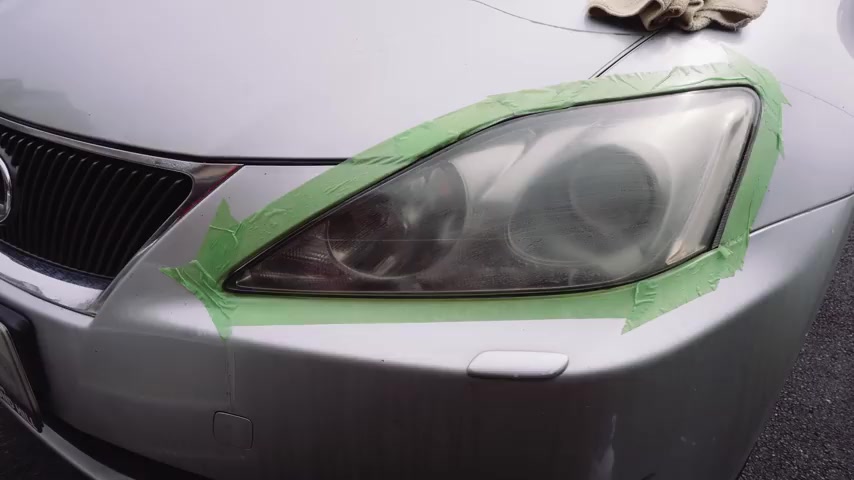
Then once that's done , you're gonna actually clean all that off and you're gonna wipe it off after you wipe it off .
You're gonna notice even after five minutes , the headlight is gonna haze completely and this is perfect .
You're going to see the work that you've done is going to be a uniform haze across .
That's great .
Now , we're gonna go ahead and use the 2000 grid sandpaper .
Now we're going to do the exact same steps we did with the 1500 grit sandpaper with the 2000 grid sandpaper with one change .
Instead of horizontal lines , we're going to be going vertical lines , basically going smooth out the horizontal line , scratches that we put into the lens of the car .
So you're gonna see , I'm gonna be doing the exact same thing here just vertically .
I'm going ahead , I'm sanding down everything we're not going to see as much gunk come off because most of the gunk came off with the 1500 grid sandpaper .
Then once all that's done , I'm happy with it .
I'm gonna dry it .
I'm gonna clean it up and I'm going to wait for it to haze again just to make sure that I did get a uniform finish .
Now , the final stage in the sanding process is the 3000 grid sandpaper with this , we're not going to spend as much time as we did with the 1500 the 2000 grid .
This is a really high level refining sandpaper .
It's really not that strong at all .
All we're going to do , do the same steps , circular motion with this sandpaper just going over everything one last time before we wash it all off , dry it again .
And then we're going to actually start using the porter cable , dual action polisher with the cutting and polishing pads .
This is where we're going to finally see the results of all of our work .
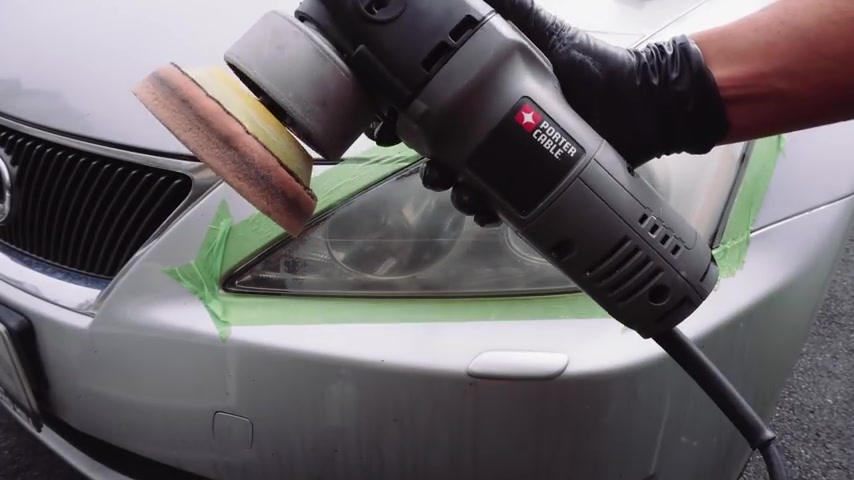
This is the porter cable , dual action polisher .
This is very important .
The only way you're going to get a really good finish is with a machine polisher with the orange cutting pad .
So I got this porter cable ready to go .
It's with a three inch polishing pad .
And what we're going to do is we're going to put a little bit of ultimate compound on this pad .
Now , when I say a little bit , we're talking about 3 to 4 drops , maybe even three drops .
It's such a small amount of area that we're covering using ultimate compound .
So this pad and compound with the cable dual action polisher , it's basically going to go ahead and remove all those scratches that we put onto the lens to remove all that gun .
So this is going to be the step where we're really going to see the results of our work with this dual action polisher in setting six .
So what you're going to see me do and you've seen me do this in my other detailing videos is you're going to go in small movements across the headlights .
You're going to go in horizontal movements very slowly with firm pressure on the headlight and you want to make sure you don't go too fast , you don't want to go too slow , you want to go on the same speed that I'm doing right now .
You know , with decent pressure over the headlight , you want to make sure the product has time to work in into the headlight and look at this .
You're already seeing some magnificent results already .
We're seeing all the scratches that we've instilled .
They're all getting polished out and this is where you're going to really be like , wow , like already .
And we're just started the compounding process .
We're seeing such a huge change in the look of the headlight .
So you're going to do this for about 4 to 5 passes .
So you're gonna see me , you know , take my time here .
I want to make sure all the products being worked onto the lens .
We're going to do this for 4 to 5 passes .
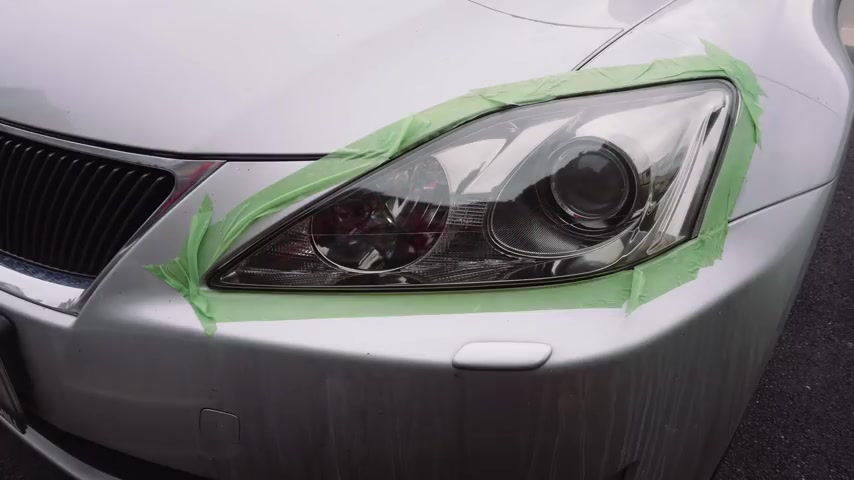
Once that's done , you're going to start buffing it off with the microfiber towel and just look at the results that is incredible compared to the old and the new .
This is absolutely incredible and we're not even done yet .
We still have to polish it , which we're going to do , then we're going to seal it .
But this is just like , wow , what a change after this compounding process , it , it looks like a completely new headlight already .
Now , we're at the Polish Step .
This is where we're going to bring out the ultimate shine out of the headlight .
So here we got the porter cable again with the three inch polishing slash finishing pad and we're going to use mcguire's ultimate polish this time instead of ultimate compound , what we're going to do here , we're going to do the same thing we did with the ultimate compound with the orange cutting pad .
But instead we're going to go at a faster pace .
We don't need to put that much pressure on it .
We're really doing a light polish here .
We're not going to spend too much time and really getting out the scratches because the majority of that work is done .
This is a , a refining stage .
You're just refining the headlight to the highest degree that you can with this combo .
After you've done that , you're gonna buff it off and that is pretty much everything to do with correcting the headlight .
That is amazing .
Look at the results , now , look at that extra gloss and shine from that polish to the headlight .
This is such a change .
So the last step you're gonna have to make sure you do after you've done all these steps to keep this in its current shape is to seal the headlight .
Some people use clear coat .
I personally don't like to use clear coat .
I still think it leaves an orange peel effect over the headlight .
So I'm using here a sealant .
I'm using jet seal here .
For example , it's supposed to last a year .
All you do is put a really small amount on the headlight , put a little bit of jet seal on it , put it on the headlight , let it dry for jet seal .
It says 24 hours , then buff it off after it dry period and then you're done .
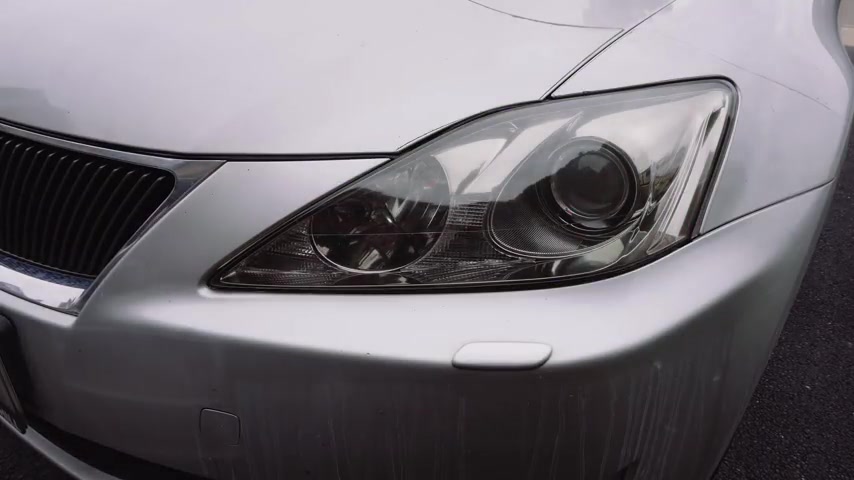
Look at the results guys from the old oxidized really sad headlights to these brand new looking lights .
Not only is this gonna look amazing for you every time you go to your car , but it's a huge difference in actual performance of your lights , especially at night time .
This is a massive change .
This is , it makes it look like a brand new headlight and brand new headlights are like a lot of money .
I am so happy with these results .
This just looks incredible .
It looks like a brand new car .
So there you have it guys that is the proper way to polish your headlights to get rid of all that oxidation and all that grime and take something that looks really old and bad .
Just something I look .
It's brand new .
I really hope this video helped you out guys .
I'm so passionate about this stuff .
You guys have seen all my other detailing videos .
I've been doing this for a long time .
I think it's about seven years now .
I hope I helped you guys a lot .
I'm obsessive about this .
If you have any questions , leave them down in the comments box down below again .
I've gone ahead and I've linked all the products that I've used in the description box .
So let me know your thoughts guys .
Thank you guys so much for watching this video .
If you liked it , make sure you hit that like button , make sure you subscribe and I'll see you guys in the next video .
Partnership
Are you looking for a way to reach a wider audience and get more views on your videos?
Our innovative video to text transcribing service can help you do just that.
We provide accurate transcriptions of your videos along with visual content that will help you attract new viewers and keep them engaged. Plus, our data analytics and ad campaign tools can help you monetize your content and maximize your revenue.
Let's partner up and take your video content to the next level!
Contact us today to learn more.