https://www.youtube.com/watch?v=os2-9jU826E
Easy Fix For Low Toilet Water level
With just a little knowledge of what's going on back in the tank of your toilet , you'll be able to troubleshoot different scenarios specifically if you want to adjust the water level in the bowl of your toilet or in the tank because they both are related .
So I'm gonna show you two different things to quickly check no tools needed .
We just need to check if everything's operating as expected and then two different adjustments that you can make that will change the water level so you can get it to where you want it .
So first up , let's just go over normal operation when you flush the toilet , what you expect to happen .
And the main components we're looking at is you have your fill valve here , you have your fill tube or hose that goes into the overflow tube .
We have our float down here handle and then all the way at the bottom there , that black piece with a little red ring around it is your flapper .
So those are kind of the main components .
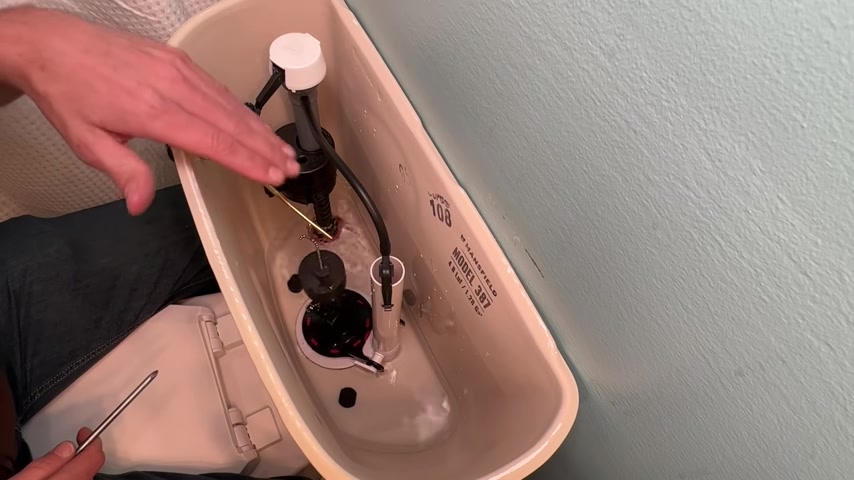
Yours might look a little bit different , but they're gonna be pretty similar in terms of having those type of components .
And the operations very similar .
So here's a normal cycle .
So normal operation , the water will drain out and flush the toilet .
The flapper closes down , sealing off the tank .
The fill valve is on .
You can hear it .
It's actually filling from the base of the fill valve that's filling your tank here .
And it's also going through this fill tube into the overflow tube and that's what's filling your bowl .
Now , the water level will continue to fill until it gets to the mark where it starts to push up on the float .
The float will raise up until this lever arm here is pushed enough that it actually closes off the flow of the water .
And that's what stops the flow .
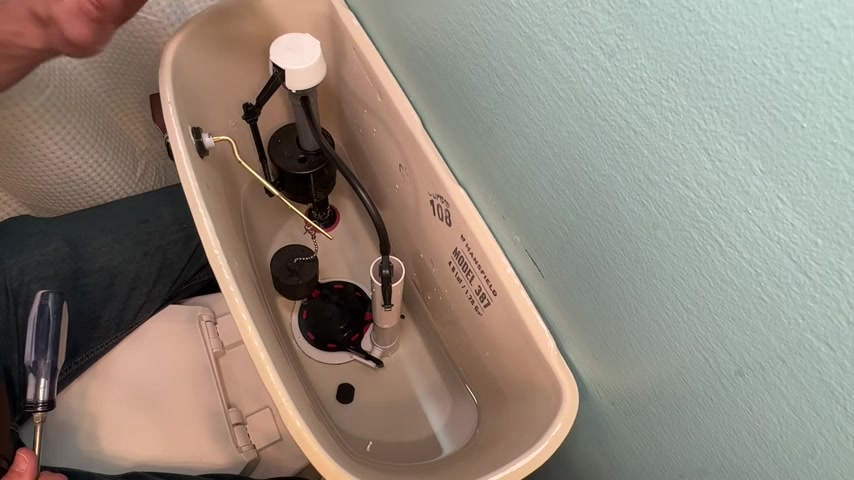
So the water level in the tank is actually what's justifying how long the water will both fill the tank and also fill your bowl by putting water through this tube into your overflow tube , which will again put it right into your bowl .
You'll start to see the float go up and then the valve is shut off .
There's a little diaphragm in there that closes off the path of the water .
So if your float looks like this or , or a different design , which there are out there , you want to make sure that that's free flowing , it's not getting caught on anything and it's able to raise and lower when the water level goes up and down .
So that's normal operation .
What to check first , let's make sure you're getting a complete emptying of the tank .
If I just press the handle down quickly and then closed it , the tank did not fully drain out .
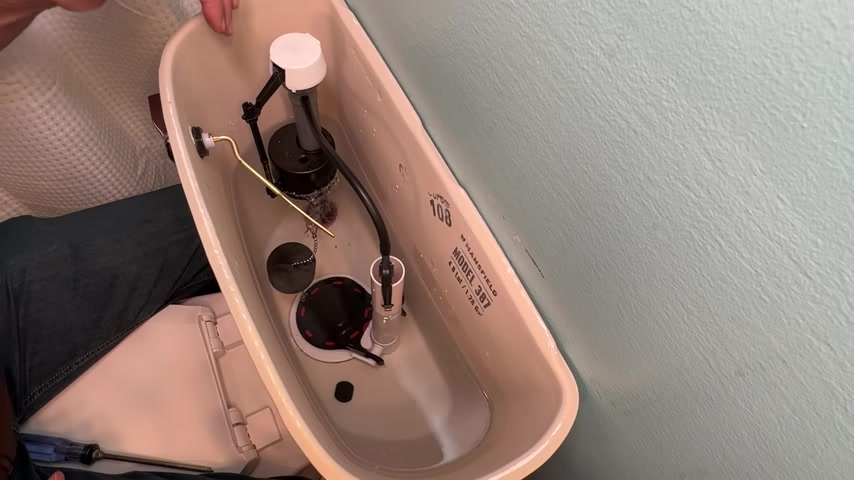
So as such , the water is not going to flow very long until the float starts to raise .
And that means we had limited flow of water through the tube here and limited flow of water into the bowl .
So that can actually impact the water level in the bowl .
So you want to make sure you get a complete flush to make sure you get enough time filling the bowl to get the water level where you want it .
So that's one thing to check .
The second thing to check is this tube itself .
And if there's any leaking around , which would deliver flow to that tube , this one's nice .
It actually has a little clip , a purpose designed clip that holds the tube higher than the water level and make sure it stays centered on that overflow tube .
So if you have a little bit older model , you just have a tube laying there .
It's just sticking down , be careful .
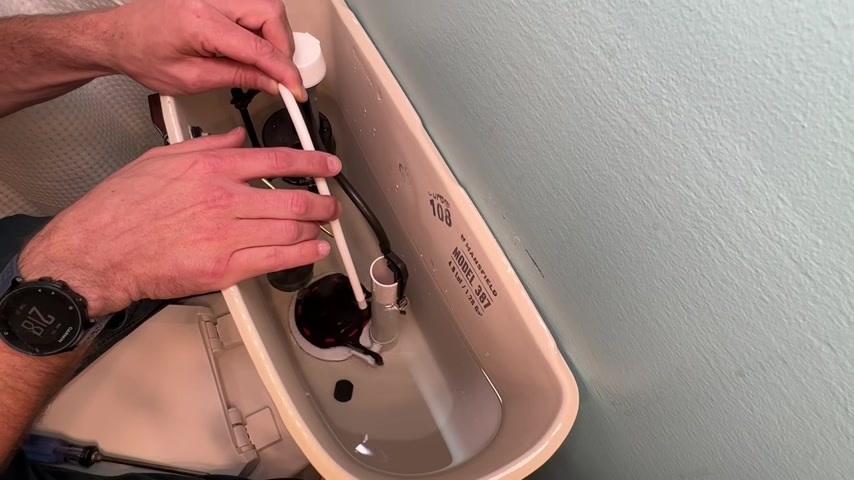
You don't want the hose to just be dangling in there below the line of your water because that can create a siphoning effect and impact the operation .
So you do want to make sure that it is positioned like this one above your fill line .
So there's not gonna be any issues as you fill up your tank and also your bowl .
So those are two things to check , make sure that your fill tube or hose is correctly positioned and also just check that you're getting a full flush and not only emptying a quarter or half of the tank .
Now , let me show you how to adjust how much water is going to be filled in this tank .
So there's two adjustments that we can make .
The first one is more of a rough adjustment and that is actually adjusting this tube back here and how high up it is .
And as such , that's gonna affect where the float is at and where that would turn off and on your water .
Here's a little different design but similar concept .
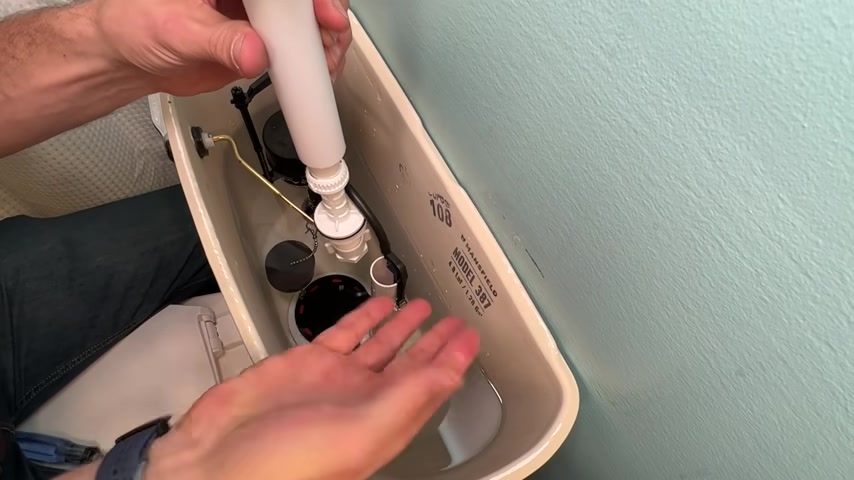
So here's the base of the fill tube you can see here , I can unlock that and actually then adjust how tall the tube is locking that back into place and then that's gonna impact how much water fills within my tank .
So you wanna make sure hopefully your adjustment is already set correctly , but just know you do have a little more rough adjustment that you can make on pretty much any fill valve .
And then the more common adjustment is actually right here , which you can either use a screwdriver or sometimes you can just do this by hand .
And here clockwise , rotation is going to raise the float .
So what that means is if I continue to adjust this , the float is actually raising up .
I'm holding this lever arm to stop the flow water .
But once I let it go , the tank will fill higher .
That will both adjust the amount of water in the tank .
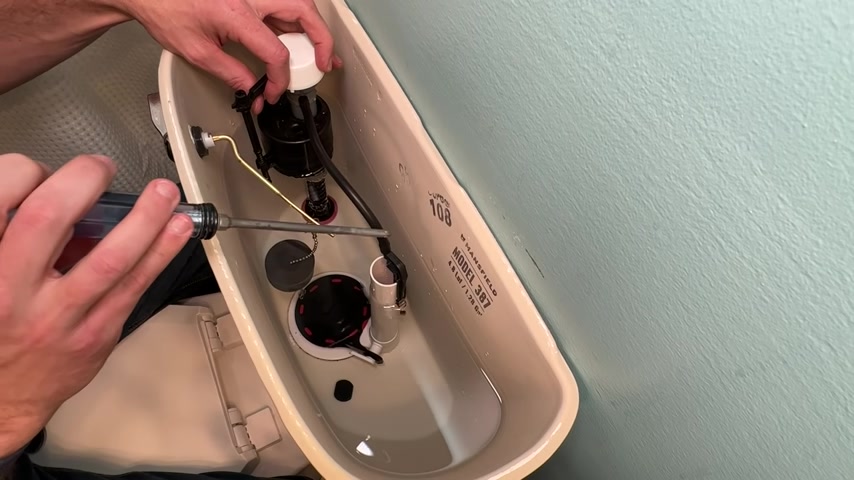
But also the amount of time that we're filling the bowl .
So that can raise the water level in your bowl and give you more water starting off in your bowl , which might help you out just overall keeping your toilet clean .
So now I've adjusted up , let me let it go and you'll see water will start to flow in because now the water level is going to be higher .
So give you a little different look here and you can see if you have the factory fill tube .
You actually will have a reference water line .
And what that's gonna do is at that reference water line , you're really meeting your design target for gallons per flush or liters per flush .
So just the amount of water per flush that you're gonna get .
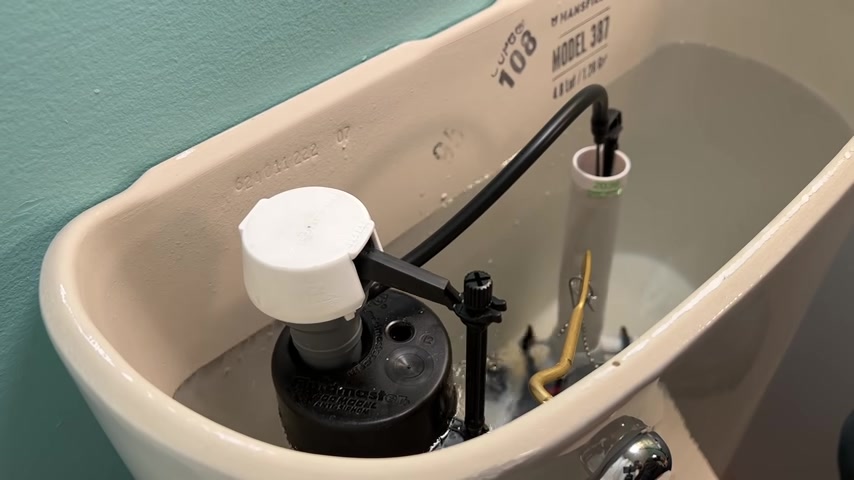
So to get to that water line , you can again make your small adjustments .
So I'm gonna rotate clockwise .
And now I'm meeting that water line .
Now , if there's plenty of water in the tank , plenty of water in the bowl .
I wanna save a little water per flush per fill .
That's where you could adjust counterclockwise .
So again , I'll adjust the float counterclockwise and remember this is not gonna change the water level until you do a complete flush cycle .
So I'll do a complete flush cycle and you'll see the ending water level is not gonna be right at that line .
So you can see it's quite a bit lower from where it was after those adjustments .
So that's going to save us a little bit of water per flush if that's what you're looking for , which remember that also will lessen the amount of water going into the bowl .
So it will slightly lower the water level in the bowl .
So just with that little bit of knowledge , you should be in a good position to get both the bowl water level and also your tank water level where you want it .
If you have any questions , go ahead and jump down in the comments .
I'd be happy to jump in and help you .
Now doing this work , if you've noticed your water shut off valve to your toilet has seen better days , check out this video right here and I'll walk you through the quick process to install new quarter turn water shut off valves , which if you don't have them are a great addition to your toilet , your vanity and your kitchen sink .
So thanks for joining me on this video and we'll catch you on the next one .
Take care .
Are you looking for a way to reach a wider audience and get more views on your videos?
Our innovative video to text transcribing service can help you do just that.
We provide accurate transcriptions of your videos along with visual content that will help you attract new viewers and keep them engaged. Plus, our data analytics and ad campaign tools can help you monetize your content and maximize your revenue.
Let's partner up and take your video content to the next level!
Contact us today to learn more.