https://www.youtube.com/watch?v=U2CEQHM06cQ
How To Install a Main Water Shutoff _ NIBCO Press Fittings
How's it going to you guys ?
It Scott with everyday home repairs .
And today we're gonna show you how to swap out your main water shut off valve for a new ball valve .
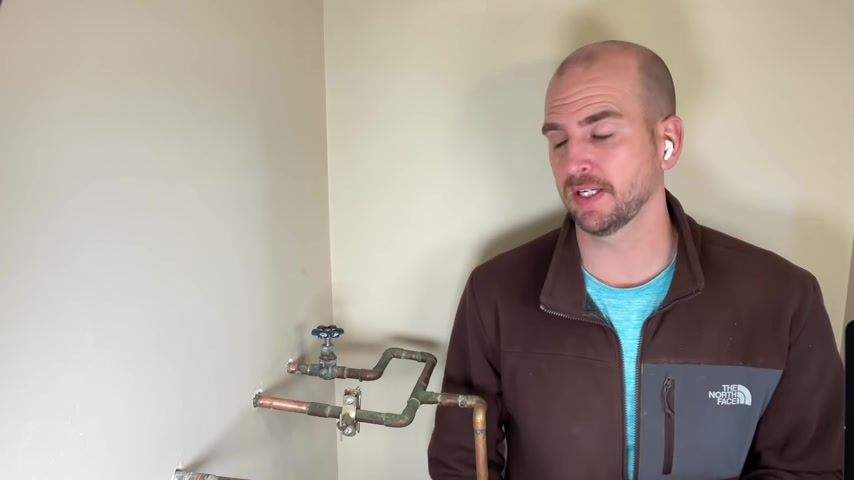
Now , the one I have behind me is a Globe Valve and I did a video on that which focused on how to stop water leaks on a valve such as that Globe Valve behind me because it's super common .
These things leak all the time and they're a pain in the butt .
So that walked through three steps and the last step you had to shut off your water at the curb to actually tear apart and rebuild that glow valve .
So many commenters said , if you're , if you're not in all that trouble , you're gonna cut the water at the curb , cut it off to your house , you know , why not install a ball valve because that's just a much better plan going forward .
And I completely agree .
So the one we'll be installing today is just the standard half inch ball valve .
But the thing is this has press fittings on it .
I've seen a lot of professionals over the years swapping out to press fittings .
Seems like my most favorite Diego's Pro press fittings .
But this is actually made by a company called Nip Co .
There's an integrated O ring within the press fitting portion of it and you do need a special tool .
So that's the big thing .
What , what is the special tool ?
And is this even ideal for D I wires or just leave it up to the professionals ?
So I'll show you your options .
I'll show you what I purchased and we'll go ahead and install that ball valve here at the property .
Now , this installation is going to be the same if you wanted to use something like a ball valve with shark bite fittings on the end .
Now shark bite is really targeted a lot towards those D I wires .
Not too many professionals use those .
Um Some people like them , some people don't .
I am interested if you guys have some experience with shark bite , let me know good or bad done in the comments what you think .
But this process would be the same if you're pressing it in with the press fittings by Nip Co like I showed in that ball up or something like this ball valve , which this one has a slip joint built into it .
So let's dive in and I'll show you how to swap out this valve .
So before removing anything , we're going to turn off the water valve out at the curb .
Now , if you've done this before you know , it's pretty easy , you know , where it's located .
It can only take a minute or two .
If you haven't , it might take a bit to find the water valve or alternatively , you can call your water company and they can usually make it out the same day and cut the water off to your house .
So we're all gonna have a little different scenario in terms of the plumbing in our house and you're gonna have to take some of these instructions and adapt them a little bit .
So it fits what you're facing .
But this is what I have .
This is feeding my water heater .
So this glow valve comes in , feeds down to an old water heater and then back around to a cold water feed for a bathroom behind this wall .
So not only am I going to swap out the ball valve , right ?
But I'm not gonna install the water heater right away .
So I need to cap things off and I want to get the water back on to the house .
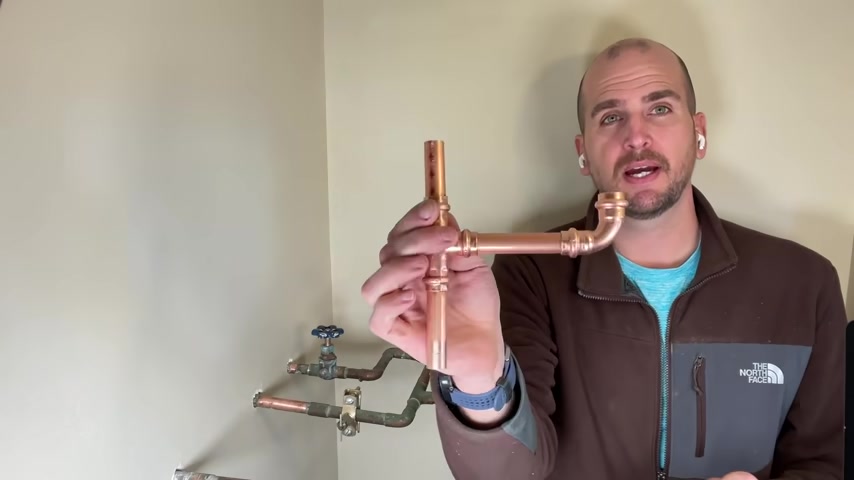
So in doing that , I had made up basically a replacement , a replacement set up that I'm going to be able to install the ball valve connect out .
I'm gonna be able to cap this line off because I'm not going to have the water heater right away and then feed back around providing cold water to the bathroom and getting the water turned back on .
So just make sure you have a plan attack before you start cutting the pipes .
And so , you know , you don't get into a tough situation for me in the press fittings .
I'm dealing with the Nico half inch press fittings .
I need 11 16th of an inch to go inside the fitting so I can properly crimp it .
And I actually need even a little bit more away from the wall because the crimping tool needs some clearances .
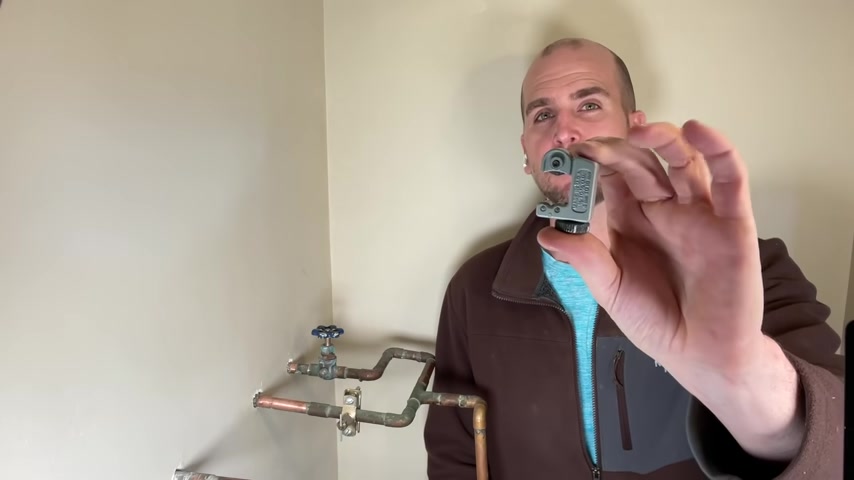
So with a standard pipe cutter , I can get those clearances , cutting , cutting right at the end of this glove valve .
Just know that you have other options .
You can get a close quarters pipe cutter which might help you because you might not have the clearance needed to rotate around and cut through the pipe .
Also , you just make sure you know where that wall is at and you have enough clearance .
Sometimes that can be a little tricky where the pipe and the valve is right up against the wall .
So you just need to take that into account and then know what you're dealing with , right .
So I'm going to cut both these off and start prepping for the ball valve .
So cutting out the Globe valve side , I'm able to use just the standard pipe cutter couple turns and it pops right off .
Now , on the other side , because the drain valve on the globe , the globe valve , I'm not able to get the standard in .
So I use just the close quarters pipe cutter , pop those off and then you want to clean it up , just clean it up a little sandpaper .
And I also use a deep buring tool to clean out the insides to make sure all the shavings are clear and we're ready to install the ball valve .
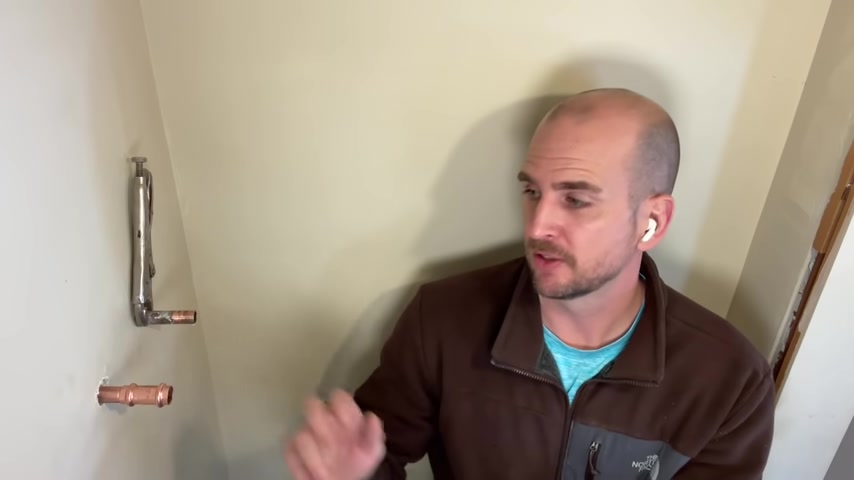
So I'm going to take a few minutes and talk to you about the tool that you're going to need to use .
Press fittings , press fittings are not like shark bite .
You can't just slide those on .
You actually need a specialty tool to get them to cramp or press onto the copper piping .
If you're not interested in that , you can go to this time stamp right here and that will jump forward and just go right to the ball valve being assault .
For instance , if you're using a shark shark bite ball valve , you can jump forward specifically .
I did not want to invest $1000 or more in the crimping tools .
The cordless battery powered cramping tools on the market by like rigid or Milwaukee , which are two of the common ones I've seen .
So I looked online and on Amazon , I found this manual tool that is made by a company called I I , I think that's how you pronounce it with a sub brand called I Crimp .
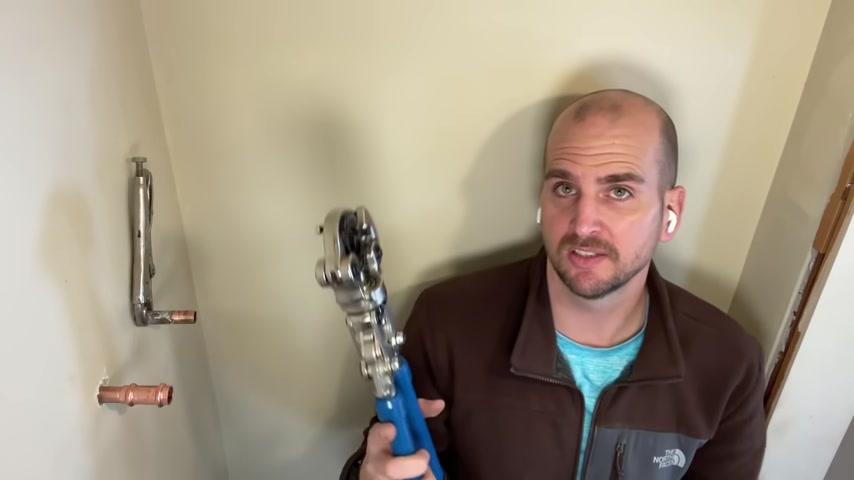
They make a few different tools like PX criers or this one here which comes with a half inch , three quarter and one inch adapters for different size pipes 100 and 75 bucks prime .
Right .
You can get in two days and it is much like a bolt cutter in terms of action .
And , and also in terms of how much force that you actually have to apply to crimp these on the challenge that I see is if you're in type spaces .
So depending if you're in a crawl space or somewhere , you just don't have a lot of room to work , you know , getting these handles out and actually get it crimped on and getting some leverage .
So you can get it fully crimped or pressed is going to be challenging in applications like this where I have some additional room to move around it , it works great , it needs a little force to get to crimp down , but , uh , it works well .
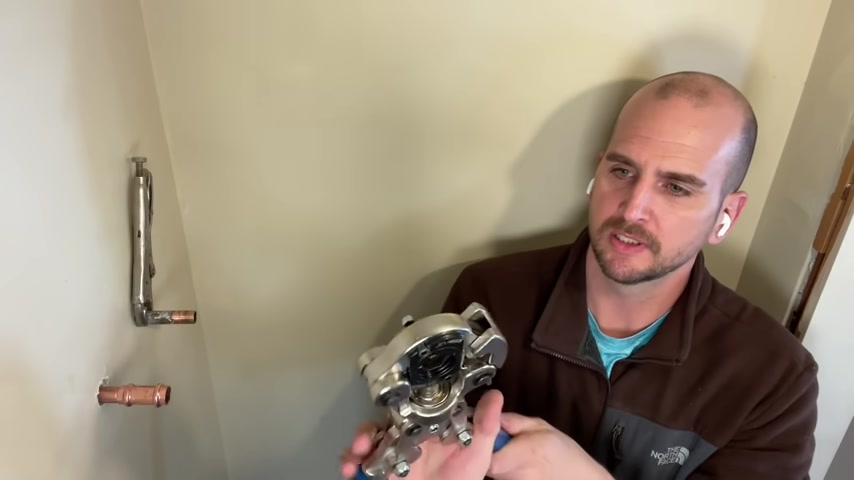
So the main features of this tool is it can rotate , you can rotate at 90 degrees or rotate to different angles depending on what fitting where the fittings at and how you need to crimp that down .
Also , the top will pop open and that will allow you to have a pipe pass through and then get the tool secured over the fitting and then c that down to swap out to the three quarters or one inch is pretty easy .
There's just a pushpin back here so you can pop that out or pop it back into place pretty quick overall .
And really it's pretty simple .
It's kind of like a super fancy set of bolt cutters and that is about the amount of pressure .
This does have telescoping arms .
So if you're wide open , you got plenty of space and you need a little bit more leverage that does come in handy .
But for 100 and $75 which is what I've paid for this off Amazon , you'll see a link in the description .
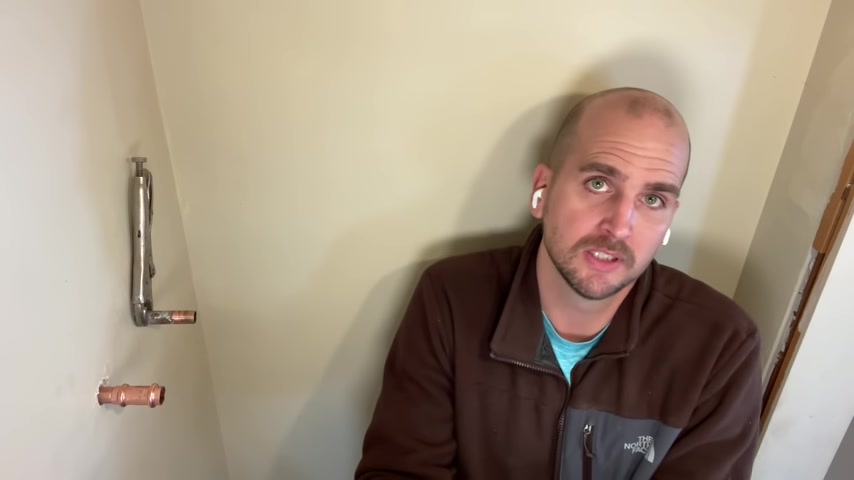
It , it'll take you to exact one that I'm dealing with here and also link over to a few other options .
But you're going to see their mostly expensive .
Why I'm testing out press fittings is because the speed of install , I really don't have much experience sweating copper pipes .
I like using copper oppose opposed to pecks .
Also when I have existing copper in place , I'm just retrofitting or kind of reconfiguring a little bit .
It's super handy shark bites work .
But for instance , a t just a simple half inch T shark bite is about 10 or 11 bucks and a nib co press fitting T half inch , the equivalent fitting is about 3 50 .
So it's about one third of the price of shark bite and shark bites are pretty bulky .
I just don't think they look very good if you're reconfiguring a bunch of stuff .
So that's it .
That's a tool you need now that you use said tool to get the ball valve installed .
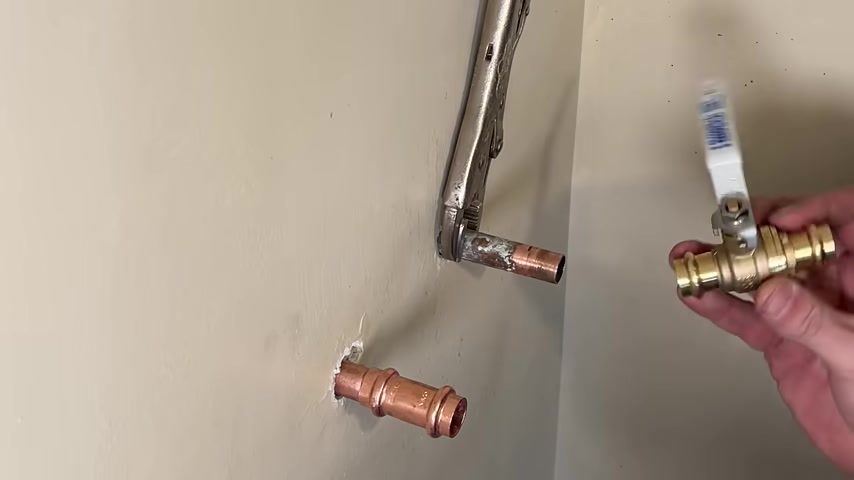
So I now have my ball valve with the press fittings that I want to install ball valves , don't have a direction of flow for the water , so you can install it , whichever way it's gonna work the same for this one .
I'm going to install it .
I already marked my 11 16th of an inch , which is how deep I would need to pass the copper pipe into the ball valve .
So I'll go ahead and slide that on the pipe .
Now , it is very important to make sure you do not have any burs or sharp , anything sharp on the end of these copper pisces .
There is that O ring , if you do it can cut the O ring and lead to leaks in the future .
So before I print this on and before you print that on , you do need to figure out what else is going , go in here .
So I've already made up the other replacement pipe that I need .
I dry fit it , make sure everything lined up everything fit .
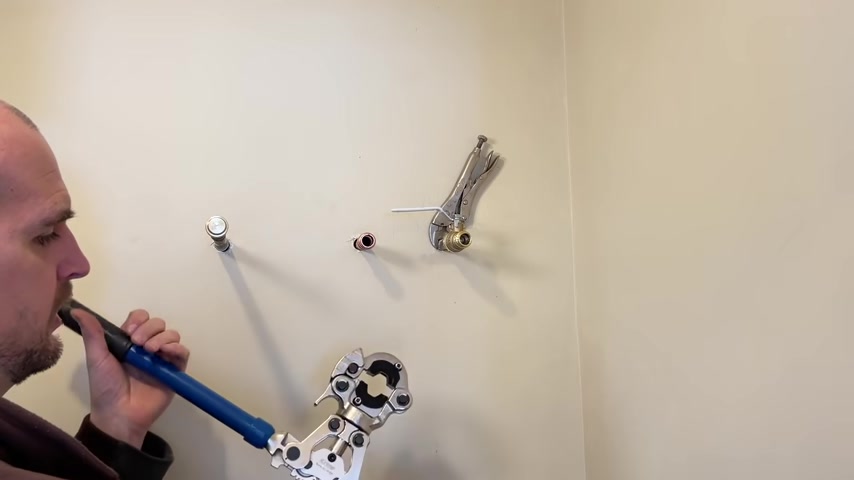
Well , so now I know I can crimp on this ball valve and I'm not gonna have any misalignment issues because I've already done all my dry fitting .
So now I can just crimp on this ball valve .
All right .
So you make sure everything is lined up for this crimping tool .
You do need to take the pressure off .
So you need to open up the handles to release and you can s skier on a little bit of a dance in terms of how much you have to open up those handles to get it to lock in a place , but you just want to make sure that you don't move your ball valve away from your line .
So it's still the correct , the copper pipe is still at the correct depth .
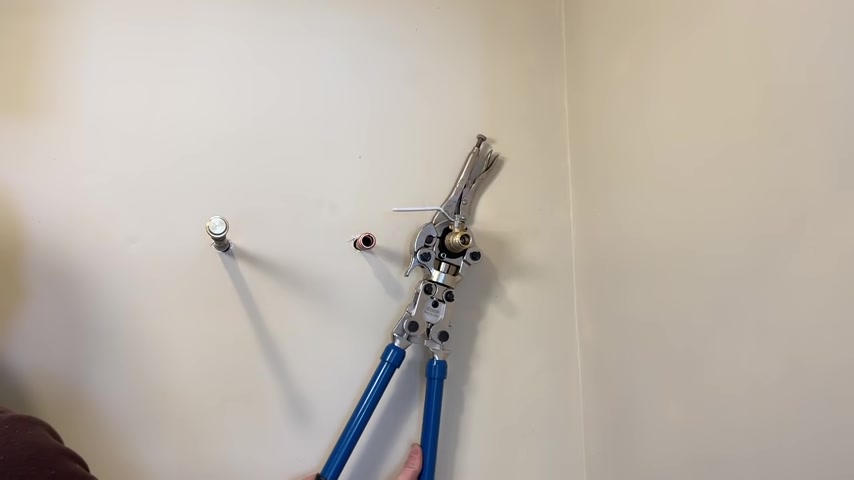
And also with the ball valve , you wanna kind of line up to make sure that your handle is where you want it and then you just apply the pressure , ok ?
Now , once the the handles will actually go over center , you know , you have a complete cramp or press and then take it off .
So now I have the ball valve crimp on one side and I've put the rest of my piping together and lined everything up .
So I have everything going to my 11 16 line lined both on the ball valve side and on my other cold water supply to the bathroom .
And I have two crimps to make .
Then I have the crimp on the ball valve to complete .
And then also in this coupling here , I need to crimp it in place .
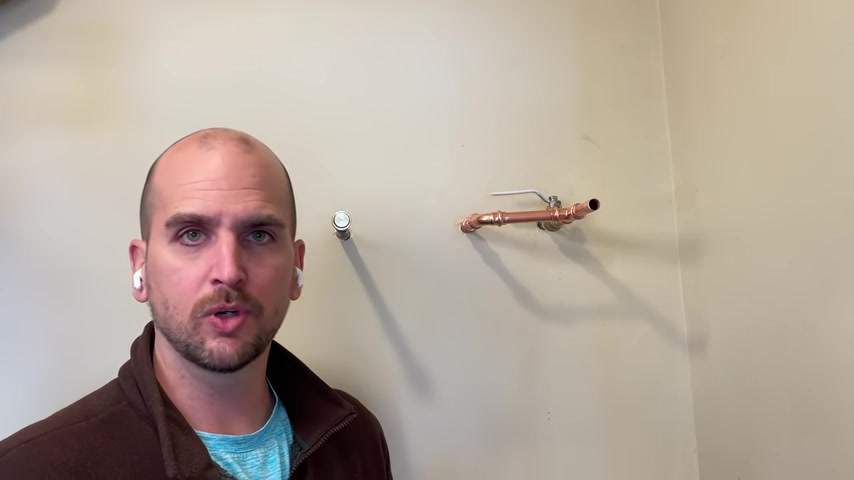
You want to do as much of the crimping as possible uh in a wide open space on the work bench , just gives you freedom and then think through kind of the order of operations to make your job as , as easy as possible .
Now , overall , I really like the press fittings that I just like the ease of install that save on time .
The look the fit and finish look especially compared to like shark bite .
Uh from a fitting perspective , I probably saved about $15 here compared to shark bite .
The same T 90 and coupling that I would need shark bite compared to Nip co press fittings .
But you do need to save .
You gotta recoup , recoup the tool cost that you need to actually print these on with $175 invested .
Are you looking for a way to reach a wider audience and get more views on your videos?
Our innovative video to text transcribing service can help you do just that.
We provide accurate transcriptions of your videos along with visual content that will help you attract new viewers and keep them engaged. Plus, our data analytics and ad campaign tools can help you monetize your content and maximize your revenue.
Let's partner up and take your video content to the next level!
Contact us today to learn more.