https://www.youtube.com/watch?v=528zJrGE1gA
2023-06-14 18:42:30
20 FREE Smooth Transitions Preset Pack Premiere Pro _ Free Transitions Premiere Pro Sam Kolder Style
This is from top five bus and today I am here with 23 transitions for Adobe Premiere Pro .
Hope you like the transitions in the beginning of this video and you can download all these for free .
I have given the download link in the description below .
So you can download and use it for your blogs , travel videos and anything you like to .
But before that do like this video and comment below .
Also , don't forget to subscribe my channel , subscribe to encourage me for giving you guys free stuff in regular basis .
OK ?
So now let's start the tutorial and let me show you how to use this transition in Adobe Premiere Pro .
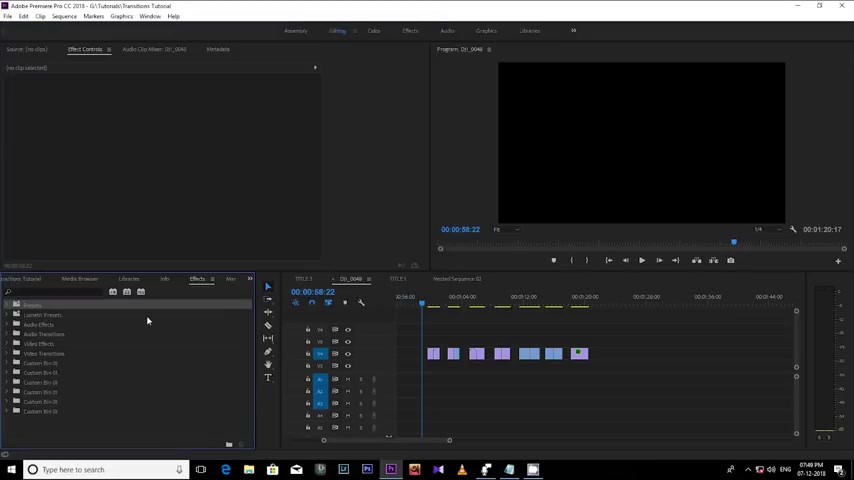
First of all , you have to import this transition pack from here .
You have to select the effect tab from here and then right , click on the preset folder and click import preset and then select the destination folder where you have downloaded the transition packs from here .
You have to import it one by one , but I have this transition in my Adobe Premiere Pro .
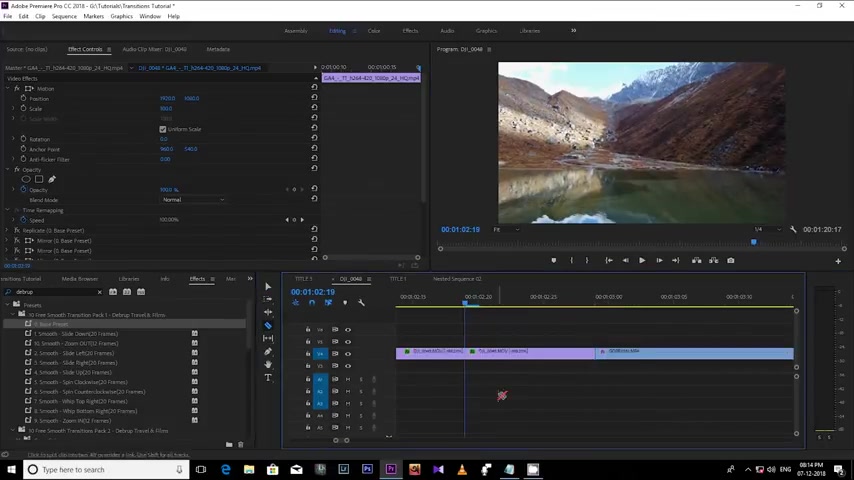
So here just type the blue , which is my name and you can see these two packs come up .
This is the first pack 10 free smooth transition pack one and the next one is 10 free smooth transition pack two .
So let's start with the slide up transition .
Here is the two clips .
Now , let me play it for you right now .
There is no transition in between these clips .
So let's make a transition here .
First of all , select the middle position of these two clips then zoom in that position .
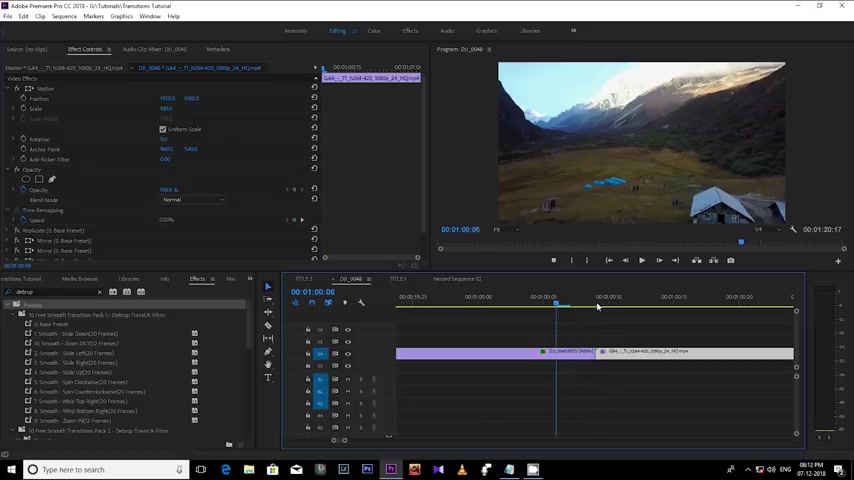
And after that , press the shift key from your keyboard and then press left Aoki 10 times in left side and then cut that position and again , press the right arrow key 20 times and cut that position .
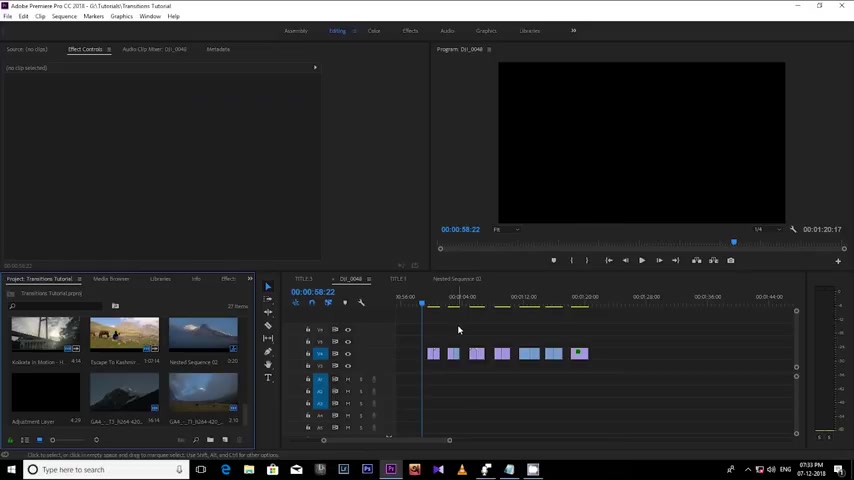
So these two cliffs are right now total 20 frames you can see here is mentioned that these transitions is applicable for total 20 frames .
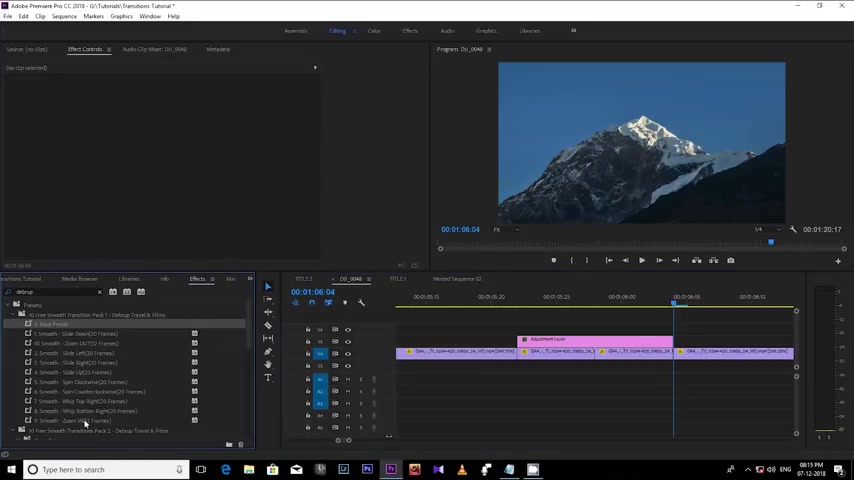
Right now , we have to select adjustment layer .
So let me select it from here .
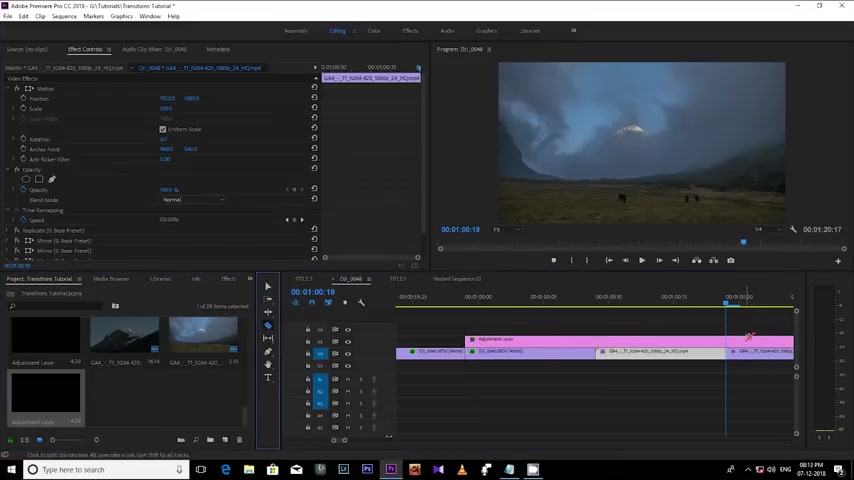
Now , dragon drop that adjustment layer above these two clips and cut the extra part from the adjustment layer .
So you can see the adjustment layer only above these 20 frames .
So right now , dragon dropped the smooth up transition in the adjustment layer and then put the base preset in both left and right left .
And that's it .
Let's see how it looks smooth and great , right .
Follow the same steps for smooth down .
Also , you can follow the same steps for other transition in the pack one except the zoom in and zoom out transition for smooth zoom in and zoom out the process is slightly different for that select six frame each side , then select adjustment layer and put the effect in the adjustment layer like the previous one .
But this time put the base be set only in the one clip for zoom in , applied it in the right clip and for zoom out , applied it for the left clip and see now how it looks like .
So looks good .
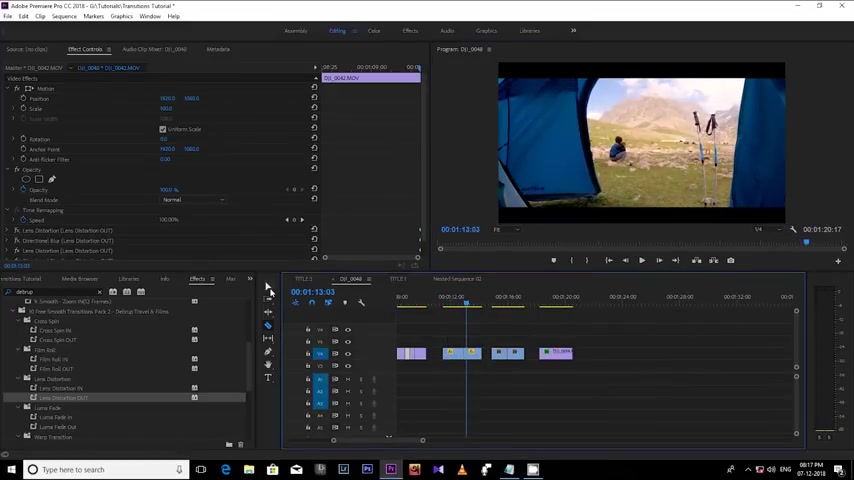
Right now , let me show you how to do lens distortion transition .
And for this again , cut 10 frames inside and put lens distortion in to the right and lens distortion out to the left .
And it is done .
This process is applicable for other transition like cross spin in out and pre roll in out .
Also , next is Luma fed fed out transition for this cut 15 frames from the beginning of the second clips and then put it above the first cliffs like this and drag and drop Luma fin in the 15 frames .
And it will look like this for Luma Fado select the first clip and cut 15 frames from the end and the rest of the steps are just like Luma fading .
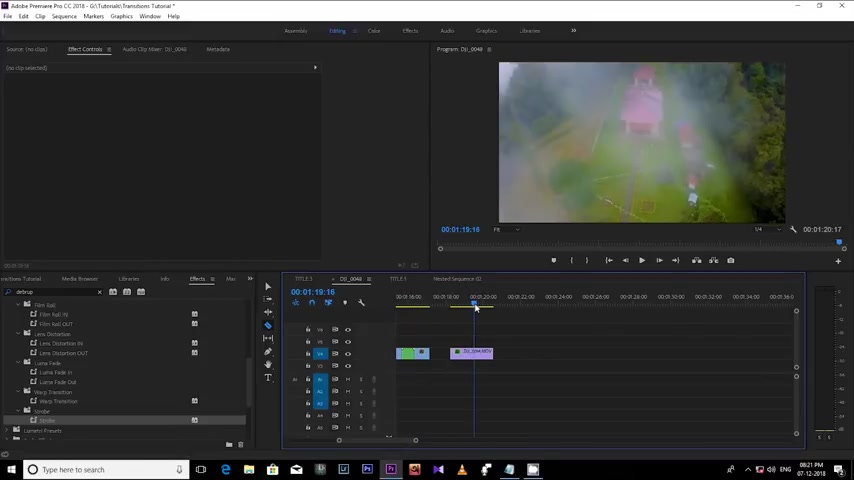
Now , let me show you the graph tension for this cut 10 frames from each clips and then select the 20 frames and nest it like this .
And now dragon dropped that effect and it will look like this .
Last one is the strobe effect transition for that cut 15 or 20 frames from the end of this clip , dragon drop the effect and see what happened .
It looks amazing .
So these are the steps how we can use this transition .
Also , you can improvise it by adding two effects together like lens distortion plus cop try it yourself and let me know in the comment section how it looks like .
So guys hope you liked this video .
If you like it , please press the like button , do comment and share this video with your friends and don't forget to subscribe to my channel and praise the Bell icon till then travel , share and inspire .
Partnership
Are you looking for a way to reach a wider audience and get more views on your videos?
Our innovative video to text transcribing service can help you do just that.
We provide accurate transcriptions of your videos along with visual content that will help you attract new viewers and keep them engaged. Plus, our data analytics and ad campaign tools can help you monetize your content and maximize your revenue.
Let's partner up and take your video content to the next level!
Contact us today to learn more.