https://www.youtube.com/watch?v=4yZgfRfYCKA
2023-06-14 18:40:57
How to Replace Your Spark Plugs on Your Lexus IS250 & IS350!

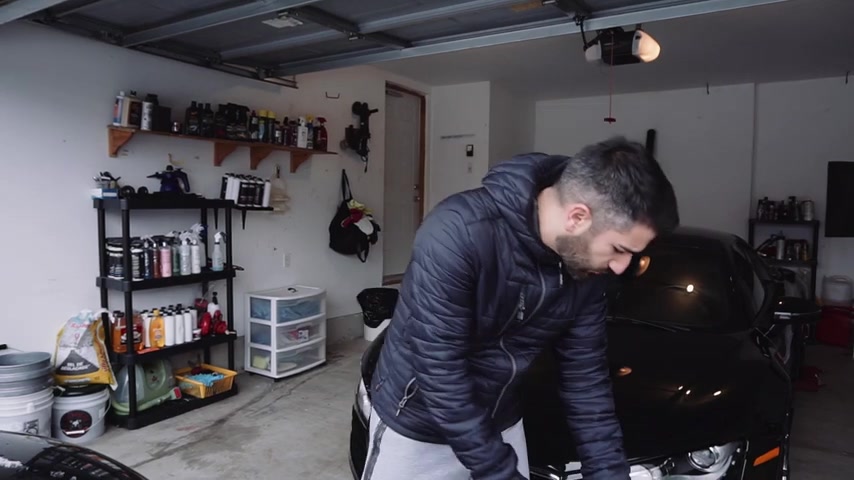
What is up guys , so of Canadian Rider here today , we're going to be doing the full spark plug change on your Lexus is 250 is 350 models as you guys know in my Lexus I S3 150 I've just hit over 300,000 kilometers and so has my fiance's Lexus I S 250 .
So today we're gonna be showing you how to properly go ahead and replace all the spark plugs in the car .
Spark plugs are a really important part of your engine .
Not only do they control the fuel economy in the engine , but the power delivery as well .
It's an integral part of the car because right now it can degrade your fuel economy , your power , your torque , your performance , a lot of these different things and it's not good that your car is misfiring , going to possibly cause knocking in the engine .
A lot of bad things that you don't want to do today .
We have all the tools necessary to do that , make sure you guys have gloves .
I have these mechanic gloves here , I'll link all these in the description box down below also as well .
I have my 10 millimeter and 12 millimeter ratchets which you're going to need in these sockets .
That's important as well .
You will need a socket or a spark plug socket extension .
So this part actually takes up the spark plug .
This is the extension to actually get that in there .
So you'll need to make sure you have these as well .
And then finally , you'll need the Denzel .
These are the O E M spark plugs .
Um I got six of these .
I'll also link these in the description box down below the ones you need to get .
You could get N G K as well .
Those are also very good .
I've used N G K spark plugs .
Um You want to make sure that you get either O E M or some really high quality spark plugs for a lot of different reasons .
Ones , they come pre gapped .
So you don't have to worry about the gapping of the spark plug number two .
If it's O E M made , you know , it's of high quality and N G K is also high quality .
You wanna stick with that for such an important part of your engine .
So we got six N G K spark plugs here as well .
I'll link that in the description box down below .

And finally , I'm using , I don't use a little bit of this , of this um grease here , but you need anti CS .
I actually have some copper anti CS , which is what you need to actually put on the spark plug to make sure that next time you go take it out , it's gonna come out probably really good .
But the next time we take out the spark plug is going to be when this car is about 420,000 kilometers .
So , you know , I have actually no doubt that this car will go to that point where it hits 420,000 kilometers .
But we want to make sure that when the time comes , it's easy for the mechanic or yourself to take out the spark plug .
So I'm gonna show you guys step by step how we're gonna do this on this Lexus I S 2 50 .
So the first thing we're gonna do is obviously open up the hood and we're gonna disconnect the negative battery terminal .
You want to make sure you disconnect this battery that's important .
So I'm gonna go ahead and I believe that is on a 10 mil .
We're gonna try it out .
There you go .
I just need a little screwdriver to get that out .
Now , you wanna make sure you put this far away from that terminal .
So I just shoved it right in there .
It's not gonna move anymore .
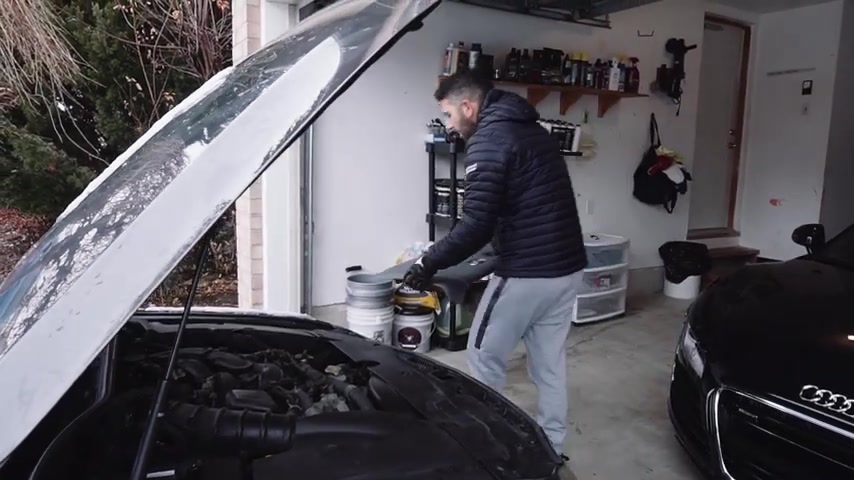
So with the battery disconnected , we're gonna go and actually remove all of the engine coverings because obviously we need access to the engine .
So I'll take off the first one here .
So this is the main engine covering , put that aside and this gives us access right away to the main part of the engine .
So the first thing we're gonna want to do is actually just remove this tubing here and we're gonna make sure we want to remove all this so we can get access to the spark plugs .
So that's what we're gonna do now .
So I'm just gonna take my screwdriver here and we're gonna have to loosen this up here as well .
So I'm just gonna go ahead and unscrew this .
So they should just , um , pop out essentially , um , once we remove the rest of this stuff as well , so I'm gonna undo this clip , pull this hose out , ok ?
So that was a little harder to remove because this is jammed or seized for me .
I'm gonna have to deal with that in a second .
This is seized , which is clamping this down to this .
So that's off .
We're gonna put that aside .
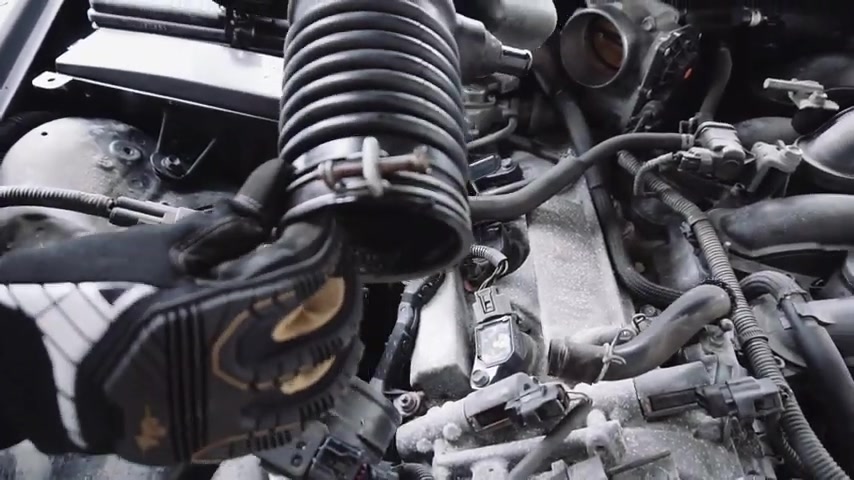
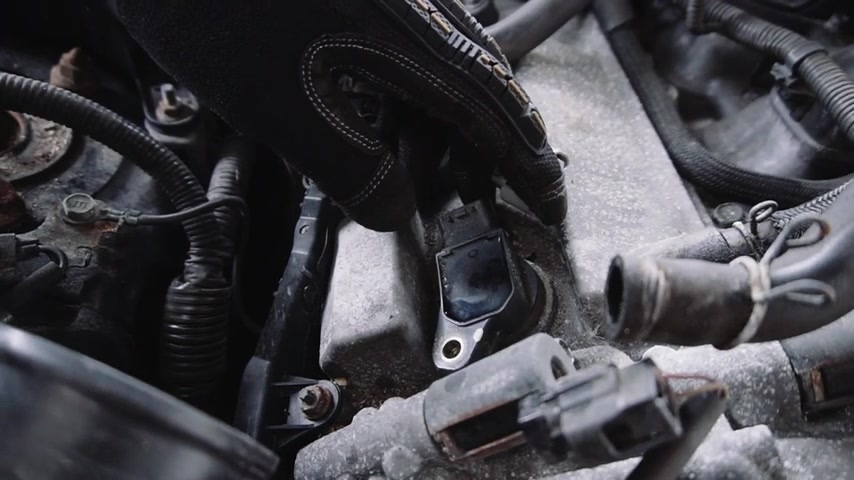
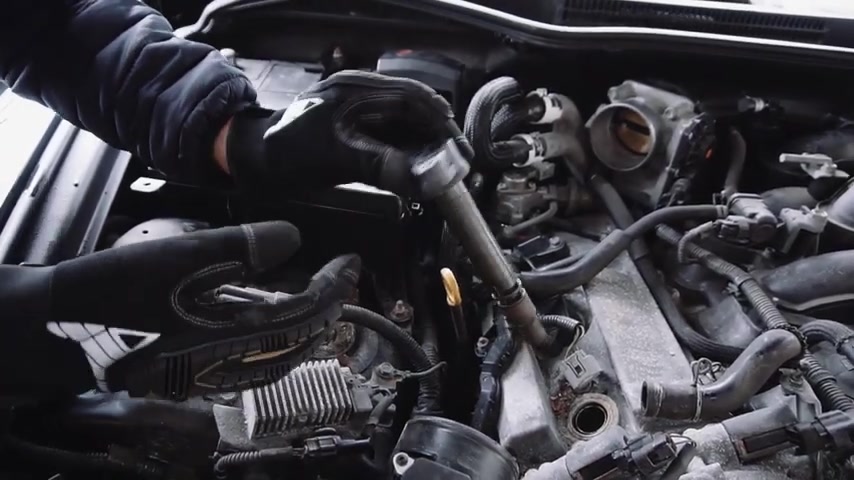
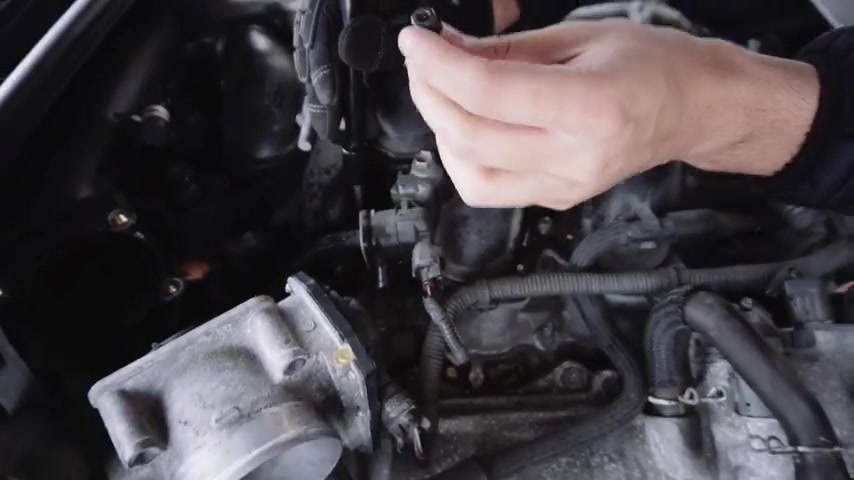
Now , you can actually see here this is where your spark plugs are .
So this is the passenger side and these are the three cylinders .
So this plug , this plug and this plug .
So now these are easily accessible for us .
Um , what we can do is we can actually start working on these now and then remove the rest of the , the , the throttle intake or the intake manifold for the engine .
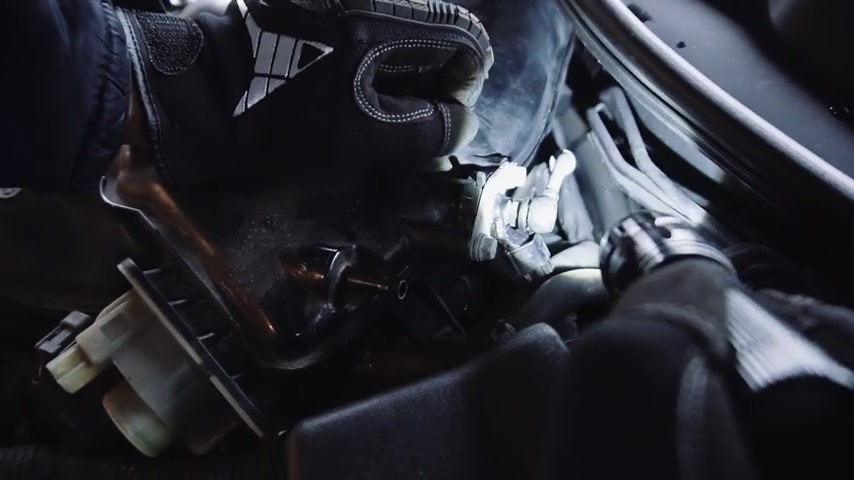
But what I wanna show you guys here right now is how we're gonna actually remove these .
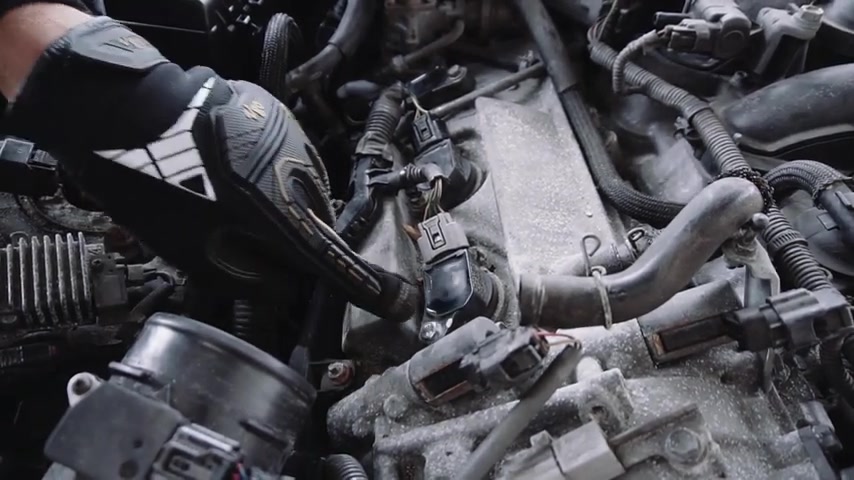
So , the first thing that we're actually gonna do is make sure that we disconnect these connectors to the actual spark plugs .
This is the issue when you work on older cars is that a lot of these parts tend to seize up .
So , what I'm gonna do is I'm gonna use a little screwdriver to help me pull that clip up like salt and wiggle this out .
There it goes , it's coming out now .
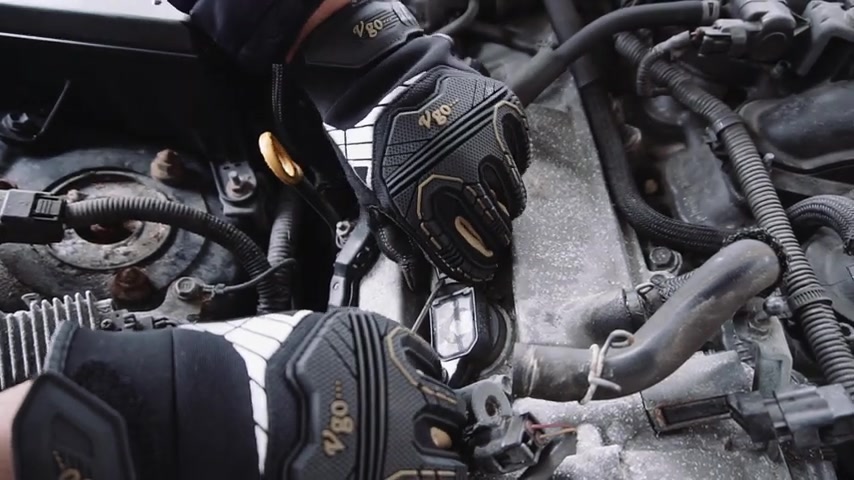
It just needs some little help with a screwdriver .
So it's over the hump now and I just pushed this up .
OK .
So there you go .
So put that connector to the side .
So there you go .
You can see this plastic brittle , the plastic broke here , not a big deal , but you obviously don't want that to happen .
This is the actual , the coil .
Um But we're gonna have to take this out and we're going to get access to the spark plug .
I have my ratchet , I have my 10 mil and we're gonna simply put it on here and we're going to loosen this up .
There we go .
OK ?
Now I'm just gonna unscrew this with my finger .
The other thing is make sure that um you keep all your bolts in like a bin , so some bolts are shorter than others .
Um So you have to make sure exactly where you got the bolt from , you're putting it back in .
So now that this is off .
Now , we have access to this plug .
So what we're gonna do is simply you're gonna grab the plug and be gentle about this .
You do not want to be super rough about this .
You wanna take the plug and it should just slide right off .
It's very simple .
That's it .
OK .
Here it is .
So this is the , this is the actual ignition coil .
This is not the spark plug .
So this coil actually goes in with the spark plug and the spark plug is down below here .
So we're gonna put this aside and you're gonna remember , this is the first one on the passenger side bank and then we're gonna remove the rest once we take out the spark plug and replace it .
So that's what we're gonna remove , by the way , make sure you see there's a lot of dirt here on the side , do not mess around with that .
You don't want any dirt going in here .
Very important .
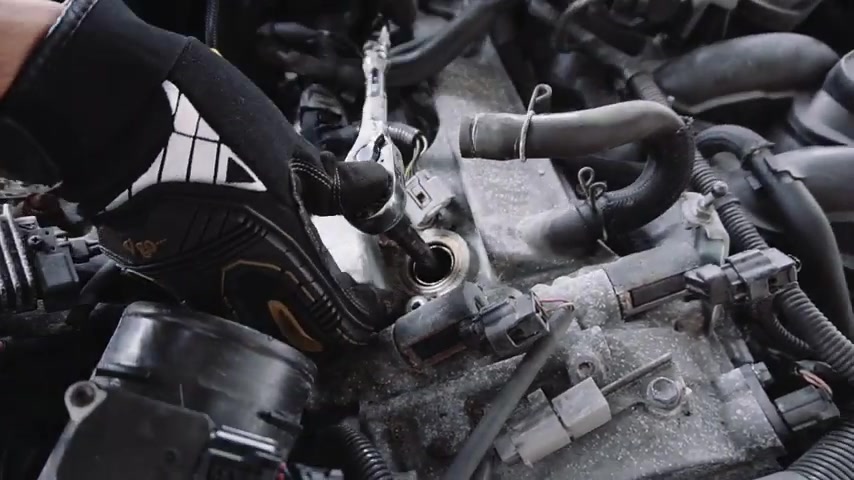
All we're gonna do is we're gonna get our socket extension with our spark plug right here .
The spark plug , um extension and we're gonna take our ratchet our wrench and we're gonna go down in there and get it .
So I'm gonna do that right now .
I've got my spark plug socket .
We're just gonna go in here gently .
Ok ?
You're gonna get in the socket , you're gonna connect it and you're gonna simply loose it .
So there you go .
Now , it's coming out , you know , sometimes these are a little bit , um , seized because of the mileage or the age .
But here we go , it's coming out .
I'm just turning it .
Ok .
And all that's gonna happen is because of the socket , it's gonna grab onto the spark plug .
So it's gonna come out with the socket .
Ok .
There we go .
So we got it and the spark plugs out .
So let's examine it .
Here's quite a bit of wear here .
I don't think this was replaced um for about 100 and 20 100 and 30,000 kilometers and you know , you look at it .
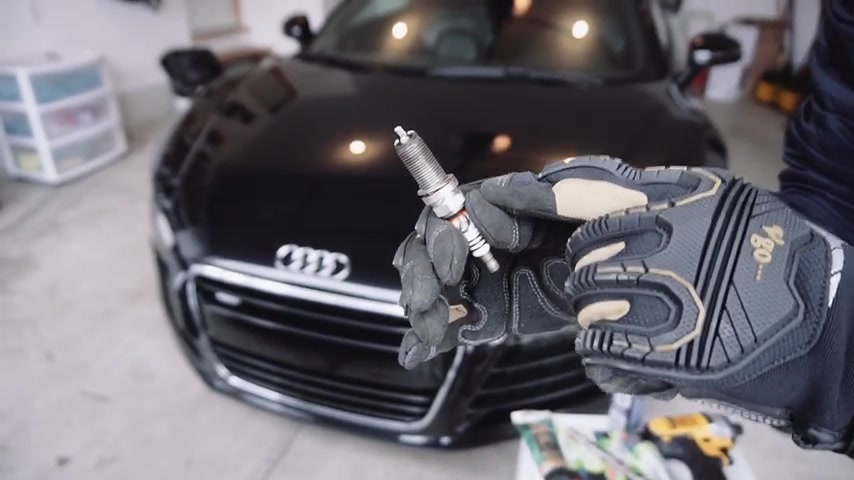
So this is the iridium plug , the same Denzel O E M plug that we're gonna be replacing it with .
But you can see there's significant wear in the plug which has probably caused some performance issues and the misfiring .
I don't know if it's actually necessarily this plug that was misfiring , but you can tell by the condition of just this one that you know , they were due for replacement versus our new plug , which is this .
So you can see the big difference between new and old right there .
So we're just gonna put a bit of anti seas on the threads , not too much at all .
Like this is literally just a thin coating of anti seas that we want to put on the threads .
That's it like nothing major here guys .
OK ?
So once those are coated , we're gonna simply put the spark plug back inside .
This is a spark plug .
It's got the N T CS on it .
We put it back inside of the spark plug socket .
We're gonna very gently go back in here and tighten it .
We don't want to overt it , gonna go and hand , tighten it as so OK , this is a very delicate process .
I wanna make something very clear here .
If you strip these threads , it's game over .
So make sure like if you're feeling any weird resistance or anything that OK .
Uh I'm obviously not in the right thread .
Like right now as you see , look at my hands , no pressure , no pressure whatsoever .
It's just slotting in here properly , right ?
No pressure .
I'm not feeling any crazy resistance , which means the threads are in properly .
It is dangerous .
So with the spark plug back in here , you're gonna take your coil .
One thing to do is actually inspect the coil , see if there's any damage or anything .
This coil looks like it's in good condition .
So that's fine .
Um And we're gonna simply put back the coil inside here where it's gonna connect in with the spark plug .
Uh So and you're gonna wanna make sure you push it in .
It's like kind of sucks in there and that's done .
So we're gonna replace this bolt and we're gonna plug this back in and this spark plug is now done .
We removed this bolt here , we removed this bolt and we took off all the connectors for this side of the block and we're just gonna move these down , just move it down , just get it out of the way a little bit .
That's it .
So now we can access this bolt and we have easy access to this bolt as well .
So we're gonna remove these two .
We're gonna do the exact same steps that we did for this spark plug here .
And once we've done that , we're gonna head over to the driver side .
So this is the second plug .
As you can see , there's a lot of wear and tear on this plug as well .
Um Which is why it's probably , um , you're noticing low fuel economy , less power , possibly , this is the plug responsible for the misfires , but so far this is probably worse than the first plug that we pulled out .
Oh , now we have all three of these spark plugs changed .
So we had this removed .
I put this back on .
You can see there's actually a new bolt here .
I actually lost this bolt in the process .
It fell down in there and we're gonna have to shimmy it out .
But I went back to Princess Otto and I picked up the same bolt and have these now bolts that all put back in .
What we're going to do .
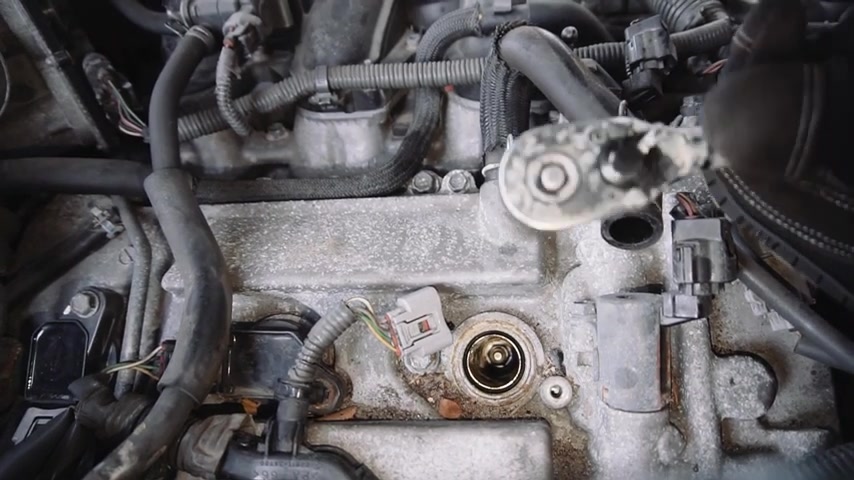
Now , in this next step is we're gonna go ahead and remove this and the intake manifold here and we'll go step by step on how we do that so we can access the driver side spark plugs and get those changed .
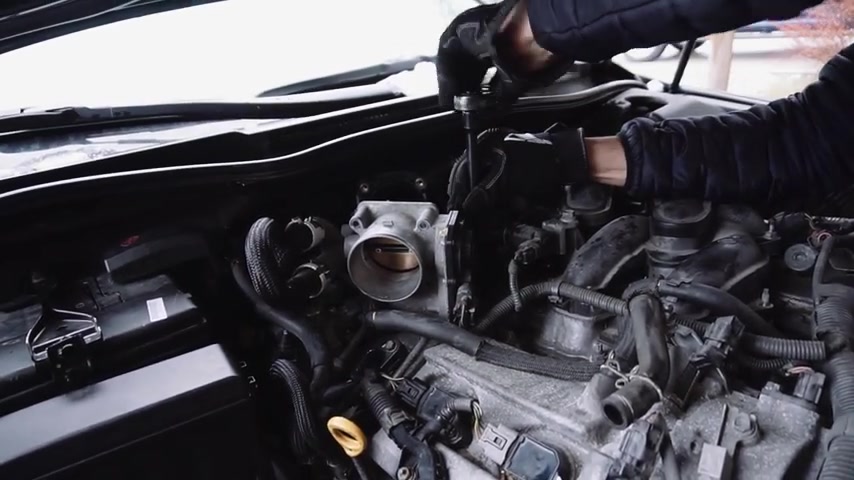
So the first thing in this process that we're going to do is remove the throttle body here .
So we're gonna go ahead and take my 10 millimeter .
There are four bolts here , 1234 , then there's 1/5 bolt actually here on the side right inside of here .
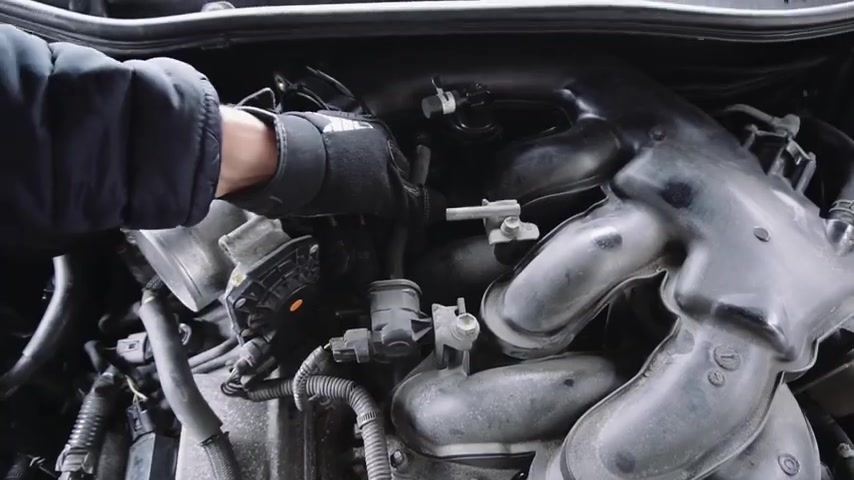
So we just took off the bolts out of the throttle body .
So you see that we're just going to put the throttle body just right here .
We're not gonna touch it and then we're gonna start removing the lines here to make sure that we can remove this properly .
So I'm gonna take off this hose .
Ok .
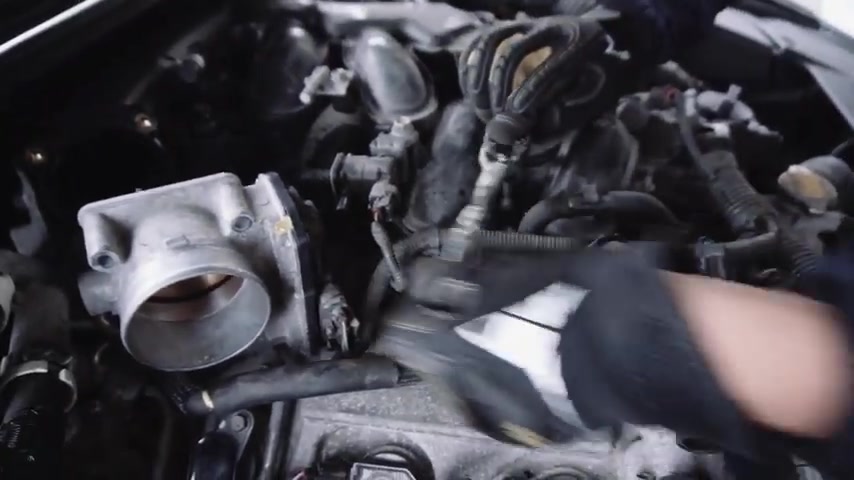
So the hose is removed , put that down and what we're gonna do , I'm gonna show you all the bolts that you need to remove to get this entire piece off .
There's an assortment of bolts to do that .
You're gonna notice that we took off the one hose here .
We're also gonna take off this connector on the intake manifold .
So we take that off .
Now , there's gonna be six Allen bolts , um , and two additional bolts that you're gonna have to remove around here .
So these bolts are consisting of here , these bolts as well .
Um , so there's eight in total , you're gonna have to remove them all and I'll walk you through which ones they are .
Exactly .
But we're gonna go ahead and remove this first nut right here and again , very old .
It's , you know , that was a little difficult to take off .
Um , because obviously these spark plugs haven't been done in a long time and there's another bolt right here that we're gonna take off .
And that's right beside , I'm gonna get my extension to actually clear this a little bit .
So I have my extension , get in there undo this bolt , ok ?
Make sure you take this off .
The bolt doesn't come out , get that , put it away .
Now , the other ones are six Allen bolts .
So you're gonna notice that these ones here are different .
So these are six Allen bolts and they're across , that's 123 over here , four inside of here .
Um I think there's five over there and six .
So they're all over here .
My five mil Allen head here .
So we're gonna start with this one right here .
We're gonna remove this .
Make sure you have it nice and firm .
You don't want to strip these bolts .
Yeah .
And again , that was a little difficult on the first try , but we got it right out .
I'm just gonna unscrew the rest of it with my finger and take it out .
Make sure you do not drop these .
So that's the other one again , you wanna make sure .
So if you look at me when you're putting this in , if you feel like even though this is the five Mil Allen and it's nice and tight in there .
You may sometimes have to like hammer it .
So I actually hammered down this to make sure that the Allen is fully engaged to the bottom of the bolt or otherwise you're gonna strip this bolt .
That's the last thing you want to do .
So by one more time again , being cognizant to not strip the bolt , ok .
There we go .
And again , these will need a bit of pressure , but as long as you make sure you have the right five Mil Allen and it's pushed down all the way into the bolt head .
It's not gonna strip .
I have two left .
We have these two .
So these two are the ones that were being a little difficult .
So what again I'll do is I'll take out the five mil , I'll put it in and as you can see , there's a little bit of wiggle here .
Right .
See , it's just , it's just not going all the way deep in .
I'm gonna take a hammer , I'm gonna hammer this in lightly .
All we're trying to do is make sure that it's fully seated , make sure it's fully seated .
Ok ?
Now we're gonna tick here and I'm not gonna use the extension on this just to break it loose .
I'm gonna try to just break it loose without the extension .
Ok ?
We're gonna put pressure down and we're gonna turn this .
You can see it right here and let's see if it turns , ok ?
There we go .
So it's turning , it's free , it is free .
Now you see that .
So again , just making sure not to strip , not to strip the bolt .
Now , I'm just gonna take this element out of the socket .
It's great .
I'm gonna put the extension back on , extensions back on and I'm just gonna hand release it .
Uh So I'm gonna have to get rid of this bolt .
Ok ?
And the bolts out and this one you can tell isn't as stripped , right ?
This one's actually in great shape .
It's not stripped at all .
Quick little tip .
We are using this five millimeter um Allen bolt that I had .
But the problem is on the sixth one that's deep in here , there's a little plastic covering of housing that this black piece doesn't actually fit through .
So I've had to put that away and I have a different five Mil Allen that I'm using , that has a thinner profile so it can actually access it and go fully inside of the um , bolts because it wasn't actually going inside of the bolt and I wasn't able to remove it .
So I'm using this instead .
Now , I did put some W D 40 in there as well .
And ok , now I feel that I have made the connection here .
Now I'm just gonna make sure I put pressure down again , like always and more move .
There are three bolts that you need to remove on this side .
So the bolts the first thing you wanna do is remove this connector here .
It's very simple .
Just remove this connector .
It's not a big issue .
The other , the issue is is that behind this hose and flashing light here and I already took out the bolt , but let me move it with the screwdriver so you can get a better side of it .
There's that , you see that that's a 12 millimeter .
So you're gonna need someone to , um , push this hose out a bit and access it and remove this 12 millimeter right by this module here on the intake manifold .
So again , if you kind of zoom out of this , you can see this is your intake , you're gonna remove this plug and you're gonna come here , you're gonna have to remove , move this hose to get into this 12 millimeter spot , which is over there .
The other bolt that you're gonna need to remove is this fuel line , which is also a 12 mil .
So I took off this bolt already 12 mil bolt .
And now the hardest part or the part that's the most challenging is there's another bolt all the way back here .
It's really tough for me to show you guys with the camera , but you'll see it .
It's a 12 millimeter bolt and it's not that what I'm pointing at .
Um , it's really hard to show you , but there is a 12 mil right on the side and it's the last thing that holds the intake manifold .
So we're actually gonna go in there um and just remove that , then that's all the bolts removed on this side .
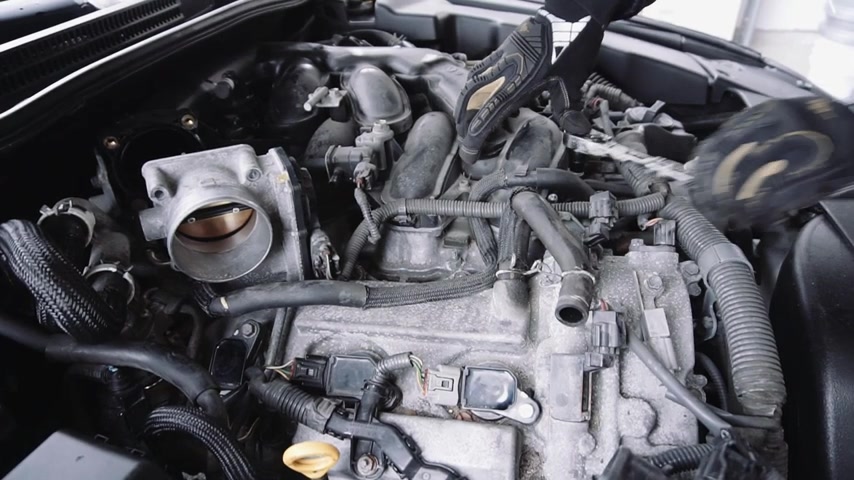
So once you have all these bolts removed on this side , all you have to do is really take off the intake manifold .

It should basically just slide off .
There shouldn't be any , you know , difficulty in removing it .
Once you remove it , you'll have access to the three ignition coils um with the spark plugs that you can remove .
It's really simple .
All you're gonna do is take the exact same steps that I showed you with the first three um spark plugs .
You're gonna replace those with the Denzel iridium spark plugs that you have or the N G K S and you're gonna have to button everything back up together .
So this is really important .
You basically just did an entire spark plug change for your car .
This is going to help improve the fuel efficiency of your car , the performance , the power and really extend the life of the car .
So at this point here , because again , these are iridium plugs , these are the best plugs you could buy .
These are probably going to last me about 100 and 20,000 kilometers .
So I won't be needing to replace these up until in my case , 420,000 kilometers .
This is going to really make sure that your engines firing well , and it's gonna make sure you have a long life ahead of the car .
If you like this video , please give it a thumbs up if you have any questions , leave them in the comment box down below and make sure you guys subscribe to the channel .

Thank you guys so much for 20,000 subscribers .
Um I really hope this helped you um in protecting and maintaining your car .
I love this .
Lexus .
The Lexus is 2 50 Lexus I S 2 50 are really amazing cars .
And just a note this is for the Lexus I S 2 50 specifically , but the steps can be taken .
It's almost identically the same to the Lexus I S3 50 .
The only thing is with the Lexus I S3 50 is that you do not have to take off the intake manifold .
Thank you guys so much .
I really hope this video helped you .
And again , if you have any questions , leave them in the comment box down below , make sure you subscribe and I'll see you guys in the next video .
Partnership
Are you looking for a way to reach a wider audience and get more views on your videos?
Our innovative video to text transcribing service can help you do just that.
We provide accurate transcriptions of your videos along with visual content that will help you attract new viewers and keep them engaged. Plus, our data analytics and ad campaign tools can help you monetize your content and maximize your revenue.
Let's partner up and take your video content to the next level!
Contact us today to learn more.