https://www.youtube.com/watch?v=fLqV5g8D2WA
Building my First Gaming PC
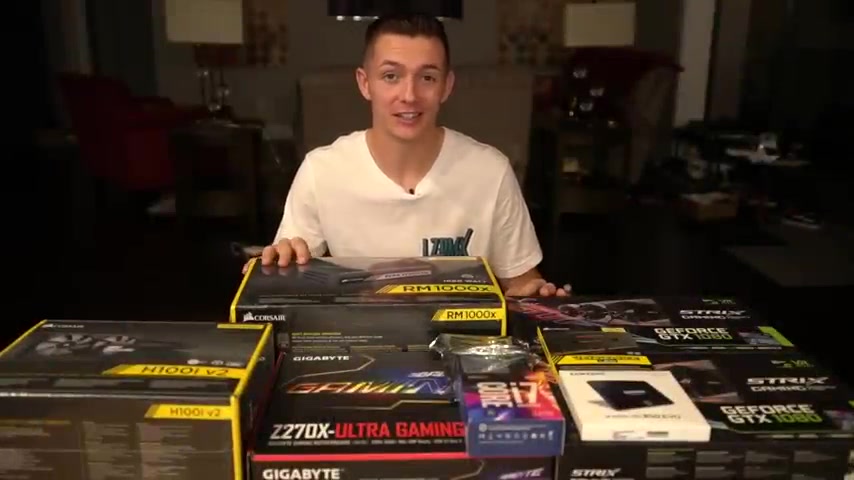
The moment I have been waiting for , I am finally building my first PC .
Now before I get started , I feel like I should kind of go over why I'm building a PC .
I saw some videos of slap train drifting on youtube .
It looks pretty fun .
He made like a recreation of my car .
And then Taylor got a simulator set up .
I played his , it was fun .
So I got an X box .
I got a Thrustmaster wheel and it was fun , but it wasn't as realistic as I wanted it to be .
So I got the three monitor set up and now I've been waiting to build a PC so I can actually run the three monitors because camp with xbox .
My criteria for the build was to be able to run 3 144 Hertz displays , play games , like for a set of course , have the potential for me to play virtual reality down the road because I think that's something that I might want to get into and I wanted it to look pretty .
So I spoke with some computer wizards that were part of obsess garage and they helped me figure out what parts would kind of suit my needs .
Originally , I was planning on working with a company that was going to help me out with a lot of the parts , but they kind of went back on their word after a couple of weeks of waiting .
So I grew impatient .
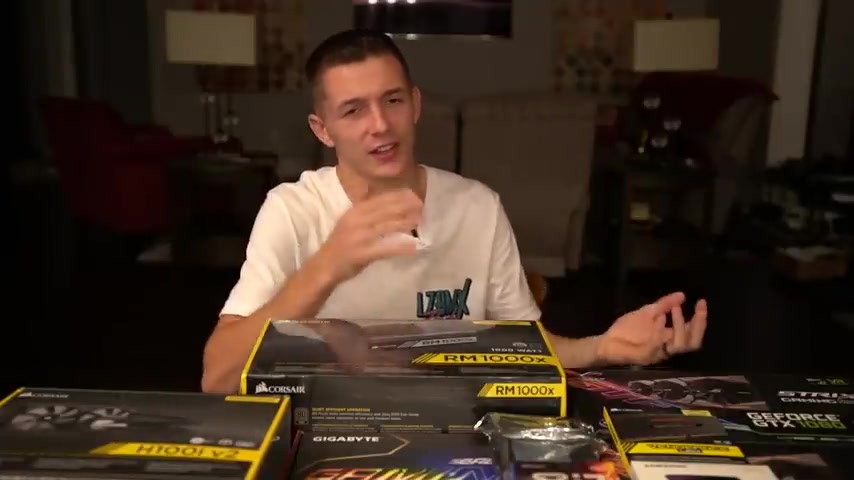
I got exactly what I wanted and I want to be clear that absolutely none of this video is sponsored .
Yes .
This computer is probably an overbuild or way more than I'll ever need .
But one thing that I've learned in life is I always make compromises and whenever I do , I end up regretting it and then I end up getting what I originally wanted .
So it actually saves me money in the long run to just kind of go all out and it makes me happier and I think the content will be more interesting to you guys because , well , I'm building a sick computer so I'm stoked .
It's gonna be a lot of fun and I know absolutely nothing about computers .
Absolutely nothing about building them .
I watched a few videos on youtube but we're gonna learn together .
Disclaimer .
I will make mistakes to try to be nice with the comments .
Don't make me feel like a complete idiot .
All right .
So we'll talk about all the parts later .
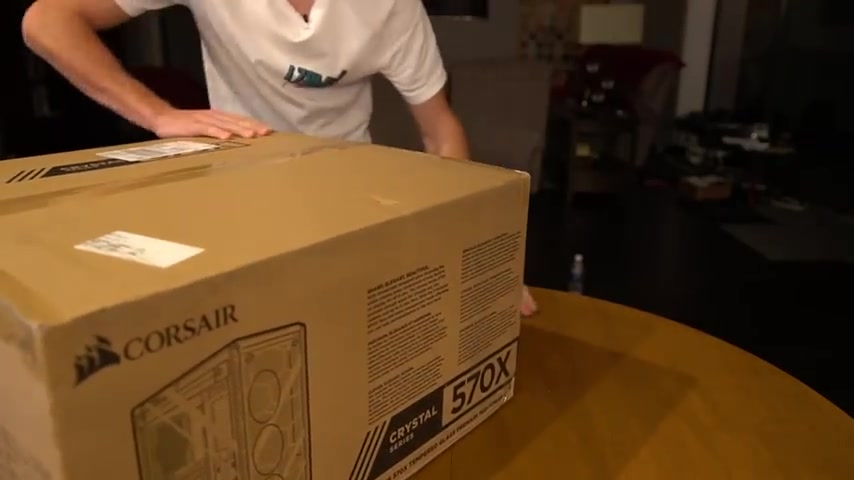
I'm gonna move all the stuff off the table so we can get started with the case if you follow me on Twitter , you know that I've been extremely excited to do this build and was very bummed because my case was supposed to be here Friday and it just now came today , we have a 5 70 X or as I like to call it , pretty , someone was making fun of me for using the word pretty too much .
But I don't know , I like the word .
I like my computers to look like my wife and that's pretty , I don't even know if this thing's gonna be heavy or what by the way this case is completely glass .
So there's a large chance that I will end up breaking this in the video .
I'm incredibly clumsy for any of you who haven't watched any of my videos before slide .
This bad boy out dang this thing's heavy .
Got some instructions won't be needing those .
I watched a youtube video .
Look at that .
It's so precious .
Alright .
We're gonna inspect to see if there's any cracks on the glass .
That way we can blame it on the shipping company instead of Adam .
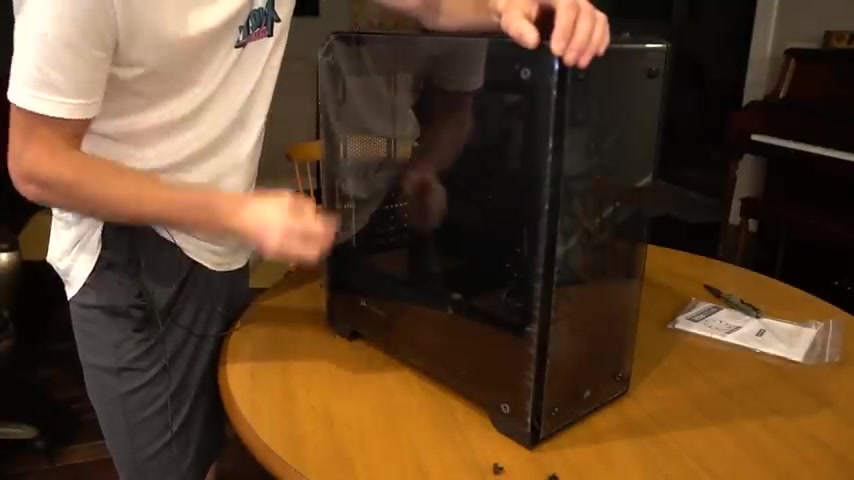
I know one of the first things we're gonna need to do is install like the power thing that way I can ground myself .
So I don't like fry stuff , but I know I need to take off the side of the case for that .
So we're gonna do that for anyone that knows nothing about computers .
Like me , it's actually not as daunting of a thing as you'd think it would be .
It's just kind of like plugging stuff in and screwing things .
We'll see though .
If I can do it , then anybody can do it .
Remove the glass .
Look at that .
So , pretty Nicole's home with the Chipotle .
Everybody say hi , Nicole .
All right .
So I got a little tool kit thing that I'm gonna be using .
But the main reason why we're going to use this right now is for the grounding strap .
So when you build a computer , I guess you're supposed to like ground yourself .
So you don't get static electricity and stuff .
So I'm barefoot right now on a hardwood floor so I can play it safe .
Plus we've got a fancy looking grounding strap that will just clip to a ground .
So what people normally do , they'll install the power supply and then they'll like clip it to one of the bare metal screws because the computer is painted .
So it won't be a good ground and they'll plug that into the wall .
So you'll ground yourself out like that .
Now , we will go ahead and open up the power supply once again .
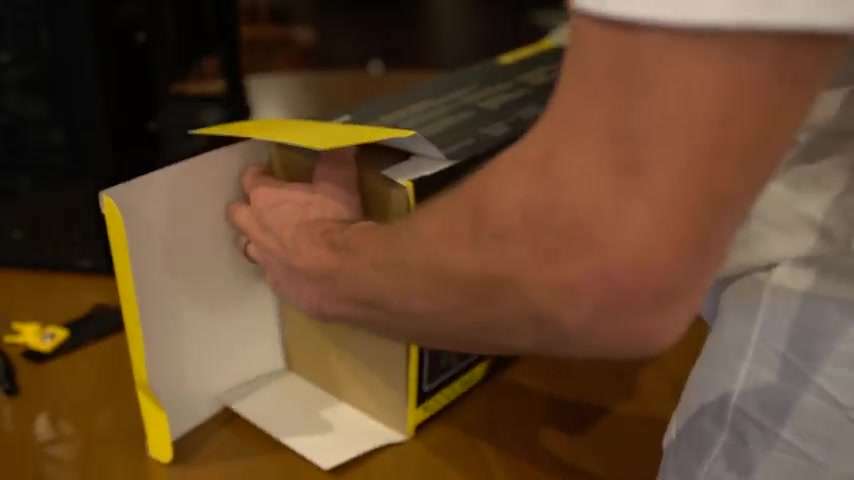
I just want to remind you guys that this is not an instructional because I have no idea what I'm doing .
And if you take my advice , you'll probably do something wrong .
Just trying to document the stupidity .
There's a bunch of stats on the box about why this is good .
So much packaging got a sticker and some zip ties .
All right .
So this is the power supply .
I know that where you want the fan to be mounted downward and then obviously , this power plug will be coming out of the back .
I don't know how this screws in though .
Oh my goodness .
Look at all these cables .
This looks scary .
Uh Maybe I didn't know what I was getting myself into with this .
All right .
So the mounting screws are in the back of this .
So I believe we just take this , put it in here , not being gentle at all .
And the holes should hopefully line up in back and they do got some little screws in here and we'll start by mounting this thing .
So it doesn't spin around only two of the screws in the bottom line up .
But I think that should be fine .
We're off to a good start even though I thought it was supposed to be like this .
I guess it's not since I would think that this should be the other way around so you can read it .
So that would be mistake .
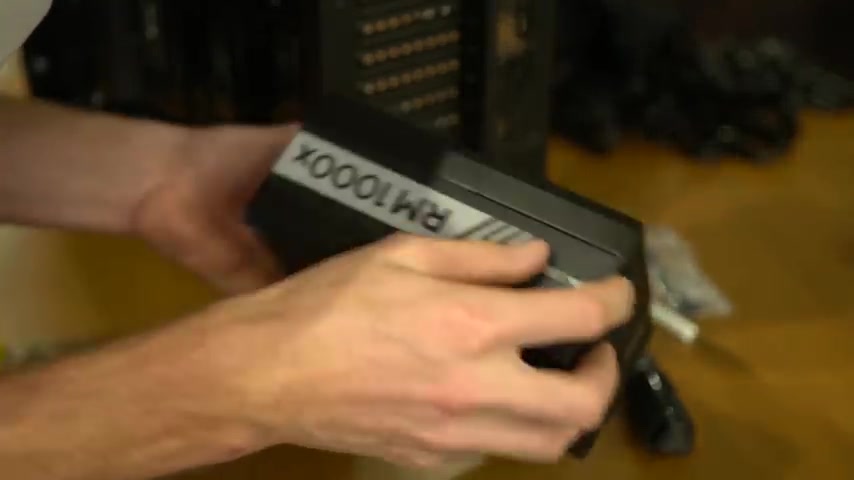
Number one , I mounted the power supply upside down .
Let's see how many mistakes I can make .
Take the power supply back out , flip it upside down .
Wait a second .
Now , I'm really confused because it's right side up on this side , but it's upside down on this side .
I don't , which way does the fan blow ?
Uh Well , this is definitely the bottom .
So I was right , I guess the logo is just upside down , but I bet there's a way to like take the logo out .
All right , we're gonna go ahead and try to remove the sticker .
Probably gonna be like the hardest part of this entire build .
Uh Oh All right .
So we're gonna reinstall the sticker like this because we can't have an upside down logo .
All right .
So I guess that is a , a mistake .
That was just me being anal .
Now , a lot of people like to test their parts before they go and do all this .
But uh I'm just gonna be naive and assume that everything is good , might bite me in the butt later .
But uh we'll see the next step would be grounding myself .
Most people plug the power supply in to like an outlet and then they ground themselves on a screw that they would like thread into this .
OK .
So I got this long metal screw , I'm going to put in .
Not a lot .
Just enough .
I'm going to clip my wrist strap to ground myself to this .
I should note that the surge protector is turned off , but I have it going to the computer and the strap is going to my wrist .
All right .
So the next step is going to be a making sure I'm grounded B unboxing the motherboard so we can install the C P U .
I think that's what this is called , the processor .
This is sharp .
It literally went through my finger .
Ok .
Great .
This is pretty back front .
This thing is gonna go here .
I know that I remember this .
I remember you're not supposed to touch this and I did .
So we're gonna act like we didn't touch it .
Ok ?
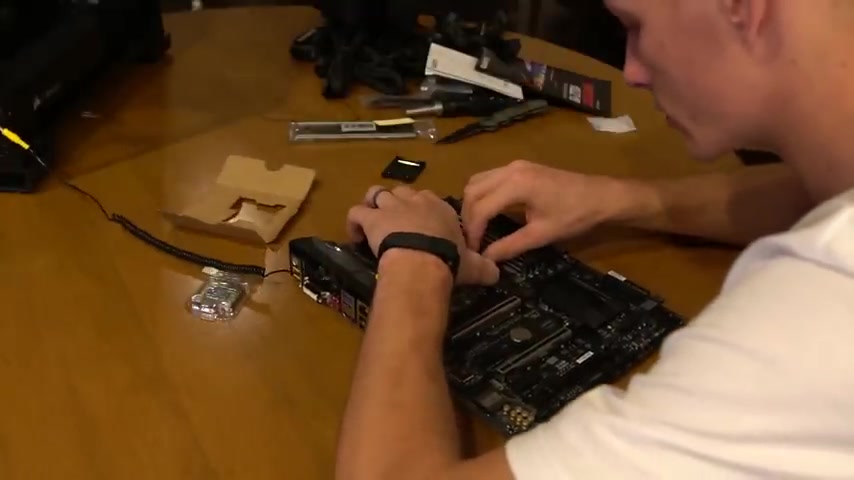
Oh , it's in plastic .
We're good .
We're good .
So it looks like we have to remove this thing and there's like some sort of weird lever system .
I watched like one video so I don't think I was supposed to move that .
So without touching the surface of the chip , we're gonna put it in like this close it and even though it feels like you're breaking it .
Oh , am I breaking it ?
Actually ?
Nope .
OK .
It lines up , it's gonna feel like you're breaking it .
You just got to put a lot of pressure and then clips under there .
So the next thing , the cool the cooler is going to go on this , the radiator , the fans , I hope this isn't making a lot of you angry .
I'm just trying to be straight up honest , I have no idea what I'm doing .
I don't know what any of this stuff is called .
I would rather act stupid than try to talk about something that I know absolutely nothing about .
So just please understand that .
So we move this to the side and we will open up the liquid cooler that we have .
I'm sorry , my work environment is so cluttered .
One of my projects is to make like a nice room for filming .
But as of right now , the best lighting at night time is in the kitchen .
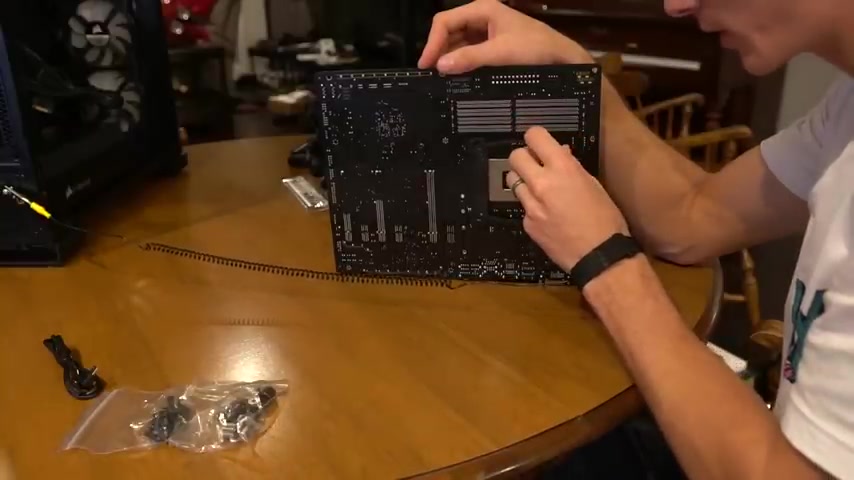
So that's where we are not to mention the hardwood floors .
Gosh , this stuff comes with so much .
They really expect me to know what to do with all this .
I got this guys .
I'm , I'm gonna , I'm gonna do my best .
I think I might actually read the instructions on this one because there's a lot of stuff and it seems pretty confusing .
So I guess the first thing we do is install the back plate on the motherboard .
I guess it just kind of goes in like this .
So nervous that I'm gonna break something .
I'm way too clumsy to be building a computer , but I'm trying to do it for you guys .
Please don't cringe too hard if I do something wrong .
All right .
So we've got the backing played in .
I think that just like spaces this away from being mounted against .
I don't know , it does something .
Do we install these screws now ?
Like , so it says that next , we're supposed to install the fans in the radiator literally looks like a car radiator .
So we'll go ahead and we'll try that .
So we'll start working on the case .
We'll put this aside for a minute .
All right , it's saying we install the fan and the radiator next .
So we're gonna go ahead and , uh , do that .
It's gonna kind of mount in here So I guess we'll take the glass off the top of the case .
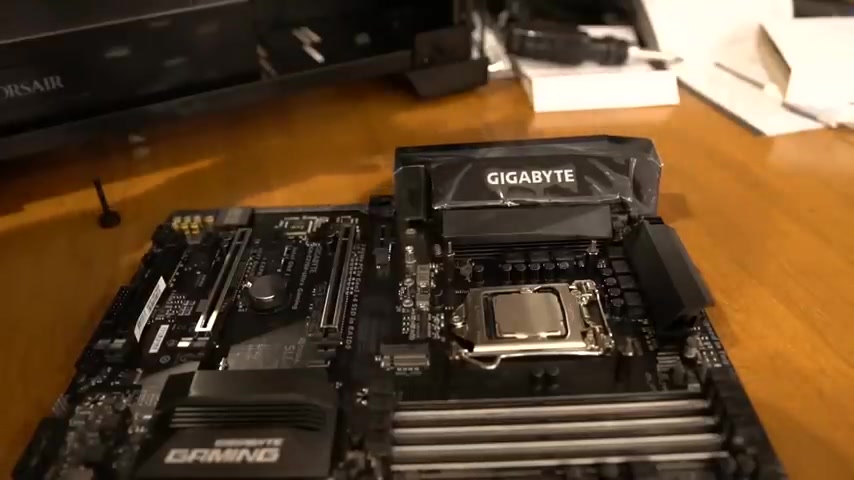
This is actually a really tough video to film , getting the right camera angles and like focusing on audio .
I hope it turns out decent .
The radiator gets held up by baby screws and washers .
It's gonna go with something like this .
Thankfully , it lines up with some holes .
It's got six screws on top just getting eight screws on top .
The radiator is all mounted up .
So now we're going to put the fans and it says to mount them .
So it pulls air into the computer rather than pushes air out if this thing works .
I'm gonna be so proud of myself .
Now , I see why people are saying to get a bigger case .
It makes it so much easier to work .
Scratch .
A screwdriver makes things real nice .
The next thing we get to do is to attach the pump or I don't even know what you would call this thing to the motherboard .
So it already has the proper plate on here .
All we need are these little screws .
Now , you're usually supposed to like put thermal paste or something with this .
But everyone told me that I don't need it for this cooling system .
So no thermal paste for us .
This is scary .
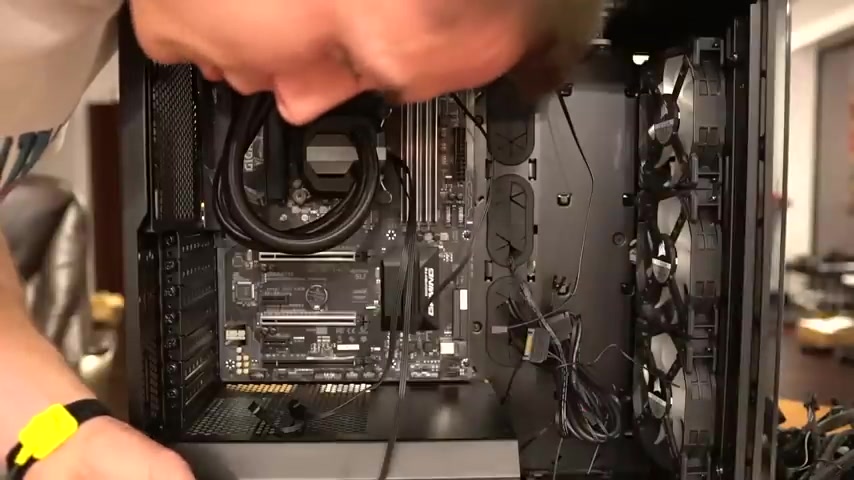
I'm hoping these things are pretty tough because I'm definitely manhandling everything right now being up these screws nice and firm .
I feel like we're supposed to put like the graphics cards or something next .
But I just , I don't like having this motherboard just chilling here .
So I'm gonna try to mount it .
See if I , I can , I feel like this is so fragile mad props to all the guys out there that make like computer videos and stuff because filming bikes and cars is so much easier to put like spaces in or something or , I don't know , stop resisting because of my terrible lack of organization skills .
I really don't know which screws I'm supposed to be using for the motherboard .
So the case actually already came with spacers , which is nice and convenient .
Just a couple more screws and then we can move on to the next step .
Yes , I was probably supposed to install the memory and other stuff first , but I'm kind of operating under the liberty that it won't really matter because that , uh , liquid cooler kind of made it tough to get in there .
Of course , a screwdriver was magnetic .
You probably don't want to use magnets with computers .
So it probably mess the stuff up .
It would have been really funny if I went and grabbed the magnet and , like , ruined my computer .
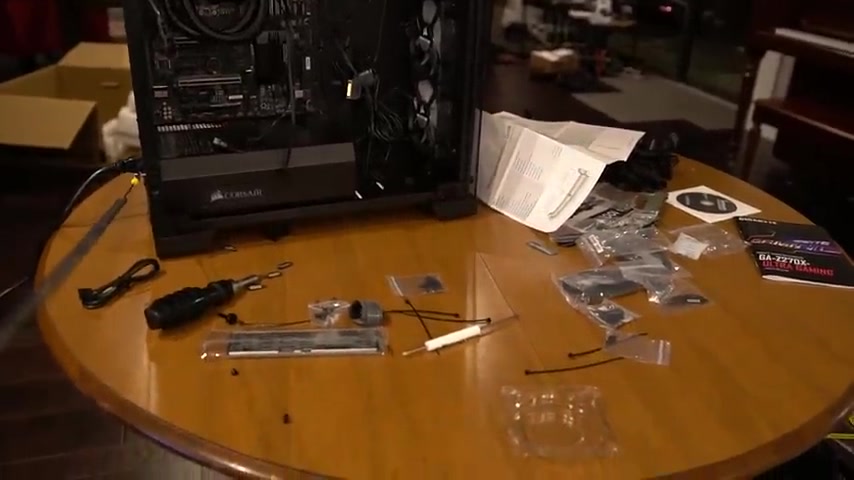
It's totally something I would have done .
Motherboard is all in and my table is quickly becoming a mess .
All right .
So I'm gonna try to install the memory now , even though I probably should have done that before .
We have 28 gigabytes which make 16 gigabytes .
If you can't do math , I lost camera audio here .
But uh I basically realized that I forgot to put this little plate on when I put the motherboard in .
So I basically have to take the entire motherboard back out .
So I can put the plate in from the inside and then I can reinstall it while I had the motherboard out .
I also installed the ram .
Installing the ram is pretty self explanatory .
It just kind of like snaps right in and then I put the motherboard back in and we are ready to roll with the next step so we can install the drives .
We've got a Seagate Barracuda three Terabyte , yada , yada yada .
Um I'm gonna put all the specs of everything that I use in the description in case you guys care .
So uh look in the description for that stuff if you care , but uh see , it looks like we got some little thumb screw , maybe , I don't know .
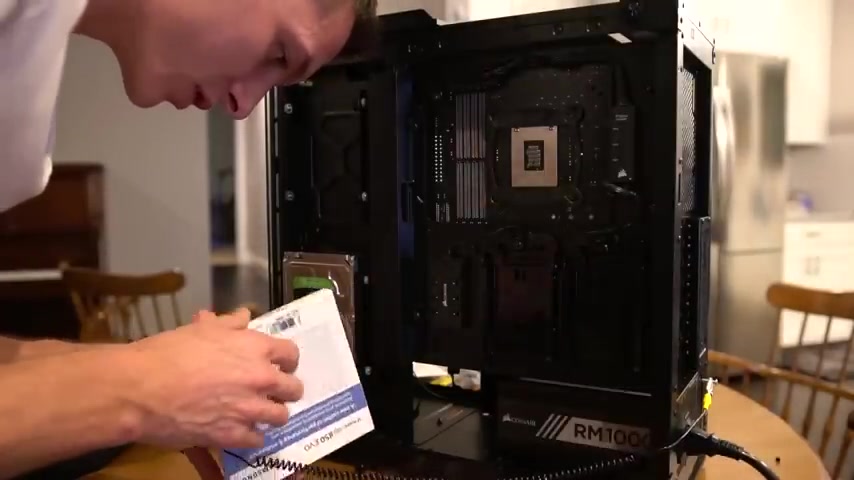
I feel like this goes in here .
Is it just one screw ?
It seems too simple .
How does Oh OK , slides up and then we'll take this and put this in here somehow .
I'm gonna do it like this .
Hopefully , that's right .
I don't really know , kind of sits in place real nice like so then I guess we just take this and should slide right in .
That was way too easy .
And we got this little thumb thing from the bottom now .
I know cable management is a big thing .
So maybe I'll end up wanting to put that somewhere else .
But until then , now we also have Samsung V N S S D Solid State drive 500 gigabytes .
So we're going to put that in one of these , the solid state drive just kind of like slides right in and then it just kind of snaps right in , just like the other one did with one .
It's a busy screw and then I started doing the wiring , which I just decided I wasn't gonna film .
Everything's been going well , I've been having a little bit of an issue figuring out where the wires for the case go .
Uh It's like almost midnight now , I'm starting to get overwhelmed , but it's just confusing because I can't figure out even the motherboard instructions don't really tell me where to put stuff .
So I'm about to phone a friend and have my friend , Matt help me out .
Save me , Matt , save me .
Oh , that's not .
So I'm pretty sure I have everything plugged in and now I can move on to the graphics cards .
I'm gonna clean up all the cables and like , make it look nice and everything .
But for now I just want to get it to a point where I can test it and make sure everything runs well .
But Matt brought up a good point that I don't have a CD drive .
So I don't know how I'm going to boot up because I think I have a Microsoft CD .
You said I might be able to like , burn it on the USB drive .
So I might try that .
But I think we're on the home stretch , which is good .
So we've got 2 10 , 8 .
And the main reason for that is because of the fact that I want to eventually do like good V R stuff .
It's obviously not necessary for what I do right now .
But I'm gonna pop these in and then hopefully we can get a boot .
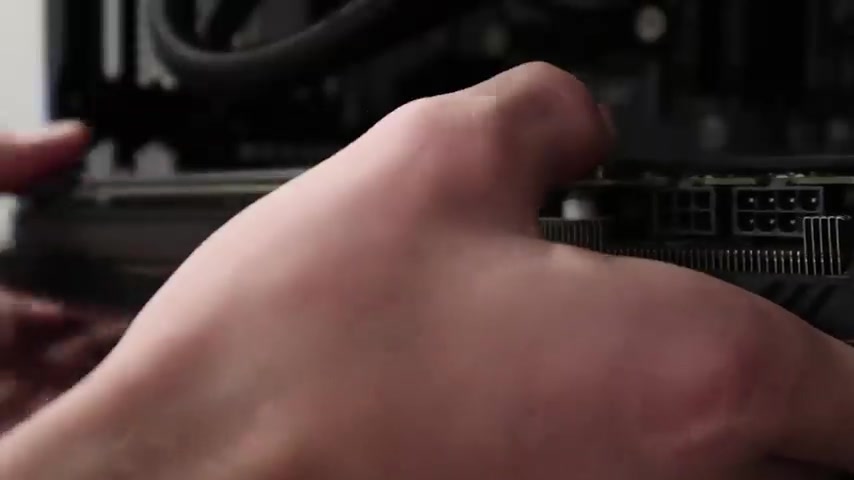
So fancy , I'm gonna remove this little slot thing .
Somehow .
I'm supposed to fit this monster in here .
I'm gonna take off way more of those things .
The slider in , this is kind of tricky , but I got it one down one more to go .
People have been saying I need something that's called like a S L I bridge or something since I'm running 2 10 8 .
I don't really know what it means yet , but I'm gonna research it .
Number two is about to go in .
It's starting to get exciting .
I think I should have done this one second because it's really hard to see in there and line this one up .
Wiring is a mess , but I'm gonna clean it up .
I'm pretty sure everything is hooked up to the power supply .
So I'm gonna try turning this thing on and , uh , we'll just see how it goes from there .
So I've got the computer hooked up to a monitor and we're about to boot it up and see if it works .
One AM .
The moment of truth here goes nothing .
Ok .
See you light .
All right .
Ok .
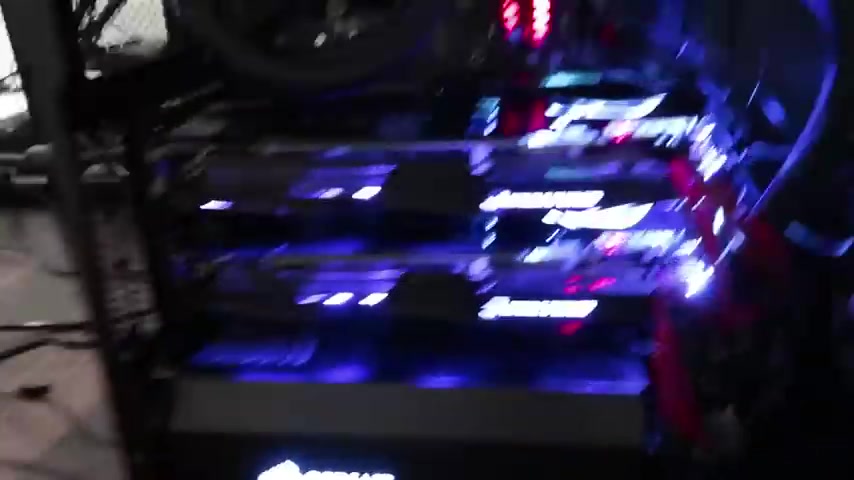
We have pretty colors .
We have fans .
Huh .
Huh .
Is that bad ?
Does that sound , that doesn't sound healthy ?
Uh .
Oh , I know .
Silly .
Adam had a wire hitting the fans .
Silly , silly I'm gonna fix it when I clean up the wires .
So for the time being , I'm just gonna unplug the bottom graphics card since I don't really need it and we shall try that again .
Yeah .
Uh , the fan is literally blowing the other fan .
So it seems pretty good other than the , the blinking stuff , no signal on the TV .
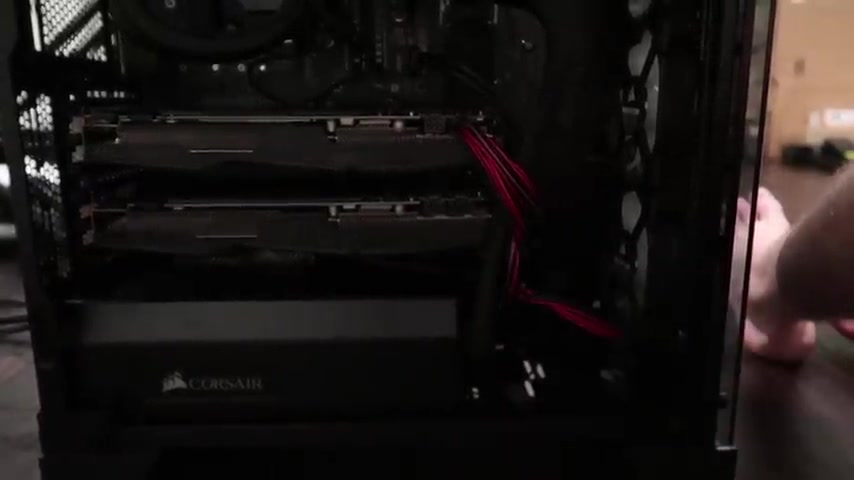
And we got a blinking computer , I think I'm just gonna try zip tying those cables down that way .
This one isn't hitting the wires and I could plug it back in and maybe that's why it's not booting up .
Right .
So I started it back up again and this is what it's doing .
It's kind of like on and then it blinks and it's on and then it blinks .
The only thing I know for sure that isn't right is , uh , I couldn't find the power reset wire , so that's not plugged in .
But I , I don't know that it's anywhere .
So I don't know why it's doing this .
Twitter told me it's because I didn't have the 12 volt power supply thingy , plugged in the board .
So I'm gonna try that .
All right .
So we got no blinks now , which is good .
We even got something on the TV .
But it's telling me I need to power down and connect the PC I power cables for this graphics card , whatever that means .
So I guess I'm also missing these six pin power connectors .
So I'm gonna go see if I have a cable for that .

Now we're looking healthy , say something , screen , say something reboot and select proper boot device .
Yay .
So I need windows uh in a CD drive to be able to do this .
But unfortunately , I don't have a CD drive , so I'm gonna have to burn it to a USB , but it's like two AM .
So I'm gonna do that tomorrow .
If you're watching this , then that means I decided to split this into two videos and tomorrow I will be cleaning up all the wiring , booting it up and hopefully testing out the simulator with it .
I just want to put it out there that although this is super fun and I'm really stoked that I built my first computer .
This isn't going to be like a common thing on the channel .
Me building computers .
This was just an experiment .
If anything I wanted to build my own computer , you guys wanted to see me build my own computer .
I did it .
Hopefully it'll work well and it was a lot of fun .
Give me some feedback in the comment section because I'm sure there's some stuff I missed .
But remember I'm not a professional , I'm doing this for fun .
I have absolutely no idea what I'm doing .

And I'm going to keep on giving disclaimers to void any nasty comments because I'm not a computer wizard .
Thank you guys .
And I will see you tomorrow and I'll clean up this mess tomorrow too when you say it .
Are you looking for a way to reach a wider audience and get more views on your videos?
Our innovative video to text transcribing service can help you do just that.
We provide accurate transcriptions of your videos along with visual content that will help you attract new viewers and keep them engaged. Plus, our data analytics and ad campaign tools can help you monetize your content and maximize your revenue.
Let's partner up and take your video content to the next level!
Contact us today to learn more.