https://www.youtube.com/watch?v=csfT-jz9z6U
Apple Notes - Power User Tips & Hidden Features

Apple Notes just keeps getting better .
Here's a relatively new feature .
I want to scan some text from a book directly into my notes app .
All I do is I choose scan text , hold the phone relatively still and press insert .
I think this is super cool .
Let me show you some of my favorite Apple notes , hidden features and give you some power user tips .
We'll start simple in case you're new to Apple Notes .
My first tip is that you can create different folders .
You see that there is a default notes folder over here , but you can create separate folders , let's say for you , personal and work are very distinct , very separate .
You can go ahead and create a new folder and call it work well , not work but work .
And then you just go to a note and you swipe left on it .
You press the folder button and you move it into the work folder .
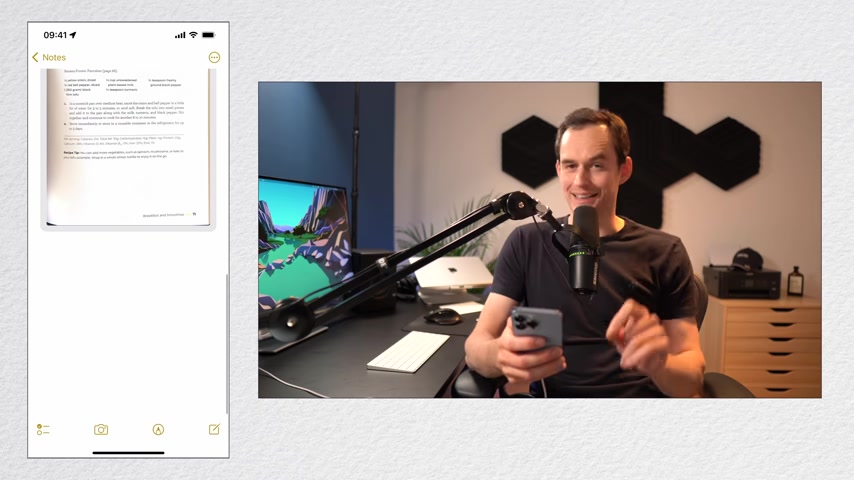
Next consider using hashtags here I am in a note where I scan some recipes from a cookbook anywhere in the note .
But I like to do this at the bottom .
I can insert a hashtag just by typing a hash and then a word , for example , recipe now it's great right now .
But when you hit the space bar , you'll see that it turns yellow and that means it turned into a hashtag Now I can add multiple hashtags to a note .
For example , I can call these ones .
Uh I get this breakfast .
Now , if I tap done and I swipe to the main screen and I scroll all the way to the bottom , I can tap recipe to see all my recipe notes , but I can also filter down even more by also tapping breakfast .
And now I see all my notes with the breakfast and recipes tag assigned .
Now , when should you use folders and when should you use tags ?
Here's an example .
Let's say I have an IKEA receipt right here .
I could go over and create a folder and call it receipts .
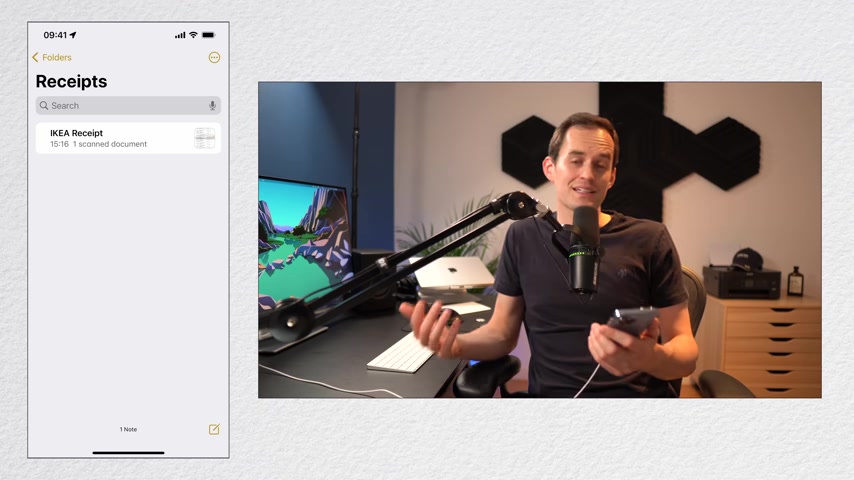
I can go to the note and I can move it into the receipts folder so I can see it there .
But what if I want to split out my work and my personal receipts ?
Well , I could create a separate folder called work receipts .
But then what if I want to see all my notes at once ?
This is a case where tags work better .
So I'm actually going to remove this note from this folder , delete the receipts folder and I'm gonna go back to this note and all the way at the bottom .
I'm going to give it the hashtag receipt and also the hashtag personal over here in the main screen at the same button at the bottom left .
I can type a new smart folder .
Now , a smart folder allows you to see all the notes that have certain tags assigned to them .
So for example , I can call it personal receipts and I can say show all notes that have the hashtag receipt and personal done .
Now you see a smart folder , it'll have a little gear icon .
I tap it and here are all my personal receipts .
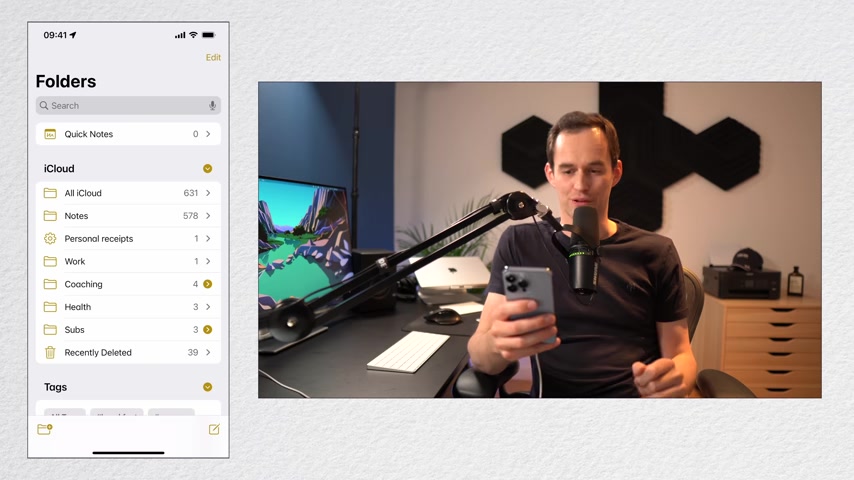
You can also turn a regular folder into a smart folder .
So I've got this health folder over here and let's say I've got some notes in here on my health .
What I can do is tap the ellipses at the top , right ?
And I can tap convert to smart folder .
What's gonna happen is it's going to add the hashtag health to every single note in this folder , move those notes back to the main notes folder and then it's going to create a smart folder that shows all notes with the health tag assigned , but you cannot undo this .
So I'm going to tap convert and now health is a smart folder and every single note in here has the health tag .
Any new notes that I create that I add the health tag to will also show up in the smart folder .
Now , one thing to note is that hashtags work across folders .
So for example here at the bottom .
If I tap the hashtag template , I'll see results from my notes folder as well as from my coaching folder .
Next up .
Let me show you how good Apple Notes is as scanning documents .
Meaning you don't need a separate scanner app or a physical scanner on your desk .
I'll show you this on my desk over here .
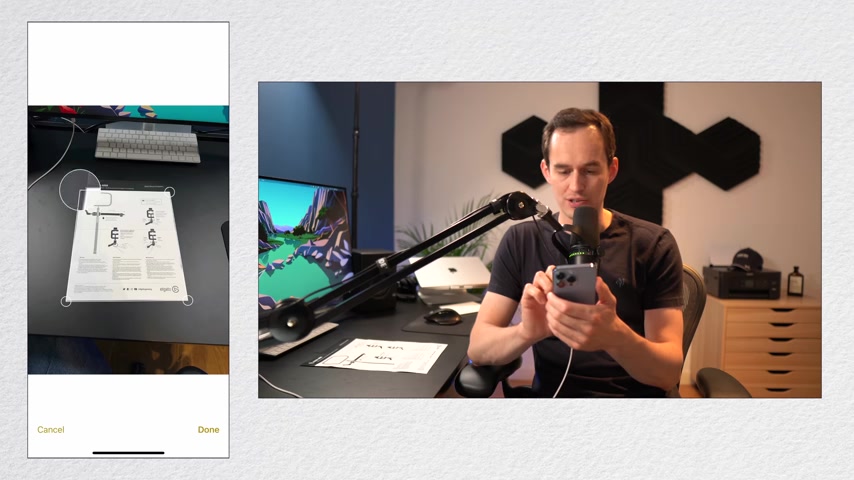
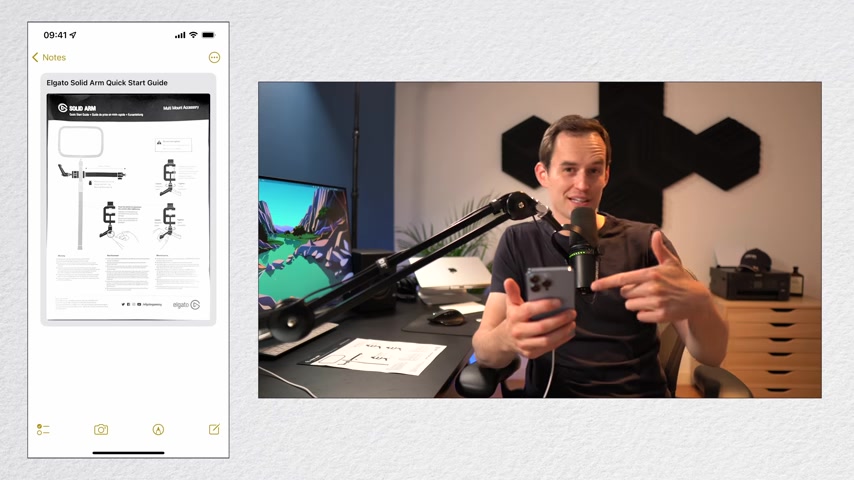
I'll grab a note and I'll just tap scan documents .
I put a document on a nice contrasting background here and scan it like this .
Now , this document is a quick start guide for a piece of recording gear that I have after I've got it scanned , I can do a couple of things .
I noticed that it didn't quite capture the entire document .
Usually it's pretty good at this , but in this case , it didn't do it .
So on the bottom left , I'm gonna tap the crop tool and I'm actually going to change the crop over here just to make sure you might need to fiddle around with this a little bit to make sure that you get the correct edges and then tap done .
Now , what I can also do is I can change the color .
So either it scans it in color or in gray scale in black and white or as a photo .
In this case , I think gray scale is pretty good .
I can also rotate the document .
But in this case , I don't need to , I'll tap done if I want to , I can scan more pages , but in this case , I don't need to .
So I'll tap save now after I tap save notice what happens , this document becomes an attachment inside the note and it'll automatically be converted to a PDF .
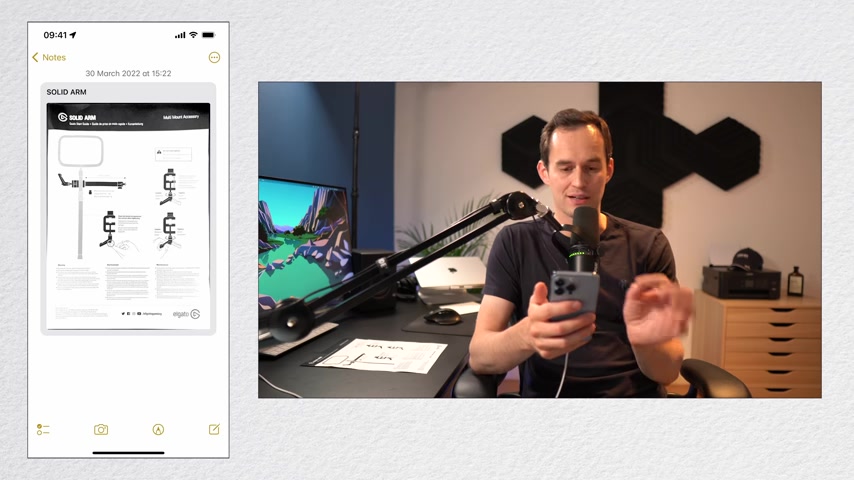
And this PDF has a title , the title currently says at the top Solid Arm because that's the biggest text that apple nodes found inside the document .
Let me just rename that for it to be a little clearer and save it .
Now , if I want to share this document with someone , all I have to do is just tap it , tap share and it'll get sent as a PDF and I can send it to whoever I like .
Now .
One really cool feature of apple notes is that text inside attachments is automatically searchable .
For example , this attachment over here includes the word over Titan .
If I search for over Titan , you'll see that it shows up and it shows me the right note so useful .
Now sometimes you'll have several scanned documents in one note like I have over here and it just becomes a bit difficult to see which ones are all in there .
So what you can do is just hold long , tap on one of them and then choose small images to see them as small images .
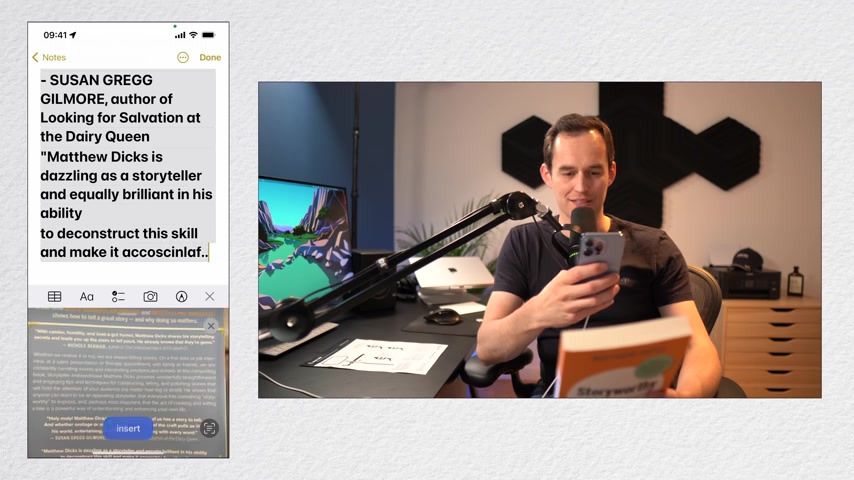
Now let me give you another tip about the scan text feature that I showed you at the beginning of this video .
If I just start scanning in a note .
Apple notes will detect some text and I'll choose insert but see how it's all formatted in a really messy way .
Change the formatting to body text before you do the scanning .
Now , if I do scan text , it gets imported as nice body text and it's really easy to share a note .
Let's say I want to share this youtube video plan note right here .
I'll just long press it and choose share note .
I'll choose Apple messages to send the actual message with the invitation .
And let's say I want to share it with my girlfriend .
I'll choose her and I'll send it over .
Now , what I can do is if I go inside this note and I press the sharing button up here and I go to manage shared note , I can go to share options and I can say , hey , I actually only want other people to be able to view this note and not make changes .
Now , what if you want to share the contents of a note or if you want to share the note with someone who doesn't have an icloud account ?
Just go into the note , tap the ellipses menu and tap , send a copy .
You can also share an entire folder .
This is a great use case actually for creating a separate folder rather than using tags .
Let's say I want to share my entire work folder with all the notes inside of it .
I just long press it , choose share folder and go through the same process .
Now , Apple Notes also lets you lock notes very handy for when someone sends you a Saucy photo and you don't want it floating around your photos app , just move it from the Photos app to your Apple Note .
And then inside the note , press the ellipses icon and press lock .
Now the first time you do this , you're gonna have to set up a password .
But because I already did this , it just asks for a face id .
All I have to do to lock this note is press the padlock icon at the top .
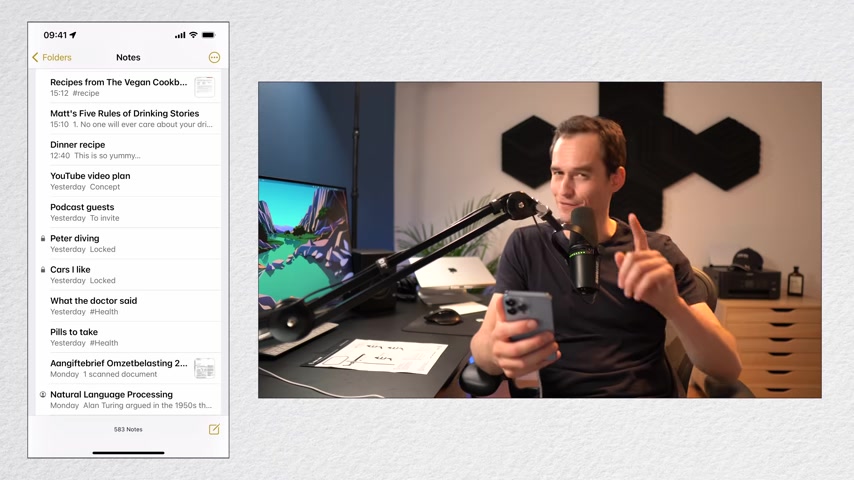
Now you'll see that this note is locked .
One thing to note is that the title of the note is still visible here .
You see it says Peter diving , but when you tap on it , you won't see the contents to unlock .
It's really easy .
Just go view note , use face id or touch id or enter the same password .
If you've got multiple notes , you want to lock , all you gotta do is look at the bottom of your screen when you're viewing a folder where it says lock .
Now press that and all your notes are locked very handy when you have to give your phone to someone and you don't want them poking around your private information .
If you have a note that you'd like to refer back to frequently , you might want to pin it to the top of a folder just swipe to the right on any note and tap the pin icon and you'll see that it's pinned to the top .
You can pin multiple notes and unpin them again just like that .
Now , each folder has its own pinned notes .
You'll see that here .
I've got mass five rules of drinking stories pinned .
But if I go to a different folder , like my coaching folder , I can pin a different note .
Now , here are some tips for browsing your notes just the way you want to .
If you have a lot of visual notes with attachments , one thing you can do is tap the ellipses when viewing a folder and just choose view as gallery .
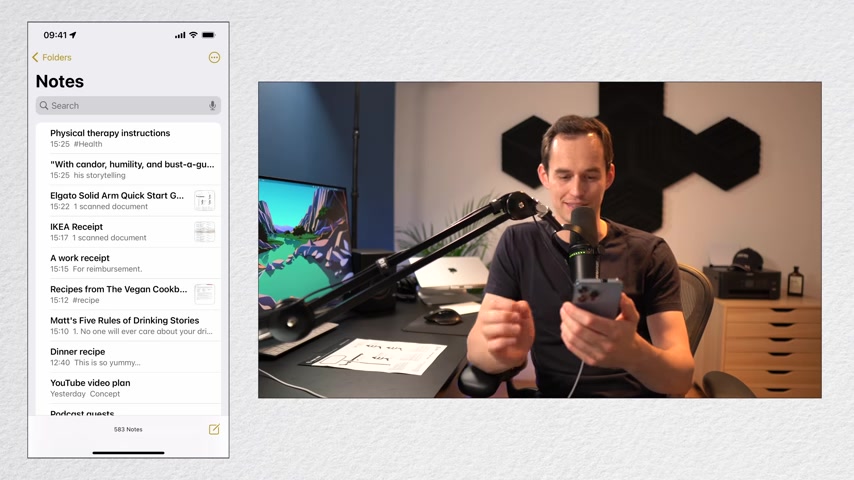
If you want to select multiple notes , for example , to move multiple notes to a different folder , all you do is go to the ellipses , menu press , select notes , choose a couple and move them to whatever folder you'd like within each folder .
You can also sort your notes differently so I can tap the ellipses icon and I can sort my notes from oldest to newest , from newest to oldest by title by date created or date edited , which can be very handy if you've got a series of notes on the same topic .
Next , let's take a look at some notes app settings that we can customize .
Let's just go to the settings app and then scroll down until you find notes and you'll see that there's a bunch of things you can change .
You can for example , have the default sort order for your notes be different .
You can start new nodes with a title heading , subheading or body , depending on what you're into , you can automatically sort checked items in a checklist .
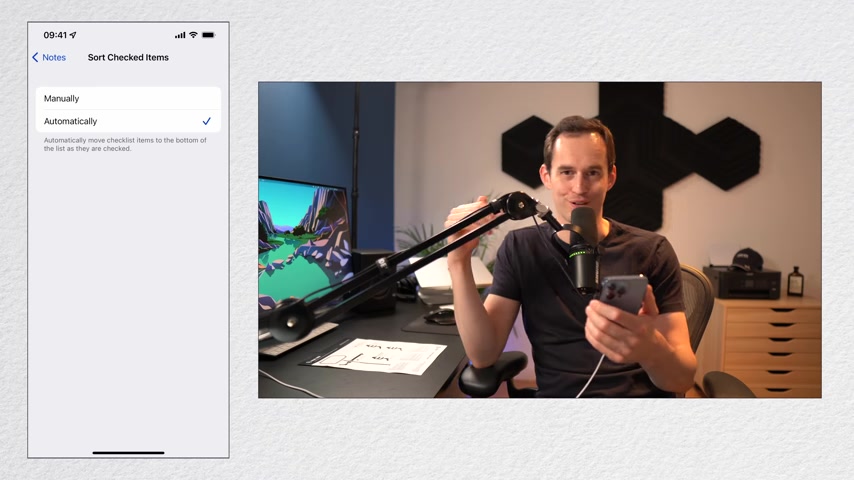
So if you keep a checklist and some of them are checked off , they'll get sorted to the bottom and you can also automatically save any documents that you've got inside a note to your photos app .
If they're photos .
Now , let's look at search to access , search , just pull down anywhere and tap the search box .
You can search for , for example , a phrase like receipt or you can use the smart searches that are suggested like all the shared notes that you have or showing all the lock notes or for example , showing all notes with scanned documents .
Next , let's look at checklists .
You can convert a series of lines into a checklist by selecting them all and pressing the checklist button .
After you do this , you can indent items by simply swiping to the right and one of them and out dent them again by swiping to the left .
If you hold your finger over the circle as I'm gonna do with the second circle right now , you can also rearrange items in the list .
There are a few ways to create new notes other than by simply pressing the new note button inside the notes app .
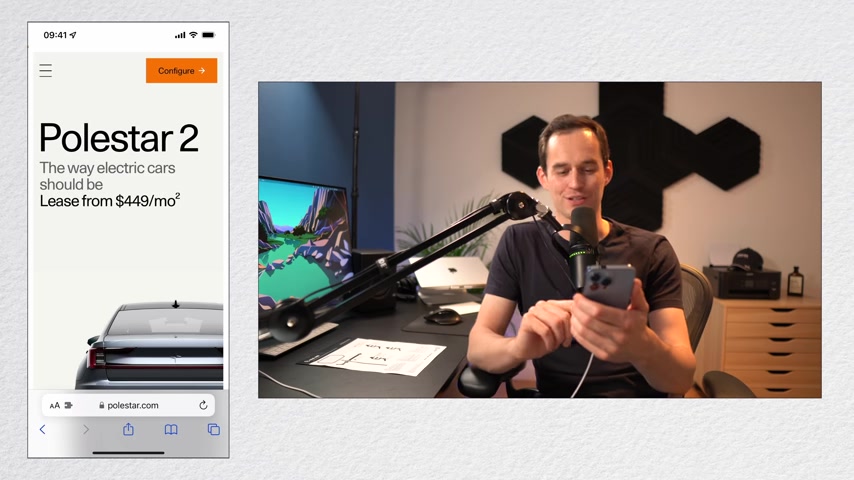
One of them is sharing something to the Notes app from another app like Safari .
Let's say I'm browsing and I see a cool car and I want to remind myself later that this was one of the cars that I thought was cool on the page .
I can press the share button .
I can find Apple Notes and I can either save this to a new Note or by tapping over here .
I can search for the cars .
I like note , tap save .
And if we go back to the notes app , you'll see that under cars .
I like it got added to the note that already existed .
Now , you can also create new notes with Siri .
Hey Siri .
Take a note that I should take my pills twice a day .
Ok ?
I created a new , let's take a look .
There it is .
If you're on your ipad and the screen is off , you can start taking a note by simply taking your apple pencil and tapping on the screen and starting to write whatever you want to write .
If you want to print a note , you don't first need to send it from your phone to your Mac or anything directly from your iphone or ipad .
You can simply tap the ellipses and go down tap print and just make sure that your printer supports apple's air print .
Want to access your Apple notes on the windows device .
That's pretty easy .
Just open any browser and go to icloud dot com and click notes .
There you go .
If you learn something new , you might also like my other video on Apple notes in which I go into a bit more detail about why I've got it set up the way that I have it set up .
Or you might like to watch some of my other videos on Apple and Mac stuff .
Either way .
Thanks so much for watching .
Please hit that like button on your way out .
Have a great day .
Are you looking for a way to reach a wider audience and get more views on your videos?
Our innovative video to text transcribing service can help you do just that.
We provide accurate transcriptions of your videos along with visual content that will help you attract new viewers and keep them engaged. Plus, our data analytics and ad campaign tools can help you monetize your content and maximize your revenue.
Let's partner up and take your video content to the next level!
Contact us today to learn more.