https://www.youtube.com/watch?v=sFwK5ONNYaU
How to make AMAZING FANCY Paper Beads _ LEARN all the BEST Tips (Paper Beads Tutorial)
Have you tried making rolled paper beads yet ?
It's so easy and a lot of fun .
I'm going to show you exactly how to do it and finish them off .
So they look like porcelain .
Hi there , my crafty friends .
Welcome to my channel .
If you haven't tried this yet , stick with me .
This project is so easy .
You can have your kids join in .
So if you're ready , let's make a mess .
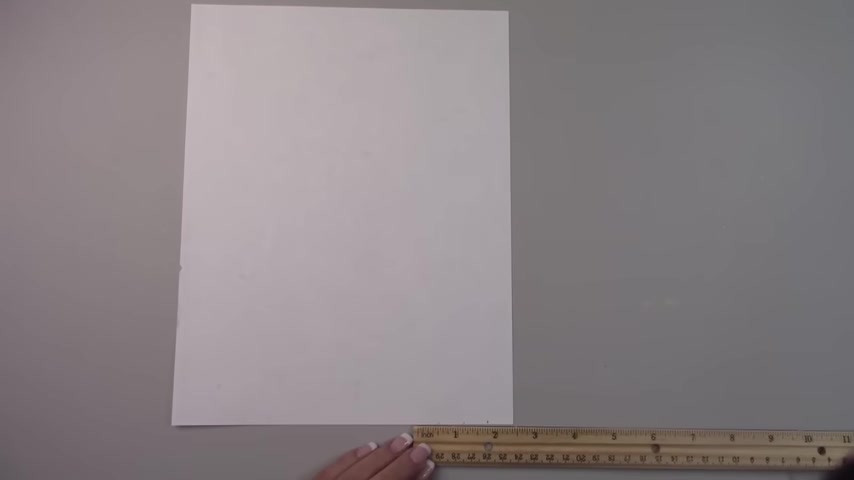
You're going to need the paper cut in long skinny triangles to make the perfect bead .
I'm going to make half inch beads .
So the paper will need to be half inch at one end of the triangle and come to a point on the other end .
The first cut will just be to get the angle started .
You'll throw away the first one .
I measured half inch on one end of the paper and then dividing that in half to make a balanced triangle , gave me a quarter inch at the other end .
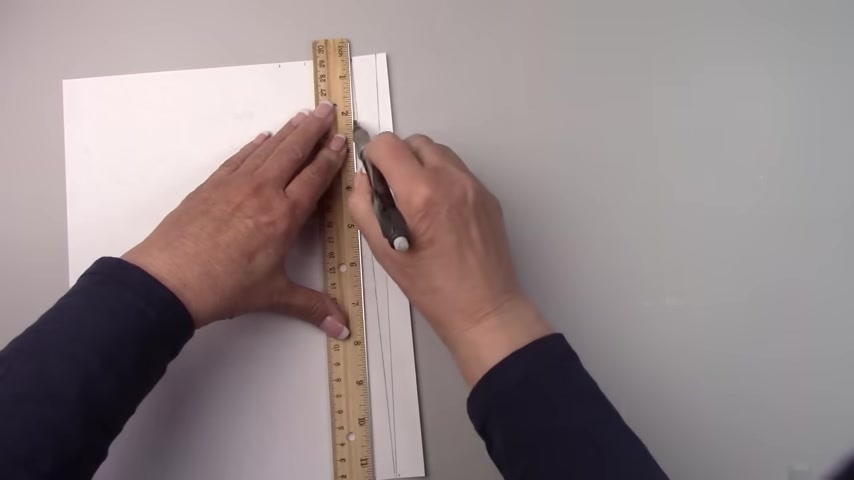
Then the rest can be measured at a half inch on both sides .
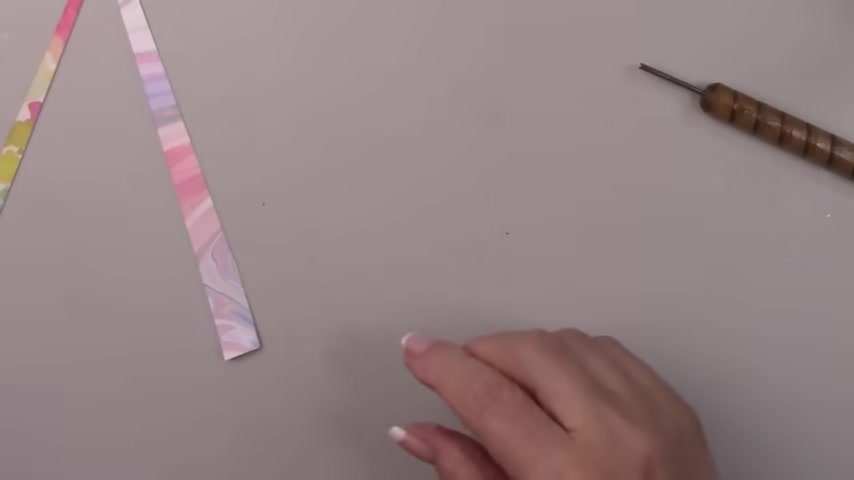
After you've done all your measuring , you'll have several perfect triangles ready to cut .
These beads can be made using any type of paper for this tutorial .
I'm using decorative scrapbook paper that I got from Hobby Lobby .
And I'm also going to show you how to make some specialty beads using just some plain copy paper .
I'm starting my angle on the first one by measuring a half inch at one end of the paper and then a quarter inch at the other end of the paper , I'll throw that piece away .
I'll measure over a half inch and make my cut from the half inch line on the one side and a point at the other .
I'm going to do the same thing with the rest of the papers when picking out your paper , don't be concerned with the print as much as the colors .
When rolling the triangle beads , you won't be able to see the pattern at all .
Just the colors and they'll all blend together .
I chose some papers with some pretty lavender and pink colors using this paper with a tiny print .
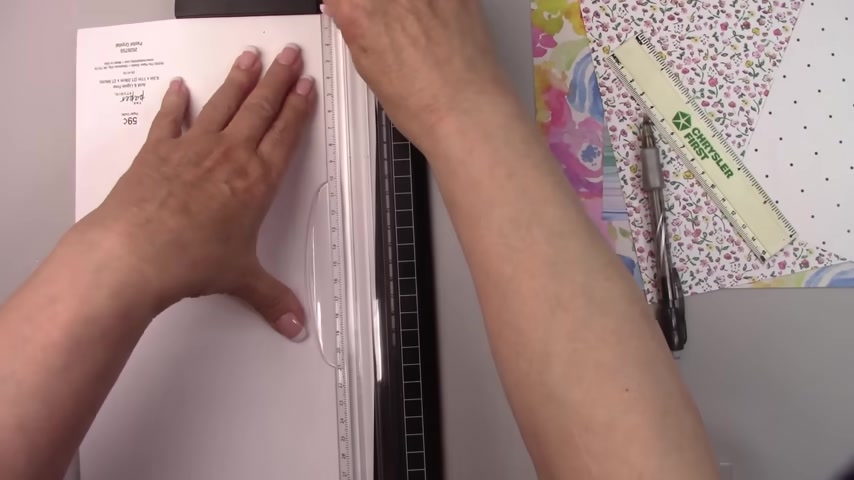
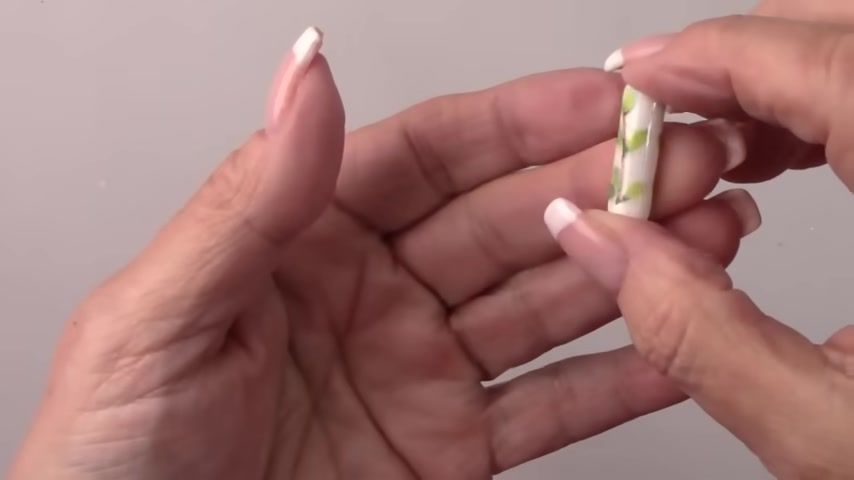
I'm going to make a cylinder bead .
You'll be able to see the print on this one , but this one , I'll measure three quarters of an inch on each side of the paper .
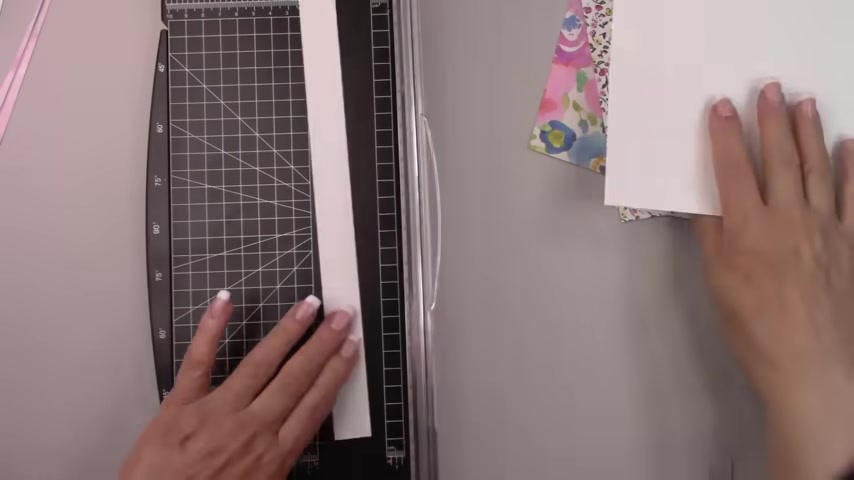
I'm also using some plain white copy paper to cut a couple other cylinder beads .
We're going to do something really fun with these .
So make sure you stick around .
Where are you watching from ?
Let me know in the comments .
It's fun to see what cities and countries you are all watching from , I'm filming from Las Vegas , Nevada in the United States .
Now the fun begins .
We're going to start rolling the beads .
I'm using a bead roller that I purchased on Amazon .
They came two in a pack .
There are two different sizes and I'm using the smaller one .
There's a small slot that you'll slide the large end of the paper into .
Then start rolling .
Make sure you keep some tension on the paper and keep it centered as you roll .
When you get to the last inch and a half , add some glue and finish rolling .
My favorite is just plain old Elmer's glue .
It works perfectly .
If you want to make a fatter bead , you'll tape two pieces of the paper together , one piece about a quarter of an inch lower and then start rolling .
When you get to the end , you'll need to glue down both ends .
See how much fatter this speed is .
Yes .
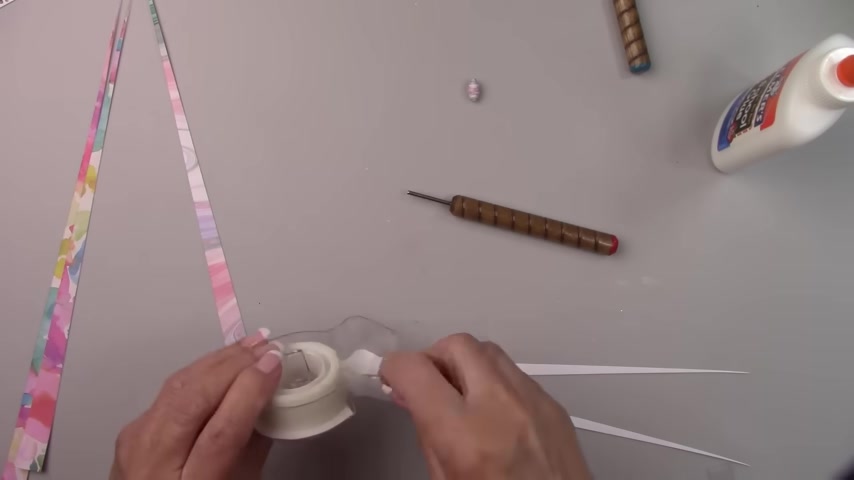
The cylinder beads you'll roll in glue just like you did the others .
If you're enjoying and finding some value in this video , please hit that like button for me .
Doing so helps my channel to grow and sends this video to more people out there .
That way I can continue to bring you awesome tutorials .
Thanks for doing that .
You can use just about anything to roll your beads .
You don't have to get a bead roller .
However , it is much easier .
This is a cotter pin that I bought at Home Depot .
It has a slot in it which makes it easy to roll beads .
Yes , you can use a straw , which is a little challenging but it works .
This is a bamboo skewer which is a little challenging as well .
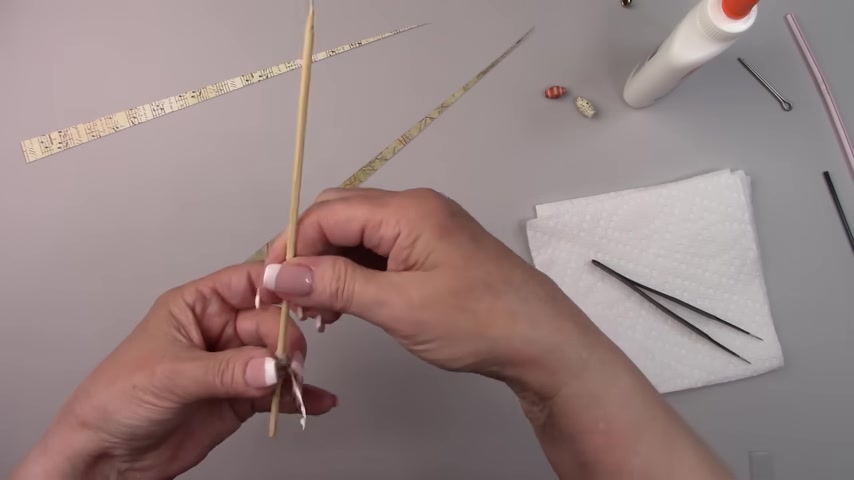
But it works too .
This is another cotter pin in a larger size .
This leaves a bigger hole in the beads .
So I'll show you how to make that look nice .
A stir stick works really good .
I'm taping the paper to the stick which makes it really easy to roll when you're done .
Just snip off the top and the bottom .
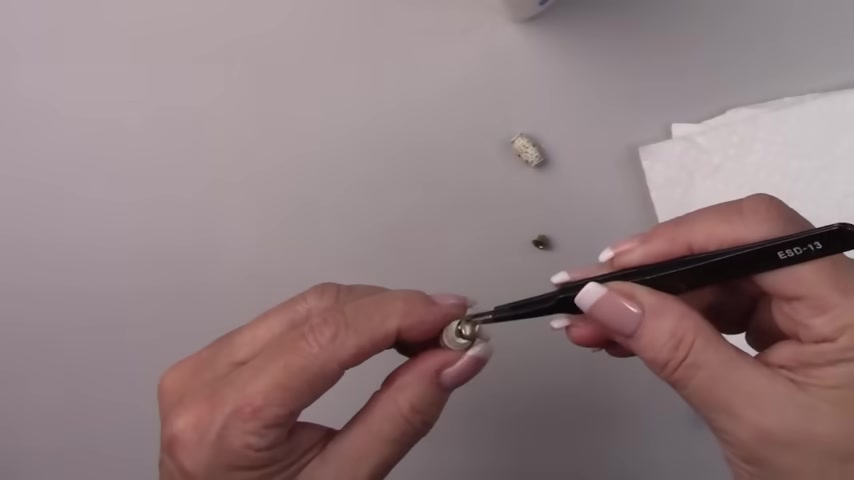
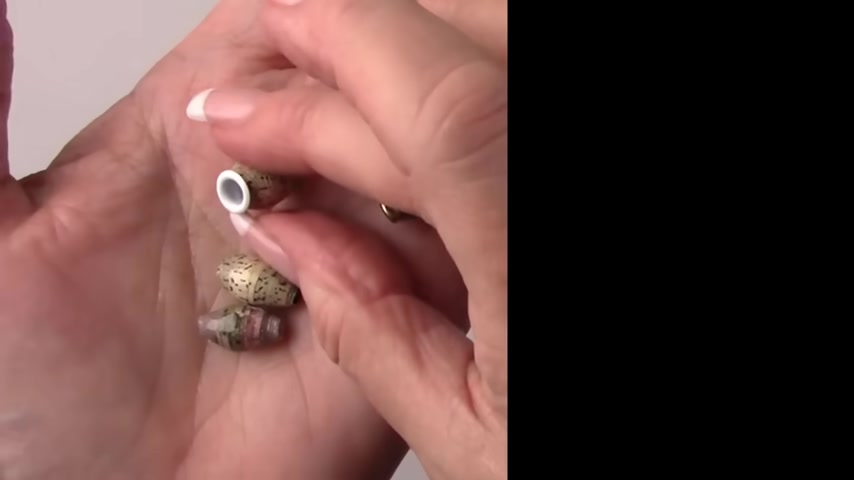
I'm going to glue some eyelets in the top and bottom of the beads that I rolled with the large Cotter pin and the straw because the holes are really big .
Send me a comment and let me know what type of project you would like to see next Jacopo mixed media canvases or more Mason jar decorating .
Your suggestion could be my very next video .
I answer every single comment I receive .
I love hearing from all of you and look forward to reading all your comments .
I'm going to take a posh some of the tiny leaves from this napkin on one of the plain white cylinder beads using mod pod .
I'm using a water brush to remove the pieces I want to use and gluing them on the bead with the mod pod .
Now it's time for some fun with the other white cylinder bead .
I'm using some brown ink to antique the edges of the paper .
Now , I'm using some black ink to stamp some verbiage in the center and oops , that stamping didn't turn out very well .
I'm going to stamp it again at the other end .
The bad one will be rolled up and you won't be able to see it .
This is such a cool looking antique bead .
I'm getting ready to roll out all my spring projects .
Lots of flowers .
You'll want to subscribe so you don't miss any of them .
And here's something else that's fun to do with these beads .
I'm painting this one with some glitter glue .
You guys know how much I love bling .
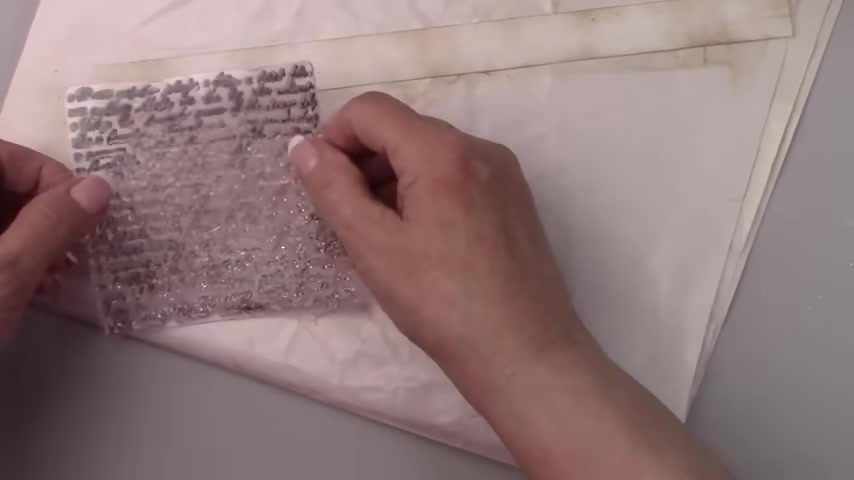
Now , I'm going to show you how to make them look like porcelain .
This is brush on UV , resin for jewelry , making it works so good for these beads .
It fills in the paper layers , making the bead look solid like porcelain .
I'm brushing it on and then curing it with a UV light .
You can use other methods to finish off your bead , like clear nail polish or any type of varnish .
But with that , you have drying time and it doesn't give you quite the same look as the resin .
If you do your own gel manicures , you can use the clear top coat and your manicure UV light as well .
I bought this resin at Hobby Lobby , but there are a lot of them on Amazon as well .
I'll find one and leave you a link and here's what they look like .
After adding the resin , they turned out so beautiful .
You never know they were made out of paper .
They are ready to add to your favorite project .
You can make jewelry or add them to a tassel and hang them on your purse .
I put together a playlist of some other tutorials you may enjoy .
Click the picture on the right to be taken directly to that playlist .
Thanks so much for watching and I hope you enjoyed this video .
Don't forget to subscribe by clicking my picture in the top right corner .
So you don't miss any future videos .
Are you looking for a way to reach a wider audience and get more views on your videos?
Our innovative video to text transcribing service can help you do just that.
We provide accurate transcriptions of your videos along with visual content that will help you attract new viewers and keep them engaged. Plus, our data analytics and ad campaign tools can help you monetize your content and maximize your revenue.
Let's partner up and take your video content to the next level!
Contact us today to learn more.