https://www.youtube.com/watch?v=s5dx6Xf2b3U
2023-06-14 18:22:19
How to Use a Drill_Driver, Impact Driver, & Hammer Drill and How They're Different
Welcome to out of the woodwork .
Thanks for dropping by , I'm Tommy .
And if you've never picked up a drill in your entire life , this video will show you everything you need to know and probably a lot you can use just to show off frankly if you've been using a drill for decades , stick around because I bet there's some things you don't know .
And as always check the description for any video or download links that I mentioned before , you think I'm some kind of weird drill hoarder .
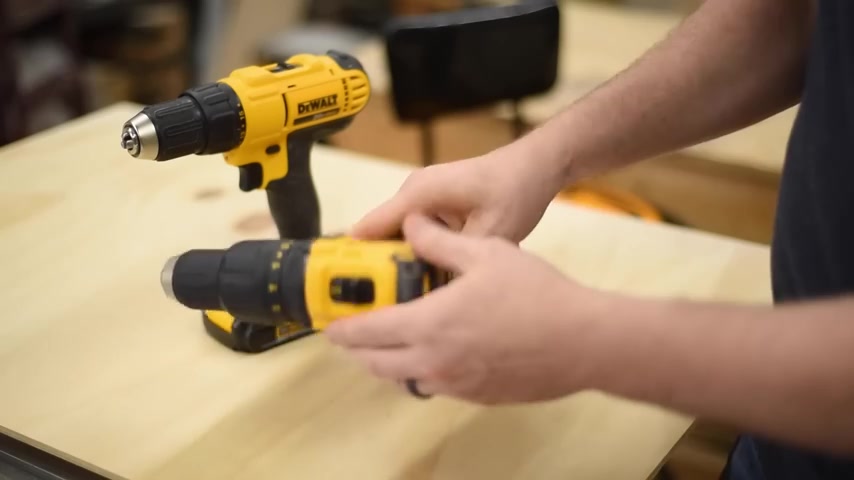
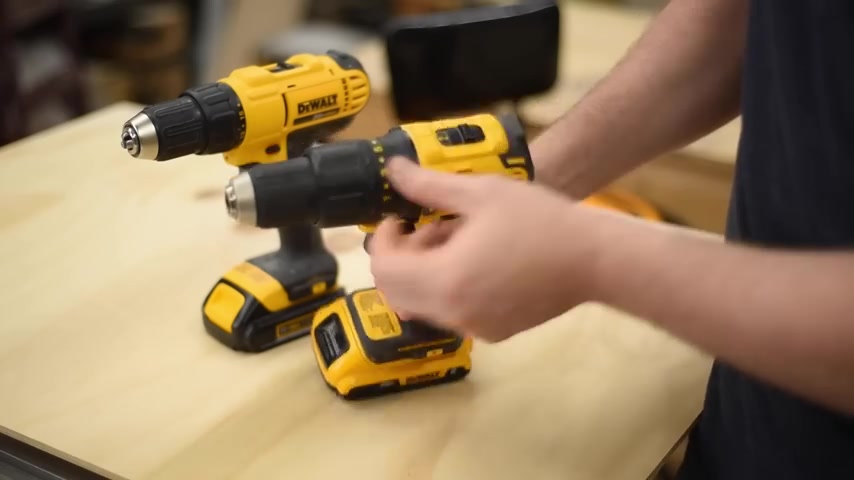
These were all purchased either for a specific purpose or older drill that I upgraded from or bought in a special bundle .
So keep your eyes out for sales and special promotions because you can get really great drills for a great price .
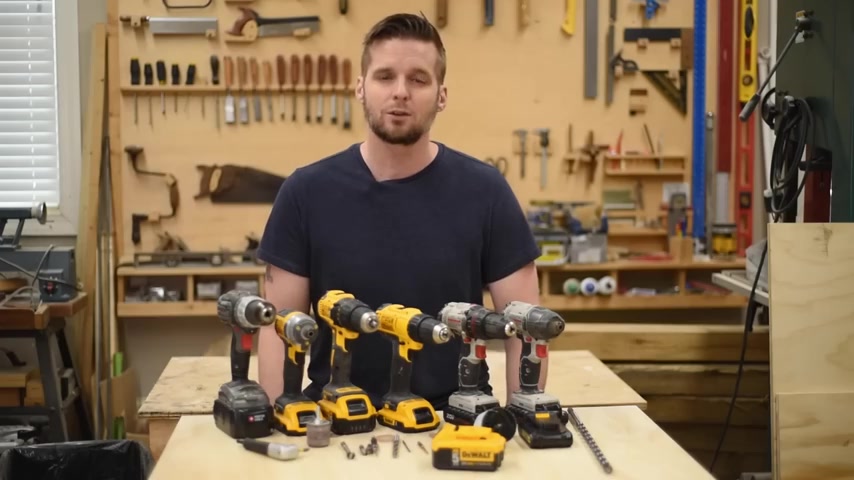
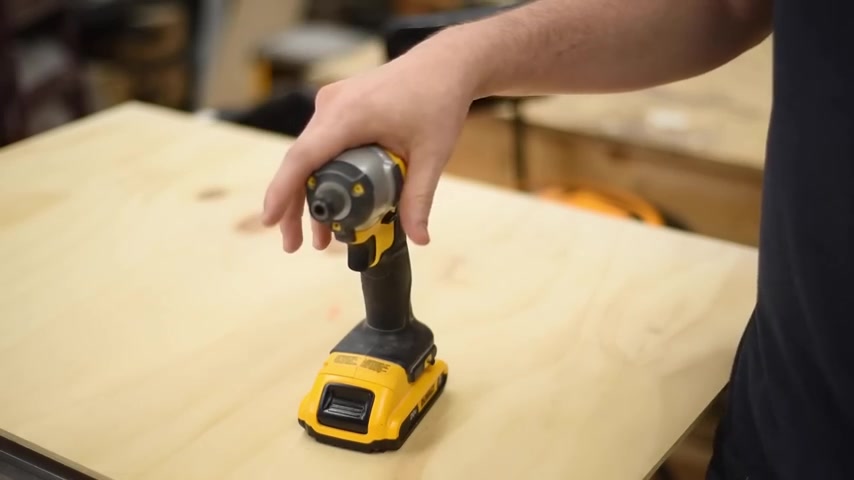
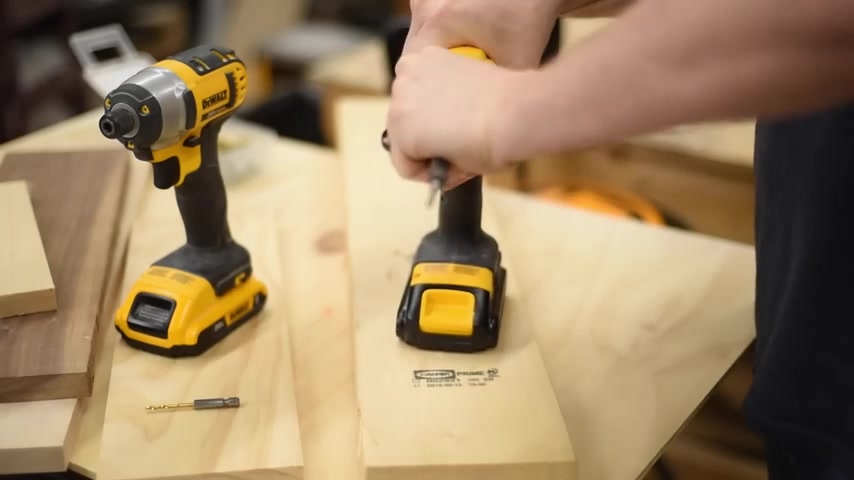
These are drill drivers because they drill holes and drive screws .
These are impact drivers , which main purpose is to drive screws , but they've got a lot more torque than the drill driver and they also deliver a rotational strike which we'll talk about a little later .
This is a hammer drill .

All it is is a drill driver with an extra mode that you can select that delivers a downward strike on the spindle .
And we'll also talk about that a little later .
The parts of the drill are pretty simple .
We'll start down here with the handle and then the trigger and it is a variable speed on this drill so that it's not fully analog , but as you pull it in , depending on how far you pull it , it selects a different speed .
So that's the slow speed and I pull it in a little further next speed .
So then you've got the direction switch , you push that in on the left that's reverse or as you're looking down the drill counter clockwise , but that unwinds a screw .
And then if you push in on the right that is forward or to tighten , pushing it in in the middle will lock the trigger lock .
The spindle .
Most drills have some kind of rubber bumpers on the sides so that if you lay this down to screw into a piece , you're not marring up the surface there .
This drill has two gears .
This is the selector here on top .
And with every drill , the gears are going to be a combination of low torque , high speed to high torque , low speed speed and torque have an inverse relationship .
So as you increase one , you have to decrease the other on this drill gear two is high speed , lower torque and then speed one is lower speed , higher torque .
So you use the lower speed when you're driving a screw for the most part when you're drilling a hole .
This brings us to the most important woodworking issue of our time describing this as pre drilling .
I watch and read and experience countless woodworkers describe drilling a hole as pre drilling .
But the truth is the entire history of the universe up to this point except for actually drilling .
The hole is pre drilling .
This is pre drilling and this and this that too .
Oh Yeah , pre drilling , pre drilling , pre drilling .
And now I'm drilling a pilot hole if you really want to go down to the wormhole .
So to speak , this actually is pre drilling for every other hole you'll ever drill in your entire life .
Except for this hole .
Our lives are just one long pre drilling enough of that nonsense .
Back to the good stuff .
So you use the lower speed when you're driving a screw for the most part .
Then when you're drilling a hole , you want to use the higher speed .
A lot of times the R P MS will be written on the side of the drill for this one .
You see that for no load in gear one , it gets up to 500 R PM and gear two gets up to 1750 R PM .
This is the torque adjustment collar .
Each of these selection allows more torque before the clutch engages and disengages the motor from the spindle .
So gear one that's not going to allow much torque , you're barely going to have any turning power gear allows most of the torque .
But this little drill bit icon disengages the clutch altogether and allows you to have full torque .
And this is the selection you want to be in if you have a drill bit and you're drilling a hole .
This hammer drill also has an additional hammer mode which we'll talk about in just a little bit .
This is the chuck and as you tighten the chuck , the jaws tighten down on the drill bit .
This drill has a three jaw chuck and it's a half inch chuck , which means it's a half inch in diameter across the opening .
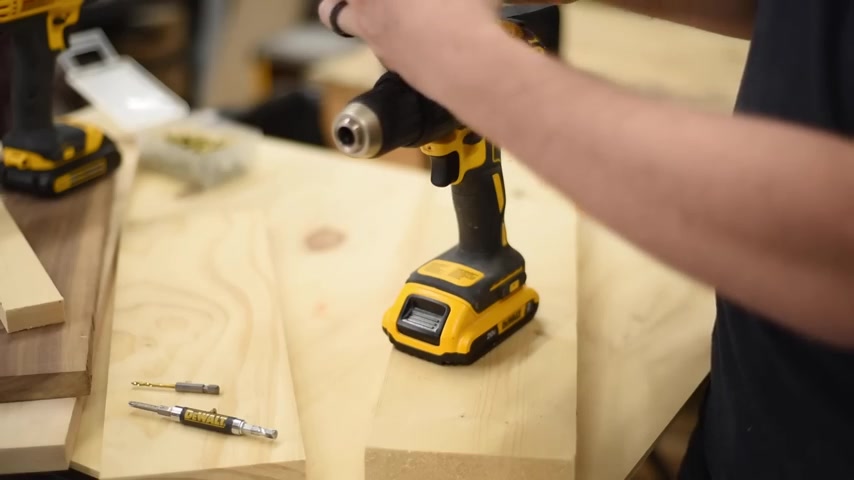
The impact driver is quite a bit different than the other two because it's mainly focused on driving screws .
It's got the same power trigger and the directional switch .
But other than that , it doesn't have any gears or a torque adjustment collar or anything like that .
Some impact drivers do have different modes and those are usually things like starting out at a low R PM until it needs torque and then speeding up .
But this tool does not have any of that and I don't feel like I've missed anything .
The truck on an impact is a lot different than a drill .
It's got this quick release truck , you pull the truck collar out , put your bit in there and then it locks it in that quick .
This is a quarter inch chuck , so quarter inch hex bits fit in there .
The hammer drill is a very interesting piece of technology .
Now , there's the hammer drill like this , which is very much for light jobs .
And then there's a rotary hammer which is infinitely better suited to drilling into hard surfaces , aggregate , concrete brick , anything like that .
The way that this drill works is there's two metal disks inside of here and each one of them has wavy teeth facing each other .
So once you get to the right setting and then the right amount of torque where the hammer engages these disks turn against each other rising and falling with the ridges and that rising and falling causes the chuck to snap forward .
A rotary hammer actually has a piston inside that hammers against the spindle and it's much more efficient at drilling into harder materials than this drill .
This hammer drill also has a brush , less motor brushes are little pieces of carbon that are spring loaded .
They stay in contact with the motor's rotor .
Here on the back , power is actually delivered to the motor through these brushes and they wear out , they heat up due to friction .
They create dust , they actually lower the voltage a little bit , resulting in less power .
More current makes it from the battery to a brush , less motor to be converted into work .
None is being lost in the brushes and this drill is electronically managed .
So you've got a circuit board in here that's controlling the output to match the task that can serves battery life .
You don't have to worry about brushes going bad .
It's lighter and more compact brush , less drills last longer and they're more powerful than their brushed counterpart .
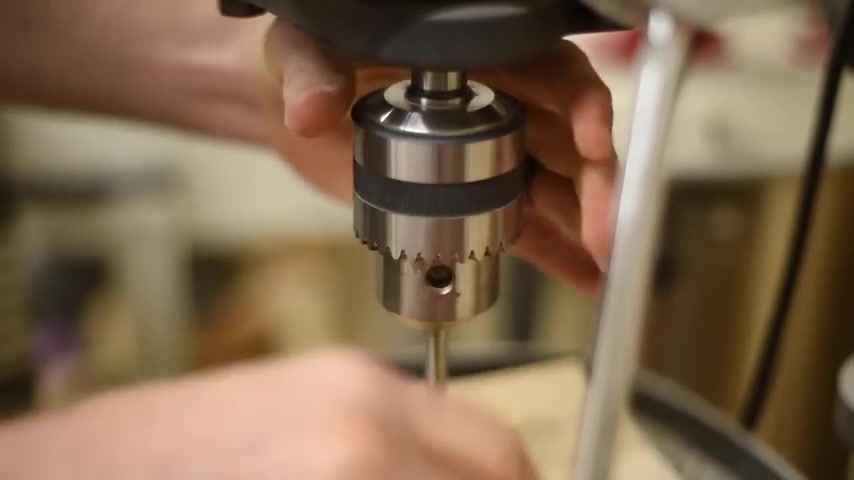
All of the drills I've showed you have keyless chucks .
Now , there's a lot of drills out there that have a key chuck .
So I'll show you the only one that I have , which is on my drill press here .
It has these gear teeth and then a key that matches those teeth .
And when those interlock , it gives you the leverage to tighten and loosen the chuck , it has three jaws in there , you load it up just like you do the keyless chuck and hand , tighten it .
And then there's three holes that you can tighten with the key .
So what I like to do is tighten that and then go to the opposite from the one that I used and just make sure that it's secure to remove the bit , obviously loosen that bit comes right out .
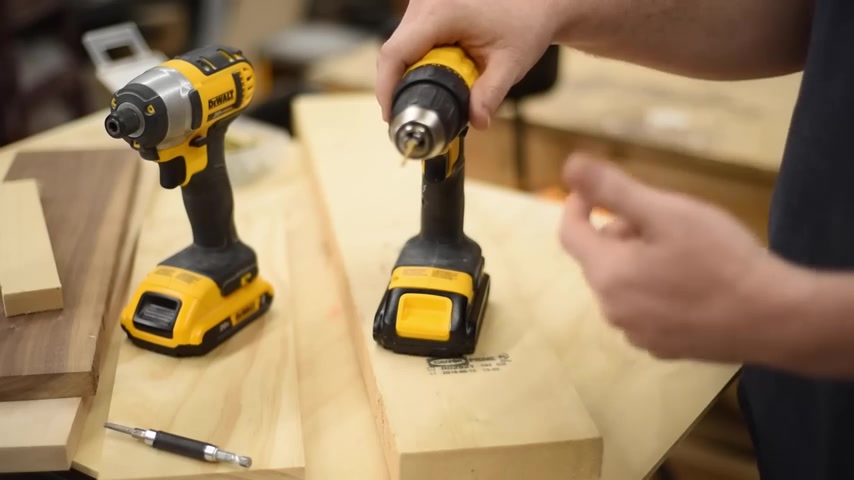
These tools deliver a rotational force called torque to turn a drill bit or screw .

It takes more or less torque depending on the size of screw depth that needs to be driven and the hardness of the material you're driving or drilling into all of these accomplish the same basic tasks , but they all exist because they're a little better suited for different scenarios .
Goal is to know which tool to use .
In a given scenario .
The drill driver is sort of an all around light to mid duty tool .
The impact driver is focused on driving screws and it does it really well .
The hammer drill , like I said before , it is just a drill driver with the added benefit of being able to drill into light masonry , like some concrete and bricks to drill a hole with the drill driver , load your bit up in the chuck .
And a lot of times you'll see people put the switch into forward .
I've done this too and try to tighten it like this .
That is not the way you tighten a drill and it won't get it tight enough .
This drill has a ratcheting chuck .
So I know I'm getting tight when I hear those ratcheting clicks so steady the drill with one hand and then tighten until you hear those clicks and you can't tighten it anymore .
And now it's secure .
So if you're having problems with bits slipping out or when the brakes kick in it loosens the bit , it's probably because you haven't hand tightened like this .
So now we want to put our selector on that drill bit icon .
We want to be in gear two , which is the high speed gear and then we'll drill a hole .
Now , just for reference , let's go to gear two and see what that's like .
It still gets the job done .
But I'm having to add way more downward force and it's a little bit slower .
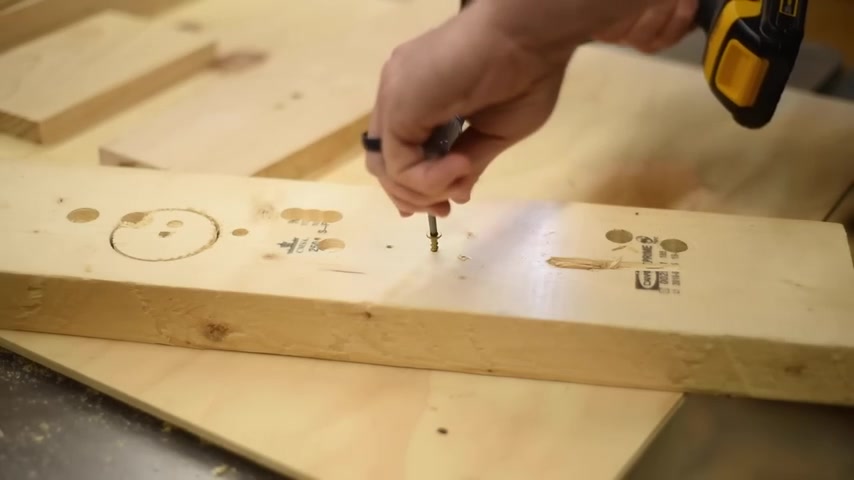
So now we need to drive a screw into our hole .
So we'll just do the exact opposite and loosen that easily loosens up and then we'll put our fit in here , tighten that down the same way .
And because I'm driving a screw , I need to set the torque .
I'm gonna start pretty low .
Let's start at three just to illustrate this , that terrible sound that you hear is the motor and the spindle disengaging , the amount of torque that's allowed with selection three will drive the screw that far .
So let's go to seven and see if that lets us drive it all the way in .
So we got right there to the top .
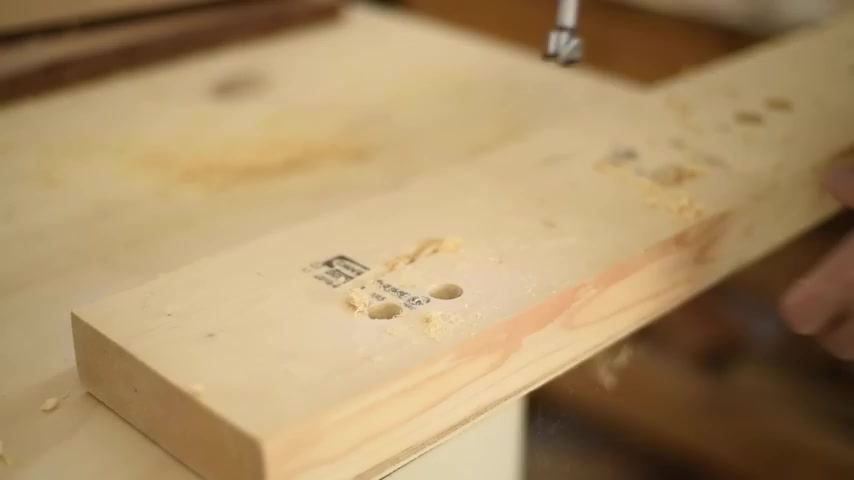
So let's put it on 15 and drill these all the way in .
So you see that that's just a massive amount of torque we way over drove our screw and that is not what we're looking for .
If that would have been a Phillips head screw , it would have completely stripped that out .
Always use your torque ring to keep from just annihilating your screws in your , in your project .
It looks like nine was about the perfect amount of torque to put that just under the surface of the wood .
A lot of impact drivers are limited to one speed and one drive size like this one is , as I mentioned , this is a quarter inch chuck , but they're also a half inch out there that are pretty common .
The impact spins much faster than the drill .
I think the drill's top R PM was 1800 this is a no load R PM of 2800 Macs .
So it spins quite a bit faster and it also delivers 3200 impacts per minute or blows per minute .
You might see it described that way .
That's the rotational strike that's delivered once it gets to a certain torque .
So when you pull the trigger on an impact under no load , it's just spinning and there's no rotational strikes happening .
It's not until you get under load to a certain torque that the rotational strikes begin to happen .
And then the spindle just sits there until the hammer strikes it at about 3200 times per minute and it's going so fast that it does seem like it's just spinning .
And if you'd like to see how the hammer and Anvil system works inside of an impact like this , I'll link a really neat video in the description where the shell was cut away on an impact attachment and filmed in slow motion .
After this video , you really should go check that out .
You can drill holes with an impact , but you really should use a bit like this that is made for it .
The reason this is special is because it's all one piece , all one core as opposed to a bit like this , which is a twist bit that's glued inside of this body and it's not near as strong .
The bits are really easy to load up in an impact driver .
You just stick it in there and it locks and then drill a hole .
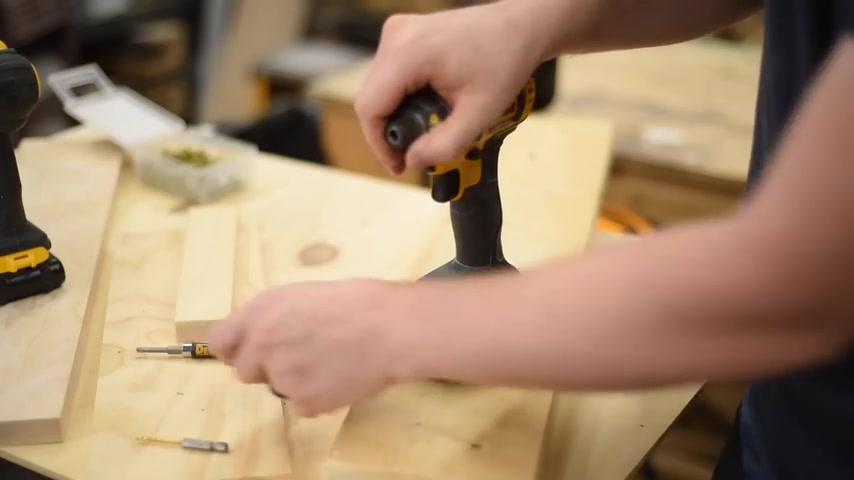
Then to unload the bit , pull the collar out .
It's that easy load up the bit holder , which is also heck shank and then you'll hear the rotational strike once it kicks in .
All right , let's drill a hole and drive a screw into this concrete block .
Now , this is the perfect drill for a material like this .
We'll use a special masonry bit .
It looks very much like a twist bit , but it's got a really hard carbide tip .
We load it up just like we do in the other bit .
So you see , it's actually a pretty strong drill to drill into light concrete like this .
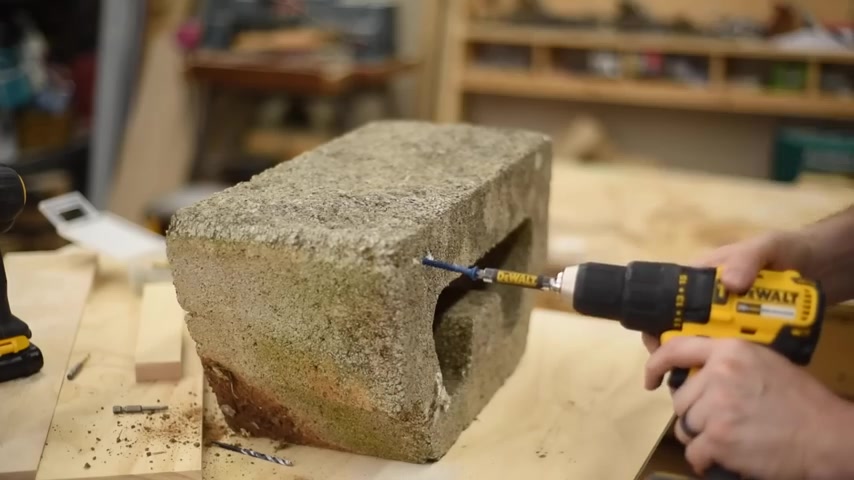
So to drive a screw , we're using these special screws that are concrete anchors and we'll just drive it in just like we do with a normal drill .
So I'm gonna start out slow till it gets started and just let the drill and the screw do the work .
Yeah , I don't even have to pull the trigger down fully there because the hammer action , the threads on the screw .
This is a screw that's meant for concrete .
It's a concrete anchor .
And I also use the correct size drill bit to drill a hole for this particular concrete anchor and you can see how easy it is and how stable and strong that is .
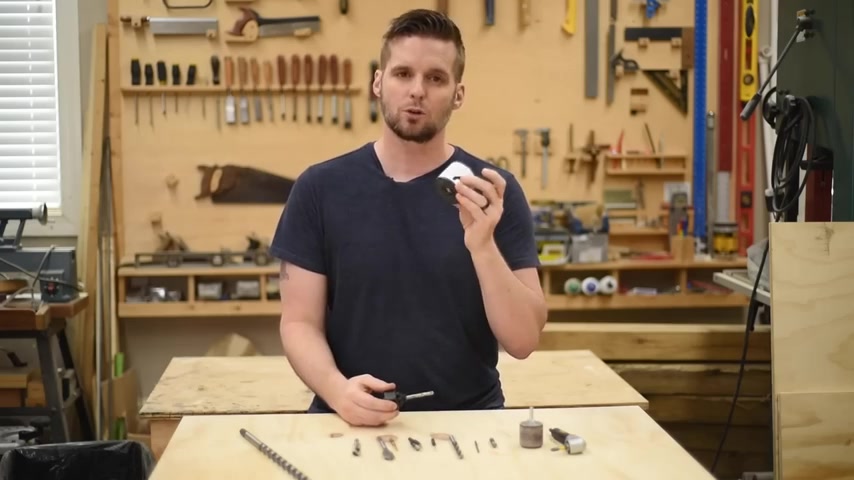
Let's quickly talk about some of the drill bits and accessories that are out there .
Now , this is by no means an exhaustive list .
It's just really the ones that are most commonly used .
The twist bit is the most common bit there is .
And the easiest to find in all sizes , you'll notice that it has more of a flat point with all drill bits , the flatter the point , the better it tends to drill into harder surfaces .
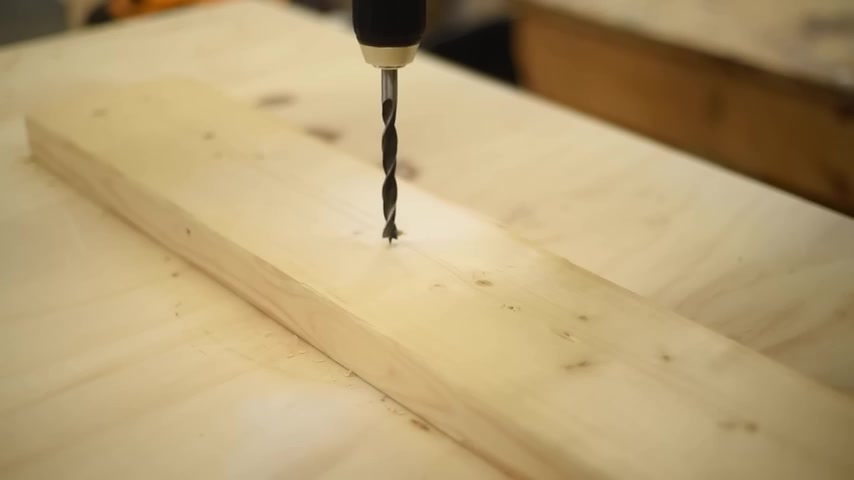
So twist bit like this is great for wood and even light metal .
It's got these little channels called flutes that wrap around the drill bit and that's for removing the wood and metal shavings also called swarf .
Now because it has a flatter tip , it tends to wander or skate when you first start drilling with it .
So you've got to start out slow and let it bite before you really dig in and drill the hole .
I've also got another trick to get started with this drill bit that I'll mention in the tips and tricks .
Next , the brad point bit is named for its really sharp point now because it does have a sharp point and wide flutes .
This is a wood drilling bit .
The forner bit is by far my favorite bit .
It is also a wood cutting bit .
It has a really nice point to get the hole started very accurately .
It has flutes on each side to remove wood material .
And then the blades are on the outside and also across the middle .
Because of the way this bit is designed , it's very accurate .
You can overlap holes .
You can also make a very clean flat bottomed hole .
Now , the only drawback is that if you don't keep even pressure right down through the middle of the bit , it will cut from side to side and you'll have an uneven and unlevel hole .
So you have to watch that .
The spade bit or paddle bit is a bit that I recently started using more and more a really sharp new spade bit can cut a really clean and accurate hole .
The A bit has been around for a really , really long time that was meant to be used with a brace .
So the slow methodical turn of the brace , this bit was designed to essentially drill itself .
It's got a sharp point with threads on it that pulls the bit into the hole and these flutes are so wide that they really efficiently remove material paired with even a cordless drill .
This bit is extremely aggressive at high R PM .
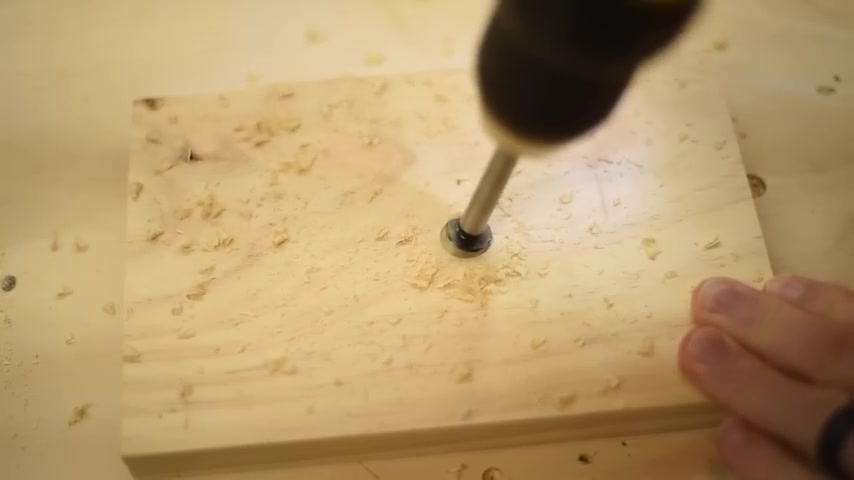
So you're not going to use it that way unless you need to drill a really long hole into extremely thick or wood , a counter sink bit like this one not only has a twist bit to drill a pilot hole , but that bit is sitting inside of a counter sink bit , a counter sink bit drills , a tapered hole for the head of a screw to sit under the surface of the wood .
The whole saw is very common with electricians .
It can drill holes into light metal wood usually comes with a contraption like this that has a twist bit in the middle .
And when paired with the whole saw , the twist bit will start the hole and stabilize and then the whole saw cuts , a plug that you pry out when you're done cutting the hole .
These can also be used for things like cutting a hole in a door to put a door knob in the masonry bit is for drilling into things like concrete or brick .
It looks very similar to a twist bit , except for the tip is made out of a very strong material like tungsten carbide or something similar .
The sanding attachment goes right into your drill just like a drill bit and allows you to sand curves and it's really handy .
If you have a big project , you can take this to the project and not have to move the project around if you need to tighten a screw and you just can't get your drill in there .
Try this 90 degree attachment .
It's got a really low profile and can get into those tight spaces to tighten down screws .
Here are just a few tips and tricks to keep in mind when you're using a drill .
If you know something that I don't mention pre comment below and share it with everybody I mentioned earlier that a twist bit or really anything with a flatter head can wander or skate when you're trying to start to drill with it .
If you need a really accurate hole in a place that you've measured , take an all and make an indentation right in that spot , put the bit in that indentation and that will keep it still as you start to drill your hole , this won't work for every situation , but you can modify it .
In most cases , take two pieces of wood that are nice and square at the ends , put them off set , put your drill bit right in the corner and that will help you drill straight up and down a problem with drilling a hole or drilling a hole all the way through a piece of wood is that when it comes out the other end , there's nothing to support the wood fibers and they tear out really bad .
There's a couple of different ways that you can avoid this .
You can put another piece under there to support those fibers .
You can try masking tape , which doesn't work in a lot of cases or if you're using a bit with a tip , especially a bit mark the thickness of the wood on the shank of your bit .
And when you're drilling the hole , stop right at that tape .
So that only the point is sticking out the other end that gives you a reference to then flip your drill around to the other side and finish the hole , giving you a nice clean edge on both sides .
This one's really simple but it's worth mentioning , especially for beginners .
Drill bits are designed to not only cut through the wood but to evacuate the hole of wood shavings .
If the flutes get compacted with wood shavings and aren't able to evacuate all that can become compacted in the hole and it'll be really hard for the drill bit to continue cutting .
It's a real simple fix for this .
Just move the drill bit back out of the hole , allowing all the shavings to fall out and then go back in and continue drilling .
If you need to drill a pilot hole for a screw and you don't know what size to go with , hold them up together and the drill bit should be the thickness of the shank of the screw and the threads should still stick out the top and the bottom .
That's when you know you've got the right size .
If you like videos like these , consider subscribing , check the description for all the links I mentioned .
Thanks for watching and I'll see you next time .
Partnership
Are you looking for a way to reach a wider audience and get more views on your videos?
Our innovative video to text transcribing service can help you do just that.
We provide accurate transcriptions of your videos along with visual content that will help you attract new viewers and keep them engaged. Plus, our data analytics and ad campaign tools can help you monetize your content and maximize your revenue.
Let's partner up and take your video content to the next level!
Contact us today to learn more.