https://www.youtube.com/watch?v=4BUth-M5VSA
2023-06-14 18:22:06
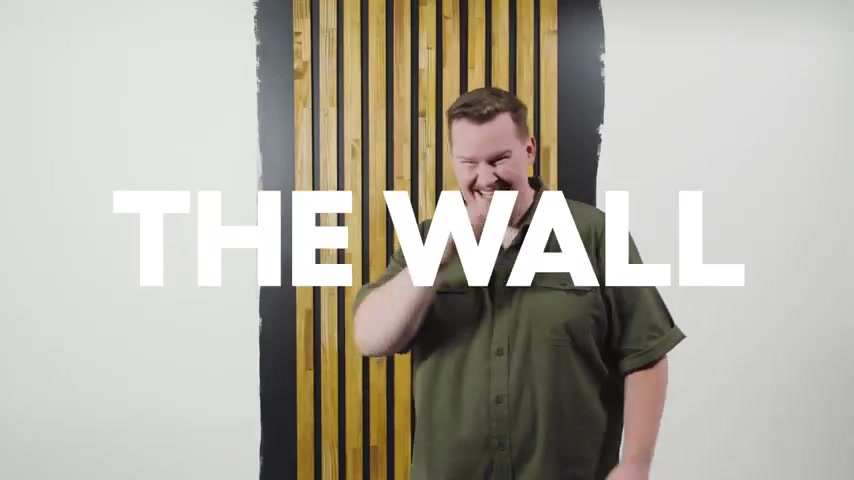
The Wall - How to Install Wood Slats on a Wall (Season 1, Episode 6)
Do .
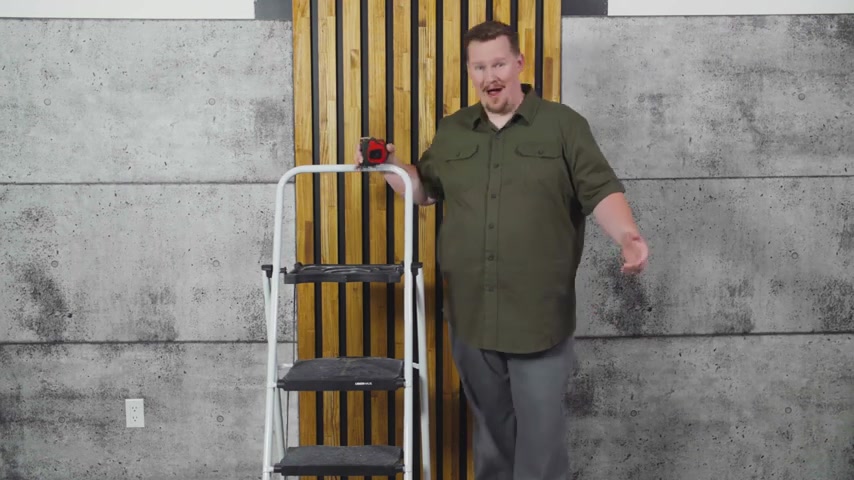
Hello , beautiful people .
My name is Zach and welcome to this episode of the wall .
Now , a lot of people look behind me and they see a simple wall , but you and I , we see something different .
We see a blank canvas and today we're going to make that blank canvas a work of art .
So something that's been blowing up , my social media lately is the slat wood wall .
So it's really nice on its own .
But you know that we're a little bit extra .
So I want to take it up to the next level .
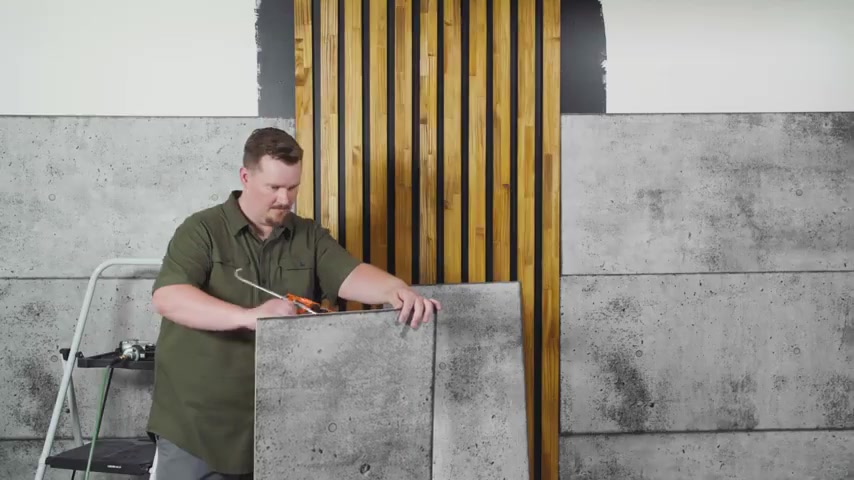
And the last time I was at Lowe's , I saw this really cool concrete style panel and I figured that that would be the perfect thing to take this wall up to the next level .
So is the concrete style panel that I found and this is the pine that I'm gonna be using .
And I feel like the best way to make this kind of pop and bring that real industrial look out is by throwing some black behind the slat woods .
And I feel like that's really going to bring out that New York City loft condo vibe or Mississauga type of vibe Saga City .
Am I right baby .
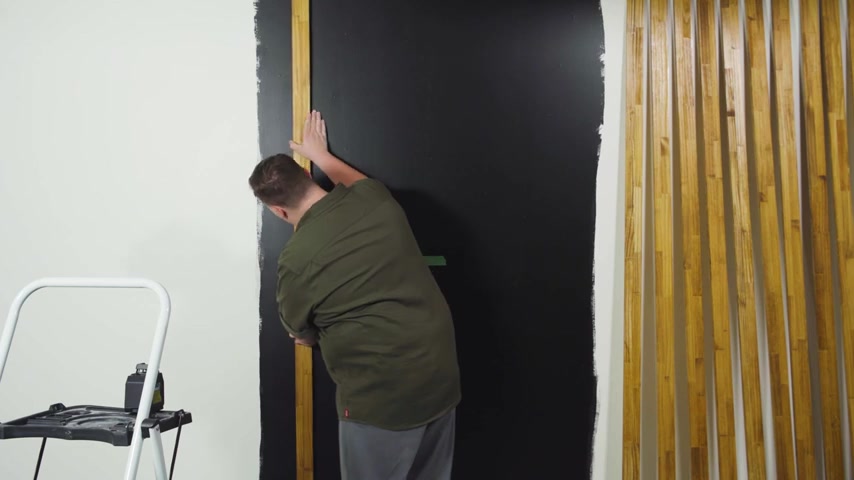
So , the first thing we're gonna do is make sure that the wall is nice , clean , flat and flush .
That is a nice clean flat wall .
The second thing we're gonna do is mark out our studs so that when we fix our panels to the wall , we're sure that we're gonna have a really nice long lasting job .
So the layout is where we get to be really creative .
So some people want to use this as a centerpiece to throw their TV on maybe as a headboard or we can even get wild and go on a diagonal .
But what I want to do is pretty simple and symmetrical .
So I'm gonna be doing four ft right down the center with the concrete style panels on either side .
So to achieve that , what I'm gonna do is mark out the center of my wall with a tape measure and a pencil .
And then I'm gonna be using my good friend the laser level to make sure that I have really nice , crispy lines .

So now I set up the laser level on the line that I marked out so that I'm sure that I'm gonna be painting enough to get that really nice cool black .
Look behind the slat wood .
I'm gonna mark it off with a little piece of tape on the top and bottom of the wall .
Now I'm gonna go do the same thing on the other side easy is that now it's time to unleash our inner artist and get painting .
Now before getting started , I was sure to put a little bit of painter's tape on the top molding and along the floor so that I'm not getting any paint anywhere I'm not supposed to .
All right .
So now that I'm just about done painting , I'm gonna take off my tape so that I don't have any little white spots once I'm done to paint .
So I'm realizing as I pull this tape off , I don't have any reference points anymore for exactly where my wood was supposed to go .
But on the plus side , at least I'm 100% sure that I painted in the right zone .
So as good .
So what I'm gonna do to compensate for that is remeasure my center and remark my left line where I'm gonna be starting from so that everything looks perfect .
All right .
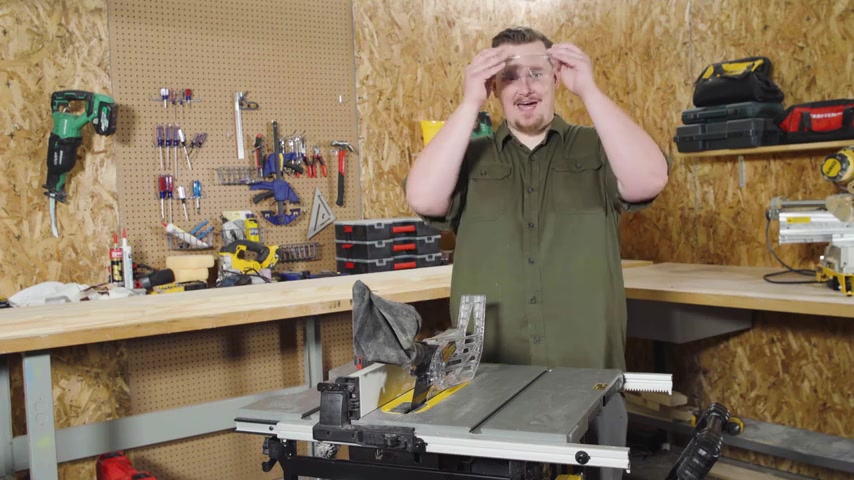
So now that my paint is drying up , I've decided to come back to the workshop to start working on my wood slats .
So safety first , we're gonna get our glasses on .
We're gonna make sure that we have our push stick because we don't want our hands going past the edge of the table .
Saw , I've already got my guide set up at 2.5 inches .
So we're ready to rip .
We're , we're ready to rip as soon as I figure out how to turn on the table So , so I decided to go with 2.5 inch slots with about an inch space in between .
But if you want to go with something a little bit smaller or a little bit bigger , that's where you're allowed to get creative .
I recommend taking a stroll to Lowe's .
There's plenty of options there in Pine , in MD F , you can find everything under the sun .
All right .
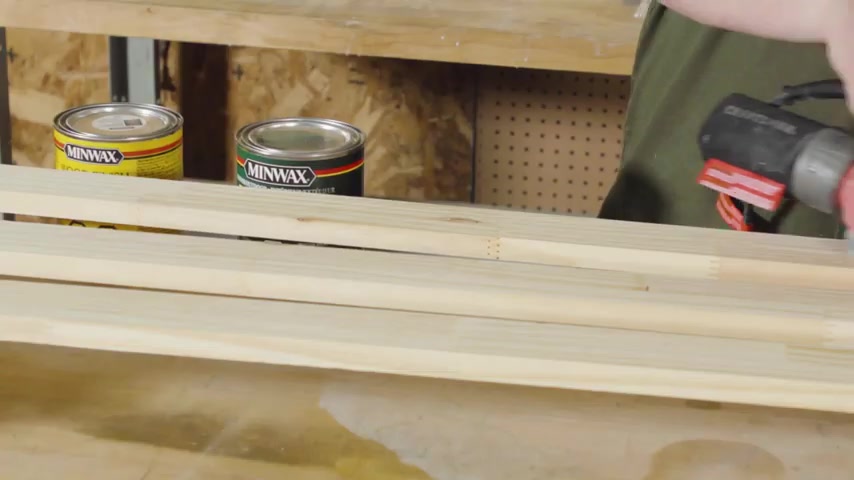
So now that I've got all my wood slots cut , I'm going to take a few important steps to really protect the wood and make sure that it stays looking amazing for a long time .
So , the first thing I'm gonna do is sand it down .
That's going to open up the pores of the wood and allow me to stain it .
So to stay in it , I'm gonna use this Golden Oak color for Min Wax .
I think it's gonna look super awesome against the black .
And then I'm gonna hit it with the Helmsman varnish and once that's dry , I'm gonna give it just a very light sanding so that the top coat of varnish can stick on to it and then we're ready to go .
Hm .
All right .
So now the paint is dry , the var is dry .
I was able to find my center again .
I marked out my starting line to make sure that I'm exactly where I want to be .
And now I'm going to set up my laser level to make sure that that first piece is absolutely 100% perfect .
Now , because all of these pieces end up falling between the studs , we're gonna throw a little bit of adhesive on the back to make sure that we get a really strong bond .
That first piece is gonna dictate how all the other pieces line up a little pro tip that I want to share with you guys is cutting a template or a jig .
That's the exact size of the space that you want between each slot .
That way you're gonna be able to ensure that every piece is super evenly spaced and you're gonna have a really nice finish product .
Let's get to it .
Tata I'm going to be measuring out an outlet that I have on my wall so that I can cut a hole for it with my oscillating tool .
Now , before you touch anything electrical , make sure that your breaker is off and that there's no power because safety is super important .
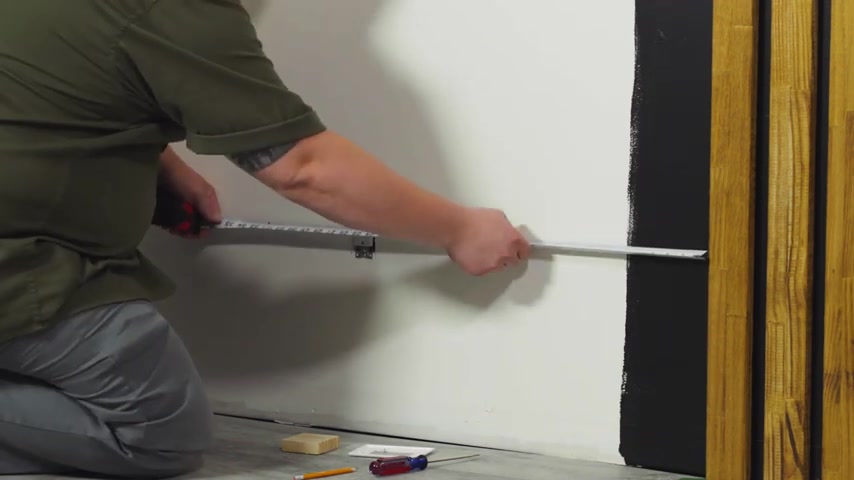
So when I take my measure , I'm going to start from the slat wall and then I'm going to measure to either side of the plug and I'm going to do the same .
When I come from the floor up , I'm going to measure the bottom and the top of the plug .
All right .
So now I'm going to mark off those measures that I took and I'm going to make sure that I'm marking them off in the same direction that I took the measures , which is also going to be the same direction that I'm placing the panel on the wall .
I'm going to use my speed square to make sure that I get a really nice cut and we're ready to cut .
Another trick that I want to share with you guys is to make sure that the screws line up exactly with the box behind the wall .
We're going to cut two small triangles into the middle of the top and bottom side of the box .
So once your cut is completed , that's exactly how you want it to look .
Now , let's get this bad boy on the wall .
So now I'm ready to take the plug out and when I put this panel on , I'm gonna be gluing the back side of it and then tacking it in making sure that I'm trying to get as many studs that I marched before as I can .
Now that my plug is reinstalled , nice and tight .
I can put the finishing plate back on .
That looks amazing .
I'm starting to get excited about this wall .
Now , it's gonna be the exact same process for all of the other panels .
We're gonna glue them and then tack them into the stunts .
Wow , this is really turning into something special guys .
The last thing that we need to do is measure the last two pieces on the top that we have to install .
So depending on how your wall layout is , you might have to measure the height .
You might have to measure the length .
All right , I've got my first measure .
I'm gonna make sure that it lines up exactly the same on the other side .
All right .
So the last cut of the day I'm stoked .
Now that the panels are cut , I'm going to install them the same way that I did the others .
Wow .
It looks so amazing in here guys .
I honestly can't even believe that we're in the same room anymore .
And we did this together .
I would say the most important part of this project is make sure that you have all of your measures lined up before you get started .
You'll save yourself a lot of headaches down the road .
If you do the prep , work up front .
What I really love about this project is the nice contrast between the concrete versus the natural wood .
I just can't get over how gorgeous it is .
If you guys like this video , I encourage you to share it with a friend .
Let me know in the comments , what you like the most about the video .

Give us a like , thank you so much for joining me and I'll see you next time .
Partnership
Are you looking for a way to reach a wider audience and get more views on your videos?
Our innovative video to text transcribing service can help you do just that.
We provide accurate transcriptions of your videos along with visual content that will help you attract new viewers and keep them engaged. Plus, our data analytics and ad campaign tools can help you monetize your content and maximize your revenue.
Let's partner up and take your video content to the next level!
Contact us today to learn more.