https://www.youtube.com/watch?v=naBal346_9c
Beginner's Guide To Drywall Taping _ A to Z
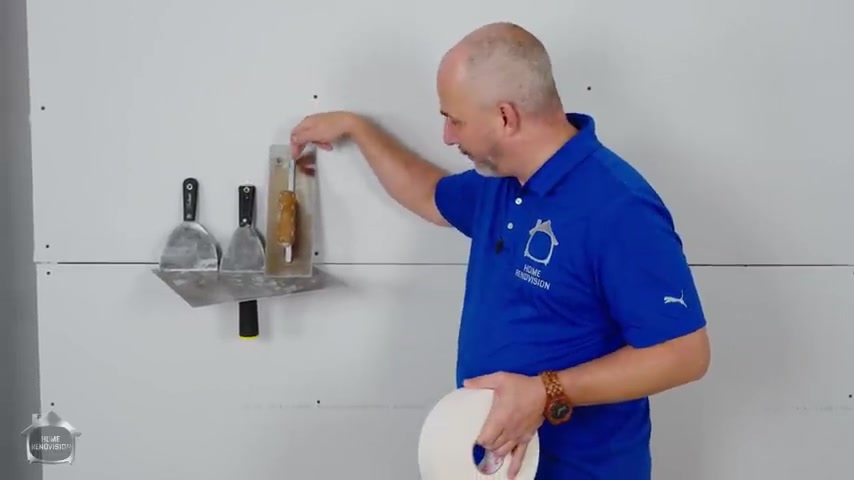
In this video , we are going to get rid of all of the confusion regarding how to install and tape drywall .
We're gonna show you every joint , every process , what order you do it in and it's really basic and simple .
These are my tools .
Ok .
I have a Hawk .
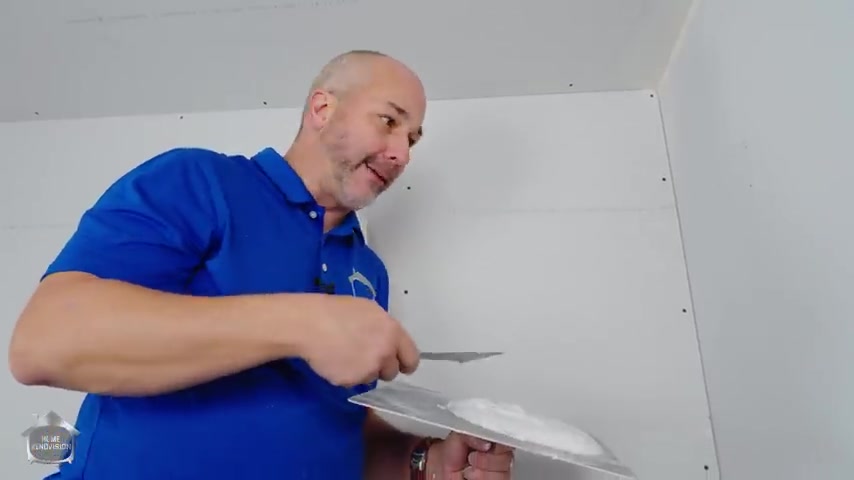
I have a four inch knife , a six inch knife and a four by 10 trial .
This is a flat trial .
It's not curved , it doesn't have a warp in it .
Ok .
That's it .
That's what I use and I use paper tape .
This is the foundation for all of the driver work .
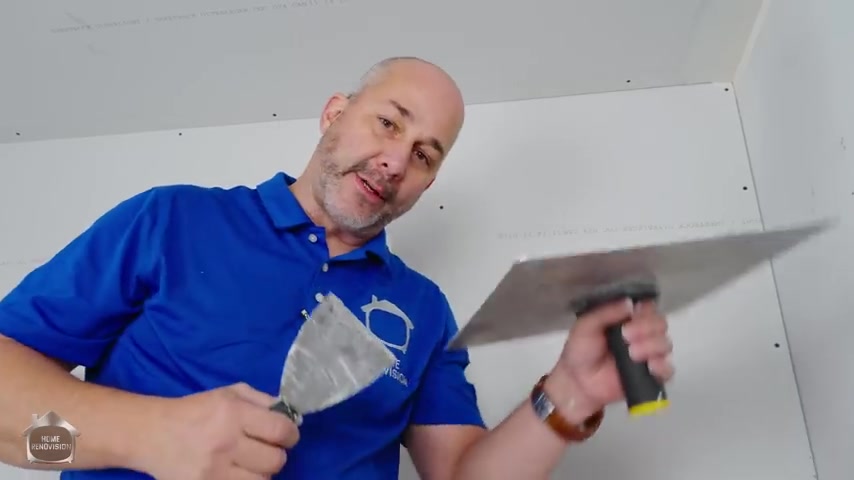
And now you might have seen one of our videos before when I shared tips and tricks and I got a few good hacks and I'm going to use one of them right now because in order to film this video , I've got to fix my corner .
I love expansion foam in conjunction with drywall for me .
This is standard practice .
Ok .
So whenever I've got a nasty corner like this , I'll just fill it with this foam , let it set up for about half an hour and then I'm ready to , here we go .
So before we get started .
Let's just go back in time a little bit to the invention of drywall .
Drywall was generally used once we got into like 19 forties .
Ok , like the first building code we had in Canada was 1941 and it was a national building code .
We didn't even get an Ontario building code until 1975 .
Back then , they used panels that were 16 inches wide by four ft .
And they would install these panels on the wall and they would traditionally coat it with plaster and they use drywall as a replacement for lath , whether it be metal or the wood .
Ok ?
Sped up production .
And so everything in North America is designed for speed .
We build houses in 90 days .
So what we've got is we've transformed this over season .
So now we're putting on four by 84 by 10 , 4 by 12 ft sheets .
Now , the drywall can come 54 inches , which is four ft and a half .
So you can use two pieces and get a nine ft ceiling with one joint .
Like a lot of different changes have been happening .
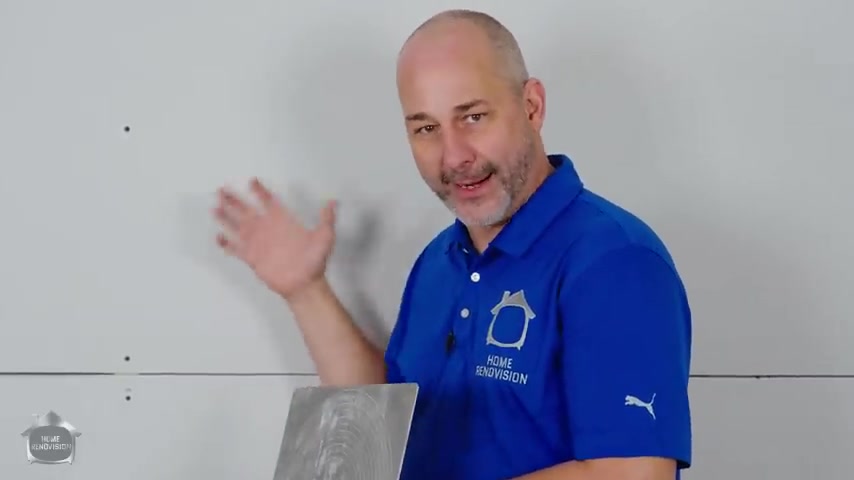
But the basics of drywall is this , this stuff is designed to go over top of the wood so that wood can expand and contract and behind it and this will remain constant .
Ok .
That's it , it doesn't expand and contract even when it gets soaking wet , it doesn't get any bigger .
So what we have to do is , we have to use a tape , paper tape to go and get rid of this gap so that this gap doesn't turn into a crack .
That's the foundation for everything we're doing here .
Anywhere , there's a joint , we have to put tape in it .
So it doesn't crack .
Now , paper tape comes on a roll , depending on the size of the project and get as many feet as you need and it comes pre seemed , OK , you see the crease .
And so there's an um , uh , the back side of the tape is where the crease folds into a corner and the front side of the tape is where the dent is .
Ok .
So when you're taping , you gotta know where the front and the back is , you just fold it in half and you can preform a corner .
That's it nice and simple , right ?
Ok .
Now that we got that the back of the tape goes against the wall in every situation , whether it's in the corner or on the flat .
Ok .
Only other thing we gonna need to do before we get started is understand , um , what type of joints we have to do with and we'll talk about the mud and how to create the proper mud .
Now , joints are simple in our little demonstration here , I've got a ceiling joint and a wall joint which are basically identical in their application .
I have this joint here which is called a um , factory finish taper joint .
Ok .
Now , drywall comes flat in the last two inches .
It has a bebble .
So here's a piece of drywall , it's a half inch thick .
OK ?
And when I put the two ends together , you can see that the paper finishes over the top and it's thinner at the joint .
There is a R right here and right here .
OK .
If you were to look at it , it goes like this and it goes like this paper ends , the next piece goes like this and then it lifts up .
Our job is to put a piece of paper on the gap and then still from bebble to bebble the drywall compound to create a smooth surface .
All right , that's it .
Piece of cake .
Now , over here , this is where the sheet is cut and this is called a butt joint .
It means that it's exactly half an inch on both sides .
There is no well to fill .
So in this case , we've got the paper ends with the factory cut and now we're adding paper , which is creating a thicker piece of wall .
And now our job in this environment is to finish it over such a wide space that the , the fact that we added tape and there's a bump , it's minimized .
And we're actually gonna stretch the mud all the way out here and create this wide band of mud .
OK ?
And the point here is we're stretching it out really thin .
It's not about adding more material it's about keeping it as thin as possible and stretching it out .
So that when light hits that wall , you can't see the shadow caused by the , by the thickness going to thin .
If you just do a one quick section , it's gonna cast a shadow , it'll be obvious and ugly .
And so drywall taping , adding the mud is the art of it's , it's kind of like an illusion .
It's the art of illusion .
We're creating the illusion that this is a flat , smooth surface .
When in truth , these joints can be flat , but these ones are always going to have a bump .
This is why dry wallers whenever possible will avoid a butt joint at all costs .
And a lot of buildings actually design the room so that they don't have walls longer than 12 ft because this is difficult to contend with .
So if you have a basement , you're gonna finish , which is a real common project for homeowners , you're gonna get butt joints .
And so if you don't know how to do this properly , you're gonna be in trouble .
This video is gonna save you rain .
Now , when you have a joint like this , you also don't want to have the same joint above .
Ok ?
You always want to stag your joints at least two studs , 3 to 4 ft is always best .
OK ?
Try to stag your studs whenever possible .
Other than that , there's not much more to talk about except for when you're drywall , make sure you got five screws , one in the middle and then split the difference and then one at the top .
Ok .
That'll keep it secure .
That that's the proper installation .
Now , let's just jump into how to mix your mud because if you don't mix your mud properly , you're gonna fail .
The number one mistake that most people make when they're mudd is it comes premixed .
It's all purpose .
It's premixed , it's ready to go and they take that mud and they stick it on the wall and they put on their tape , they come down the next morning and the tape has got all these bubbles in it because there wasn't enough moisture in the mud to actually make good contact .
Ok ?
You cannot just take the mud out of the bucket or out of the box and apply it on the wall .
You've got to add water .
So let's show you that process .
Ok ?
You're gonna need a couple of special tools for that and it's worth buying .
I'm telling you right now .
Ok ?
Because thin mud can be applied thin , that thick stuff that comes in the pale or the box can only be applied thick without the right amount of moisture .
You can't get rid of all of that .
The pits and the bumps that you're gonna see in the mud .
Let's just show you an example where I'm from in Canada .
We got a lot of our mud in a box .
I know that a lot of the , uh , a lot of regions , they sell it in Pales and that's convenient because you just take the lid off .
But if you get it in a box like me , you got to squeeze it out of the bag .
Ok .
Well , here's how we do it .
That's the process right there .
Just running off the side .
This is the only clean method I know that works .
Here we go .
Ok .
So I'm just gonna demonstrate here .
I'm going to set aside some of this mud and not mix it in .
And I'm gonna fix this up and we'll put both on the walls and show you the difference .
All right .
So let's go through the process .
One box of mud , 500 mL of water .
Um I took a little bit out .
So we're just gonna pour that right in there , right ?
This is my formula .
This is what I like .
Uh If you do things differently and feel free to comment .
But this is how I like mine .
This is for first coat mud is for , um , bedding the tape into the compound .
It needs moisture , but it doesn't have to be the creamiest substance in the world at this point .
As we go on through the process , we're gonna make the mud a little thinner for each coat .
OK ?
But for the first coat , this is all , we need one bottle of water .
It's easy to remember .
It's a great formula .
And while we're at it .
Listen , this is gonna be everything you need to know right in this one video .
Ok .
So you don't have to keep hunting and searching all day long .
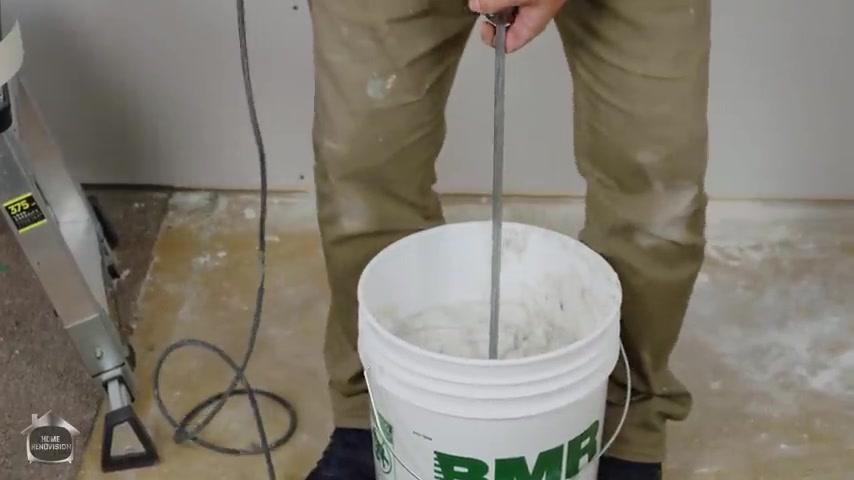
So this is a slow mixer and it's a big blade .
You can get all these tools at your local Home Depot or Lowe's .
We're just gonna keep on mixing until the moisture is evenly distributed and it comes out nice and creamy .
Ok ?
There we go .
Ok .
And when you're done , make sure you go clean this off .
Uh This does not taste good .
So don't even try it .
As a side note , always make sure your tools are clean .
Ok .
Let's take this is , this is this stuff from right out of the box .
No mixing .
OK .
We'll just do this .
Yeah .
Remember this is how not to do it .
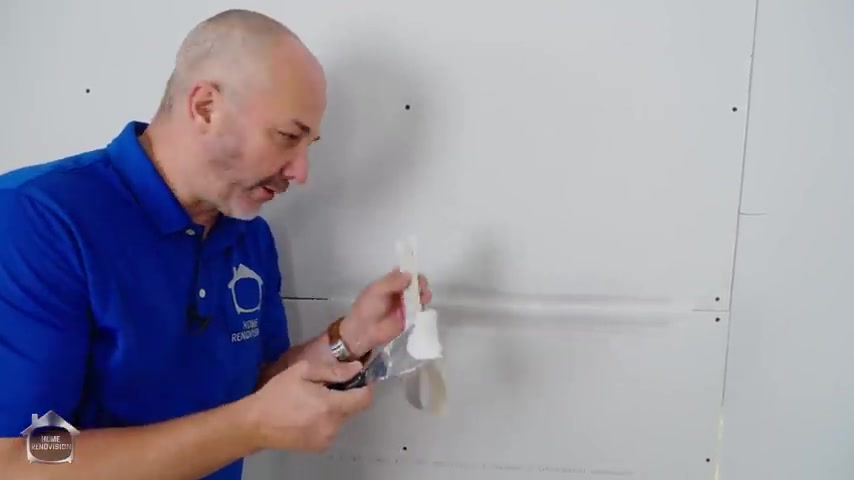
You put your tape in and then you're gonna go like this .
No working clean here .
I'm just gonna show you real quick .
It looks like you've got a good bond here , right ?
But what you're not going to see in that demonstration is that the lack of moisture in here , watch what happens to it .
It ends up in the drywall .
Ok .
And it , it gets sucked out of that mud so fast that the paper goes dry and the mud goes dry before it has a chance to bond .
And this is what's gonna be a problem in about an hour from now .
This would all go to bubbles .
OK ?
And this is why you can't do that .
In contrast , this is the whipped mud .
Ok ?
This is the one we just mixed .
This has got a much higher moisture content on it .
Ok ?
And to your untrained eye , you probably look pretty much the same .
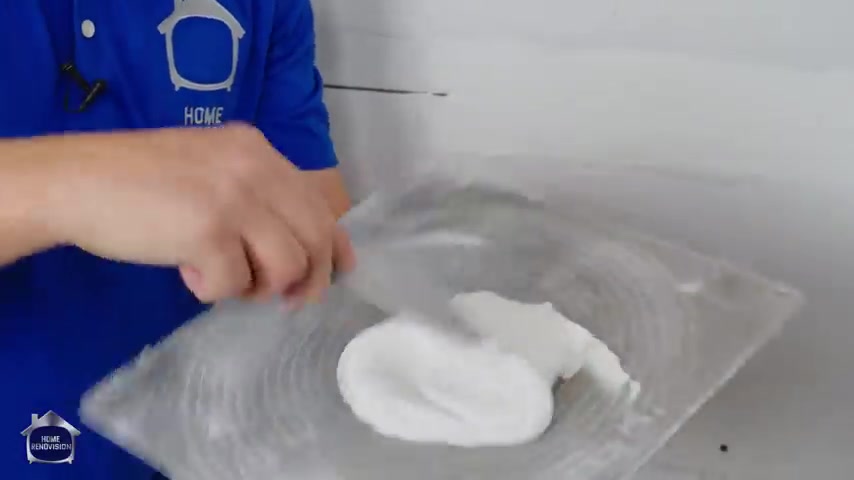
But this has moisture and the moisture is what makes this whole process work .
So if there's no moisture , there's no bond .
All right .
Now , step one when you're taping is do all of your tapered joints and you just take , let's just show the system that you're gonna work your mud to the middle of the hack .
Now , the Hawk has a handle .
It's very comfortable .
You're holding it like this all day .
All right .
I use the Hawk and not the bucket , the bucket , you gotta hold like this .
Ok ?
It's very stressful on the arm .
This is incredibly easy .
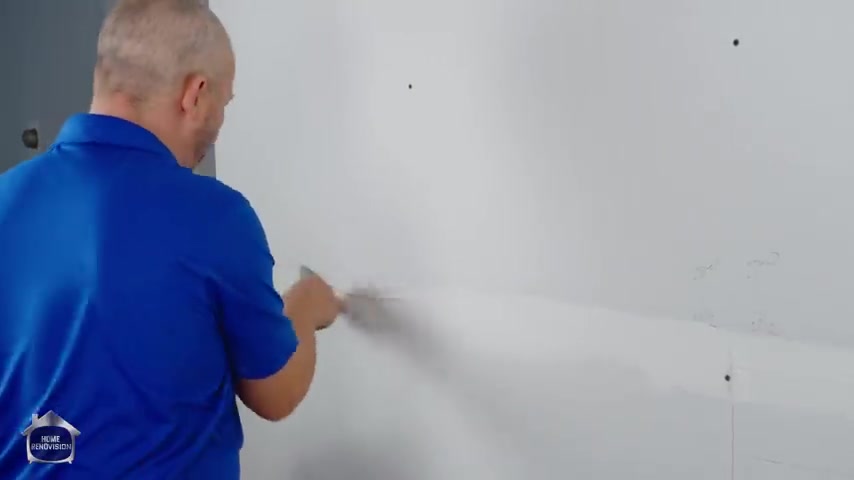
Now , you just basically are , are cutting a piece , OK ?
Work it off the edge and you load your knife like that .
Ok ?
And then you're applying it sideways and then you flatten it out .
All right , is one motion just cut it off and apply it , spread it .
All right .
And we're gonna do the whole , the matter is good going in the wrong direction .
Generally speaking , if your environment is clean , you can just put this on the floor and work with it .
Ok ?
They also sell something you can put on your hip .
But for most homeowners , I don't suggest buying it .
It's just another tool and it takes some time to get used to .
Now you can premeasure and then cut this if you want .
I know lots of people that do that .
I wanna get right up to the corner .
Ok ?
And you wanna put your tape on .
Remember the backside goes behind ?
This is the indent in the crease and you wanna just lightly bed this nice and easy like , and I'll show you why we don't want to push too hard because we don't want to push the mud behind here out , the mud behind there is what's gonna bond everything together and we already didn't put too much in there , so we don't have a problem .
Ok .
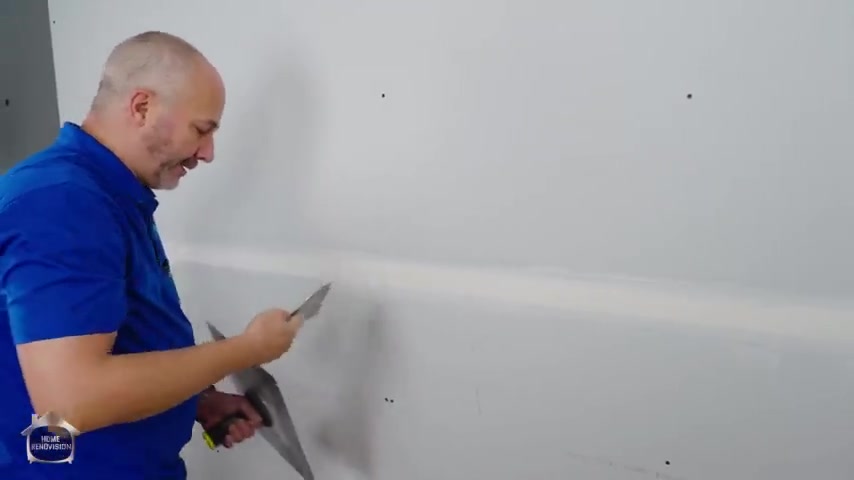
So now we're just putting a little bit of pressure and we're setting the tape done .
Ok ?
Now we want a clean joint , we're gonna just clean off the excess drywall is all about working .
Clean .
Less is more right now .
It's part of my system for homeowners .
I'm going to recommend review the following and that is take another off the side over the surface and wet it one more time by putting a little bit of mud on the , on the front .
This will wet the tape and make sure that it doesn't dry out while it's setting up .
This is how you avoid the bubbles right there .
And as long as you wet the tape after you're done setting it , you're gonna be good to go .
That joint's done .
Yeah .
The reason we want to do this joint first because remember that tapered dip here .
If you do the corners first , then you paper tape is gonna have to follow that dip as well .
Throw a little extra mud here and effectively fill up that dip .
So now it's a flush surface .
So when I put my corner tape on , it doesn't have to bend .
It makes life a little bit easier .
Right ?
Ok .
So once we get all of our paper joints done , then we can move on to the inside corners .
All right .
And we'll do the butt joint last , but I'll start at the ceiling .
All right .
For the next section here , we're gonna do the inside corners .
This is something you wanted to , um , you want to pull this paper off and measure early .
So I'm looking at this , I have eight ft .
I have eight ft and a couple more feet .
So I need 18 ft and I just go , that's four .
That's it .
That's 12 , 5 , 16 , that's 20 that's plenty .
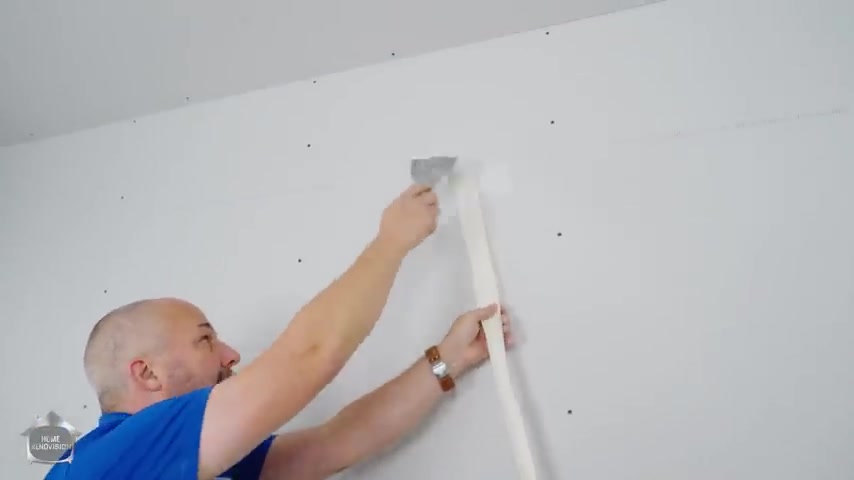
Now , we can get this out of the way , just put my fingers through it and I'll preform on my corner .
Right .
You can do this really quick .
By the way , here we go .
Now we're ready because I'm gonna be working on a ladder .
I'll just take this beat , shove it in the mud .
The first thing of course is you want to put , I'm just gonna get this corner done first and then we'll talk about the joint .
Ok .
Now , for everybody that's out there watching this video who's seen all the folks online who do commercial work for living or their professional drywall tapers .
Most of the folks who are creating content out there uh work in new host construction or on commercial sites .
Now , on commercial sites , the standard for production is very low and it's the same with new home construction .
So they get away with cheating .
They're not using their hand tools .
Um Generally speaking , they're using machines like a banjo to create the , the tape joint or they have um a bazooka and it does the tape and mud in the inside corners .
At the same time , all these machines , they don't bed the tape as well as if you do it by hand .
Ok ?
And they are rather expensive and they take a lot of time to clean .
They even have an automatic feeder that goes on the side of a pale that the tape goes through .
So the mud gets supplied to both sides of the tape .
So that while you're putting it on the wall , it's already soaking wet .
Ok ?
And these are great inventions for making it faster because a professional taper has to tape a whole house in one day like there's no mercy there , right ?
They gotta be flying , but you don't want to go out and spend 5 to $10,000 on tools .
Do you want a Hawk ?
A couple of $20 knives ?
All right .
Maybe splurge on your four by 10 and get a stainless steel blade .
Like I do .
You're only at $100 for all your tools .
All right , you're gonna wanna buy a little bench to work from , you don't want a step ladder .
So , for less than 200 bucks , maybe the , the mixing drill .
Now you're at $300 ok ?
For 300 bucks , you can have everything that I've got here and you can do a higher quality finish because this knife system that I'm showing you on the drywall scale out of five , this is a level four finish that I'm doing .
The only way to go to level five is when we're done with a level four , you then take a bigger trout like a four by 12 and you skim coat the whole wall .
That's more like a plaster finish .
Ok .
So what I'm showing you here is a superior , better quality finish than what you're going to get even with all the machines .
So just wanted to let you know when you're watching everybody on the internet showing all of their cool tools and their stilts and everything else .
That stuff is not cheap and it's not for the homeowner .
So it's not gonna help you to watch them .
You're not gonna learn anything from those machines right here we go .
Same thing I'm loading the same amount of mud .
Ok .
This is first coat .
This is just taping coat .
It's four of the corners and again , we're working off the side of the blade .
All right .
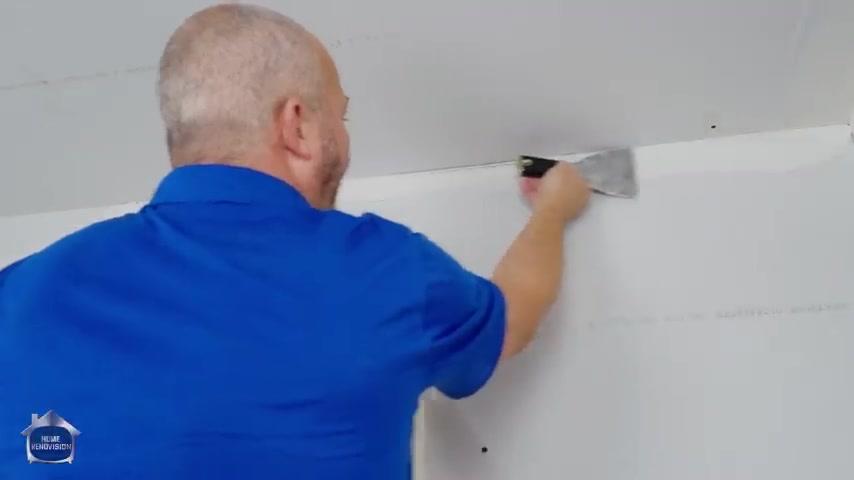
Now , this takes a little bit of practice to get used to how much pressure because you're gonna start with a little bit of pressure and then you're gonna add a little bit more and then you're gonna wanna flatten this out just a little bit .
OK ?
And realize there's not enough mud there .
Come back again .
Here we go .
Now , remember this is a tapered joint .
This is factory finish where it's dipped .
So feel free to be a little bit liberal here with the mud .
You can always get the excess off later .
And for the sake of argument , I'm going to show you the first four ft only .
OK .
Weird .
I had some dirt in my mud there that way .
All right , here we go .
We're gonna take our paper .
Now , I'm gonna just hold this against it and tear it square off .
That becomes garbage and pre folded .
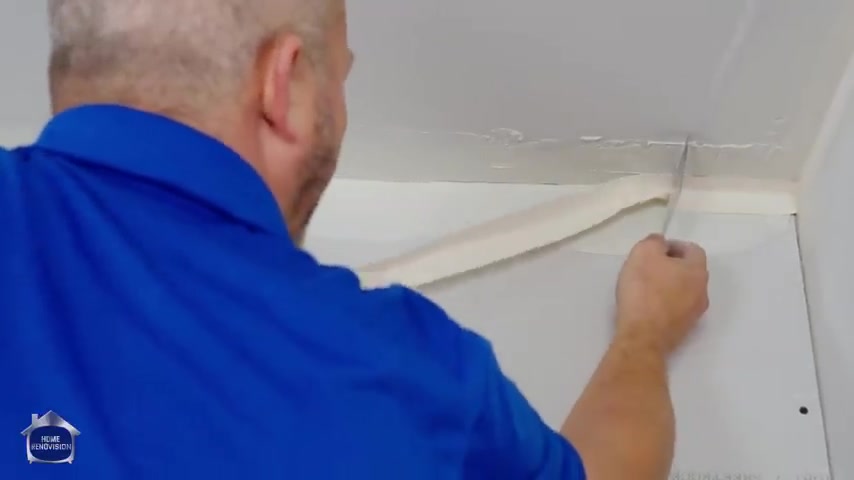
So I'm going to just set it in the corner right here and I'm gonna use my knife to hold it in place while I set this over here .
Ok .
Now , tape or tape as it gets wet starts to stretch .
So there is an element of time here that you have to concern yourself with .
Now you wanna just bed it with gentle pressure .
So you don't slide it in the mud .
Ok .
Here we go .
But your pressure should be at this point on the wall .
Don't go in the corner , just hold your knife flat to the wall so that you're removing excess mud out of the scenario .
But you remember because it's tapered .
It still leaves everything in behind that tape .
It's still full of mud back there .
Ok ?
Now , if it makes your life easier , you can just leave it folded like that and then continue on or you can cut it .
All right .
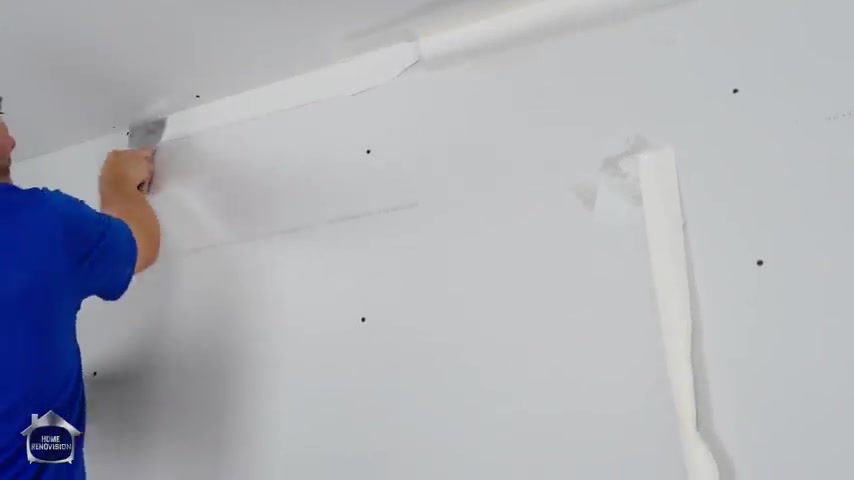
And you're allowed to finish , there's enough gap that needs to be filled .
You can come back and then we can actually join over top of this .
All right .
So here's the other option .
Now , we can finish the rest of this joint and we'll just go about three inch overlap .
Ok .
Ok .
Here we go .
And we'll just pick up where we left off .
One of the advantages of working with the bench is my bench is uh five ft long and plus my reach that gives me the ability to cover , you know , 8 to 10 linear feet of wall without moving , which is awesome .
Ok .
Now we grab our Hawk again .
We're going to start from the middle and we're back to where we were one of the rules of drywall folks when you have something finished .
Don't start from here and then work , work back towards where you're finished .
If you get in the habit of doing that .
When you get into the 2nd and 3rd coat , it'll make all the world a difference to you .
I think that pill is gonna end up screwing me over max .
OK .
All right .
While we're here on the bench , I gotta deal with my screws .
Right .
So , watch this off the side of the knife again , the side of the knife is the most valuable part of the tool , right ?
And then you just come back on on now .
Great opportunity .
Learning moment .
You see that wrinkle , listen to this .
All right , the screw is raised .
Now , as a homeowner you're gonna find this is gonna happen on occasion .
Have a screwdriver in your back pocket .
Quarter turn problem's gone .
Ok .
Piece of cake .
If you work with a screwdriver , you won't have to run around , check all your screw holes first .
Oh , like that , there's a click .
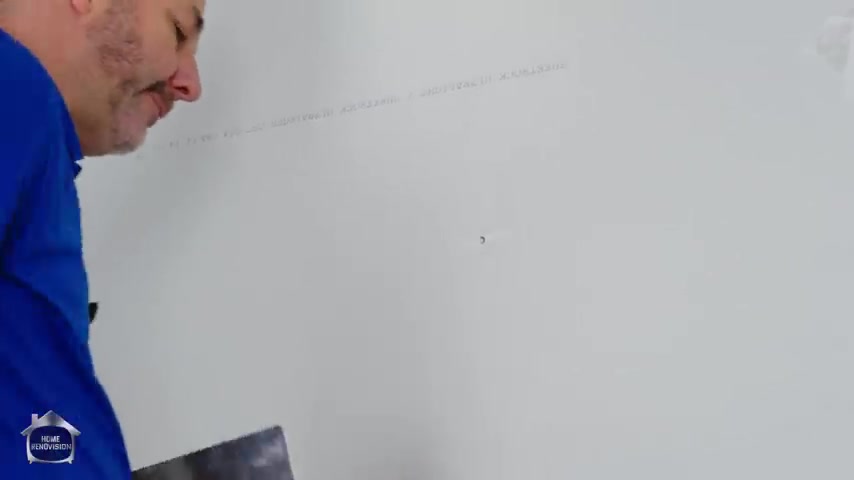
Well , whatever , just get to work when you identify the problem , pull this out quarter , turn , the threads are thick enough that should solve your problem every time .
If it's really bad .
Give it a half a turn , right ?
Ok .
So now you see this little click , ok ?
You can probably get away with it because it was , didn't have a ripple of mud .
But what you're not going to get is a proper fill .
You wanna see this , you don't want to see the screw head , right ?
Even this .
If you see the screw head , what's gonna happen is , is you go down , you do all your mudding and then when you sand your screwheads gonna show up again .
So make sure it's a divot that's filled and you don't wanna see your screw .
Ok ?
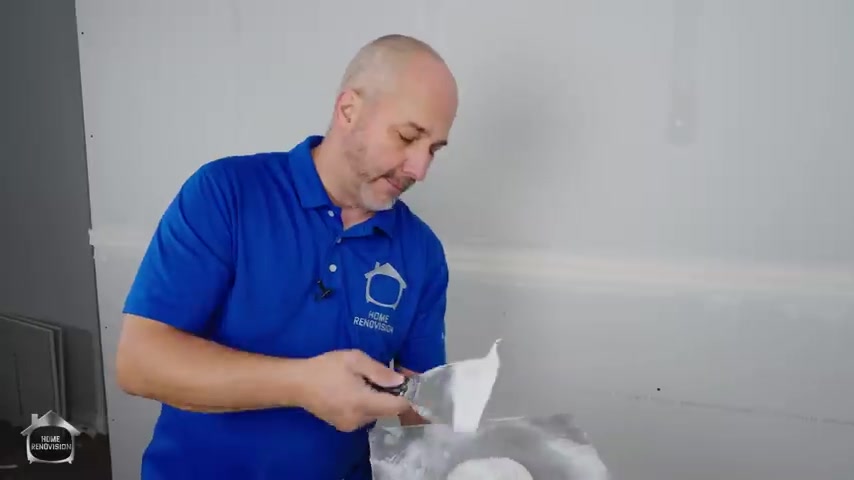
And then you won't have a problem when you go sand this Hawk when it's in good condition also makes an excellent lid .
All right .
Now , before you get off your bench or move it along the wall , we're going to do the same thing that we did to the first joint .
Ok .
We're going to take a little extra mud and we're going to apply it to the ceiling and then also to the wall side of that tape joint , we want it wet , ok ?
You're gonna take it off the bottom .
Here's how we're going to cheat just a little bit to save you a step .
We're gonna start from the corner , ok ?
And we're gonna apply the mud to the tape as the first fill coat .
All right .
So a little bit of pressure and then gently over here and then pressure on the wall and smooth out that edge .
Ok .
Done takes a bit of practice .
So if you want to cheat , you can do it like this .
You can also take it flat and carve out anything that's on that wall , anything that's extra , then you can come back and you can flatten it in the corner .
The secret with the knife , of course , is you take a look at this edge .
It is a 90 degree edge .
So when you're taping , if you keep this perpendicular to the corner , you'll always get nice clean lines .
OK ?
If you open it up like this , you're gonna leave mud on the wall .
Let me just show you here if I leave it open .
OK ?
Like this , I think I'm on an angle and I'm gonna get this reaction and I'm gonna have mud sitting there .
All right .
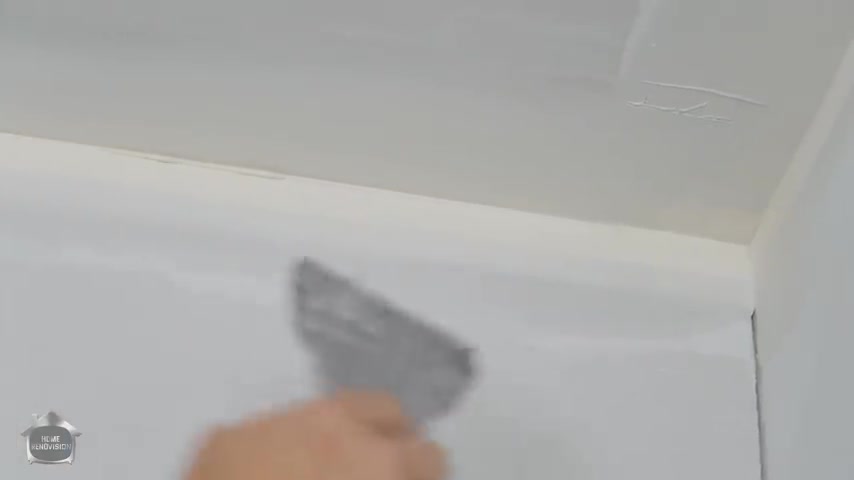
And this , when it dries is a problem because now it's in the way and then tomorrow you're gonna come by and you're gonna be chiseling away at it .
That's crazy .
Just get it all cleaned off .
Keep it nice and perfect .
And if the same thing , if you , if you open it too far , the other way you get a lousy line , OK ?
Just practice being square .
There we are .
I actually need to put a little bit of mud there .
I've actually cleaned it all up doing all the demonstration .
OK .
There we go .
This is a perfect corner .
All right .
We also want to put a fill on here .
I've got that bump here .
So I'm gonna need a little bit of extra mud .
All right .
I'm gonna clean the edge by pressure and then I'm gonna always work back to where it's finished .
Nice and square .
All right .
OK .
Good .
Now that is basically the second coat on that side of the tape done at the same time as your tape coat on it .
Day two , because we're always going to get this 24 hours to dry .
And if you're in a basement , sometimes at a fan you want air moving to help dry it out .
Day two will come back and we're going to actually show you the next step in the process , but it's on the same bead , we just stretch it out with my bigger knife .
Ok ?
Don't cheat .
You don't want to have your drywall paper being dry because dry paper is bubbled paper .
All right , here we go .
Now , my ceiling line is finished .
Now , here's the joke because I'm working in a studio .
This is the only eight ft wall section I've got to work on so I can't come back tomorrow and show you some other joint that I did , right ?
That didn't blister .
You're actually going to be able to just watch through this whole video .
If my technique works , how clean it is , what the quality of the finish is .
And if any of this blisters , I'm going to guarantee you right now it's not gonna happen .
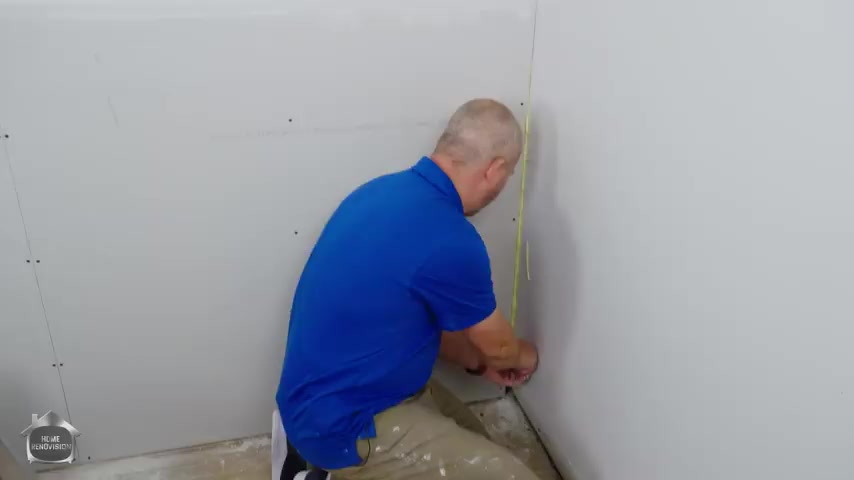
OK ?
OK .
Um Now I'm gonna do the inside corner , same technique as the ceiling .
You just got to hold your hand a little differently , right ?
Because you're not working over your head once all of our inside corners are done and then we'll do the butt joint and then we'll do outside corners , right ?
So now this is all set up .
Ok .
It's that nice and good to go .
So we're just gonna trim it off .
And if you haven't seen the video where I show you all my tips and tricks , this is almost like a hack .
It's such a good hack .
I've incorporated it as part of my normal routine now .
So I don't consider it a hack anymore .
Just trimming this back .
Ok .
And this just creates a perfect backer .
Now , traditionally , in the world , the drywall , we'd have to take another bucket and we would mix up a compound and it's got a hardener in it and it's fast setting and we would fill all these gaps and cracks , let it harden and then we would tape the joint .
That's a real frustration .
So when you're ready to do your job , just grab a can of that expansion foam , walk around and fill all the really nasty gaps .
All right , it actually glues the dry wall to the drywall and it gets a much better consistency and it's also a backer .
So you don't have to use a whole lot of mud .
Now , I don't have to mix another compound and then clean off home tools again and clean out another pale .
It saves me a lot of time .
All right guys .
So now I got my tape in my hand .
I've got my Hawk , I've got my mud .
I'm ready to do the inside corner .
Very similar again .
We're working off the side All right .
And in this particular case , we're actually working up against a finished painted wall , which is a great opportunity to learn something here .
This cleans out real easy .
So you gotta make real darn sure if you're adding a wall to your space that's painted to leave the mud there .
Ok ?
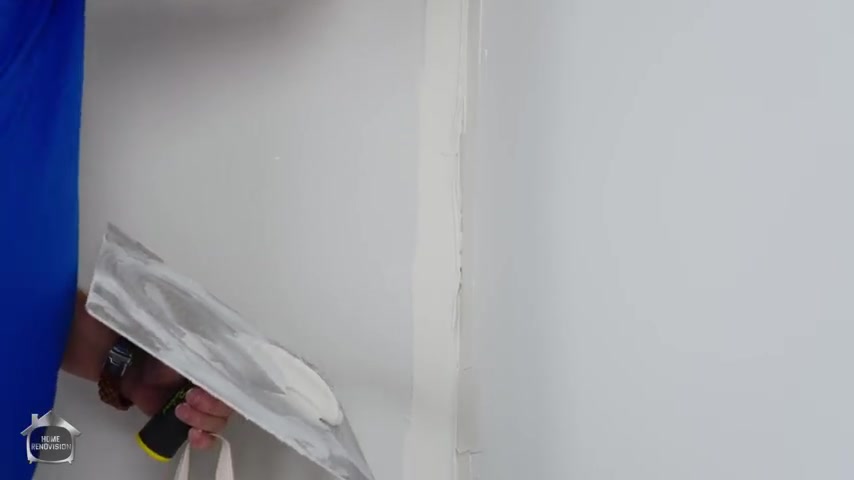
This is the perfect time to make sure that you've got nice creamy mud and you've put a lot of it on .
Not a time to be cheap .
Ok ?
This is the only place where you're gonna risk bubbling using my system , using any system .
Actually , painted wall surfaces are a bit of a bugger .
Ok .
Now , I'm gonna only go halfway down .
That's fine .
I'm gonna set my hock down for a minute and I'm gonna find the edge of my tape and this time we're gonna do something a little bit different .
We cut it on a 45 degree .
Ok ?
Like this .
And I'm gonna push the tip right into the ceiling .
All right .
And then I'm gonna use the corner to set it in .
Get it out of my way .
Here we go .
I'm gonna set the tape on the regular drywall side first because this one will slide like crazy .
So once I get this set embedded , I know it's not going to slide around too much .
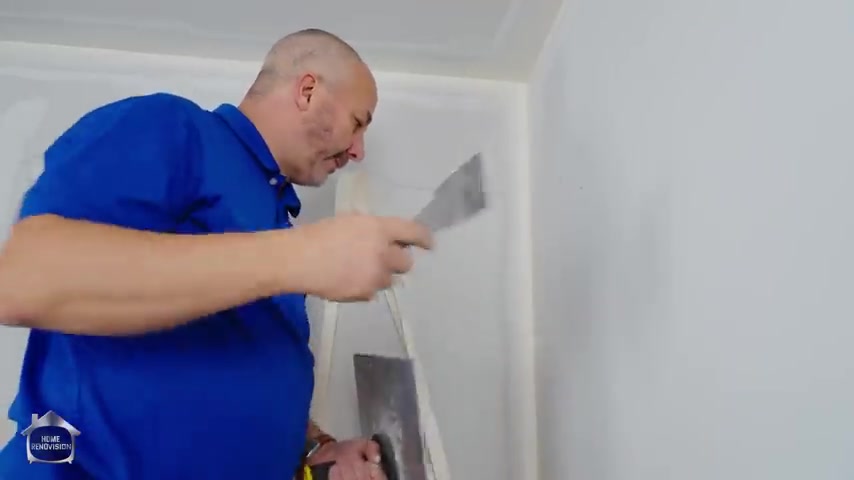
I'm going to then come upward motion and I'm trying not to use too much pressure here .
I just want to set it .
I got pressure on this knife here .
If I have any ridge like this , I'm gonna add a little bit more pressure .
Ok .
Means there's too much mud in behind there .
If it's raised off the wall , that's good .
I'm pleased with that same thing .
We wanna add moisture whenever you're working .
Um , and you get lines , there's dirt , get rid of it , it's your enemy .
It's not normal .
Shouldn't be here .
Clean mud will not make lines like that .
We're going to also add moisture on this side , but we're going to do the same as we did in the ceiling .
I like to look at this way .
The first coat when I'm mudding , I do all my left sides and all my ceiling corners .
Ok ?
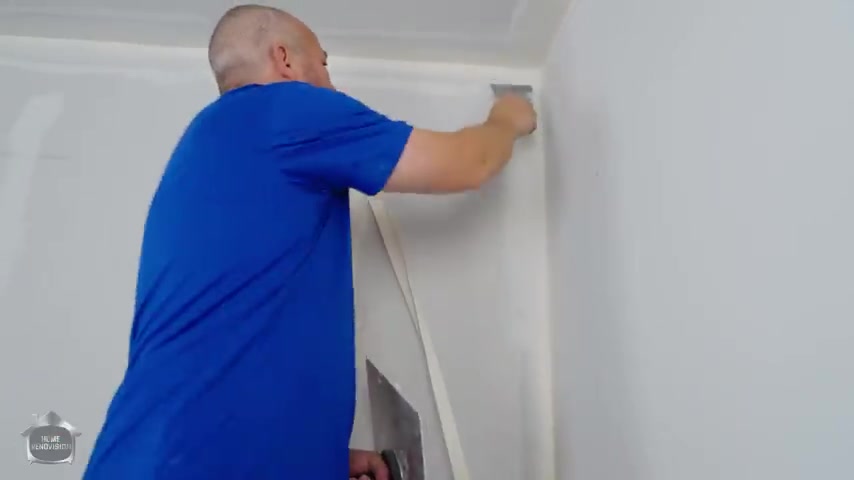
This is the left side .
I'm actually gonna add mud here .
I'm gonna try to make it a perfect edge up in the ceiling here too .
If need be , I can go like this and then finish this way .
There we go .
All right .
Let's clean the outside edge .
That's all there is to it .
Here we go .
And then we're just going to hold the tape up here while I set some extra mud in place .
Here we go .
Let's get this all finished off and we're ready to go now .
Ok .
We're gonna set this in the corner .
All right .
Now , we're gonna take the knife and I'm gonna put some downward pressure , just tighten everything up .
Now , we're going to embed the tape again on the drywall side and not the painted side .
All right , here we go .
Now , that foam created enough of a backer there that with the mud , it , it makes a really nice corner .
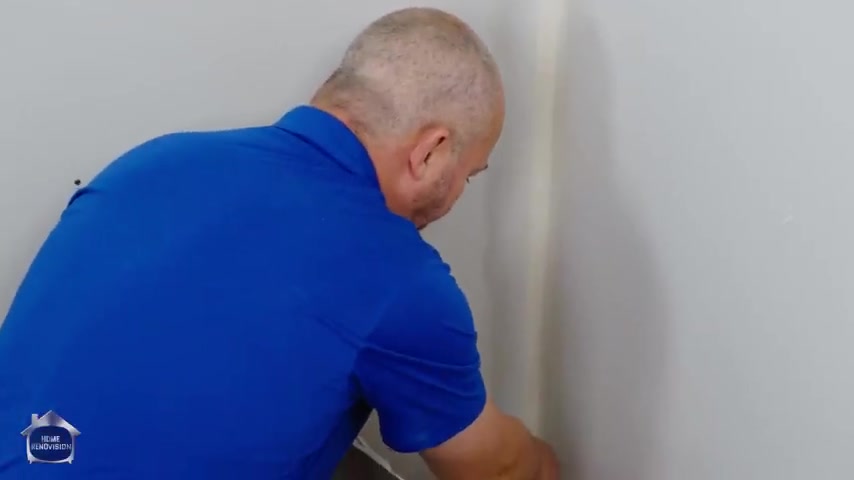
There's just no problem at all here .
And again , we're going to go somewhat gentle here .
So we don't squeeze out too much mud .
So a quick note , whenever you get down to the bottom , make sure that your joints are nice and tight .
Ok ?
Make sure that you don't have extra mud here .
A lot of people leave extra mud down here .
Keep everything nice and tight .
Ok ?
Ok .
Now , same thing as before we gotta add moisture .
So it doesn't dry out .
Yeah , back to where we finished and then everybody else .
Now my is starting to look like a bit of a mess , right ?
This is all good mud .
So every once in a while , collect all the extra mud , work it back into the middle and it's in one spot , it won't dry out on you .
If it's all over the place , it'll be a mess .
Here we go .
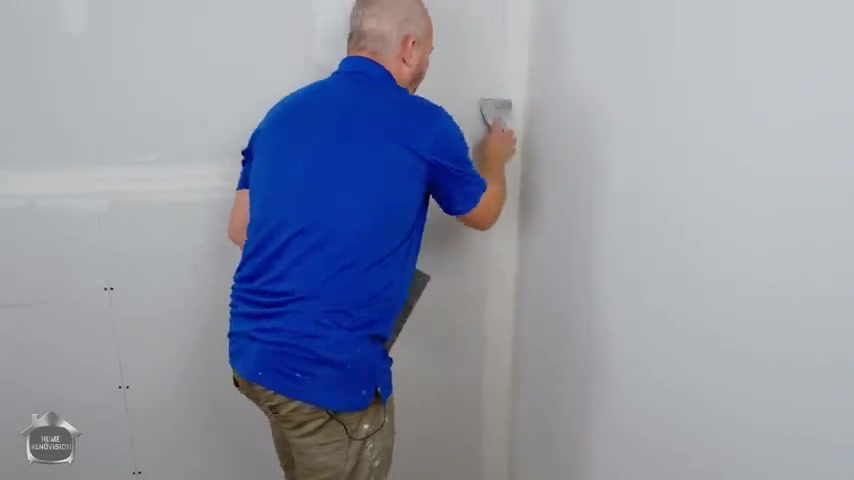
We're just gonna flatten this out .
I don't have quite enough on here yet until it's four inches wide .
There's not enough mud .
Ok ?
That's the width of the tool .
Ok .
We're gonna clean off the outside edge again with that pressure right now , I'm going to the inside corner here and then I'm going to come back and flatten it to where I was finished off before that is almost perfect .
There's a little bit too much mud here .
I'm gonna do one more , one more run there .
Ok .
When it's perfectly clean and sharp , then you're done .
Ok .
Now we get to do the butt joint .
All right .
Just a quick note , if you're doing your own drywall work and then your own taping on butt joints when you get these screws , don't sink them all the way in .
This is a factory edge .
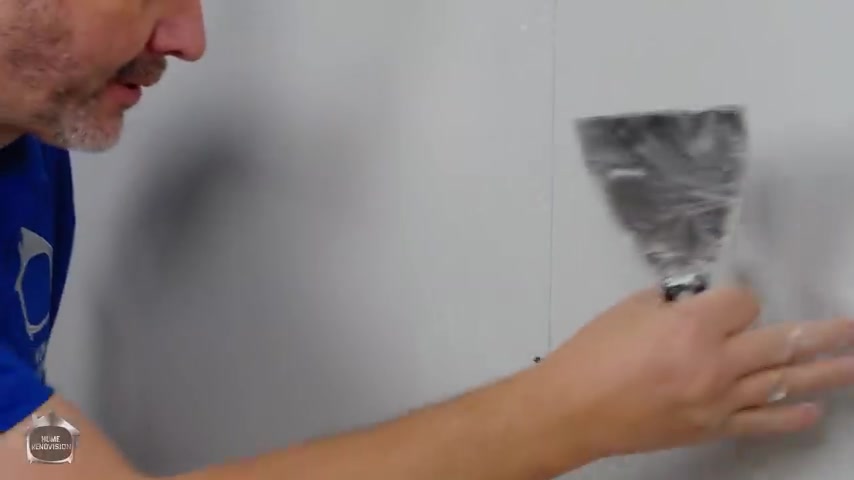
You always want to measure from factory edge , from the stud to a wall and then cut the piece and install it in the middle of the stud and then another factory edge going up against it .
And then when you put your screw in , leave it a little proud to the other piece is in and then you sink both screws at the same time because what happens is the drywall does explode a little bit from the pressure here .
All right , you want to take the back side of your four inch knife .
It should have a metal end where you're buying the wrong tool , ok ?
And just wanna dent that back in .
Take a second to dent that back in .
That is a raised piece of , of drywall .
Ok .
So here's , here's our butt joint , right piece of drywall piece of drywall , ok .
And you got two screws that are flush or , or , or deeper in .
But the drywall itself has now been bumped out .
Ok .
That becomes the new height that you have to fill all those wall , plus the tape and the mud .
Ok .
It gets extreme .
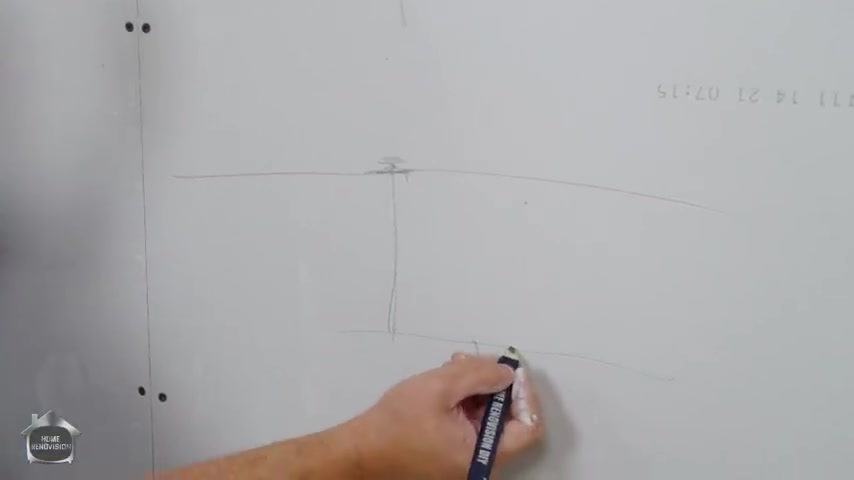
If you just dent it nice and flat , then you've got nice and flat , then you're adding paper with a little bit of mud .
Now you're not adding much thickness .
Ok .
This is a disaster .
You can use a half a box of , out of what ?
Bunt joint , one butt joint .
If you don't dent that sometimes it's the little things that make all the difference .
But joints are a little bit different .
You can work off the side of the knife if you want to or you can just go on nice and flat .
I prefer in this case just to go flat , depending on your skill level and how much pressure you use , working from the top down .
I'll just demonstrate it .
Ok .
The mud will just squeeze out the sides and if it's too thin , it'll make a hell of a mess if you're always working from the bottom and lifting it up .
Ok ?
You aren't gonna have that same problem .
All right .
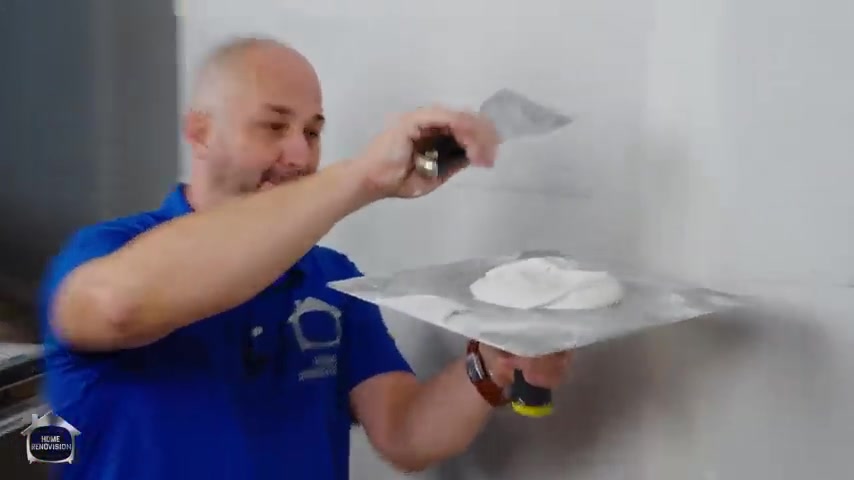
If you're using a butt joint on a ceiling work like this with your hawk underneath your knife because it's going to be dripping everywhere and you can catch it , mix it back in and still good money , right .
We need about four ft or so .
Now comes the big question to go flush or to go over .
All right .
It's a , it's a , it's a controversy in the industry .
I like to join the tape because we didn't use too much mud and I still have a gap that I have to fill .
So it's not gonna cause me any issue .
I'm just setting that on there .
Nice and gentle .
Like , OK , now I'm gonna start from the middle work my way up here to that joint and just clean out the extra mud .
OK ?
And then the same thing going down .
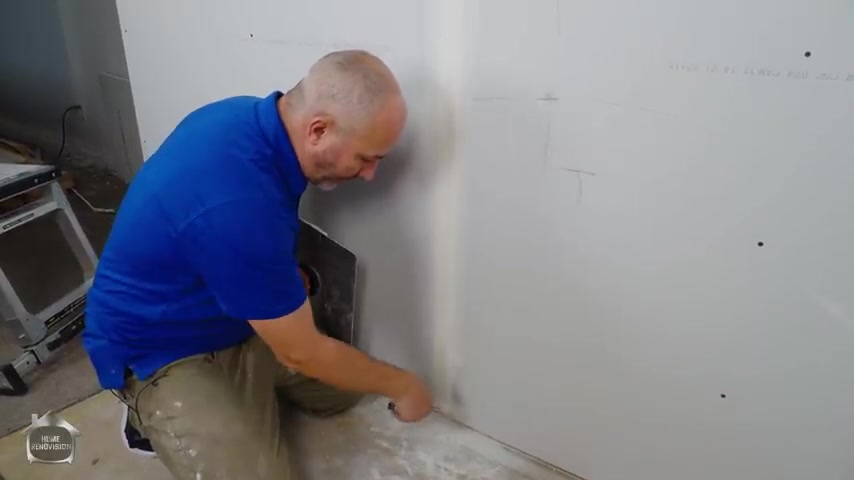
If I start here , I'm gonna get a big wrinkle .
OK ?
And now I get down here and I'm gonna just scoop it .
Ok ?
Again , we're now on the ground , make sure all the extra mud is gone .
Don't leave it , don't leave it like this like I see all the time because everybody will , will , will , will tape here nice .
Right ?
And then they'll sand nice and then leave this big chunk here .
When you go to put your base boards on that always looks like hell .
So get out of there .
All right , clean it up .
Here we go .
Now the science in a butt joint and the why it's so difficult you're not even gonna see during the taping process .
This is actually quite easy .
All you gotta do is get it wet and then clean it all off .
All right , this is not like the inside corners .
We do not want to leave any mud here when you add extra mud .
You're actually , um , yeah , you're building it out .
Now , those inside corners build out is fine , but on a but joint you don't want it , you want it as clean as you can .
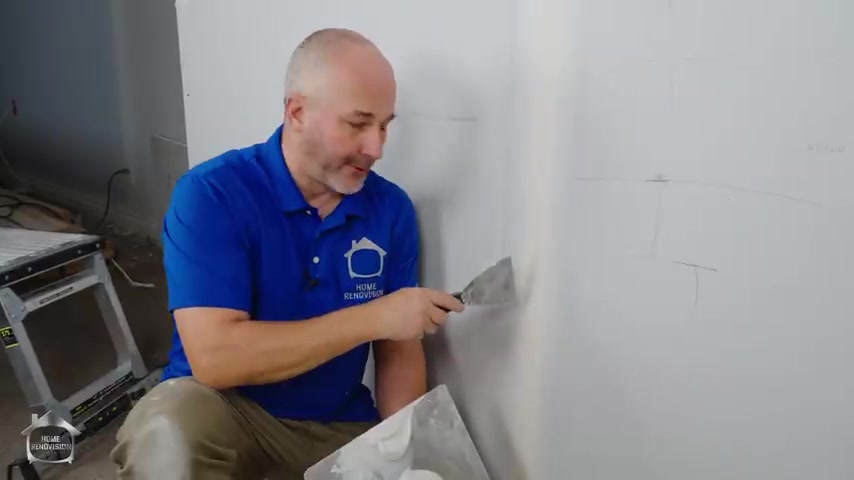
So put the mudd on , let it get wet , take it off .
Ok .
The less you have here when you're done , the better off you are .
All right .
So now this joint is finished with the tape and the bedding that now becomes about as thick as it's ever going to be .
And it's still not flat while we're down here , we'll take care of our other screws done .
Now , the only thing left is to do the outside corner .
Let's jump right into that now .
Drywall corner beads .
All right , they come , they should be just less than 90 degrees .
Ok ?
And the tip is bulbous .
It's like pronounced on purpose .
All right .
So if it comes 90 degrees , you're gonna have to physically close it a little bit .
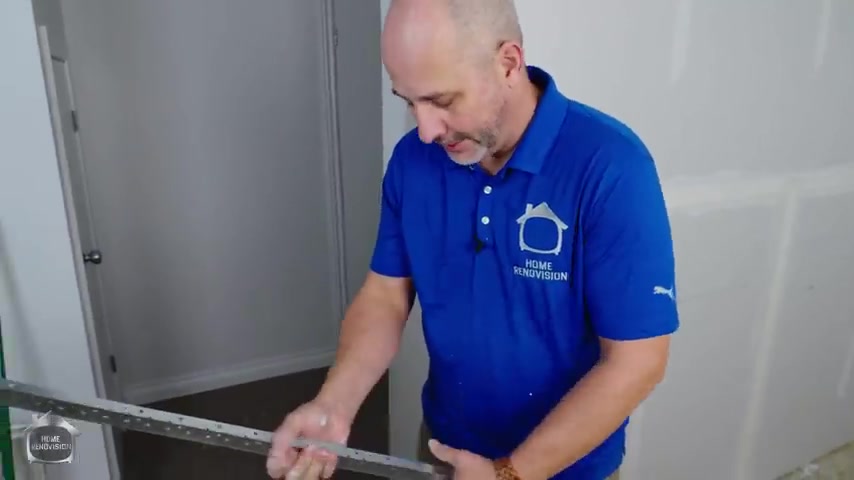
I usually like to put a little bit of a bend in anyway , because I find that the angle that they're giving me from the factory , it's good for certain machines , but most homeowners could use a little bit of help because there's experience involved in putting a corner beat on .
You're gonna lose a little bit of help by having a less of an angle .
Ok .
I'll show you why eight ft bead fits an eight ft wall .
All right , this dry wall is installed tight and cut flush to the stud and this drywall overlaps it , it's designed not to have a void in the corner .
Now , when we put this on , that's it done .
Now , there are tons of tools and machines out there that make this a quick , easy process .
But for most homeowners , we're gonna rely on the good old fashioned using a drilling screws .
Ok .
The drywall screw has a very thin head .
Ok .
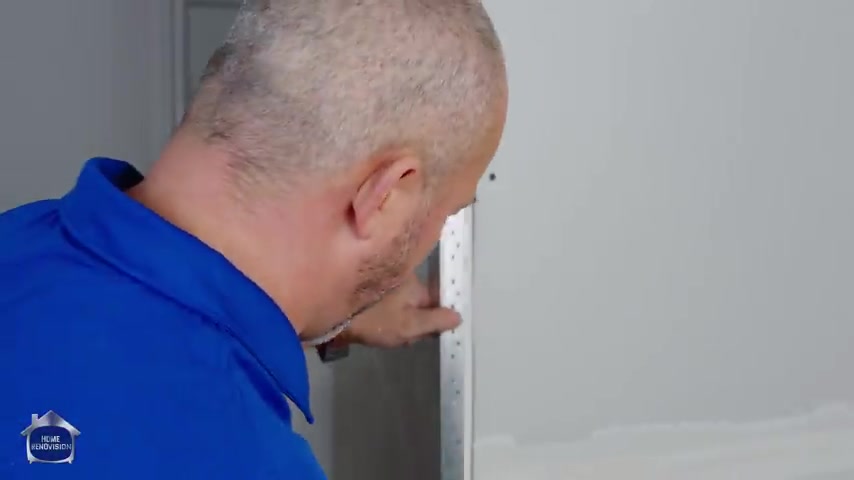
And it's designed for this particular case , put this over the corner , what you wanna do is instead of pushing from this side and starting , ok , you wanna push the corner straight in , all right .
And you want it balanced and you have two rows of holes this row and this outer row , the outer row is actually designed to go into the wood and where you put your fastener , the middle row of holes is simply designed to act like laugh .
So when you put the mud on , it can go in behind that hole and bond to it .
Ok .
So you don't start here because it's not enough mud in that area yet .
We're gonna screw above here where the wall is a half an inch thick and we're going to screw exactly on the other side .
Ok .
And you want to drive that screw so that it's not making any contact .
You can test with the dry one knife .
If I don't hear that , that clicking noise , then you're safe .
That's nice .
And clean , perfect these corners .
You got to be careful because you can twist them , you can start installing off line .
Remember the goal here is to have a corner installed perfectly so that when you put your knife on it .
All right , there's a gap to fill from this point back to here .
All right .
It's easy to fill gaps with drywall mud .
It's hard to deal with it .
If it's turned around a corner and everything's already flush or you're touching the both sides of the corner beat at the same time , you can't feel that it's really tricky .
So take time , start in the middle , get your angle perfect .
And then just go up every 16 inches to two ft .
Make sure you're screwing on the outside row .
Not too tight to begin with .
Now you can drive it in .
Huh ?
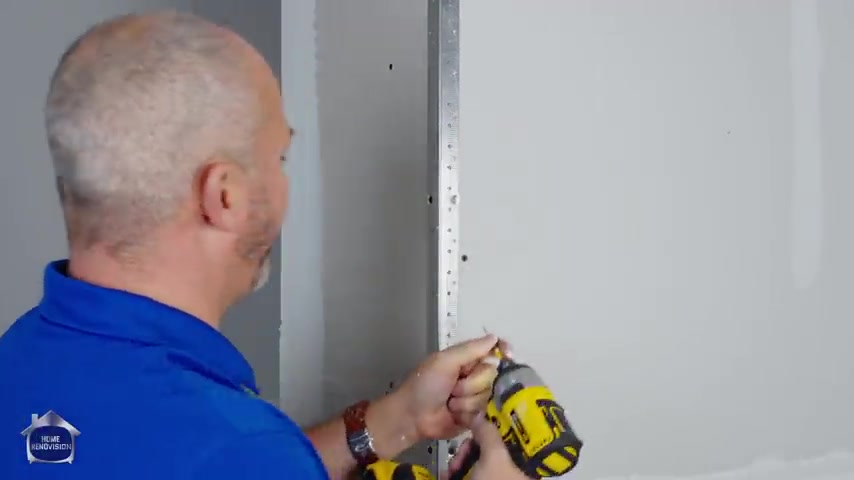
Why am I missing wood ?
Very strange .
What the heck if you don't have wood , remember , wood can have knots and holes and corners missing .
Just go down to the next hole .
Ok , guys , I think it's important to note here that , um , the amount of work it takes to do all the taping , depending on the size of your project .
You might be finished your day or two days or three days before you get all the tape joints done .
That's a lot of work from here .
Moving forward the 2nd and 3rd coach .
Those applications go real quickly .
Ok .
So if you don't have enough time in the day , the next step could be done the next day .
And the reason for that is when we apply the corner beads , we're gonna actually use a , um , um , a she 45 .
Now in the United States , this is a US G 45 .
Ok .
It's just a powder with a hardening compound in it .
The 45 number relates to the workability of this .
If you mix this powder with cold water and the water is not from a well , I have 45 minutes to work with it .
I'm on a well , so I'm gonna have maybe 10 or 15 .
Generally speaking , there's more salt content in a well and other things going on there that really speed up the chemical process , which is what's happening .
It's a chemical reaction .
We're gonna throw a little bit of powder into the water here , mix away with our slow mixer and our blade again .
You also only want to make this when it's actually time to do all your corners because of the set up time .
And the fact you want to mix it right ?
You don't want to mix this every day because you have to make a certain amount of material when you're using these tools .
Um You're only about a third of a bag no matter what as a minimum .
The only other option is to mix it on the hack and you can do that .
We've got a video for that as Well , if you're just doing a patch or repair , we can put the link up here down the video description .
But if you're mixing a bunch to work with , have the whole job ready for this compound .
This is still soup .
I need a whole bunch more .
There we go .
OK .
Now , here's the texture I've got here .
It's a little bit on the running side , but I'm doing this on purpose for me because I know being on a , well , the wetter , this mud is when I start , the longer I'm gonna have time to work with it .
Ok .
As long as it stays on the hook , I can work with it , it's not running off .
It should be OK .
Now , this is a little bit runny , but even even at that , you can see how fast it's setting up .
I'm gonna take just a little bit of material .
And the reason I'm using 45 is because they harden her in this .
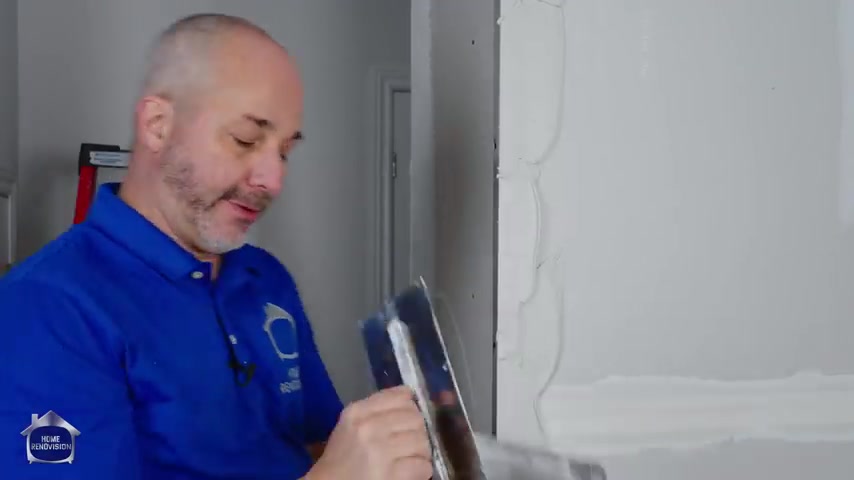
It creates a really healthy environment here for impact resistance and breakage .
Ok .
Regular compound just isn't strong enough to resist the occasional ding into the corner .
If you paint with a nice acrylic paint , you'll have plenty of strength in the wall .
Now because we're using this compound and you're gonna have totally different results in the city than what you're watching in this video .
Ok .
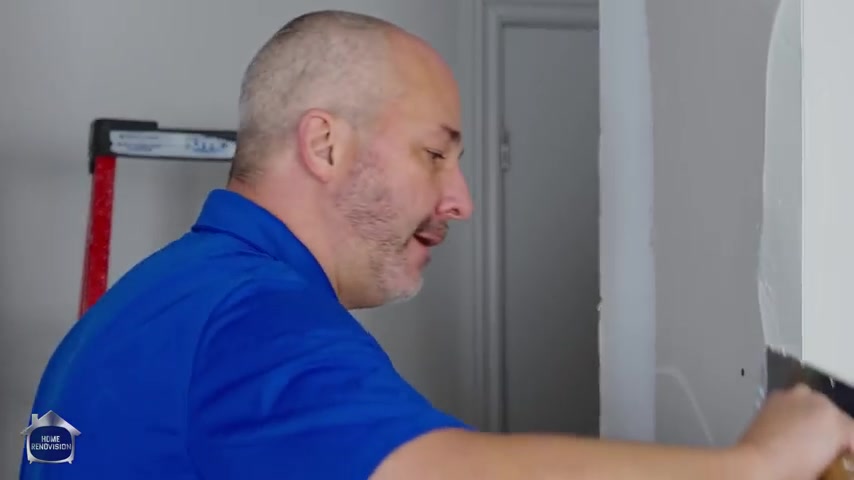
We're just doing a film .
So what I'm doing , I'm intentionally leaving about three or four inches off of the trail overhanging so that I'm not spreading it all the way into the middle of the wall .
Ok .
Because I'm going from a raise to a point here if I shorten it up , I'm making sure that I can then travel over top of it and I still have a gap to fill .
All right , this is just for making the corner strong .
I don't want too much material on the wall here .
Ok .
Now I'm gonna get my lighter .
I can't overemphasize how fast this is setting up .
I wouldn't be surprised if in five minutes the pale is going rock hard because what happens is when the chemical reaction starts , it creates heat and the more heat , the faster it sets .
So being in a contained area like a pale versus the Hawk , this sets up slower than it does in the pale .
All right .
So if it starts to give you any issues quick , get it out of the pale and on your hack before its garbage .
Wow .
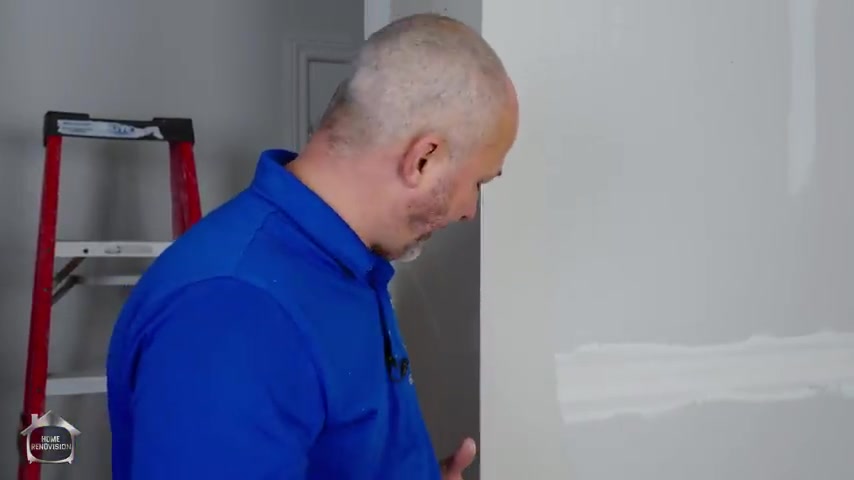
And when you're done , just take the side of the knife off the front .
Ok .
Clean all that up again .
That'll be something that you're gonna have to fight with later .
Here we go .
That's that .
Let it set up and then we'll be ready to put another coat over top because it's a small section .
We did all the tape joints and we did the corners and the first application in one day .
Um , generally speaking , do the corners on day two or on a separate day , set , the corners fill coat with the hardener and then go back to your regular mud .
Ok .
And that'll be the second coat .
I'm not gonna tell you what to do on what day because the size of the project determines what's available .
But just remember , don't put fresh mud compound over wet mud .
How is that thing ?
Set up the hardener once it's hard , even if it's damp , you can still add another coat .
Different rule .
But for the regular compound , make sure it's completely dry before you put another coat on there because you're gonna be transferring moisture again and you can create bubbling on day two .
If you're not dry on before you start your next coat , we're gonna let this dry and as soon as it's ready , we'll show you the second coat .
Ok .
So welcome back to the second coat .
Welcome back .
I left .
You didn't .
We got second coat mud going on today .
Now , I had lots of mud left over .
I could have just added a little bit of water .
Two things .
One , it's white and on camera showing white mud , applying over white mud with white walls .
It actually is really difficult .
So I grab a box of bait .
This is beige compound , all purpose drywall compound .
It's not my favorite mud in the world , but I think it's gonna do better at , at giving you the ability to see the application and see the difference , what's going on .
Ok .
So we're gonna use that .
And the other thing is I mixed that other mud in , uh , the little B M R white pale .
And I noticed when I was doing my taping , there was little tiny chunks of plastic from the mixing process in the mud .
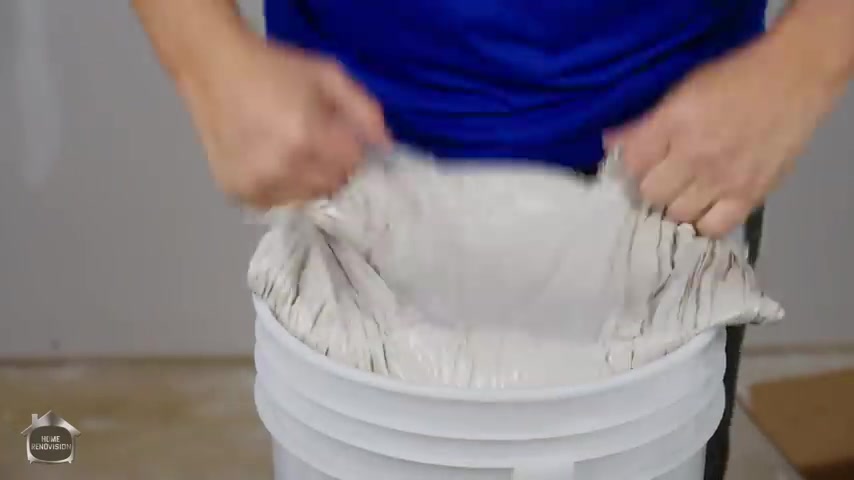
For the , for betting the tape and for doing the first coat , it's not an issue , but for doing the 2nd and 3rd coats , it's definitely an issue .
Right .
So I went back to the store and I picked up this pale and it's important because this pale does not , it's a harder plastic .
I guess when I mix in these pales , I don't get those little chunks .
Ok .
So consider this , don't use the orange pales or the blue pales .
I thought the B M R pale was gonna be stronger plastic .
Apparently it's not , that's fine if anybody knows why or where on this bucket , I can look to identify the strength of the bucket .
So it doesn't happen .
I'd love to know .
I've heard seen comments like that before .
I looked at the pale at the store today .
I couldn't identify any marker on here that says this one's better than this one .
Anyway , these are the problems that we run into , right ?
And sometimes it's a little secrets like that , that make the difference between a successful job or a job where you got scratches and you just don't know why and then you're going crazy .
Now , you know why the same thing and turn it over and there we go .
Hm .
Ok .
Now , second coat mud , right ?
So the rule for first coat was one bottle of water for a box of mud .
Yes .
But for 2nd and 3rd coat you want to go 1.5 bottles .
Ok .
You're going even creamier .
Now , here we go .
That is the whole science .
All right .
Now , I'm going to set this down and mix it .
OK .
Here we go .
All right .
Now , put that in the water , beige , drywall mud .
Why use it ?
Right ?
It's really nice if you're doing your prime check .
Um , it , it's nice sometimes as a , as a last coat , if you're using white mud , if you're inexperienced and you just want to be able to say , ok , um , the second coat is done when it's all beige that some time is helpful , right ?
Uh It really , there's a couple of different all purpose drywall compounds out there and it comes down to personal preference more than anything and how well you mix it to determine if you're gonna like what you got .
So we're gonna jump in a second coat today .
So second coat , let's just walk through it .
We're using a six inch knife and on the left and the ceilings , we had a four .
Now we're going to go back with a six .
Ok .
Did the same joint a second time .
That's what we do .
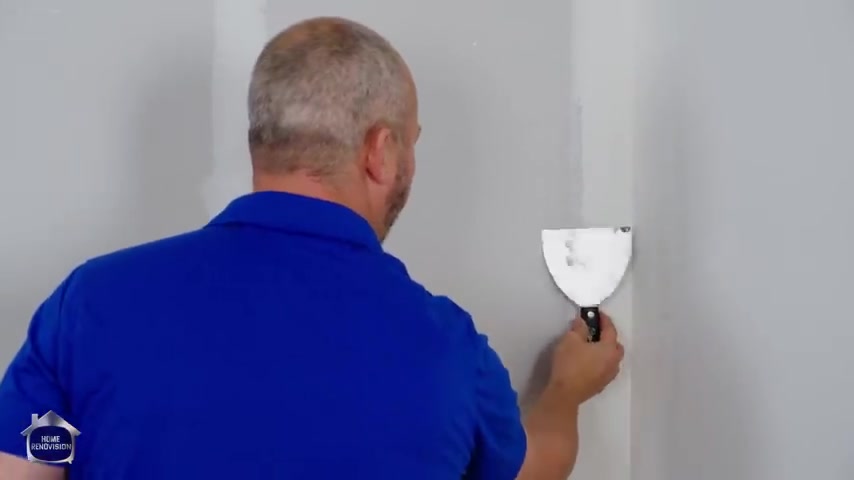
So what we've got here is we've got , we've got a , um , a , a corner bead , ok ?
And then mud and now I'm gonna stretch it out from here to here and basically apply it on an angle .
We're like filling like this .
So instead of 90 degrees , we're gonna be at like 87 by the time we're done .
Ok ?
And trust me , the reason we do this is because we wanna have one flat piece of mudd here .
All right .
And we can't do that without adding a little bit of compound on the , on the joint .
That's all .
Oh , yeah , that's nice .
And so be smooth .
All right .
And at this point , it should still stay on the hook .
Yep .
Now this , if you have your mud and it's so runny that it's falling off the hook , you've uh , you put too much water in it , ok ?
Just so , you know , you should have control like it's gonna slide , right .
But you should have control .
Hold the level , you'll be fine .
So I just put the mud back in the bail because I don't wanna teach you any bad habits , right ?
The goal of this is to teach you only things that are gonna make su successful .
So take your six inch knife before you start plying your next coat and you're looking for things like this .
See little ridges .
If there's a ridge , you get rid of it .
True .
If there's any bumps in your corner , get rid of them .
Alright .
Any obstructions just run your blade over your surface that you're about to mud to make sure that all the bumps are gone .
Ok .
The purpose of this exercise is two things .
One why you're doing this , you're gonna know if that corner is still soft .
Sometimes the surface can look dry but just beneath the surface it's still wet .
And so if you go like this with a knife , you'll gouge it out and be like , oh oh , ok .
So maybe your installation job isn't perfect .
Maybe you need more ventilation .
You got out a fan , maybe you need a heat source close to the ground in basements .
It's quite often the case .
Ok .
So doing this initial test will tell you a are you ready for the second coat ?
B get all of the junks and chunks .
If you're holding your mud while you do this , you're gonna get dirt in your mud , right ?
So don't do that , clean your area .
And then when you're ready to get the mud on , then you grab your mud .
So the first thing I'd like to do is do all my corners .
Of course , start at the top , work your way down .
It's the second coat on the same surface as the first coat .
Now , this is less , is more ok , but you have to have enough on the inside corner .
That's what I'm focused on .
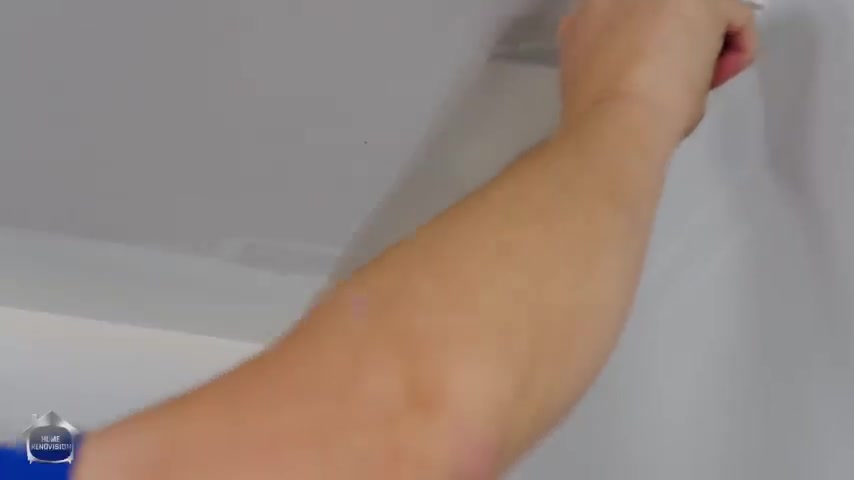
So same rule , put your knife in the corner , clean it out and then one more pass and that keeps this side of the paper nice and clean .
Ok .
There we go .
Nothing really to it .
We're not even using a lot of compound here .
What we're doing is we're guaranteeing that any imperfections in the surface .
And the feathered edge here has had an ability to get really clean and it's six inches wide .
Ok .
This is the other thing , if you don't have a nice straight line here , you haven't done your job .
All right , now , you wanna go over with pressure , make sure that edge is feathered .
We're going like this , right ?
You wanna come in here clean and then pour .
That's it .
Ok .
That's it .
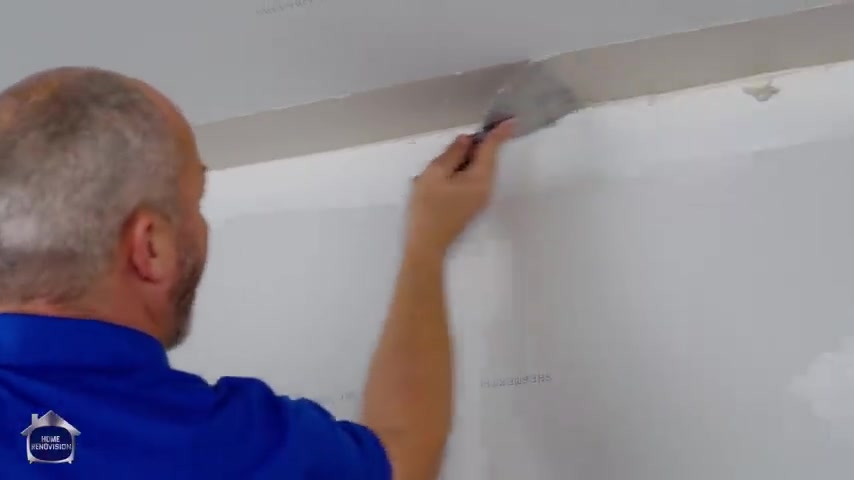
Now that that side of that corner is finished , you aren't going to need any more applications for a level three finish for level four finish , which is just a little bit nicer when everything is finished , you'll come back and you'll do one more tight skim coat over everything when it dry .
But for now , we're fine , we're gonna leave that .
It's just a little bit of mud .
We're very confident it'll dry overnight because we didn't put too much on the wall .
Ok .
Now we're gonna just finish this process and of course I'm just applying it right now .
It's easier to take it off if you put too much on than it is to apply the right amount of mud .
All right .
So be generous .
Ok .
Here we go and use your hook to catch all the drippings , right .
Keep the floor clean .
All right .
So now we're gonna clean the edge back to where we came from .
OK .
We're gonna clean the inside corner .
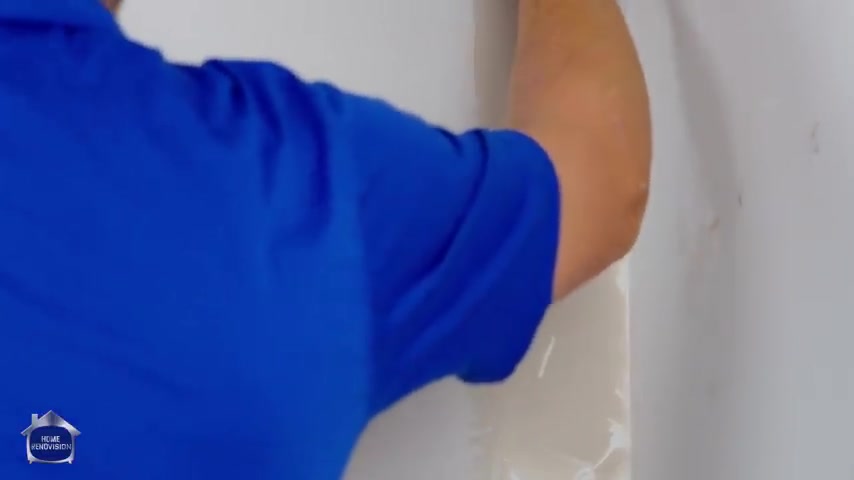
Moving , always moving back to where you came from where it's nice and clean .
OK ?
And there's a little bit extra mud here .
So I'm gonna just start in the middle so that I can control this .
This is the one last final pass .
All right , there we go , everybody .
All right .
Now , same thing on this protocol .
I'm gonna put in a little bit more mud than I need to make sure I get that edge .
Ok ?
We're gonna do the pressure on the outside edge first .
Ok ?
And I'm gonna clean the inside corner .
Yeah , I'm gonna go up here , set that in the corner .
Here we go .
These corners are the trickiest part of the job , ok ?
And they might require you after you've done all your second coats because remember the , the next two days we're gonna do the opposite side , four inch and then six inch , the opposite side , four inch , six inch .
And if it's not perfect and it needs a little touch up , it's a great time to do that .
So don't be panicking about if it's perfect .
What you want is a perfect feathered edge and you want a perfect clean corner .
That's the goal for now .
Ok .
Don't sit here trying to go .
Well , I see a little ridge here .
It'd be nice to fix that .
Now , wait till it's dry .
Any time you want to fix something , wait till it's dry .
All right .
Now , look at that .
That's a hot mess .
That's where I had the , the tape set earlier while we're here .
Do all your screws .
Ok .
The fact that you see a brown circle means that when the mud dried it shrunk and it left a void that had to be filled .
Ok ?
This is the key .
The next time we come back with the mud , this will have dried and the compound will be darker than the dried compound and we'll do it again .
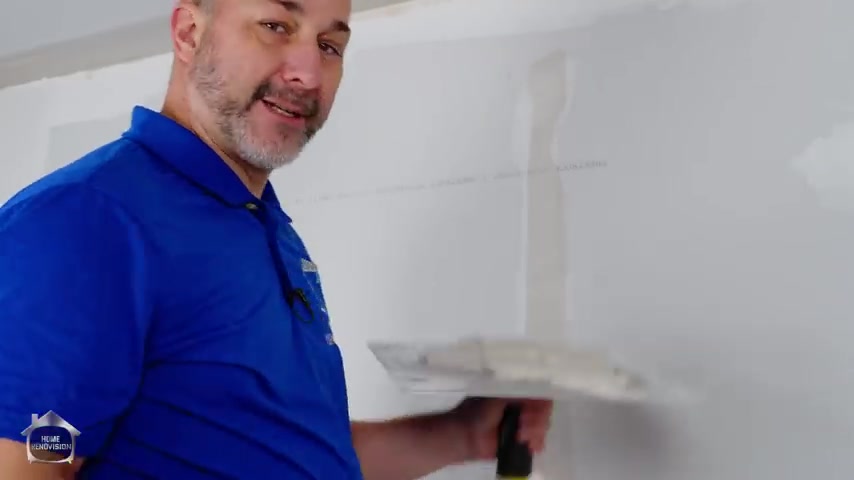
And if you see a circle , guess what , maybe the void is big enough that you need another coup until it stops doing that , you're still filling a filling a void .
So keep on doing your screws until you're not filling a void .
There is no such thing as two passes , guaranteed or three passes guaranteed .
All depends on how deep you sunk your screws , how much pressure you're using on your blade , how much water is in your mud .
So many variables , right ?
Um There we go .
Now we're gonna finish the corner and then we're gonna deal with the , the horizontal and the butt joints .
All right .
This will be interesting .
Today's shout out goes to Andrew Andrew built himself a shed based on our shed video .
Uh You're one of many Andrew .
But congratulations , you did an awesome job .
Remember guys , if you want to see your picture in our videos , just follow us on our social media , Instagram or Facebook and go ahead and submit them .
Let us know where you live so we can give your town a shout out to cheers .
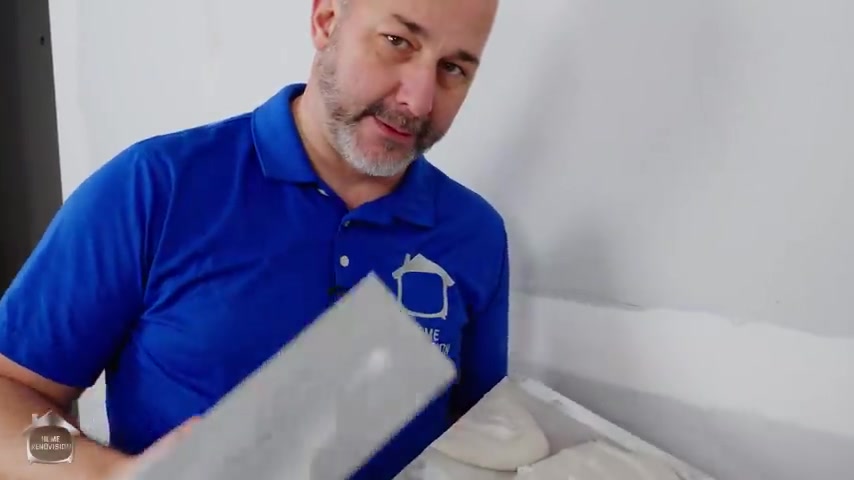
There is a method to doing the rest of these joints .
This is going to be one of these situations where I'm gonna be like um do , as I say , not as I do .
It is always best to do all the horizontals one day , then the verticals another day , not on the same day because whatever you do in a different direction will mess up the other direction .
So for simplicity , I'm gonna just show you how to fill .
All right , this is the deal .
We're gonna cut some material off like that .
We're going to put our knife on the wall on an angle so that it's pushing across and up at the same time that gives us control .
OK ?
You seen it ?
And yet we still get voids because remember we're filling a bowl basically .
All right .
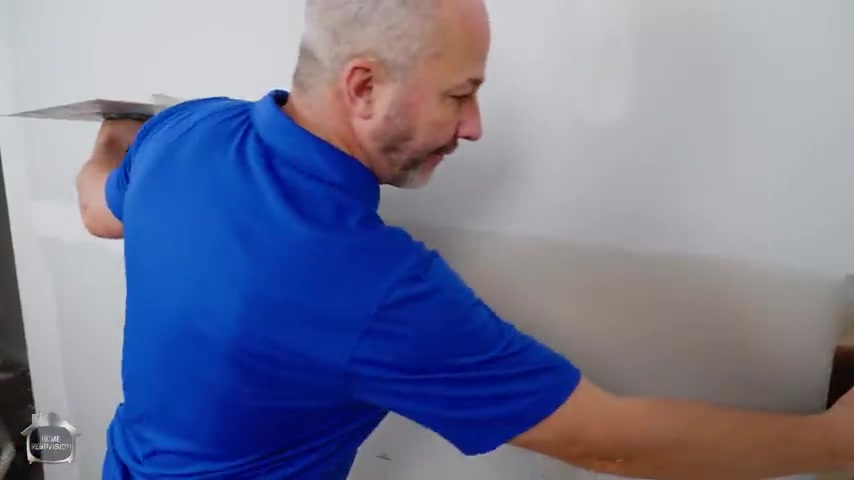
Now , I gonna demonstrate to you how much that's pressed pretty tight because it's a straight edge .
OK ?
There's no need to have a mountain of mud here .
We're just filling from this side to this side .
OK ?
You don't have to go like this .
If you leave all these pucks here , you've actually created a hump on the wall and that's no good .
That's ok .
But it's still a lot of money .
That's a great second coat .
No need to go any more than that .
I can't possibly dig out the mud when I'm using a straight knife .
Ok .
I know this is offensive to a lot of people because it's like , well , there's not a lot of mud there .
You don't need a lot .
All right , the next coat is gonna be the , the last coat .
Once this dries , you're gonna be like , amazed how little mud you actually need .
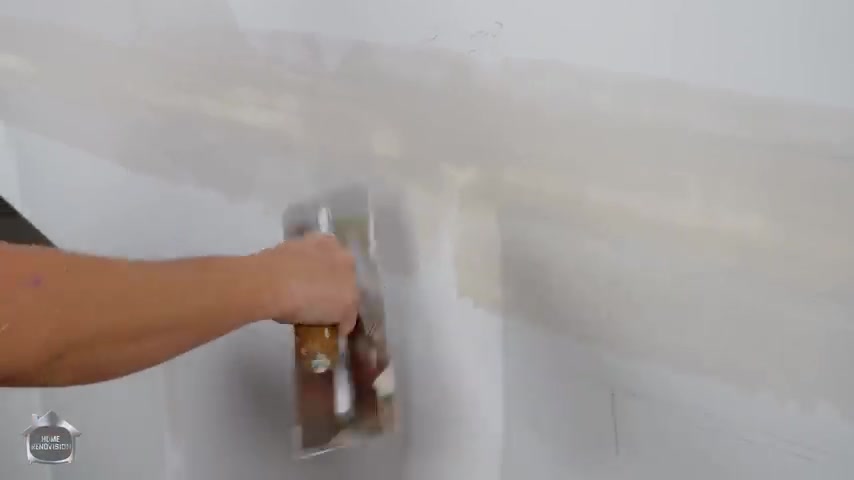
This is where this becomes an interesting situation because remember this is tape on top of dry walls .
This is the most important joint that you need to learn or just always renovate your house into small rooms .
Here we go .
So for this one , we're gonna do a different technique .
This one I held the , the , the trial this way .
OK ?
And for this technique , I'm going to roll it up on my hand .
Not like this .
OK ?
See , that's like a 90 .
I'm gonna roll it up and I'm gonna use the , this edge and tape from the bottom up and I'm gonna lift the mud onto the wall .
So I'm gonna , I'm rolled on my hands .
I'm gonna do it .
I'm gonna cut it off that way , then start down in the bottom .
We're gonna put a little mud on the wall .
Now I'm applying with pressure .
You see , I'm right on that tape line .
I don't wanna make it any thicker than that tape .
Ok .
So the way we actually do this is not by going up the middle because that's as thick as what .
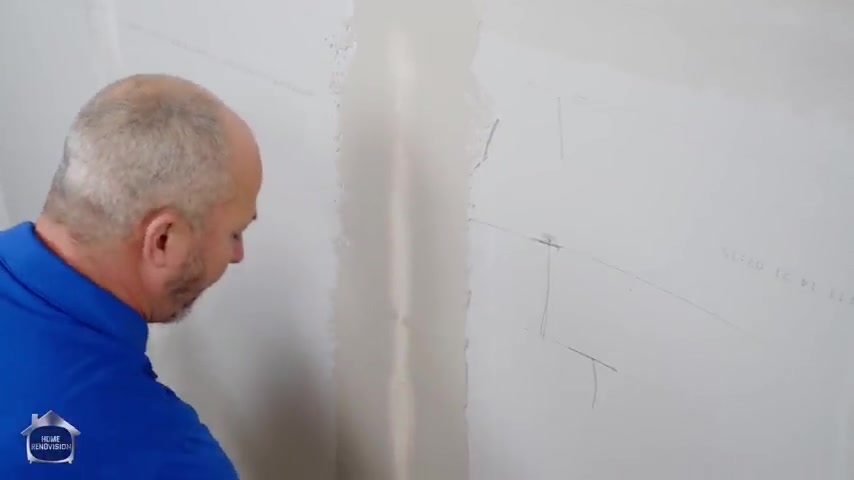
We're gonna take a knife .
We're gonna go to the side because we're gonna fill from here to here .
Yeah , we want to leave that mud on the wall and over time you'll get good at knowing how much to cut off and you want to basically leave it all right there .
Now that we have this , this is just like a coat .
We are establishing the depth of the mud from the drywall to the paper in the middle of that joint .
OK ?
Feel free to go and clean it off a little bit if you want to , but make sure every void like that is filled and extend it past the but the past your horizontal .
So remember this is a butt joint .
It's two sheets stuck together and then the paper is sitting proud , right ?
That's why we call it a butt joint .
It's butted up to each other .
Now , you've got your mud on the wall and you're pretty , you know , you put a good chunk of mud .
There you go up the middle with pressure .
OK ?
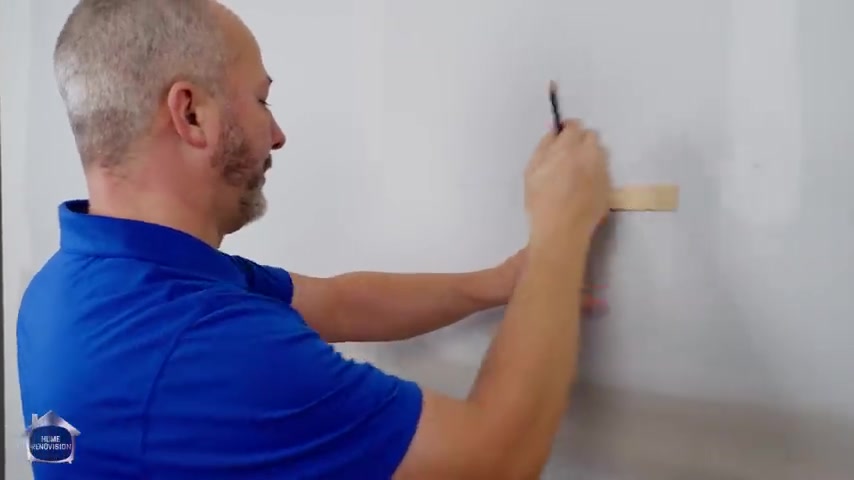
And what you're gonna get is these little ridges .
All right .
And that's fine .
Here comes Jeff , the artist .
OK .
Here we go .
We got a piece of drywall and we have another piece of drywall .
All right .
And they're installed flat .
And then what we do is we put compound and then a piece of tape right here .
That's the new height of the wall .
When we're putting our mud on , now , we're filling from this tape to here , that one .
And we're filling from the tape to here and we're creating this slight curve .
Ok .
You've put too much mud on there now .
And now we came across with a flat trial right up the middle of that joint and we've got these little ridges that are showing right here and right here .
OK .
The goal of this joint .
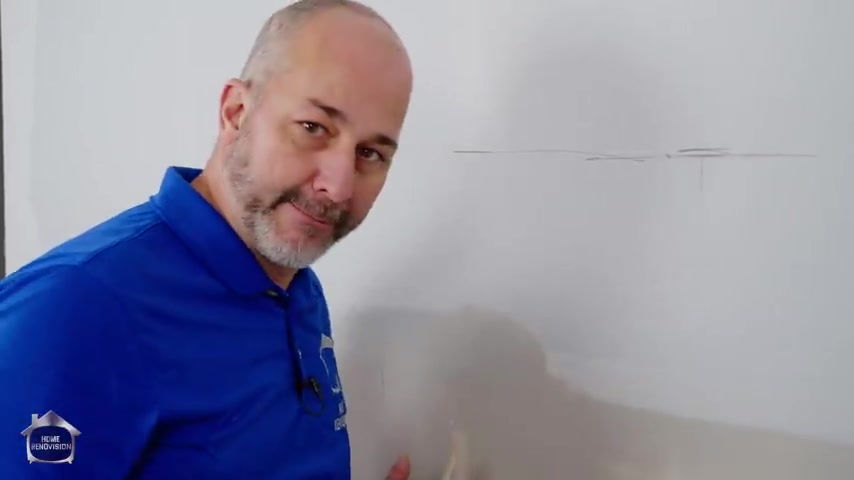
Now , the next time the , let's assume that's the 10 inches is to stretch it out from here to even further .
But we need a build up code to do that .
The build up coat can't be so full of mud that it goes all pucky .
It can't be holding a lot of air .
Right .
It has to , it has to be wet enough that you can , you can stretch it out and fill it without making a mess .
You wanna see this tape , if you see the tape through the mud , that means there's such a thin level of mud there that you're not making this wall even thicker .
OK ?
Don't be the guy that goes , oh , I , I don't wanna see my tape .
I'm gonna make the wall that thick because now you're gonna have to stretch it from here to here .
You're gonna need a 20 ft travel to get that flat .
It ain't gonna happen .
You're just gonna have bumps in your wall .
Less is more .
Ok ?
Add mud on the sides to fill the same space with the mud and the tape are taking up in the middle after the first coat , it's all we're doing .
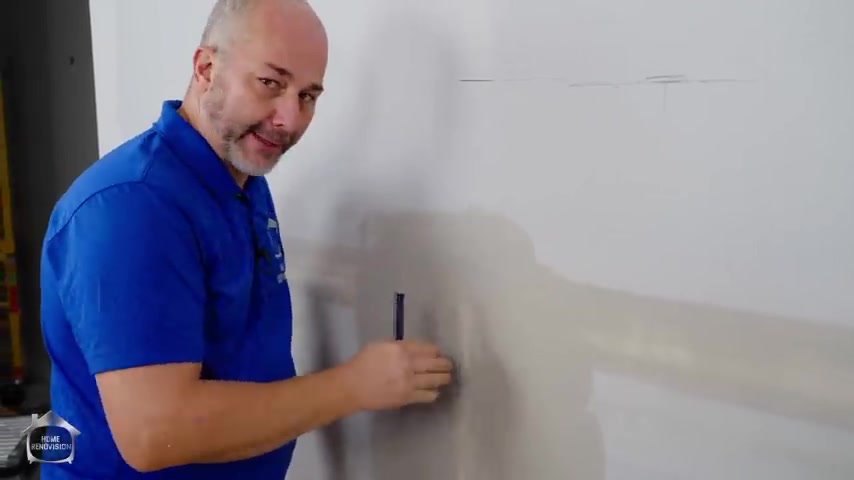
We're flattening that out to establish the height of our finish .
That's it .
And the next coat we're gonna come back and we're gonna go a little bit differently to stretch this out and make this joint invisible .
But the secret is less mud .
Seeing the tape means that you're not adding too much material .
OK ?
Let's move on .
So when it comes to the outside corner , we have the same process , right ?
Take your knife , we're gonna clean the corner .
But by that , I mean , get rid of all the bumps .
OK ?
So ridges like this travel ridges come across this way , get rid of that bump , it's in the way and then you take your travel and you see all that dust falling off .
OK ?
And then run on the edge of the metal , both directions .
Clean same thing because I'm gonna pull from the bottom first .
I got my knife how I hold it , but from the bottom , I don't want to go this way .
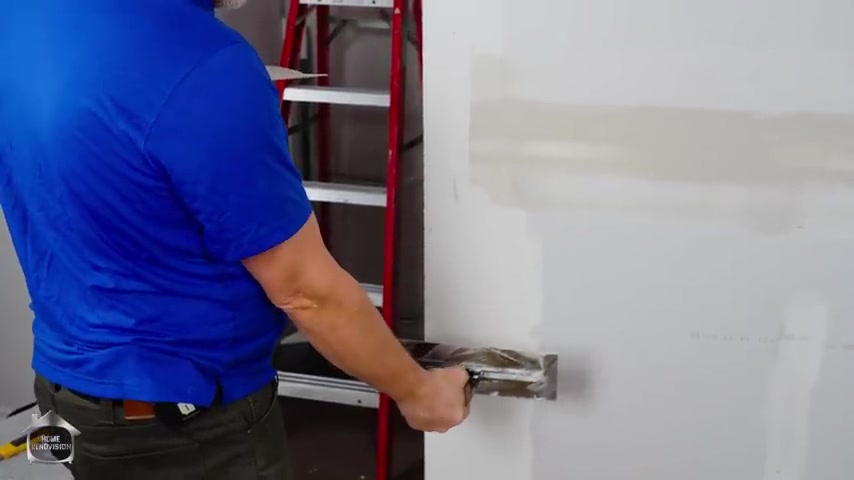
It's actually a very awkward way to do things .
Roll it over .
OK .
So normal , roll it over .
So we're gonna cut and we're gonna start at the bottom and we're adding a thin coat here .
OK .
What we're doing is just changing the texture and filling where it isn't filled .
Right ?
When you use a quick dry compound , it still shrinks when it dries .
So now we're basically going back and reestablishing that fill line .
All right .
Piece of cake .
Now we're gonna hold it normal .
Come from the top down .
All right .
Always moving in the direction to your finished mud .
Ok ?
You'll do less damage to what the work you've already done .
If you always do that , if I try to travel from the finished bud and clean this way , watch what happens no matter how careful I am .
Oh , dirt in the mud and that's the damage .
It did one little chunk maddening .
See , I got a line here where I did that .
You don't wanna have lines in your , in your work .
So we start and move towards the finished product and when you're lifting off , you can enroll , ok ?
Clean , clean , clean , clean , always cleaning your work .
How's it go ?
Ok .
Get down to the bottom and go across the bottom and get rid of all that extra mudd sitting in there .
This is the stuff that makes the finished carpentry .
So frustrating big chunks of mud at the bottom mud , guys are always , um , filling up the holes cut out by the dry wallers and then the electricians always have to go and find their boxes and hammer the mud out .
And then the finished carpenter guys have always got a chisel in the mud off , down and down by where the trim goes .
If everybody would just work clean like this , then you wouldn't be driving everybody else in the industry nuts .
Right .
It's one of the reasons why everybody has like a love hate relationship for the other trades because everybody has a way of doing things that's faster but is , causes somebody else a headache .
So when you're working on your own job and you're doing your own renovations , you're the next trade , right ?
So don't do that to yourself , learn how to work clean so that you won't be driving yourself crazy with those mistakes .
There we go .
That's it .
We leave it to dry .
Now , that's the whole second coat .
So next time I'm in the studio , I'll finish off the rest of this video , which should be right about now .
Uh It's day three taping now .
Ok .
So first day we did the paper tape embedded , all the tape installed the corner bead right ?
Second day .
And we did the first , the four inch tape on the inside corners on the ceiling and the inside joints , right ?
The four inch knife .
Second day we did the six inch fill on the inside corners of the same corner and I did a light fill on the horizontals , but I focused mainly on the butt joint and getting that built up .
So is day three and a four day taping process .
So day three and day four , we're gonna do all the other corners , the right sides and the bottoms off the ceiling do the four and then the six on the fourth day .
As far as all the walls are concerned .
On day three , you wanna finish all your horizontals , do not do butts and horizontals on the same day for second coats .
Ok .
It'll confuse everything .
So we're gonna do just the horizontal on the last day , we're gonna do the butt joint if you have a serious problem .
But joint like a serious problem child down here and you need an extra day to work it out and feather it out a little bit more , a little taller , it's fine .
Take it , but don't try to get ahead with a problem joint and mix these two .
You're gonna end up just adding so much mud to the wall and having this huge mass here that you're gonna have to sand .
It'll drive you crazy .
Ok .
So just the horizontal today in the inside corners , let's just run through this .
Ok ?
So in this situation , same thing as before .
Take time with your travel , you wanna just run the area looking for ridges , get rid of them , ok ?
If you have a ridge and you don't knock it off , that means you have to fill with more mud , right ?
And we're trying to do everything we can do so that we can do less is more .
All right , run it right off the edge .
Now , we're gonna start near the outside corner .
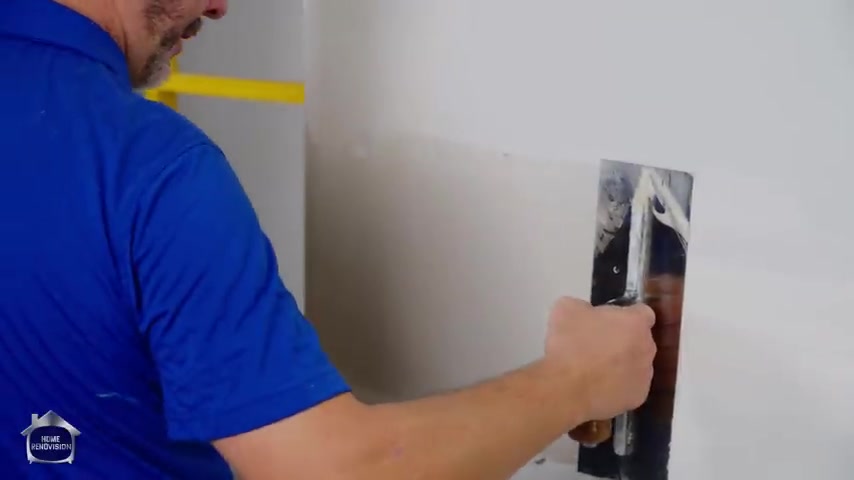
And the reason for that is because we're combining this , I'm putting all my material here and I'm gonna run right off the edge .
Now , I'm gonna run pretty tight .
You can see here that's the tape .
When you do less is more approach .
You always see the tape through the mud and that's a good thing because then you know what you're doing .
I can see the ridge that's the tapered edge of the drywall .
I don't need mud here down .
I don't need mud from here up .
I need to fill this .
Ok .
So by doing this nice and tight , I get a really good look .
Ok ?
I almost want to take it all off .
Pressure on the bottom part , clean it , pressure on the top part to clean it and then right down the middle .
Ok .
That's done .
All right .
I'm not doing this perfect .
And then coming back for three hours of sanding every foot .
No , no , no , no , no , no .
OK .
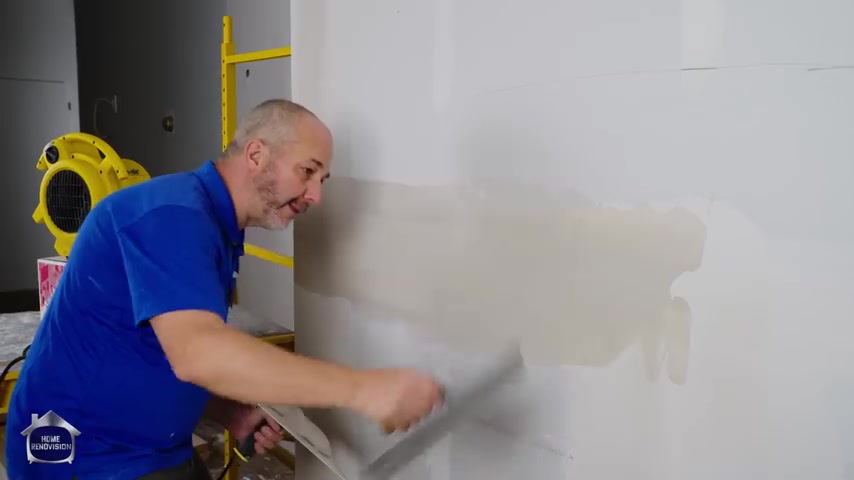
Pressure on the bottom , pressure on the top and then clean it out .
It should be flawless at this point because you're making your , your mud milky smooth , right .
You're not confusing the joints and getting trail lines going in different directions , apply it pressure on the bottom , pressure on the top , feel free to come back with an emptied travel here tight through the middle .
I had a line even further .
I'll stretch it out .
Ok .
Now I'm gonna start right in the corner about two inches in because this is finished .
That's the six inch .
I don't need mud here .
Stir dry pressure on the bottom .
Pressure on the top .
Pressure in the middle .
We'll start here on the , on the dry part right here .
We didn't need any mud here .
You don't have to have nothing that's done .
That joint is finished .
I know when you , when you watch TV , and you look at any building shows where you watch a lot of these guys on the , they're using the machines , their lines are perfectly horizontal .
Everything is so sharp to look at , but they're using expensive equipment that you're not going to buy for your job that you can't rent for your job .
And quite frankly , it doesn't do as good a job .
That's right .
I'll be the first one to say it .
Those drywall machines are for speed , not quality .
The tape doesn't get pressed into the mud .
It's set in the mud .
It's not bedded .
Ok .
There's just nothing about that .
That does a nice job .
The corner is always atrocious .
I'm going in and take a look at a brand new house .
Get a flashlight , go up into the corners and take a good look .
I'll be atrocious the way I'm teaching you to do this .
Your work is going to be absolutely flawless .
That's the difference .
You don't be able to spend time doing this kind of work to get a really lousy result .
You wanna be able to spend time doing this work so you can have your friends and family over and go check this out .
I learned that on youtube less is more we're gonna do side of the knife just like the 1st , 1st time we were in there taping .
Right .
This time though , we've got a nice flat edge .
We can run our knife of guns against .
There's actually too much mud here because I see it puck .
See it pitted .
So I'm gonna put more pressure and I put more pressure until that pitting is gone .
As long as it's pitted .
I'm not happy .
I mean , the mud's too thick .
Ok .
Here we go .
So now I've got a nice edge .
OK ?
I got a nice fill that's ready for the six inch blade on the next day .
OK .
You don't always have to come off the side of your knife , right .
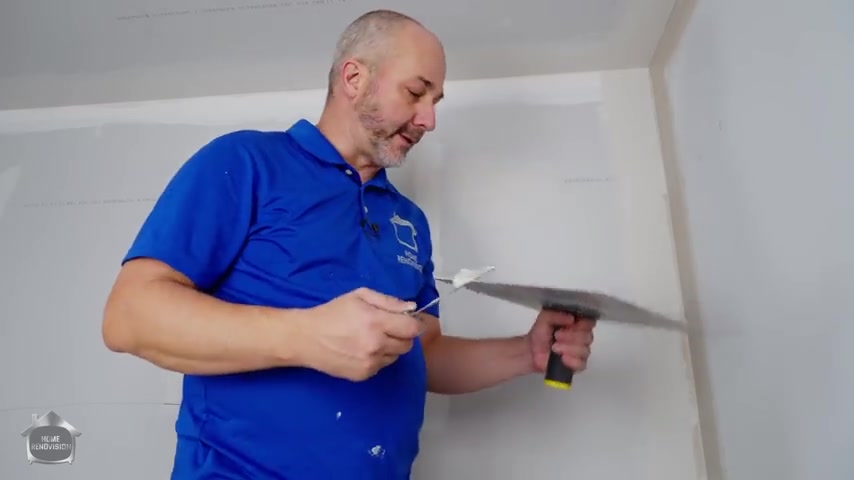
Pressure on this side now to get that extra mud off .
All right , you're gonna use the edge nice and flat .
You're gonna just scoop out all the extra material .
Leave room to flatten it out without getting that ridge .
A snow plow ridge .
It's not perfect here .
These are material , these are material , OK ?
These material back to where it's what's already done .
Nice .
Always work towards what's finished .
OK .
There we go .
Wow , that's so sexy .
OK , loving it because I would be remiss if I didn't finish this , I'm just gonna run through the rest of this and get the rest of the four inch work done .
And that's day three , we don't even touch the outside corner on day three .
Ok .
Because that's where all the horizontals bump into and like just like the bud joints .
We don't want to do anything vertical on the same day as the horizontal on the second coat .
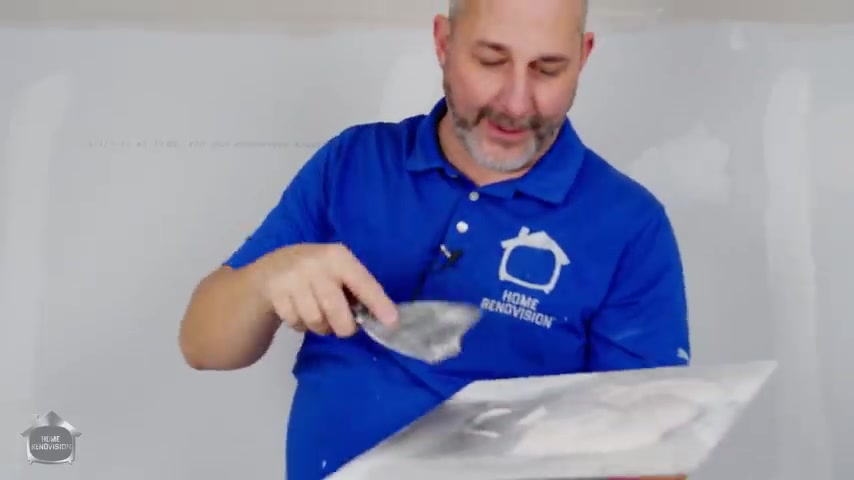
All right .
So leave it alone .
All you gotta do is this and you're gonna go down in the basement and people are gonna think you're hard at work because taping is really quiet .
You can be watching the game and they could think you're taping all day long .
One more thing .
Yep .
You guessed it .
Day three gotta do the screws because who knows ?
Maybe they're good .
Maybe they're bad .
Can't tell when it's dry .
That's how you tell .
Ok , there's hardly any mark there , there's hardly any pit .
That's actually really nice .
Remember the thicker the mud that's left on the wall , the darker the tone .
So you can tell if you were filling a screw hole .
That's , that's not bad at all .
I think three coaches is going to be plenty for that .
Now , here's another pro tip guys , right ?
Remember you mix this mud and it's going to last three days for this project alone .
So take your knife clean off all the mud off the edges .
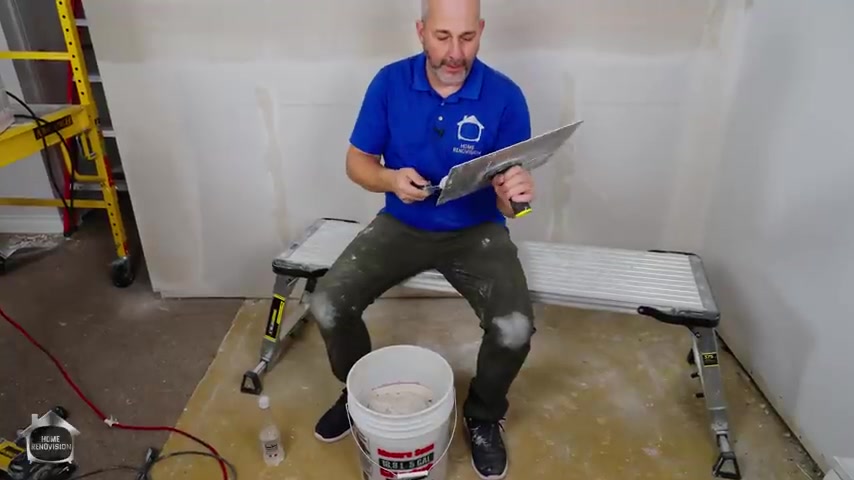
You don't need a plastic lid or anything like that .
Ok .
And you might want to use a sponge .
Even depending how much of a mess you made , how much mud is left when you get down near the bottom , sponging off the edges isn't a bad idea .
Take your mud , throw it in there .
This is all clean .
Remember we are working not getting dirt in our mud .
All this stuff on the edges considered dirt now .
Ok .
So you're gonna scrape all that off .
Get a nice clean hot .
All right .
Run it under the sink and get that wet the next day before you use it .
That is dirt .
Goes on the floor in your pail .
You want to massage the top , make it all nice and flat .
Ok ?
Have a drink can then share with your friends .
OK ?
Just a little bit of water .
Here's why we're actually going to create a uh a miniature environment here .
That's our lid .
All right .
Now , what's going on in here is it's not gonna seal perfect .
There's gonna be a little bit of air movement and you're gonna have a dry atmosphere out here and a wet atmosphere in there .
And so by putting a little bit of water on top , you're gonna help prevent that mud from going to that nice creamy consistency and turning into something thick over three days without a proper water seal on the top , it'll go thick and you're gonna try to finish your job with the thickest mud you've got , it's not gonna work well at the end of each day , add a little bit of water and it slowly soaks into the rest of the mud and makes it even creamier .
So then the next coat that you do is creamier .
The next coat you do is creamier .
By the time you get to the end of the week , you've got the creamiest mud you could possibly have hoped for .
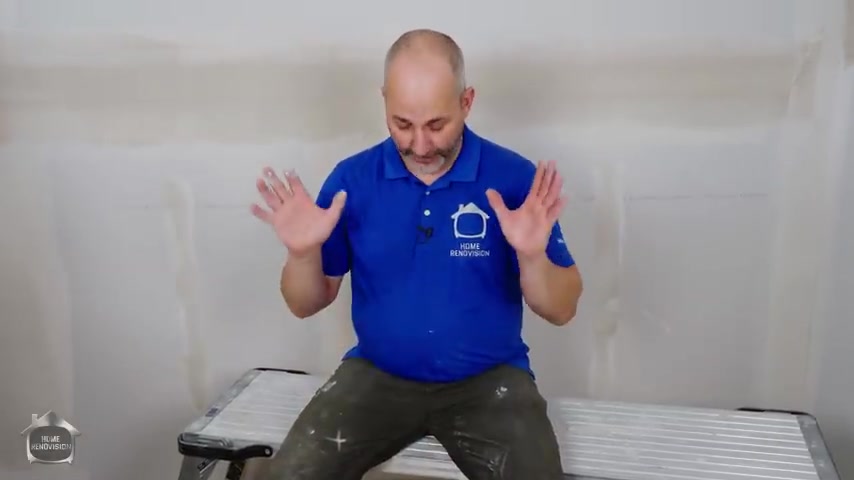
You didn't even have to put it in a machine or use the blade once you've got it started , don't touch it except to add a little bit of water .
Ok .
That'll make it perfect every time it's day four , which means for you , it's your last day of doing taping .
This is awesome because after day , you just go one more day of letting it dry .
You're not putting a lot of mud on and then you're ready to start sanding and priming , right ?
Which is awesome .
So , uh , the other option is after day four , you could always take one more day , walk around with your Hawk in a four inch or a six inch and just look for anything .
That's just not perfect .
If you want to be as picky as that , go right ahead .
You could also take advantage of the fact that once you've got it done at day four , you're one step away from a level five finish of your drywall , which would mean to finish , skim , coating the whole wall with a thin layer of drywall mud .
Ok .
That's a brand new beast .
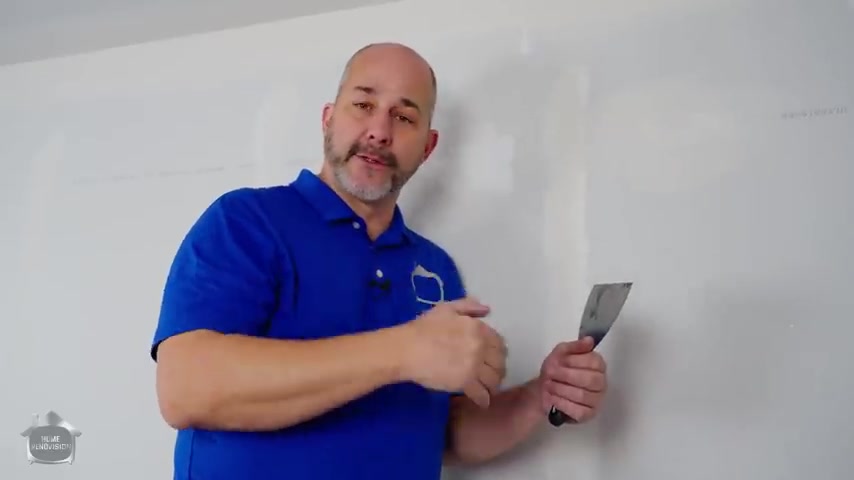
But what I'm showing you is level four finish , new home construction is a level three at best .
In most situations , new home construction is actually a lower quality finish than commercial building applications because they're built with so much speed involved .
And what they're trying to deliver you is a product that looks good from a distance and they use flat paint as a finish .
Everything is a trick of the eye to make you think everything looks nice but an experienced drywall taper can walk into a brand new home that's been done with the machines and they're in and out of there in just a few minutes and you can walk into any corner and just go this close .
It'll blow your mind .
Go ahead .
I dare you .
The next time you're at somebody's house that was just made .
There was a track house of any kind , just go look close in the drywall corners .
You'll be surprised how nasty the work actually is .
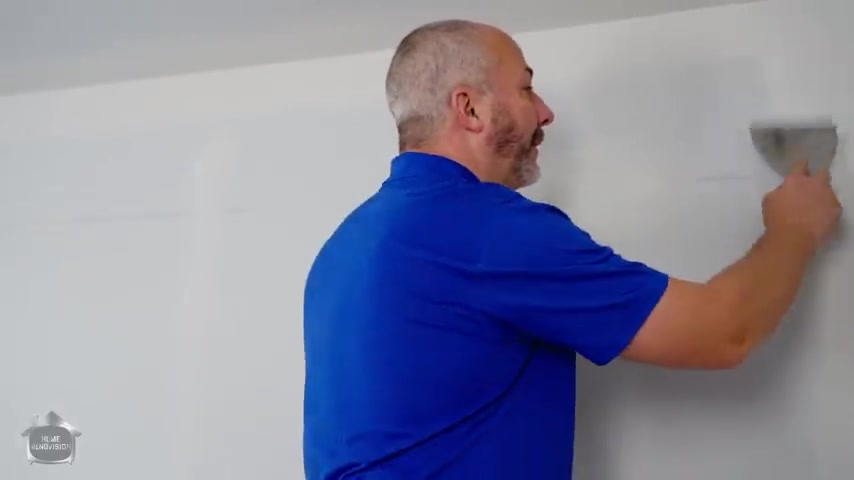
You couldn't possibly paint a wall as an accent wall with the work done that bad you first have to do is fix all your corners before you can paint an accent wall .
It's that horrible .
I'm telling you right now .
All right .
If you don't believe me .
Yeah , we're gonna do an accent wall at my daughter's house .
That video is coming up soon , it's gonna blow you away .
I mean , I'm a pretty decent painter .
I couldn't , I can't cut a line in her house to save my life .
We're gonna have to finish painting the rest of the house to fix all that mess .
All right , here we go .
We're just gonna go and double check .
Right .
This is our opportunity to get rid of extra things .
Same as before .
Only now we're working on a different line .
You can almost just listen for what you hear .
There's ridges , right ?
You can see them .
Obviously , these ridges , boom , boom , boom .
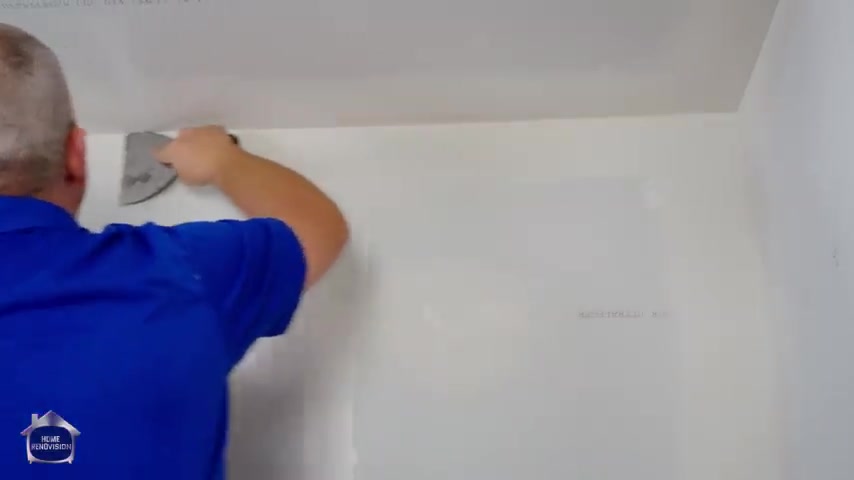
I'm not even sure what I did to screw that up , but I'm gonna have to clean them this way before I put my second coat on .
I did not clean that as well as I should have .
Sometimes when I'm making videos , I rush my own work and I shouldn't do that .
All right , here we go again .
The Hawk is on the lid .
I'm not gonna get any mud dirt in my mud .
Now , my surface is looking pretty darn pretty now .
So you all know today , I'm gonna use a six inch second coat on the bottom of my joints and on my right sides .
Ok ?
I'm probably gonna do my screw holes one more time just for the heck of it .
And I'll probably do a six inch wide just to make sure that I don't have any ridges and reduce sanding .
But down here the horizontal finish is vertical .
This is my butt joint .
This needs a little work .
I've got a nice ripple here .
OK .
That's not a problem .
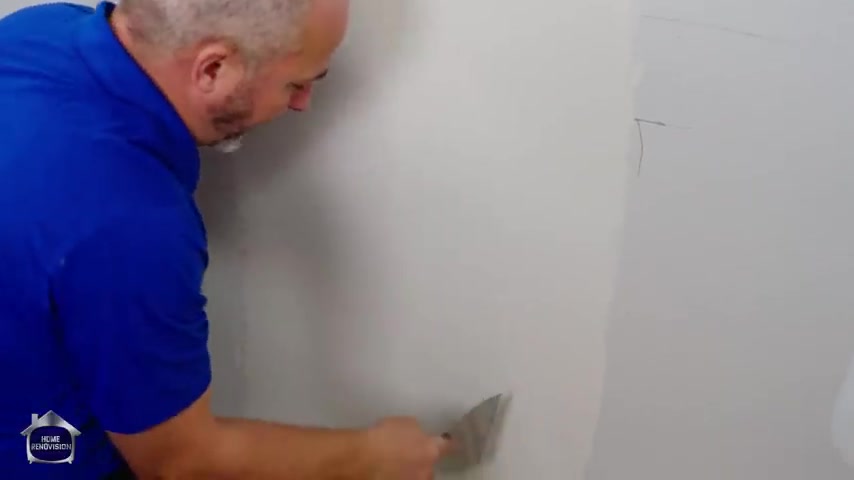
But check this out .
OK .
Right here .
That's where we set the depth .
If we can go back to uh day two , we put a little mud on each side and then we skimmed it up the middle to try to almost expose the paper .
OK .
And now we're the depth of the mud from here to here is established from here to here is established .
Now , what we wanna do is we want to get just a little thin coat here and stretch it out to here .
OK .
So let's just do the six inch first and then we're gonna jump into the butt coat and I'll show you how to finish this off , make it look like you've been doing this all your life .
First order of business .
Just take a little mud because on this , a joint right there , I see a little mark .
OK ?
And I'm not gonna just ignore it .
No , we're doing bottoms and right sides , which means I'm doing both sides of this and that's a little tricky , right ?
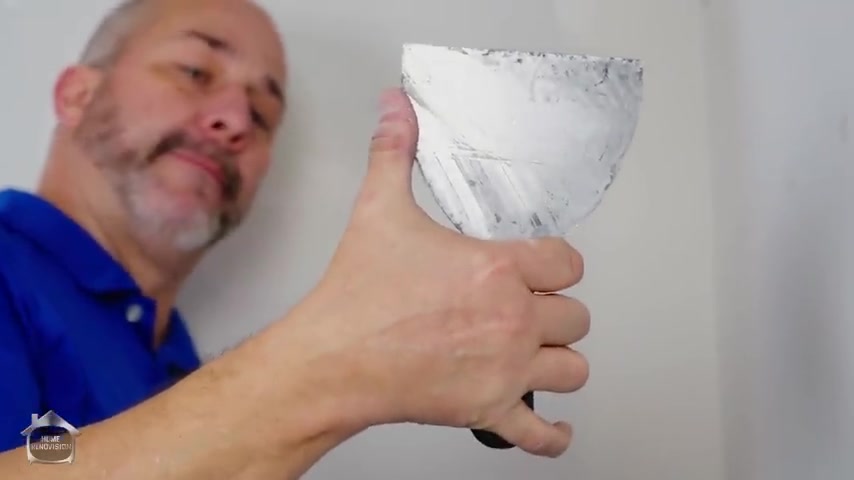
Because we try not to do too many of these situations where they intersect .
OK ?
And remember when you go to finish , most important part here is that this knife has a 90 degree edge on the corner by my thumb .
If I pull like this , it cleans and runs right off the edge of the ceiling and it gives a perfect 90 degree edge .
OK ?
If I pull like this , then I'm gouging it and I'm leaving material on the ceiling and then I got to clean the ceiling and then I'm gouging it .
You're always making a mess .
So how you hold the tool is just as if not more important than the process you take .
So put on your mud , clean your edge .
OK ?
Pressure on the bottom set your tool .
Perfect .
90 .
If you gotta go slow , go slow .
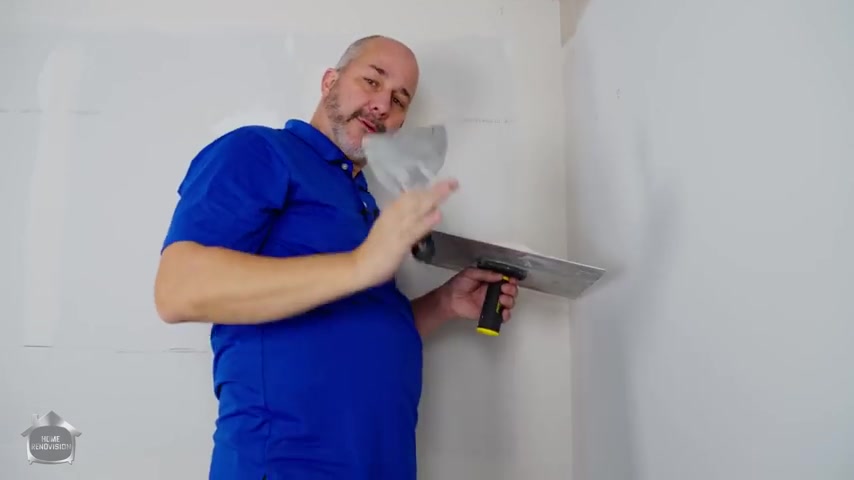
But that all right is a perfect corner .
We're just going to do that over and over and over again until we have all of this all taken care of .
All right now , we don't need a lot of mud for this line here .
We're just gonna get it and delivered in place , ok ?
So same rule , clean it , bottom pressures and you can hold the knife any way you want as long as it's 90 to the ceiling .
Ok ?
Now , in this situation , I don't have enough material to snow plow in .
So add a little more , go back 90 degrees .
Make sure it's filled .
Perfect .
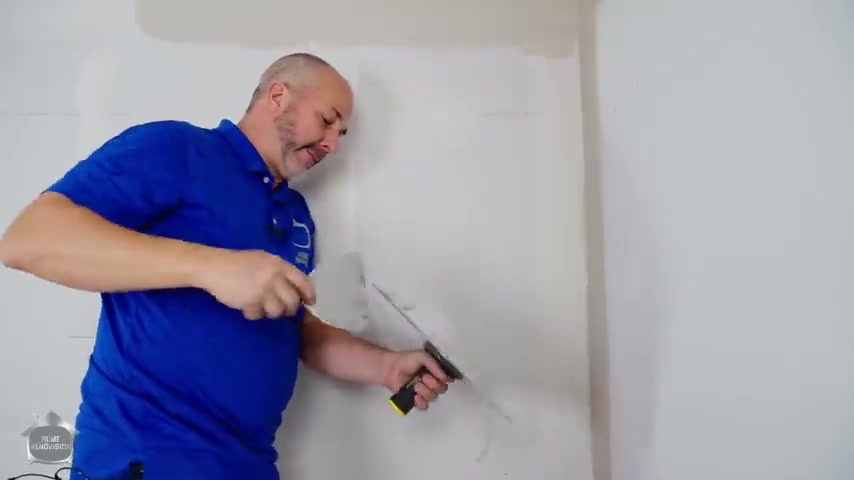
It's the way it is .
You know , you don't never move forward until you're happy with what you've just done .
Right .
If I fix one side , I'm going to wreck the other side , right .
So we're going to go six inch pull this way and then fix it Ok .
Here we go .
Let's just put on a little bit of money here .
Let's even it out a little bit with some pressure .
Let's run the knife off the side , off the inside corner .
It just reduces the amount of sanding .
You've got to do with that sanding block .
Ok .
90 degrees .
Um , not perfect .
It's just the way it is and that's what sanding is for .
If we , uh , if we made it perfect , you wouldn't have the sand except the drywall compound when it dries because the water is evaporating .
It has a certain texture to it .
It's different than a smooth wall .
So you always have to sand just to change the texture , even if it's to take your sponge and just do one quick pass , it's still necessary or it'll show up in the paint afterwards .
Ok .
All right .
So let me finish all this off and then we'll jump into the rest of it .
Ok .
So we're back to our outside corner .
You know , there's one thing about this corner that is gonna look a lot different than most of your houses .
And that is this , when you look at it with the bright light , you're not gonna see a dent two inches in and all the little holes from the paper from the corner beach showing up .
That's what happens when you use those machine mud tools and you're in a hurry .
They only use two coats .
They don't use the hardener and then over time your , your corner bead start to like translate the fact that they were done with , with water and only got two coats .
So sketchy .
How did they get away with that ?
But here we go .
This is your last code on the corner .
Be the first one was 45 .
The second one was with the regular drywall compound .
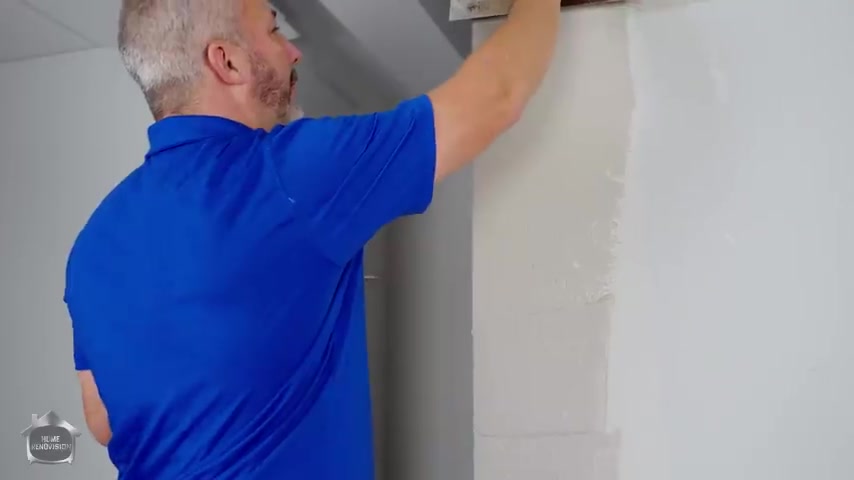
Ok .
Now I'm gonna recommend start with a clean knife .
Go right to the corner .
You're gonna have situations like this , pull it nice and tight .
This is not about leaving material on there .
This is about making it as smooth as perfect as possible .
Ok ?
Every little bit of mud that you can get off of there you take off .
All right , that is the best way to finish an outside corner and then do that and then whip it on the ground .
Don't get dirt in your mud .
Same thing from the bottom , right ?
You get it on first , ok ?
And then we're gonna use some pressure , get it all off .
The whole goal here is to just get rid of all the imperfections .
So that when you're standing , you're just changing the texture of the wall and you're not removing a bunch of mud , ok ?
You really want to be able to just do a nice light pass .
Now , we're at a point here now where it's time to go do that butt joint so that you can also see that as , as a part of day four , I also hit my screw holes right now .
The screw holes themselves are hardly showing up anywhere , which means they're actually filled , which is good now .
But joint , we're gonna use this curl , the travel over technique and work from the bottom up .
Take some good chunk of mud and we're going to start in the middle this time .
Remember the second coat we filled on the left side , filled on the right side and then cleaned up the middle .
This time , we're going to start up the middle and we're not going to use a whole lot of mud .
Just gonna do something to start with .
We're gonna take off a little bit more .
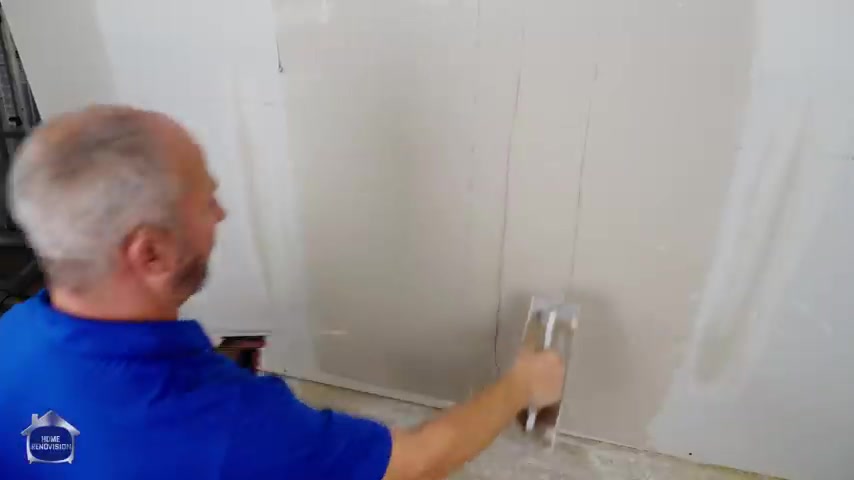
You go to the right and then another shot , you go another travel over same thing , clean up here and then the whatever's left on that .
Now , we've got lots of mud here .
Now it's time to make it all nice and smooth .
Ok ?
So when we did the second coat , we did clean the outside and then we did the middle last .
Now we're gonna start with the middle and you know where your tape line is because you can see the mud at the bottom .
So the middle of the travel you want to put in the middle of that tape line and you wanna try to put your pressure right on your first knuckle , just go straight up .
Ok ?
Don't deviate .
There's your paper tape .
You should still see it in your joint .
That means you're not making this wall any thicker than necessary .
Now , we've done the middle .
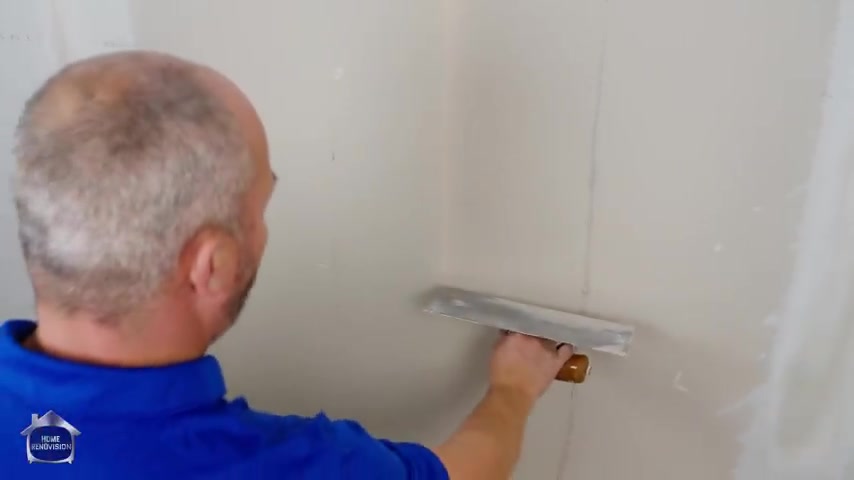
Now I'm gonna take my corner , I'm gonna try to keep the pressure on this lead lead edge where the paper tape is and just smooth .
Now I'm coming over here and now I'm gonna try to go even pressure , a perfect world .
I don't have this ridge , but now I'm just going to flatten that out .
Ok .
Really light pressure .
I'm actually liking this .
It's OK .
If you got a little bit of a line , this is what sanding is for .
Here we go .
Now , I obviously didn't have enough mud on the wall when I first started .
All right .
So let's try that again .
Pressure , of course is on the paper joint and then come over here , medium pressure up the middle , same thing happened here .
Don't have enough mudd , it's going to happen to you .
So don't be surprised .
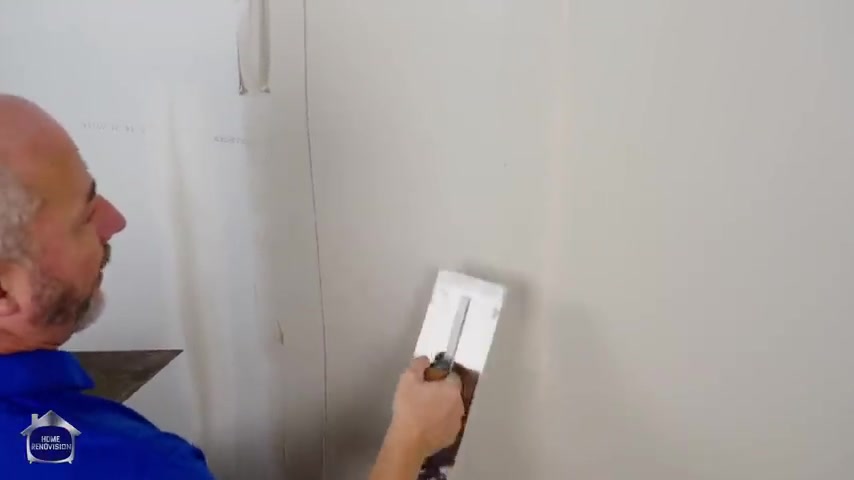
Now , medium pressure straight across the blade , OK .
I've got a little bit area here to fill .
So let's just start this one all over again .
OK .
Paper tape pressure , the medium pressure up the middle .
If you're not sure if you have using enough pressure , you either have it perfectly flat or you've got a little bit of a ridge or you've got these lines , these lines mean there wasn't enough pressure to smooth the mud out .
So I'm going to go up again one more time .
With a little bit more pressure .
Here we're going .
Now , I'm going just on the drywall pressure , trying to clean it one more light pressure just to smooth it out .
Here we go .
Now , this looks pretty darn good to me .
All right .
It's not perfect .
It's not gonna be perfect .
Ok .
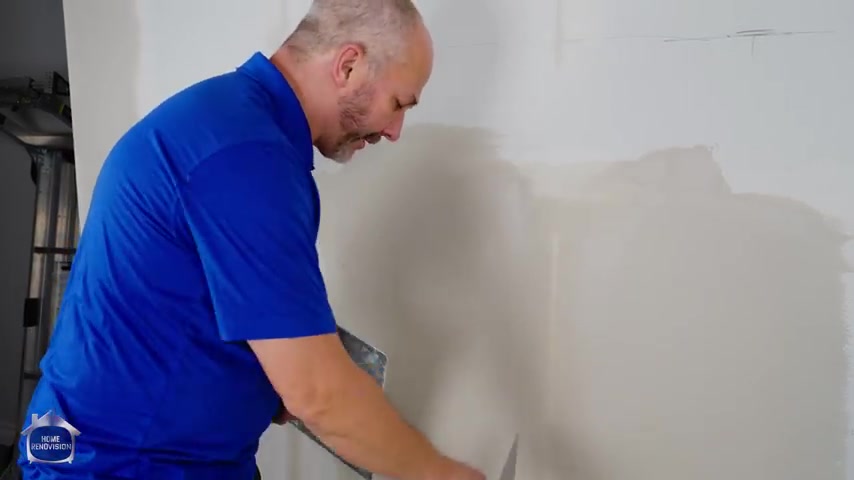
It's so difficult to learn how to get the pressure exactly the way you want it .
Every butt joint and every wall is different because it has wooden sticks and they have bows and bends .
Ok ?
Don't be hard on yourself here .
Remember if you have a groove , you have a problem , but if you have a ridge , you have something that can sand off .
That's ok .
All right .
Don't worry about coming all the way up above this line because this was already perfect .
All right , this is about as finished as you're gonna get it .
It's time to walk away and let it dry .
So that is how you get a level four finish and drywall .
It's also a level four on my Jeff meter .
Skill level irony .
Right .
So here we go .
Remember , it's about having the right amount of mud in the right place when you're finished that .
When you sand , you have a perfect finished job .
Ok ?
If you sand and you're disappointed or you make mistakes or you make scratches in the mud , this is all gonna happen to everybody .
What you do .
If you're not happy with the performance of your work is you sand it and then prime it with the P VA drywall primer .
You let that dry overnight and what it does is it hardens up .
Ok ?
And now you can come back with more mud and you can do all the touch ups and repairs .
Ok .
Knowing that your sanding block is never gonna sand past the paint and you can sand everything else smooth because whatever you're not happy with is going to be a groove or a scratch or an indent and you can fill that and then sand it smooth back to the paint and get a nice perfect finish .
Even if you've got to do that .
Sand and mud and sand and mud 234 times , who cares ?
Right .
It's a learning curve .
So if you don't get it perfect the first time , it's ok .
Just sand and mud , you'll be fine .
All right , use the primer as a backstop to the work that is completed to the level of the satisfaction and then finish repairing from there .
Now , we're gonna put some video links in the description for how to sand , how to prime and how to do a proper prime check .
The secret to good drywall work is use more lighting than the drywall will ever be exposed to normal conditions , right ?
So that you can find more mistakes than anybody else will ever be able to see in the future .
And that way when you move your furniture in and you turn the regular lights on .
It's gonna be great because you use 50 million watts of power to find your mistakes , right .
That's the secret .
So thanks for joining us in this tutorial .
Now , you know how to do level four .
Look forward to seeing the next video in the series of how we do level five in the Jeff meter , which is going to be doing tile work , right ?
We've got a video coming soon .
Make sure you subscribe to the channel and hit the bell for notifications .
So you don't miss that .
Ok ?
Because once you've learned level five , you've got all the skills you need to remodel any room in your house .
Yeah , that's awesome .
You're awesome .
You're your best contractor .
Click this video right here .
You're gonna learn how to do an amazing prime check and I got all my tricks for you to help you through that .
Cheers till next time .
Are you looking for a way to reach a wider audience and get more views on your videos?
Our innovative video to text transcribing service can help you do just that.
We provide accurate transcriptions of your videos along with visual content that will help you attract new viewers and keep them engaged. Plus, our data analytics and ad campaign tools can help you monetize your content and maximize your revenue.
Let's partner up and take your video content to the next level!
Contact us today to learn more.