https://www.youtube.com/watch?v=COcoIe1zzt8
2023-06-14 18:21:13
Connecting Two Shipping Containers Together! Double Wide Home, Garage, Warehouse - DIY - NO WELDING!
Have you ever had the idea of buying 2 40 ft shipping containers , cutting out the center walls and slapping them together .
It's a little more difficult than that .
But in this video , we're going to walk you through the steps and show you an engineered solution to give you a double wide 40 ft shipping container .
Stay tuned .
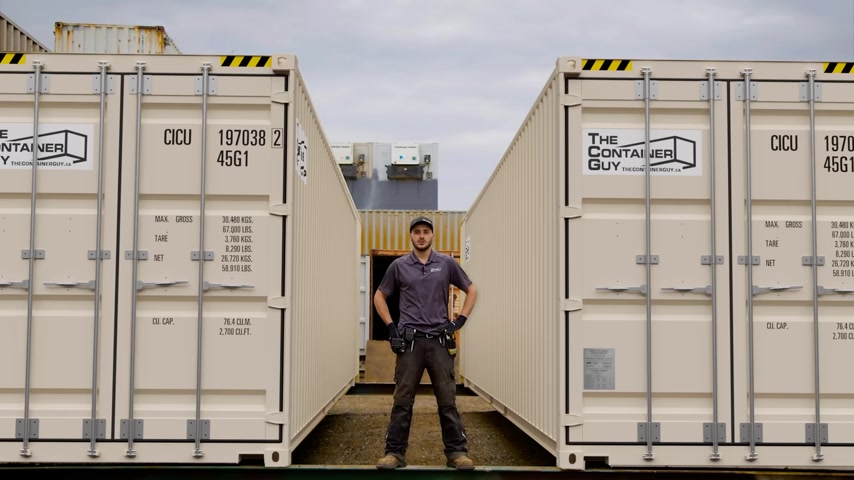
Hi , I'm Chaing mccoin .
The container guy .
We've received a customer order for a structurally engineered stamped and permitted 40 ft double wide shipping container .
We'll be using 2 40 ft high cube one time , use containers , cutting out the center walls , installing structural headers , performing a few other modifications , shipping them off to the customer in Northern Alberta and then reassembling on site .
What happens often here at the container guy is customers come to us with their problem .
We work closely with the customer in developing a solution and that is exactly what's happened here .
This customer , we've actually already built them the first prototype , double wide shipping container .
They liked it so much .
They came back for a second .
So we've made revision to the design .
Once this kit is finalized , all revisions made , this will be available to the public for purchase .
Check us out T C G dot CA .
We'll keep you updated on when this is available .
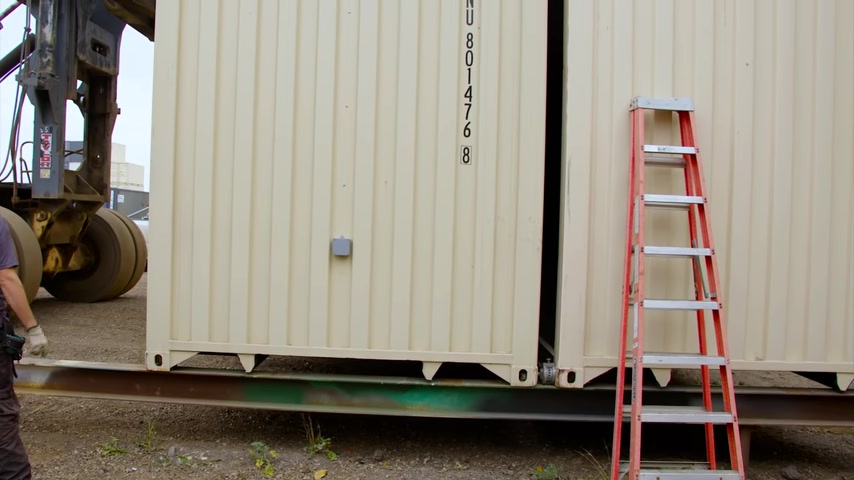
We're very fortunate that the customer already has a concrete slab on site for their foundation .
If you're going to cut out the full 40 ft of a container , the floor is going to sag .
So in order to mitigate this floor sag even when on a concrete pad , it's still going to sag a half inch or 12 mil because the bottom channel is higher up than the corner castings .
And so yeah , if you just sat a can on concrete , it would only touch in the four corners .
So to mitigate the floor sag even a half inch , it's still kind of annoying when you're operating in there .
We've got a half inch thick flat bar that's four inches wide .
We'll be installing it underneath the channel stitch , welding it all the way across and flush with the corner castings .
So here we have the 1st 20 ft length of flat bar clamped on and tacked in place .
I just want to show you the difference between installed and knots .
So that gives us that extra half inch of clearance on the under side of the channel , we went over it with the grinder to get all the undercoating off and nice and level .
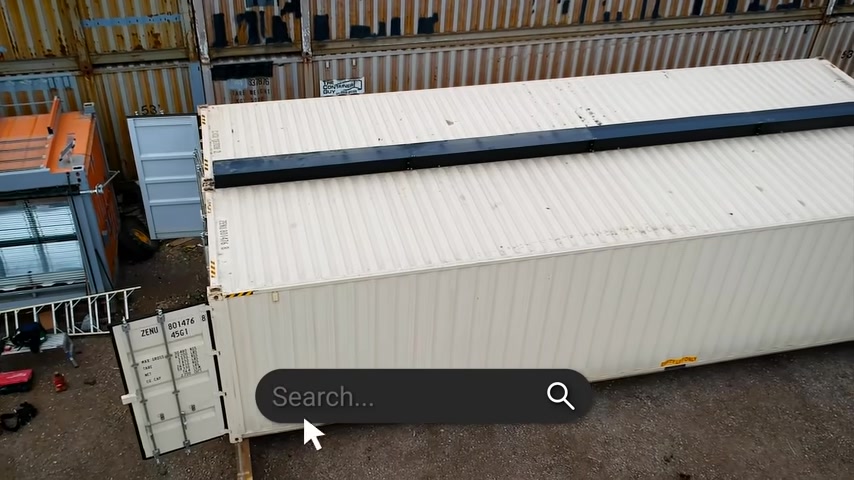
So it's not pushing down on the flat bar in weird places now that we have the flat bar all welded up on the bottom side of the channel there , we're going to get into installing the temporary post .
So what we'll do is cut out , there's just a small panel section on these forties from weld to weld .
We'll cut that chunk out .
We're going to weld in our temporary structural post prior to us installing the header and dropping the full 40 ft .
So that's just going to make sure the header is strong enough to support the weight of the floor and the roof .
So that temporary post is going to keep the floor from sagging as we handle this thing and as we deliver it to the customer until it is set up in place on site .
So just pop in the shop here and check in on the progress .
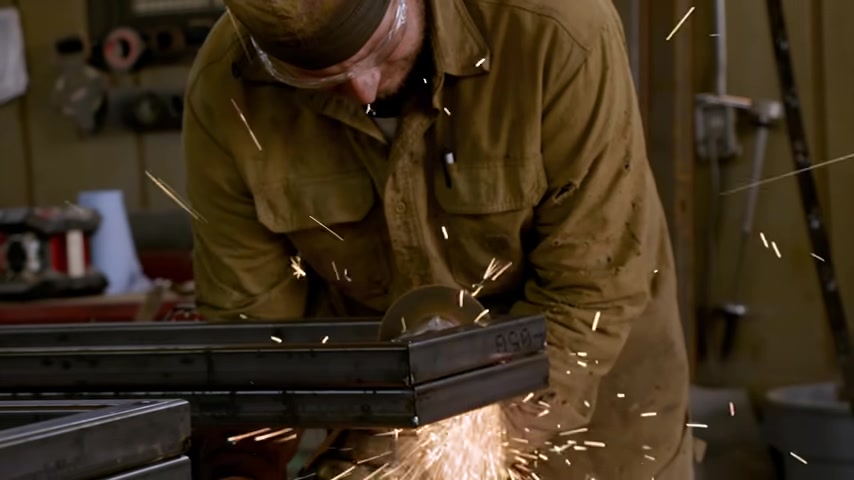
Our ticketed red seal , Journeyman welders have the trusses all tacked together .
Once they're all tacked together , they'll be clamping them down , making sure there's no warpage and then finish welding up all of the seams and edges .
These trusses are sectioned into 10 to 12 ft lengths .
This makes them much more manageable once they're all finished up to install on the container .
So these will all be fully welded , white metal sound blasted and then powder coated .
And then when we go to install these into the container , just one at a time , they'll be lifted up and bolted into place .
There will be no welding after that process is performed .
That's when we start cutting the wall , we finished welding up the header sections and have laid them out all on the floor just to test fit everything .
We've bolted everything together just to make sure proper fitment and no funny gaps .
So these are now ready to dismantle .
They'll all fit nicely on one pallet and then they'll ship off to powder coating .
So they're going to get a white metal sand blast and then we're going to do our nice textured black finish .
So we're back in the can .
The temporary post is now put in .
Uh , the next step we're gonna do is we're gonna start strut lining the wall .
We'll do this as we wait for the headers to come back from powder coating .
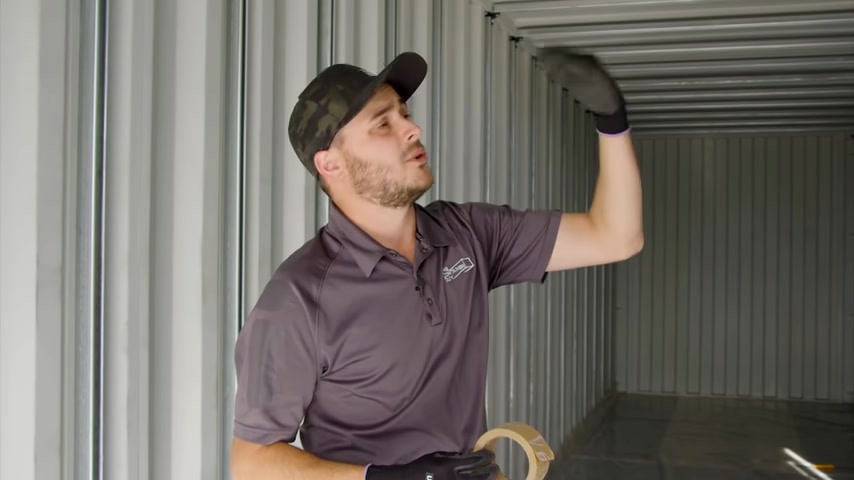
So we've marked out all of the corrugations every second corrugation .
We're going to be installing our CS M brackets and then strut lining the wall and eventually be going across the ceiling as well .
We're doing this in the non insulated position .
And what might be kind of funky with this one is that we're actually going to be spray foaming the ceilings .
So even though they're going to be installed in the non insulated position , and then we're spray foaming , we're doing that to handle the snow loads in the Arctic .
So the strap will be very tight to the ceiling and then the spray foam is just going to bridge that final gap .
And what that's going to do is because snow typically falls off both sides of a container .
And now we have that long header on the one side where the two containers join the snow can't , uh the water can't melt and drip off that side .
So there's potentially going to be an additional accumulation of snow in here and that could eventually concave the ceiling and who knows , collapse it or something .
So , we want to be uh we want to ensure that that whole ceiling is a nice two inch thick slab of foam with some steel structure in there that's gonna handle all the weight in the Arctic and allow the snow to melt and go off this side for this can and then the other side on the other .
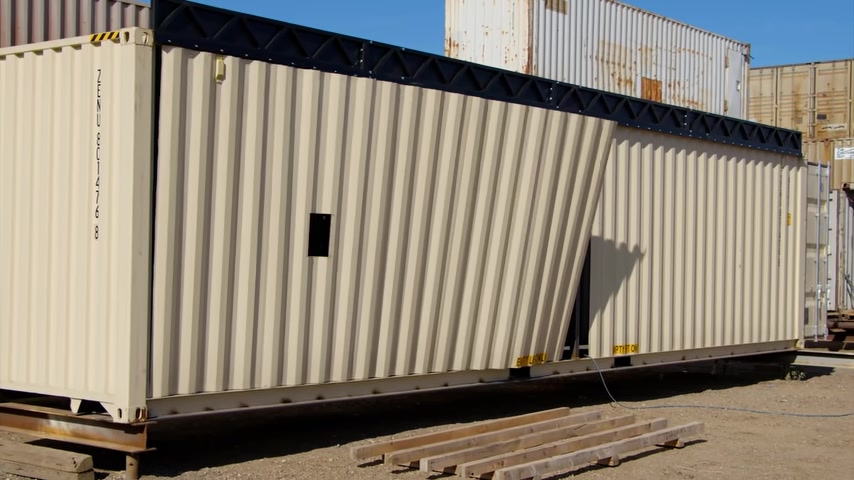
So on this side of the can , this is the wall section that's going to get removed .
We're still waiting for the headers to show up from powder coating .
And we'd like to get out strut lining this and potentially even spray foaming the ceiling prior to installing the , the header and dropping all the the wall panels .
So this bracket allows us to install strut on the square tube with a container and then it is actually completely out of the way .
So when the welders are cutting the panel , they're not gonna drop my strut on the inside of the can while they're doing it .
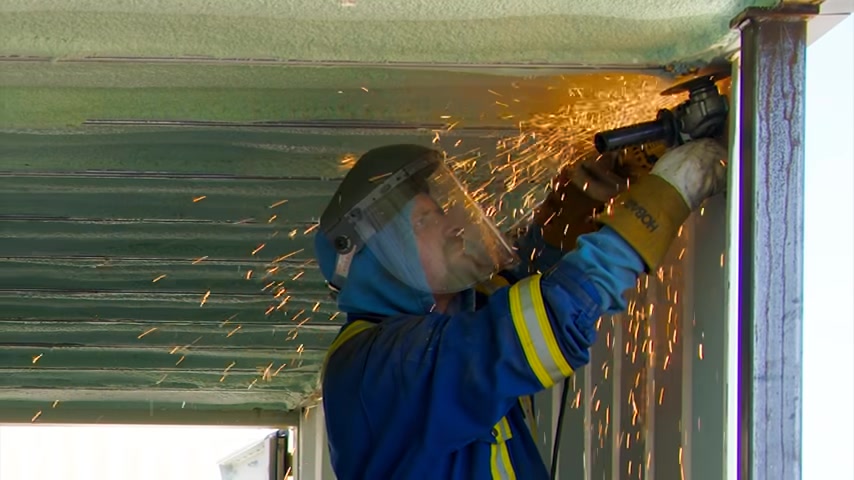
This is getting spray foam .
So you see it's nice and tight to the ceiling , we're gonna be doing two inches of spray foam installation in this one that's gonna lock that right in and then this roof corrugation here that's really echoy .
You know , it dimples when you step on it that keeps that nice and stiff .
Now , once you got this thing , spray foam to jump back on the roof , you can not move that corrugation .
It's rock solid .
It's super important to walk through the container with your spray foam contractor , the actual sprayer and go through with them , what you actually want sprayed and let them know what you don't want overspray on .

The better the prep work they do ahead of time , the better the finish is at the end .
And , uh , the spray foam , the , the particles that kind of settle in the air and land on things .
It's , it's pretty icky stuff and if it lands on the floor of the container can often , uh , discolor it even after you scrape it off .
So , yeah , make sure that you pull it down on the floor if you're not finishing afterwards and cover off any walls that you're not foaming , that you don't want foam stuck to .
What we're gonna have to do is just make sure that we tape off very nicely over top of all of the , uh , the CS M brackets that we're not over spraying on them .
And then on the other side , we're gonna be cutting the wall out .
We want to make sure that we don't foam the underside of the tubing .
We just go up to this , uh , this plane of the tubing there .
These guys here at Comfort , they do a great job taping everything off , making sure that we don't overspray anything that shouldn't be sprayed .
I want to point out the type of tape that they use because it's pretty , it's pretty good stuff .
I think it's probably , it's pretty low cost .
It's a three M scotch tape , a packing tape , this brown tape here .
And so this is going over all of the , the front face of the unit stops foam from getting in there and then it's super simple to rip this stuff off afterwards and doesn't leave any funky residue on the steel surface .
So for this double wide kit , the spray foams are just doing two inches of insulation on the ceiling .
But if this was for a container home project , our spray foam contractor recommends three inches of spray foam on the walls and the ceiling .
And typically either the underside or you're going to have to do some sort of rigid foam underneath a sub floor to make sure that you have a nice foam envelope inside of your shipping container .
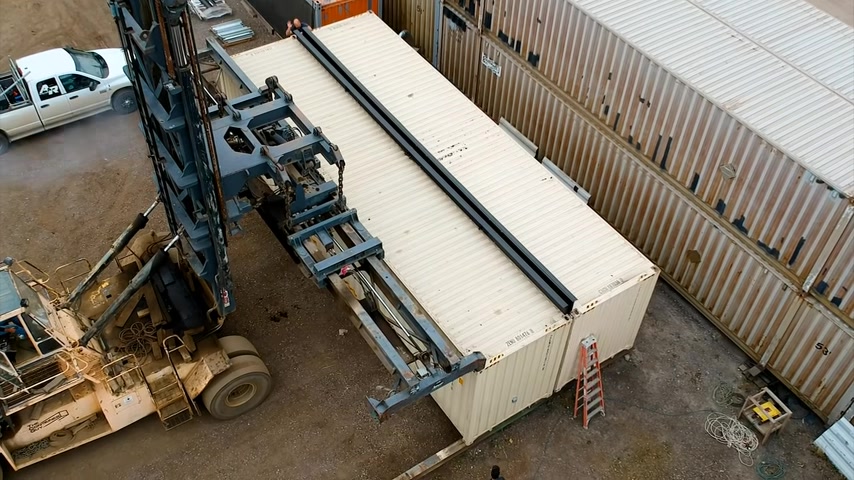
So the headers have arrived from powder .
It's time to jump up there and install them in the can .
What makes this kit so great is that they're in 10 to 12 ft lengths and so they're relatively easy to handle and get up onto this can all we have to do is just pre drill and self threading bolt , each header section in .
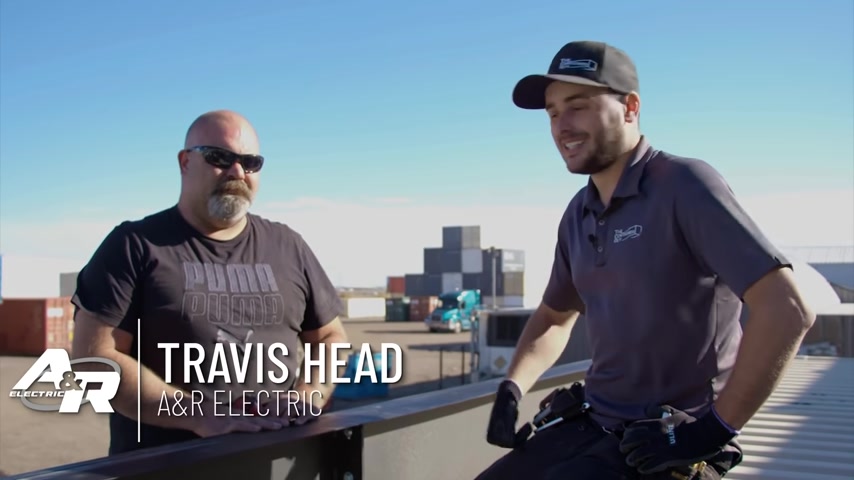
If you watch any of our other videos , you might start recognizing Travis by now .
He's , he's our electrician , which is kind of interesting to note here because typically when you're doing a header that's going to span an entire 40 ft cut out of a container , you need a welder there , not an electrician , but because these kits are modular and drill and bolt together , you know , he's a better man for the job than them .
And furthermore , we're just so busy with mods right now that I need his help and he's a good guy to be here and help me and willing to .
So I appreciate that .
But yeah , Travis and our electric , you want to size your drill bit for the smaller portion of this thread , cutting bolt and then that little notch in the threads , that's actually a drill bit , so to speak .
So that will make the hole a bit larger to the size that it needs .
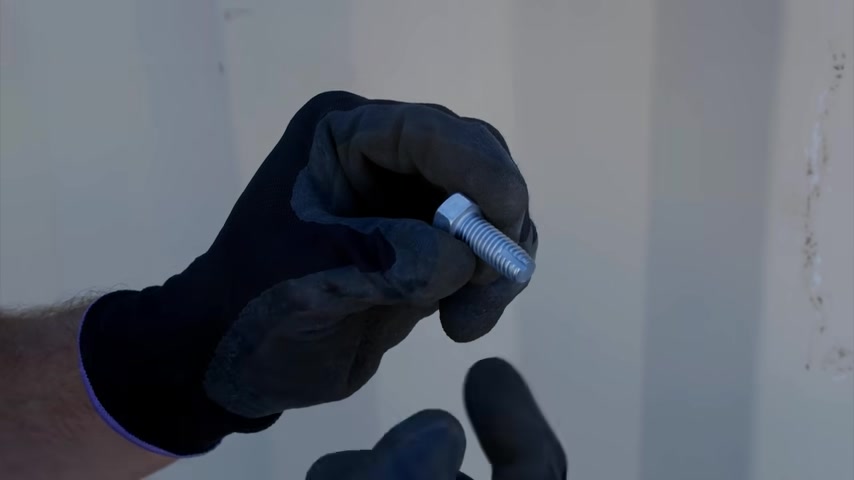
And it will also start cutting the threads so that you don't need to actually drill right through the 60 millimeter tubing .
You can just use this bolt or a case hardened bolt .
They'll go into the outside of the top tubing , but not right through your container and , and be a thermal bridge .
So far .
This has just been going together like butter .
We've been loving it compared to the last time , just so refined the design of it and the 3D model , everything is lining up perfectly .
We haven't had any problems yet and hopefully it continues that way .
So we've got the first two header sections in and we're working our way back .
We're so confident that we're kind of bolting it up a bit more thinking that we're not going to have to take it down and make any adjustments .
And we'll see if that decision pans out .
If you notice a tiny ridge from one trust to the other .
It's not a problem because the ridge cap that goes after this , once the two containers are brought together , it's just a ridge , basically a peaked ridge .
So there will actually be a bit of a gap here .
Anyway , the ridge cap secures to this outer flange .
So don't worry if there's a bit of a heap on one side or the other here .
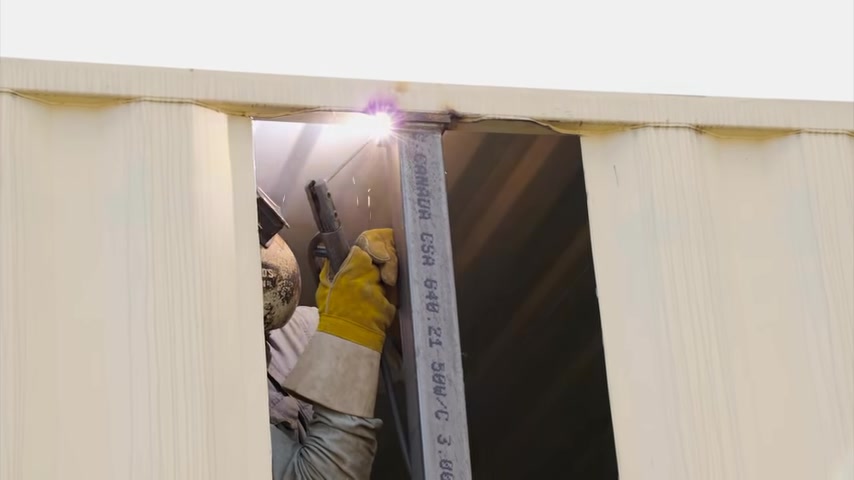
Our electrician has finished bolting up the headers onto the two containers .
So the next step here now is to have the welders come in and drop the corrugation panels .
What's super important to note is that we left the panel attached to the container in four different places .
The one tore over there , we got two other places in the middle and then one over there at the end .
So that just makes sure that when this panel drops , it doesn't come back in and take out your ladder , just the safety for the uh for the welder that's dropping the panel .
And then a second thing to note , we drug a pallet underneath this panel .
So now once we just finish these few little tacks and drop it down , we can come at this with our forklift and lift up this 18 ft sheet and not have it all bendy on us .
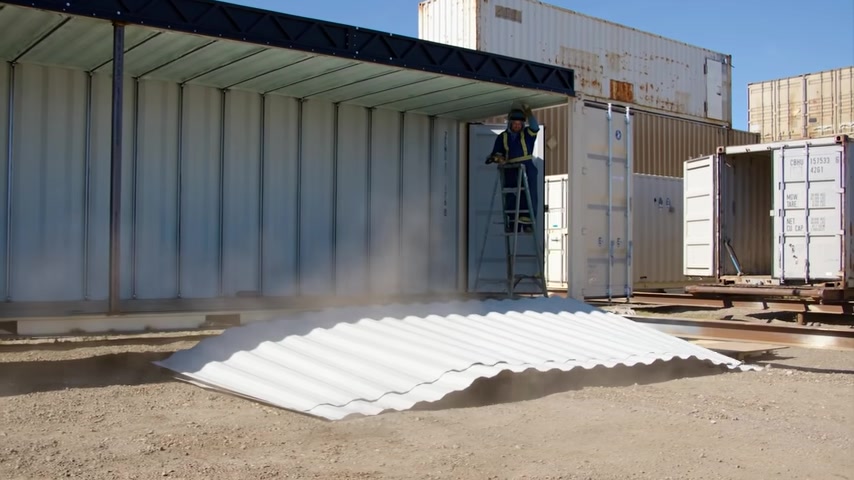
We'll probably use the same pallette and drop all four panels on the same one so we can get this up and out of here , either reuse these panels for other projects or send them off for recycling .
Now that the container is strut lined .
Travis is right at home as he installs the led light fixtures and runs his E M T conduit between them .
Notice he uses a laser level which ensures the lights are nice and straight as you look down them from one end of the container .
The customer wants one switch to turn on the lights in both containers .
The Travis will leave a wire loop out of the last light fixture that will have to be connected into the junction box by the electricians at site after this is delivered to the customer .
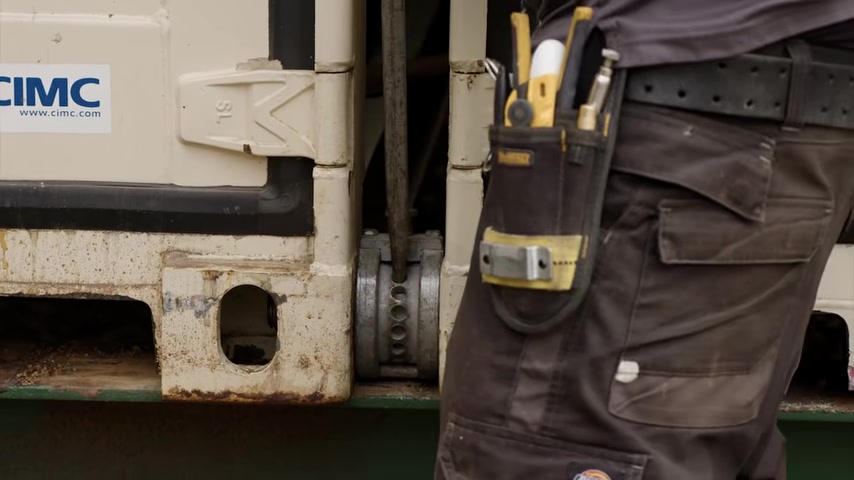
This double wide kit will come with these high capacity bridge fittings .
The one side of them is magnetic and so it'll actually kind of stick and hold into that can the twist logs to slide into the casting first .
So we'll get these in the four corner castings of the one container and then slide the other one up to it .
Uh When using these , it's great when both containers can be sharing the same foundation , whether it be a concrete pad or here , we've got the steel I beam here so that they stay on the same plane and line up nicely .
And then there's two different sizes of these .
This is the bottom corner casting , the oval shape .
There's also one that fits in the shield shape of corner castings .
And that's for the top because these are typically used when you're putting 2 10 foots together to make a 20 ft which can fit now in a vessel slot or you can actually put two twenties together , which would make a 40 it handles just like a 40 with our top lift .
So uh they're super strong , I think they handle , they rated for like £65,000 .
They're awesome .
And yeah , totally helps us make this double wide kit and then make it possible .
So it leaves us three inches between the cans , which is very nice and useful when it comes to making framing kits and flashing kits and folding special profiles .
It's a little easier from the top because you can actually get your hand up and inside the corner casting through the top hole .
And just remember uh the magnetic side with these is the uh the regular thread and then the non magnetic side is a reverse thread .
So that once the two cans come together when you use your pry bar or whatever to spin this and suck it all tight .
The bolt is gonna suck both not in this casting and not casting .
A big thing with this header kit is you want to make sure that the lower one is here in place first and then you got the , the uh higher one with the higher interior flags that comes in afterwards so that you're not uh fighting the design of the header and the way that the two flashings come together .
So we have the two halves lined up together and now we're just going to grab our top lift and just nudge it forward .
We only got to move it about an inch or two forward on these I beams .
So slide them together , see how these bridge fittings come together and then do the final hook up .
This is just being test fitted here so we can try out all the flashings , maybe pre drill as many holes as we can for the customer and have it as simple as possible for them to put together when it gets to site .
So we've sled the two halves together .
They're not completely together yet , but we have the heavy duty bridge fittings in between them .
Now , we just need to um tighten them up and that's going to suck the two halves together .
It's a left hand thread here , right hand thread on the other side , once we start sucking these together , that's going to align the two containers perfectly .
So you don't have to worry about a millimeter here , a millimeter there prior to welding , these bolts are going to do the work for you .
Once you're all set and done , there's this , that's just a safety lock .
So if you put that down , then it doesn't allow this bolt to loosen its .
So that was pretty simple Inside of a few minutes , we have these two for put together , they're ready to go .
I really stand by these high capacity bridge fittings .
I think they are the game changer for us trying to build double wide kits .
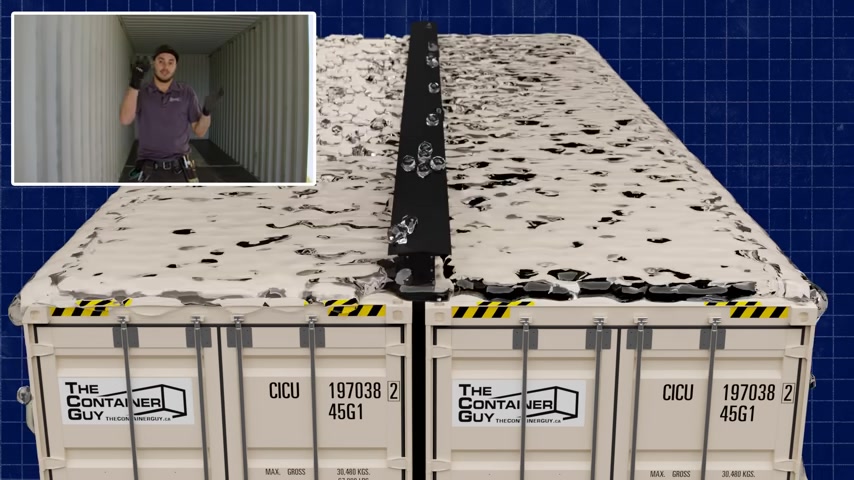
It's now to finish off this enclosure .
We've got four ridge caps that go on the roof and those get either self tapping screwed or bolted through the angled profile of this header and then there's two end plates .

So we've already laser cut and powder coated caps that just cover the end here and then this is fully sealed off on this side and then inside the can is just two channels that close off that three inch gap .
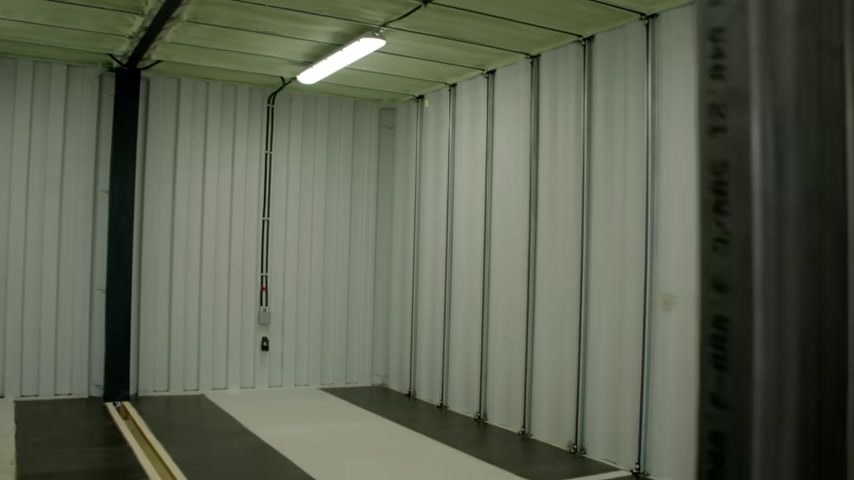
So here's the finished product .
This is what it feels like to be inside 2 40 ft shipping containers .
So uh way bigger , way larger , much more usable space .
Once it gets to site , the customer is going to be able to remove these temporary transport posts .
So they'll have that full open clear span they'll weld in their eighth inch , six inch wide flat bar along the floor .
That'll be the threshold plate between the two cans and take up that gap .
And then we've already test fit the end caps for the end walls here .
And so that closes everything up there up top , they'll bolt two headers together and then reconnect the wiring on site .
And this thing is in operation .
This is such a cool product , such a cool mod .
Both times that I've built these for this customer and I've wanted to keep them , can't wait to get this , get refined even further and get available to you the public .
And as always , if you enjoyed this video , please give it a like , subscribe to our channel and ring that notification bell .
Check us out at T C G dot C A .
Hope you learned something .
Partnership
Are you looking for a way to reach a wider audience and get more views on your videos?
Our innovative video to text transcribing service can help you do just that.
We provide accurate transcriptions of your videos along with visual content that will help you attract new viewers and keep them engaged. Plus, our data analytics and ad campaign tools can help you monetize your content and maximize your revenue.
Let's partner up and take your video content to the next level!
Contact us today to learn more.