https://www.youtube.com/watch?v=VSU0qWqKdAc
How to Build a Privacy Screen (w_ Monica from The Weekender)
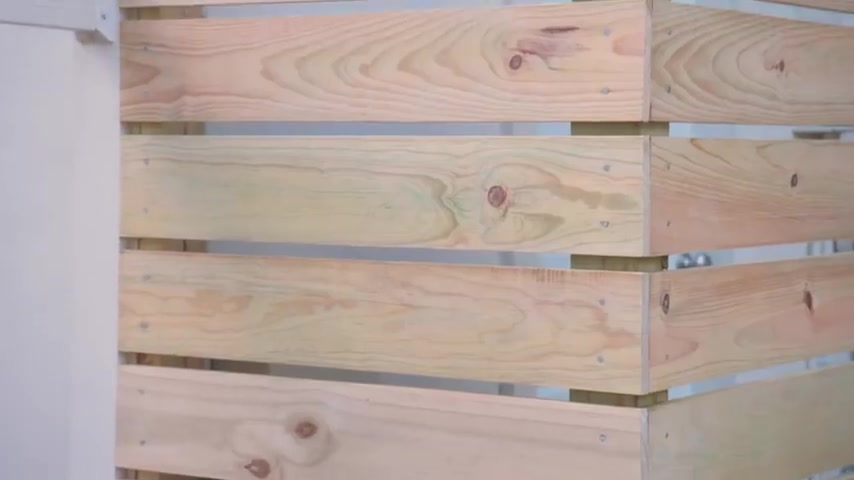
How many of you out there have a space outside of your home that you wish was a bit more private .
Maybe you live near a busy street or you have nosy neighbors .
Whatever your dilemma , I've got a solution for you today .
I'm going to show you how to build a privacy screen for an outdoor space .
I'm going to take you through the step by step process and teach you how to do it , right .
I'm confident that by the end of this video , you'll be able to take what you learned and do it yourself .
When we talk about a privacy screen , we're not talking about a full length fence , think of it more like a part that can block off a portion of your yard , privacy screens , not only create a much needed barrier , but they're also great for adding some style .
The first thing you need to determine is the location of your privacy screen .
Is it going into the ground on a deck ?
Is a part of a patio ?
What you're attaching it to will determine part of your design and the materials that you need for this situation .
We're going to be putting the privacy screen in front of the pool filter , the pool filter is right off of the pool .
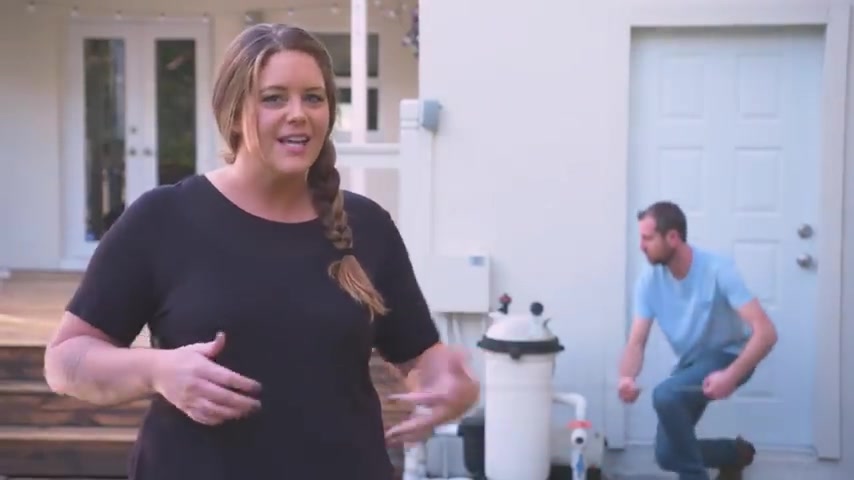
It's a beautiful but it's not something you really want to look at .
This is a great example of how a privacy screen can help you hide something that you need to access .
You don't necessarily want to look at it all the time .
My friend John is starting some measurements .
He's a licensed contractor and he's going to be helping me throughout this project .
So we're going to explain where we're putting it , why we're putting it and get our measurements here .
We have our pool filter and we want to hide the front and side , right .
So we're going to go for two sides kind of an L shape , but we're figuring out our exact length and our height .
So what did you come up with ?
So we have 39 inches from the edge of that trim over to the edge of this post .
Ok .
So if we dig our footers here , we can have our front screen at 39 inches that are right here .
Ok .
Here .
And as far as our height goes , we're kind of letting our utility determine how high we need to go because we want to cover that outlet .
So how high is that ?
We have 72 inches to the top of this electrical box , which is conveniently the same place as the top of this post is , it's perfect .
And since this is already footed all the way down .
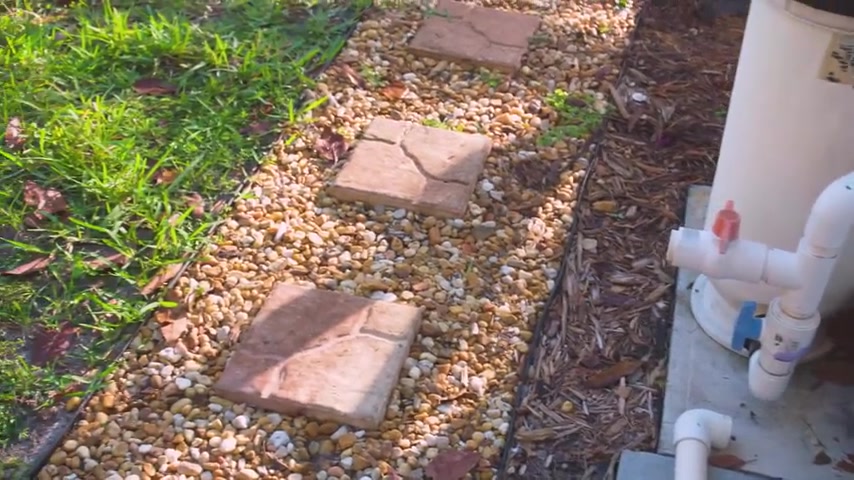
So if we tack right to that , we should be in good shape out here .
We're clear with the pipe so we can take a photo of it and we'll be in good shape for our situation .
We're going to be able to work off of the existing deck post back against the house and then we'll install two additional posts here in the front .
Ok .
It's time to create a materials list .
This screen should be a fairly simple build for us and for you at home , if you know you're wearing round and power tools .
Now , every privacy screens materials list could look a little different depending on the size and the design you choose for our purposes .
We need the following 34 by four by eight pressure treated lumber posts , one by six by eight s for horizontal slats , stainless steel screws , six inch fast and master headlocks .
One box of stainless steel ring shaped nails , two bags of gravel , 4 £50 bags of fast setting concrete and a couple of gallons of water .
All right , we're gonna get ready to start digging our holes for our posts .
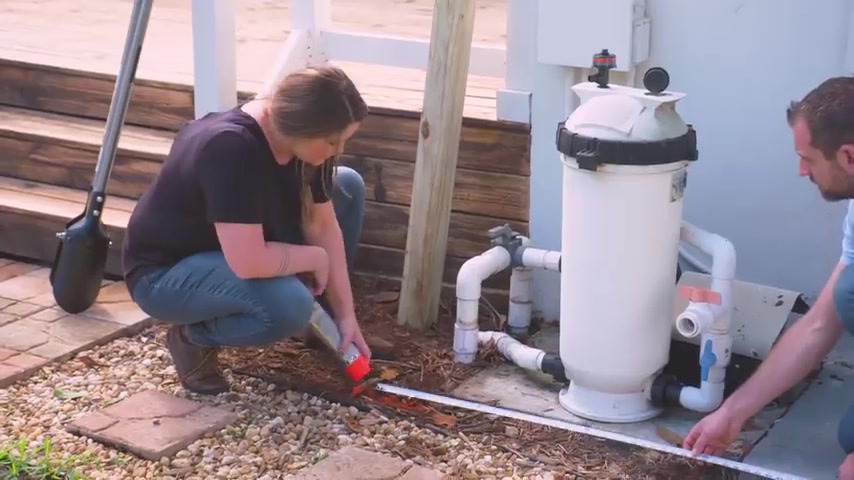
And what we need to do is make sure we're exactly placed .
So our privacy screen is going to be at a 90 degree angle .
So one post will go here , then the screen will continue on and then the other post will go right here .
So what we have is marking paint and now we're going to mark those holes , dig our holes and then we'll go build the rest of our screen that fits it .
Another thing to mention is that any time you're putting up any sort of permanent structure like this , you want to check with your local building codes and zoning and just see if you have to pull a permit .
And then do you want to call 801 to make sure that you have no utilities that you're messing with for the diameter of the hole .
Basically , how big , how wide do I need to make my hole the way to do it is to calculate three times the size of what's going into it .
This is a four by four , so four inches times three , I need a 12 inch hole can do this a couple of different ways .
We're going to be digging our holes and putting in our posts first because we do have a good bit of plumbing under the ground here .
Now , we've checked with our pool guy and we have a pretty good idea .
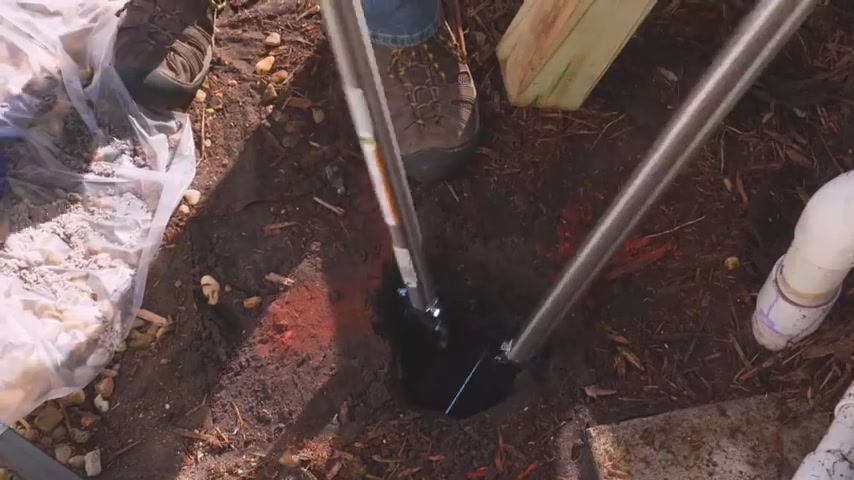
I think we're going to be safe , but we still feel like that would be the better route .
It's also a great idea to keep some plastic on hand that if you need to move some dirt , which we're going to be unloading a lot , you can put it on to a tarp and it doesn't kill your grass also .
It's easier to move it if you have excess .
All right , when you're using a post hole digger , really great does a lot of the work for you .
When you drop it down into your hole , your handles are together , then you'll spread the handles apart .
Let's it .
Grab all the dirt , bring it out and then put them back together to release it .
We are going down about 24 inches .
Now , we're in a really warm climate .
But if you are not , if you're in an area that can freeze , you want to know what your frost line is and you generally want to make sure that your hole goes six inches below that frost line .
And the reason why if any water gets below that and freezes it could heave the post up out of the ground .
So basically , if you're up in the northeast and your freeze line is at 36 inches , you want to go to 42 that way it keeps the post from coming up out of the ground .
Now that we've got our hole at 24 inches deep , we come to a really important step .
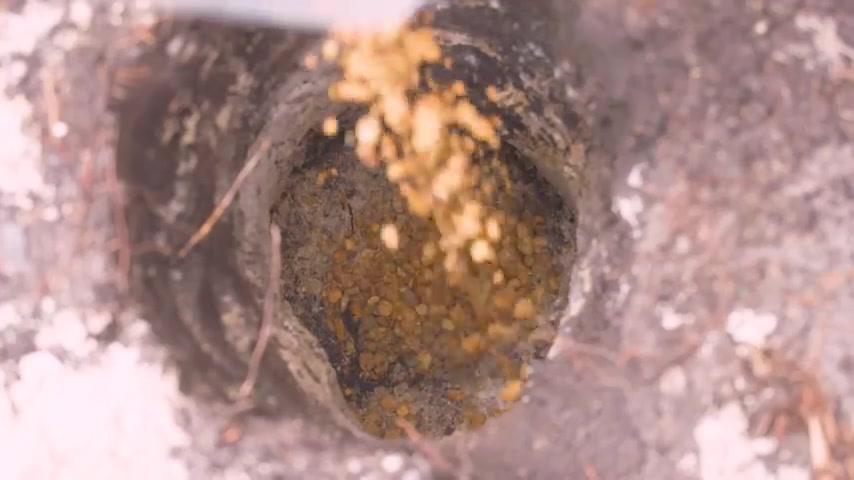
We need to add four inches of crushed stone or gravel to the bottom of the hole .
The stone will help with drainage around the post .
This simple measure will also provide a solid level surface for our post to sit on .
All right , our gravel is in , it's been tamped down by the post And now what we need to do is determine how much of the top of this post we need to trim off so that it's the exact height we want this privacy screen to be .
All right .
So we're using the level coming off the top of the post , which is going to be the very top of our privacy screen .
And now once John's level , I am going to measure down into my stone , I have a flat surface and that will tell me exactly the height that my post should be cut down to .
We are at 95 inches .
We got our reference point here and then we'll level off of that .
Now , this measurement is not going to be exactly 95 .
It could be a little more , it could be a little less , right , depending on exactly where our stone landed , but we're pretty close 94 3 quarters .
All right .
Ok .
All right .
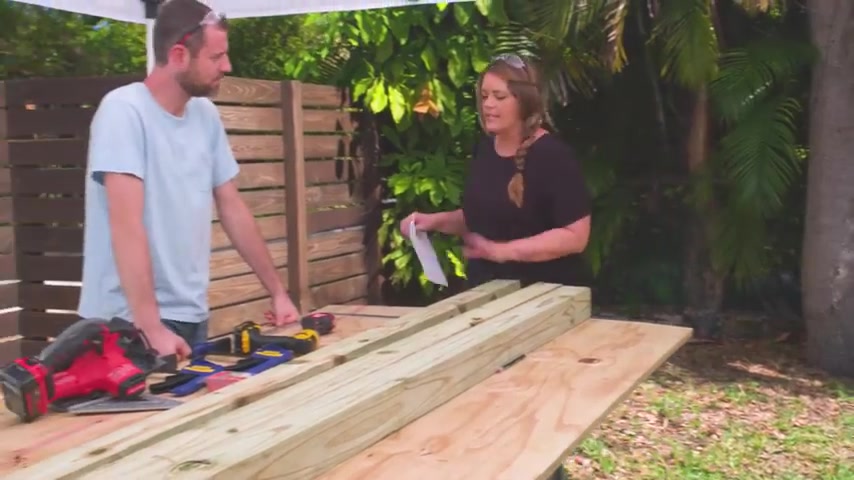
So we've set up a little work station here and when you're about to build , it really is important to be working on a level surface .
So we got two saw horses and then a sturdy piece of plywood that we work off of and even went for a little luxury , puffed up a tent to keep us out of the sun and comfortable as we're building .
As I mentioned , we are going to be building this privacy screen with an L shape .
And so I did a rough sketch I'm not an artist , but it shows you guys a little bit of what we're going to be doing while we're over here under the tent with our workstation .
We're going to be focusing on building this larger portion and then the smaller area over here will actually be built in place because part of that is going to be working off of the deck .
Ok .
So the first part of this build is going to be actually cutting down our four by fours which we leveled and measured and got our lengths on .
And to do that , we're going to be using a circular cell .
So for cutting these down , I think using a circular sole is going to be a better option than using a lighter sole or something like that .
This has a little bit more agility so we can kind of like work through and you're not throwing a piece of heavy lumber on top of , you know , a so , yeah , absolutely .
So it's a preference thing .
But for us , we're going to go with the circular saw and John mentioned that these are heavy .
I also should mention that they are pressure treated any time you have wood that's going to come in contact with the ground .
You want to make sure that you're using pressure treated because that will prevent rot .
Now , the one thing to keep in mind is that when you're using pressure treated lumber , you can't paint or stain it immediately So our privacy screen is gonna need to dry and cure for like 1 to 2 months before we can actually apply stain .
You want to really check out your individual product and what you plan to do to it and the timing will vary a little bit .
All right .
So we're gonna start off by measuring and cutting our wood .
All right .
So we're gonna measure 95 inches .
So John's just marking it and then I'm using a speed square to give myself a nice straight line .
So the blade in our circular saw is not deep enough to cut all the way through this four by four .
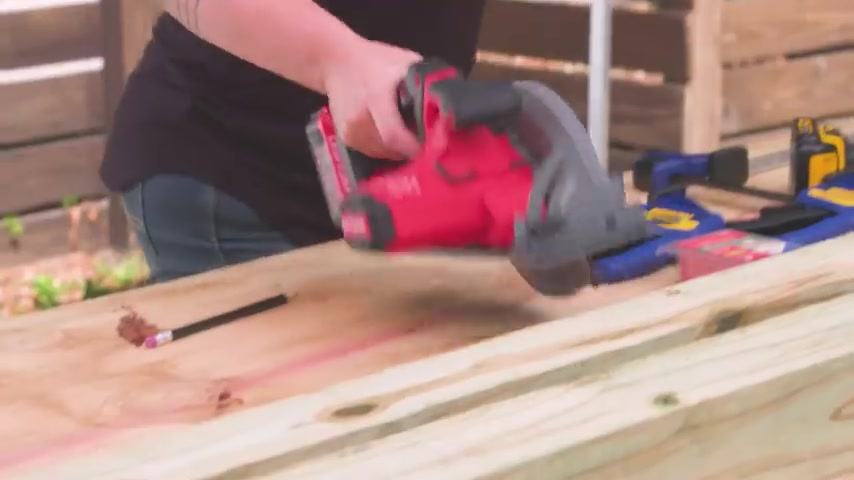
So what John's doing is marking our measurement on all four sides .
This way we can cut , then flip the board and cut again and we'll be cut all the way through .
And now we're going to safety up and use our circular saw to make these cuts .
So , one of the things that I really like about the saw is it's obviously light , it's not corded , that has a thumb lock is great for safety .
So if I go and pull the trigger right now , it's not going to start .
So you want to make sure that your , your blade is clear of the blade guard .
But when you come into it , you want to make sure I'm pressing my thumb lock down , pulling the trigger and you're starting away from the material if you come into it and then try to start it , it's going to jam up a little bit .
So when we go to engage , I'm going to use the speed square and it's going to act as a guide along with the pencil line .
So to use the speed square line up the blade with your cut line , and then you can take the speed square , slide it up and then hold it securely .
This is a great way to make sure you get a nice straight , steady cut , pressure treated wood is treated with chemicals and you don't want to breathe in any of the chemicals .
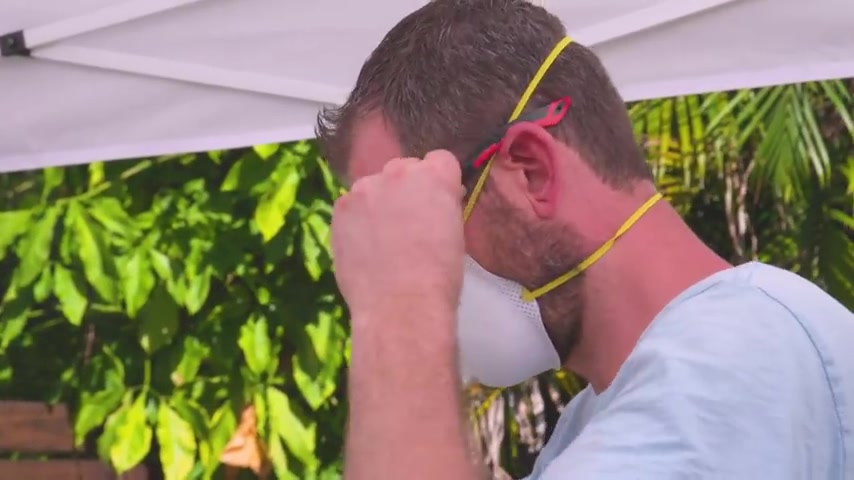
When you're cutting via the sawdust , you want to make sure that you are using a respirator dust mask .
You also always , always want to make sure that you're using eye protection when you're working with any type of power tool and we're gonna cut through , flip it and cut again .
Yeah .
Ok .
So our two main posts are cut to size , but this third four by four , we need to cut down for our top and bottom rails on the main section .
So our total is 39 inches .
So we're going to subtract 3.5 inches because these are actually 3.5 , not a true four inches , four by fours or 3.5 tricky .
I know .
So that brings us out to 32 inches .
All right .
So the total cut is going to be 32 when these add on .
We're at 39 .
Right .
Correct .
Ok .
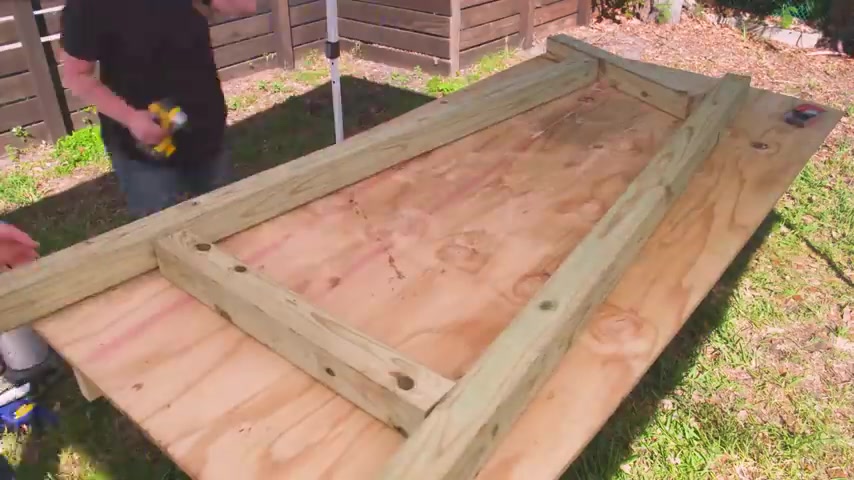
So all of our posts are cut to size and now we're building out what will be the framework for our larger side of the privacy screen .
We've clammed one of our long vertical posts to our plywood so that it's super secure and that will hold everything in place while we begin building .
So now what we need to do is attach all of these posts together .
And what we're using here are screws that are treated specifically with a coating for pressure treated wood .
All right .
So we're gonna start attaching down at the other end and give you one of these .
Now , I should note these are really long six inch fasteners , but that's what we need because it's going to go all the way through the one post and grip into the next one .
So this is an impact driver .
The difference between this and a regular drill .
It has enough torque to be able to drive through this without needing the pre drilling .
All right , we're going to put two on each end .
Ok .
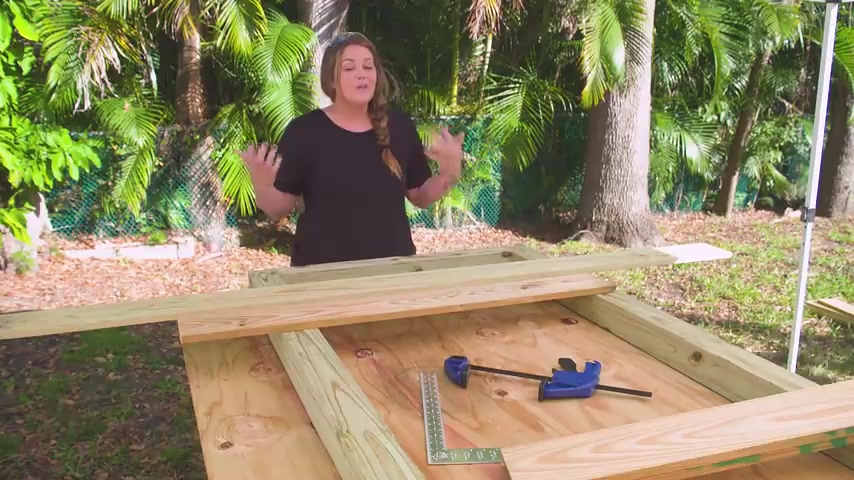
So now that we have our frame all set , we're going to get moving on to the wooden slats and this is where you can really get creative and have a little bit of fun and change up the style .
We are going with one by six pieces of wood .
And I decided that I want to make this look kind of like the fence .
So we're going to separate them , just put a little gap in between and just consistent horizontal slats .
But you could go with a combination of wider boards and thinner boards , you could vary the space between them .
You could go vertically .
This is really where you have complete creative control .
The first thing before we can actually attach these , we need to cut the boards down to size John's going to cut them down to exactly 39 inches .
So the boards will cover from one post all the way to the other post , the perfect 39 inches and then we'll attach them .
Ok .
Now that all of our boards are cut down to size , we can attach them onto the framework and we're going to be doing that using a hammer and galvanized patio deck nails .
The reason that we're using these is that they are exterior .
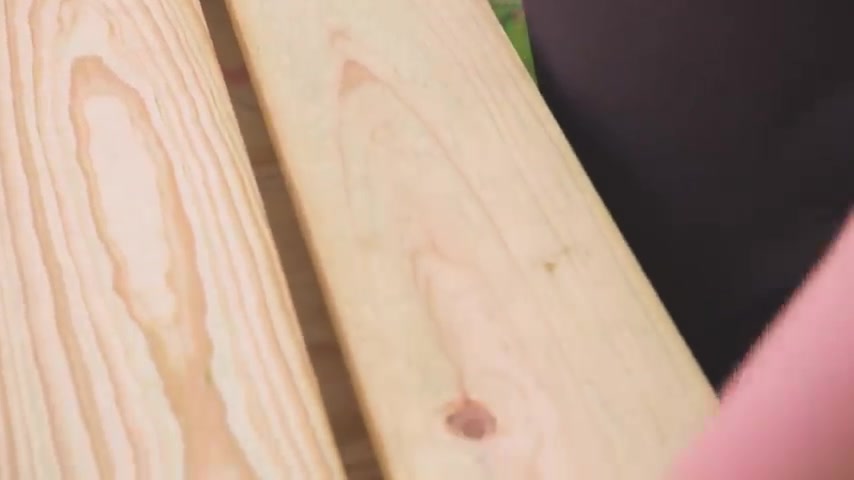
They're going to work really well with our pressure treated lumber and they're ring shanked .
And also just because you will see these nail heads , we went ahead and measured exactly where they'll go on each board so that we have a consistent straight line all the way down .
Ok .
So we have our first board attached , but now we need to determine the spacing between each board .
I got a little trick for you .
I like to call it a cheater block .
And basically , I cut a piece , a scrap piece of one of our one by here and we use this exact same piece every time we're going to have consistent straight lines and not have to measure every single one as we go .
It's a really quick way to do it and still get consistency back in here .
Sit down .
All right .
So this is the main panel , the privacy screen is built and now what we're gonna do is put it down into our pre dug holes .
We're going to fill it with concrete .
We're going to make sure we're nice and level , brace it up and then once this piece is installed , we'll build off the house and add the smaller turning section of our L shape .
Now that our posts are in our holes , we want to make sure that our privacy screen is level and plumb so level horizontally and then vertically level , which is plumb .
All right .
First thing we're doing is leveling off of our fixed point , which is our deck post here .
I'm pretty happy with that .
We did a pretty good job with our holes and the distance and our measuring this side is level .
Now we're going to level across the front pretty close , maybe a little bit high on that side .
So John is just going to use a hammer and tap it down just a bit .
We're attaching temporary braces to the front and sides of our privacy screen so that we will hold it sturdy in place when we put our concrete in to make these braces , we're attaching a one by four on to each side and then putting stakes into the ground , John's leveling and once I know he's exactly where we want it , I'm attaching a screw through the side of my one by four into the stake , holding it securely in place for stakes .
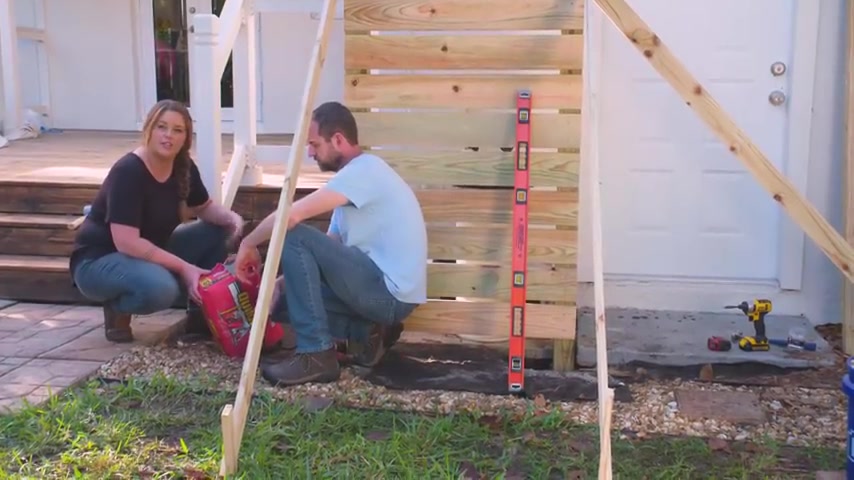
You can pick them up at lows or you can cut them yourself of any leftover scrap wood .
You just want to make sure that you have an angled point at the bottom makes it easier to go right into the ground .
All right .
So to make sure that our posts are super secure , we're adding some quick dry concrete that's going to go down into the holes .
We're using a fast setting concrete and we picked up about four or five bags .
Each hole is taking about two bags each .
What I really like about this is that we don't need to pre mix it .
So we're not adding our concrete and water in a bucket and then putting it in .
We can add the concrete to our whole dry high and then add water on top and it will still give you the strength and durability , but kind of save us a couple extra steps .
You want to stop about 4 to 6 inches from the top of the hole .
You can also check out another how to video on setting your post into concrete .
Click the link , we're moving on to building the smaller portion of our privacy screen .
This is the section that's going to be a little bit smaller and actually attached to the post on the deck .
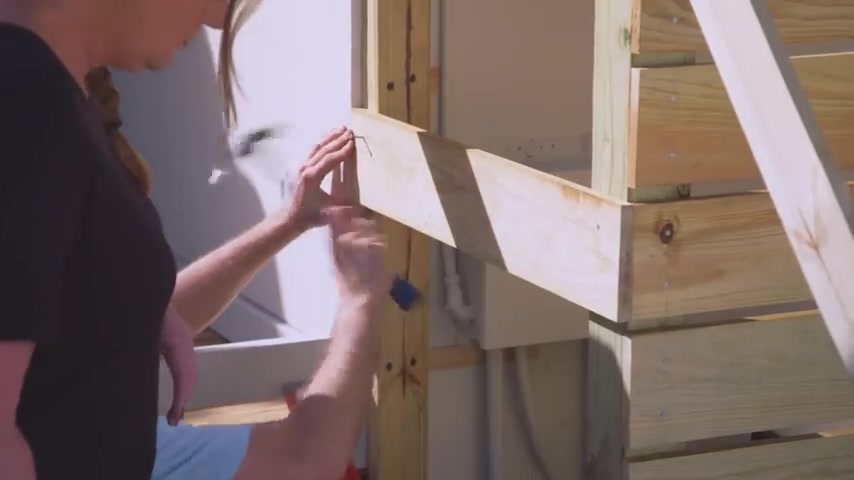
John's attached a spacer board and then a two by four directly onto the deck post that gets us nice and straight and level .
So we'll work off of that and now he's leveling and we're going to measure out and cut our slots exactly for each piece .
One thing to remember is that we're lining up our slots perfectly with the same location and positioning that the other ones had .
We're using the same hammer and nails and keeping our spacing the same as we did on the front side just to give it again a look of consistency .
So now we're going to use our cheater block on the back side .
But on the front , we're more concerned with making sure it visually looks perfectly aligned .
We're also hitting the ends of a little bit of sand paper just to make sure that it's nice and smooth and finished for my bottom three boards .
I'm going to install them just a little bit differently .
We want to be able to easily access the plumbing in here .
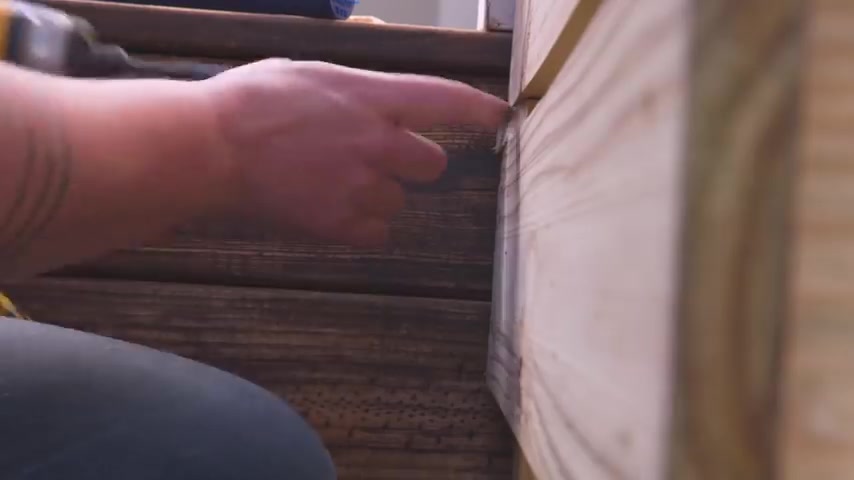
So even though this is a privacy screen , if you have an area where you want it to be private , but also easily accessible , I'm going to use screws to put these ones in , it's much easier than if I were to continue with the hammer and nails with the nails , it would be hard .
I'd have to pry it back up .
But with the drill and screws , if we ever need to access down there , it's just we can zip them back out and easily put them back on .
Ok .
Now that we have all of these horizontal boards on the only thing that remains are to attach the top two and that will require us to take our brace off , which we can totally do now because this is really secure .
All of these boards are fastened into this post and it's good to remove it .
Ok .
So we're just about done .
We need to remove the rest of our temporary braces and then we need to backfill the dirt around our holes , set everything back up .
So we good as new .
So we saved dirt from when we dug the holes and we're using that to backfill in .
We left about 4 to 6 inches at the top of our concrete .
So now we just need to get this all back to normal .
Ok .
Our build is complete and our privacy screen looks awesome .
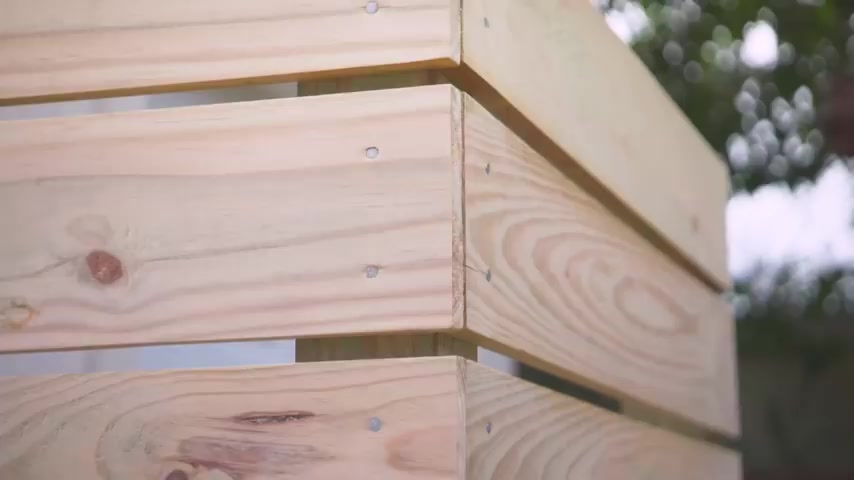
It's doing exactly what we intended , blocking the pool filter and it's even going to help out with the noise a bit , even though our privacy screen looks great , it's going to look even better in a couple months when we stain it to match the rest of the fence in this yard .
But remember because we use pressure treated wood .
We need to give it 1 to 3 months to fully dry out .
So for now our work is done , we'll be back , we'll stain it .
It's going to be good as new as always do it .
Right .
Start with Los .
Want to learn more .
Be sure to check out the lowe's youtube channel for great step by step and how to videos and lowe's dot com slash how to , for all kinds of projects .
Are you looking for a way to reach a wider audience and get more views on your videos?
Our innovative video to text transcribing service can help you do just that.
We provide accurate transcriptions of your videos along with visual content that will help you attract new viewers and keep them engaged. Plus, our data analytics and ad campaign tools can help you monetize your content and maximize your revenue.
Let's partner up and take your video content to the next level!
Contact us today to learn more.