https://www.youtube.com/watch?v=enGAs2zwEtw
2023-06-14 18:20:46
How to Paint Old Doors, Windows and Trim the Right Way!!! DIY House Renovation Episode 2
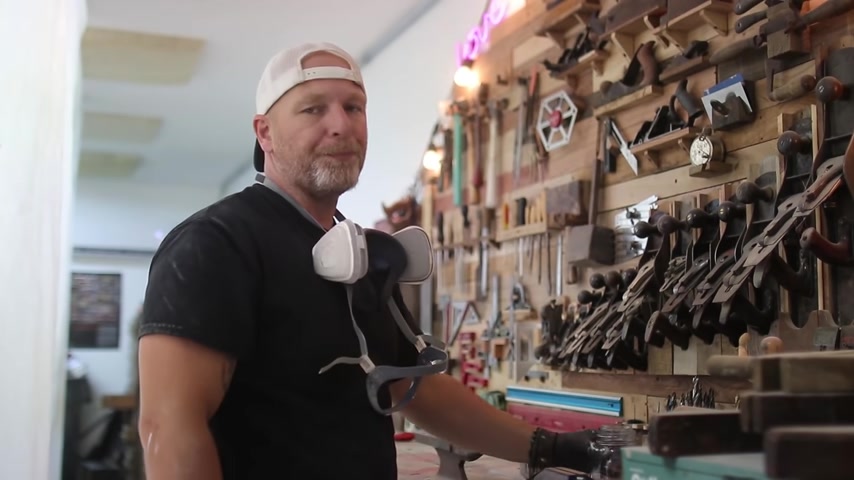
What's up guys ?
My name is Bar and welcome to our brand new Diy Dream home .
Well , it's not brand new .
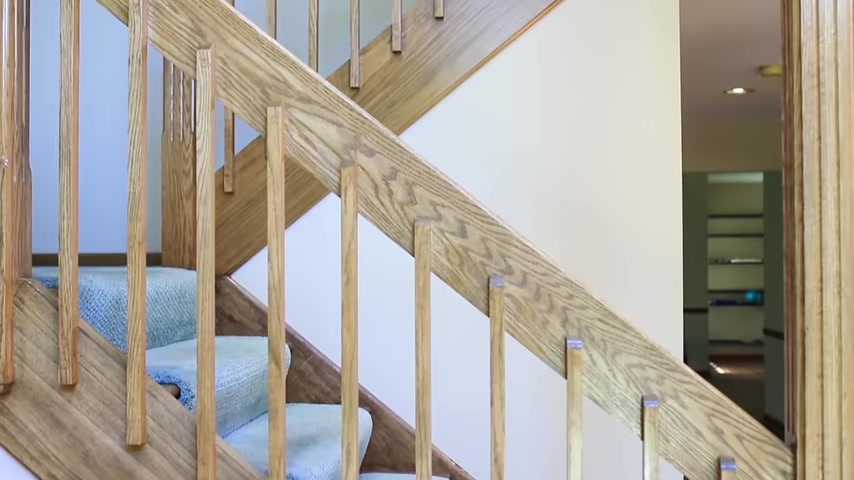
It's dated from the eighties and we have golden oak covering everything , the windows , the doors , the trim , the stairs , everything now for a lot of families that may be ok .
But for us , white is the only way to go on trim and doors .
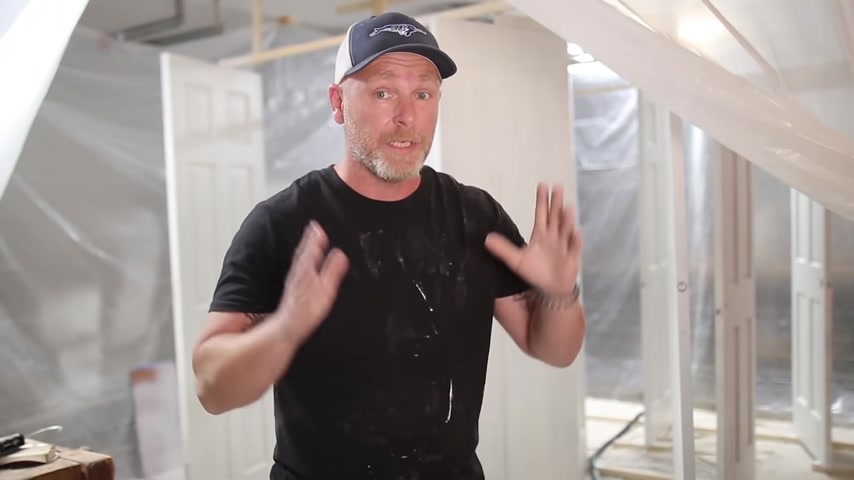
So in this video , I'm gonna show you exactly how to prep and paint your doors , windows and trim to give your house that modern look that everybody's looking for .
Welcome to the project .
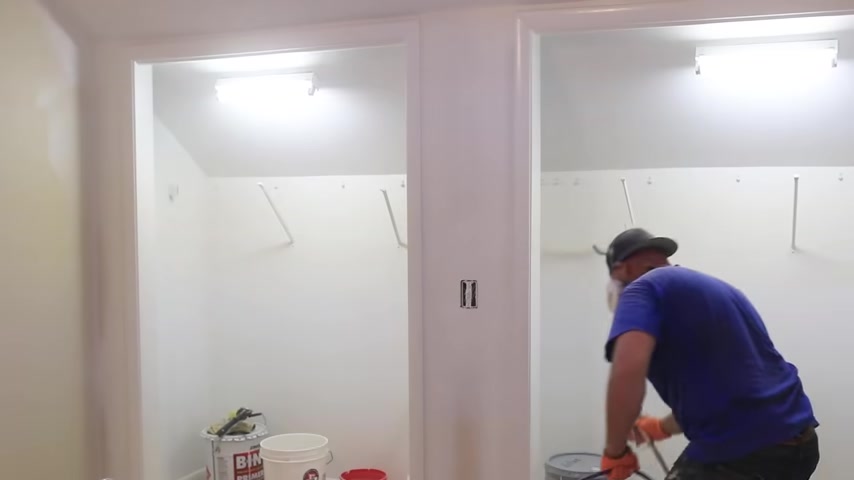
All right , guys , welcome to our first official renovation project in the Diy House .
Before we moved in , we decided to freshen up the entire upstairs .
That's the trim , the doors and of course , our beautiful eighties carpeting , the painting process is actually fairly easy when you have the right paint and primer .
It's a prep work that takes some work .
And I'm gonna share with you guys all the tips and tricks that I know in hopes that it will help you in one of your projects .
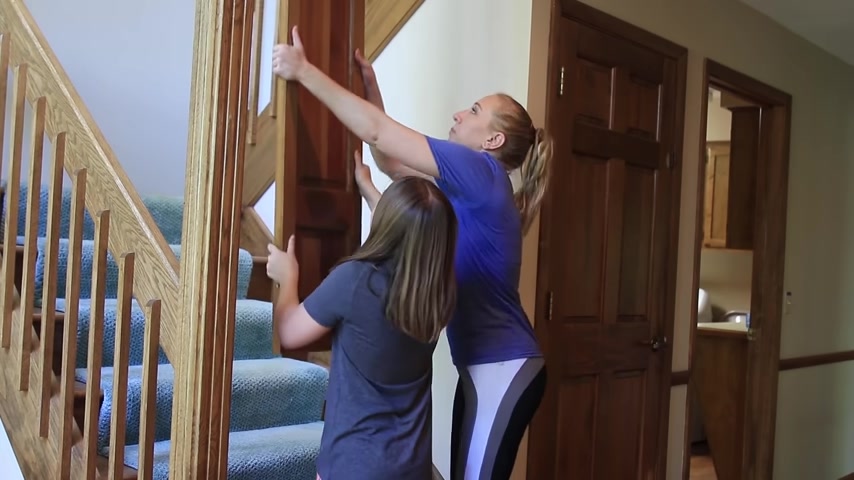
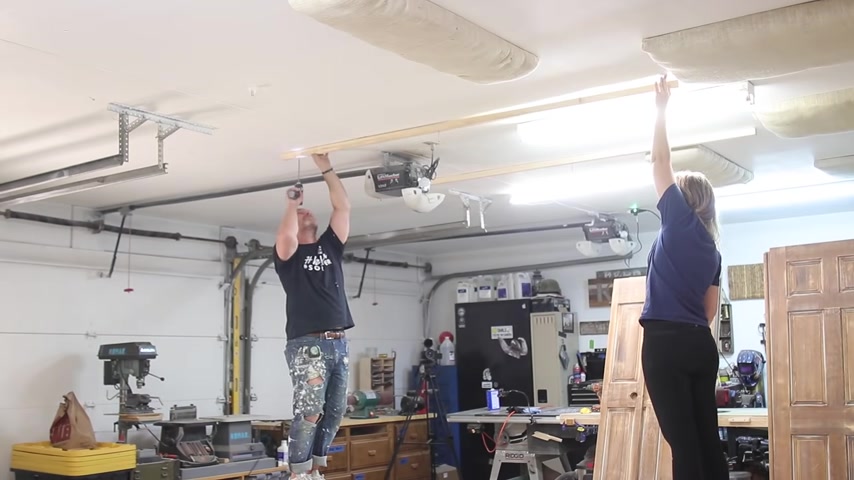
Obviously , the first thing that we need to do is actually remove the doors off of the frames and then label underneath them with a permanent marker .
And if you can get some help removing these doors , it makes everything go much easier for the most part .
Yeah , I hate this job .
Don .
After getting my leg work out in the carpeting guys showed up and removed the original carpeting .
I'm always down to save historical parts of a home , but 34 year old carpeting I could do without 1986 replace your carpeting people with an older home .
You never know what kind of issues you're gonna run into when you're doing a project like this and this was no different .
We found some water damage in the subfloor and luckily it only went that far .
So it wasn't that big of an issue .
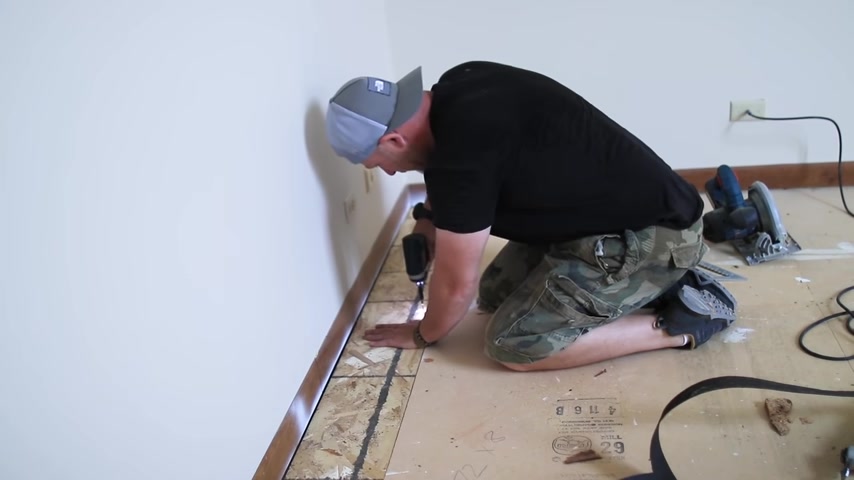
I just replaced a couple of sheets and was ready to start prepping for the primer .
Those are the issues you're going to run into .
When you're doing older houses , you're gonna have water damage , you're gonna have all sorts of other things and you have to account for that .
You have to plan for it because a 30 year old house is not gonna be perfect .
So just keep that in mind , plan for it and just take care of it .
After the structural inspection had passed , we were finally ready to start prepping the old pine baseboards and casings for prank .
The first thing I like to do is spackle all the casing 45 connections , all the nail holes and any imperfections that you might see .
You want to be as thorough as possible here and try not to miss anything with white paint .
All the little scratches that you typically don't notice that much with clear wood will stand out like a red skittle in a rice bowl .
Next , you want sand , the spackle off while scuffing the wood surface .
You can totally do this by hand , but a sander makes quick work of it .
I like to hit all the flat areas with a sander first and then come back to all the rounded areas by hand .
So the rule of thumb when preparing wood for paint is that all of your outside corners get spackled and then all of your inside corners get caught and only a very light sanding is required more like scuffing than sanding .
When cocking , you want to cut the tube at a 45 degree angle .
That way , when you're actually applying it to your work surface , it pushes the ca into the gap that you're trying to cover .
Also mark on the tube with a marker at the tip .
That way you can quickly reference where it is on the surface that you're cocking .
I think we're ready to start spraying .
But the most important part before you start any paint job , put it on your paint clothes , everybody should have a pair that's ripped up .
It's got paint all over it kind of like you get an Abercrombie and bitch , let's do it .
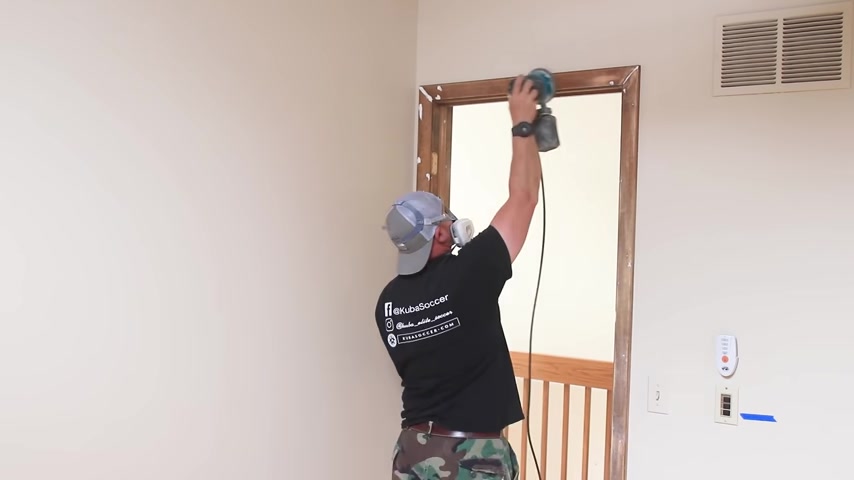
I'm gonna be using a sprayer on all the trim just to cut down on time .
But you can totally use a roller or a brush .
In this case , it's the primer and the paint that make the difference and not the tool that you're using it with .
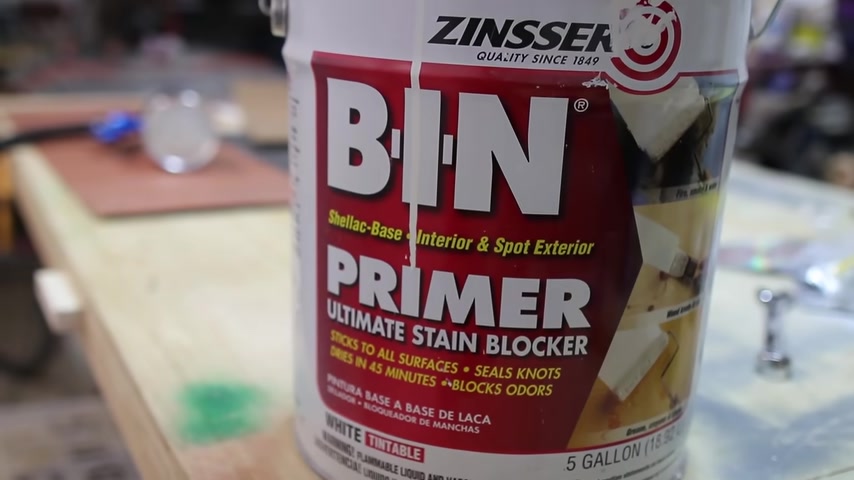
And always my primer of choice is Zinser spin primer , which I found has the best stain coverage and holding power on wood .
I highly recommend this primer and this is not sponsored .
But if you go with something else , make sure you do your research , this step will set the tone for the final outcome and you really want to get this part right ?
Because if you don't , all that prep work that you just did is gonna be for nothing .
I applied one even coat of the primer , overlapping the spray patterns , let it sit for 24 hours and was ready for paint .
I have a friend who's a professional painter and he recommended this acrylic latex from Sherwin Williams from their pro classic line .
And I have used it on every single trim project since then .
It levels out great , making it perfect for brushing or rolling .
But when you spray it , it looks spectacular .
I applied two coats of the paint and then the next day , I touched up a few areas with 220 grit sandpaper and applied one final very thin coat and the result came out way better than I could have hoped for .
The only thing left upstairs was color on the walls and the 18 inch roller made quick work of that perfect line .
You just take every time .
All right , guys , I've been dreading this next part for the last couple of weeks .
So I've been putting it off , but it's time to start sanding all these doors , get them painted and rehung .
Ok .
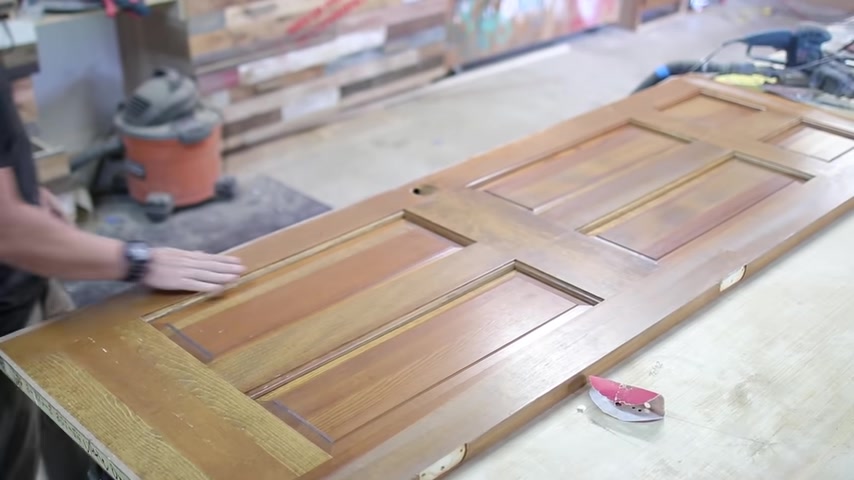
So it's time to address the painting of the doors .
And this process can be somewhat of a tedious one with all the profiles and moldings .
A door can have , but I have a few tips and tricks for you guys that will hopefully make the whole process a little bit less painful .
The first thing I did with every door is to sand every flat surface , the rails , the styles and the panels with 100 and 20 grit , sandpaper on an orbital sander .
And again , you're not sanding the doors all the way to bare wood .
You're just scuffing that surface .
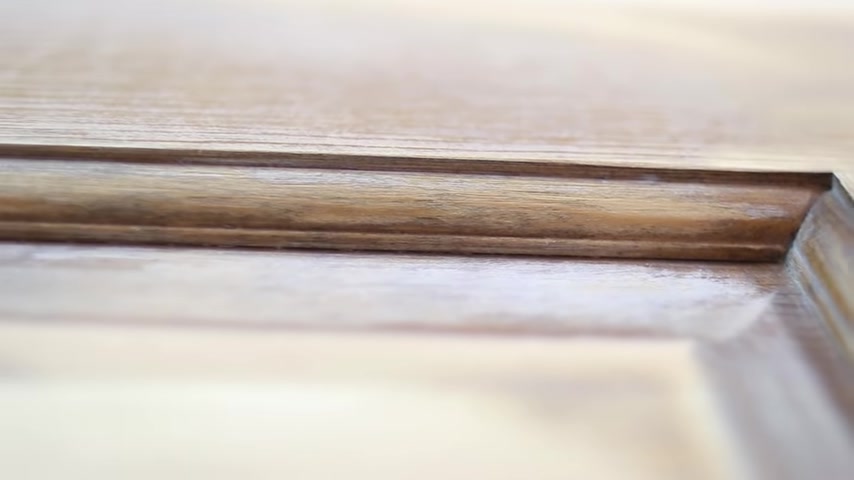
Now , what you're actually doing is creating grooves in the wood and that paint can actually grab in there and hold strong so that hopefully it won't peel over time after you have your flat surfaces scuffed up , they should look something like this with a little white hase to them .
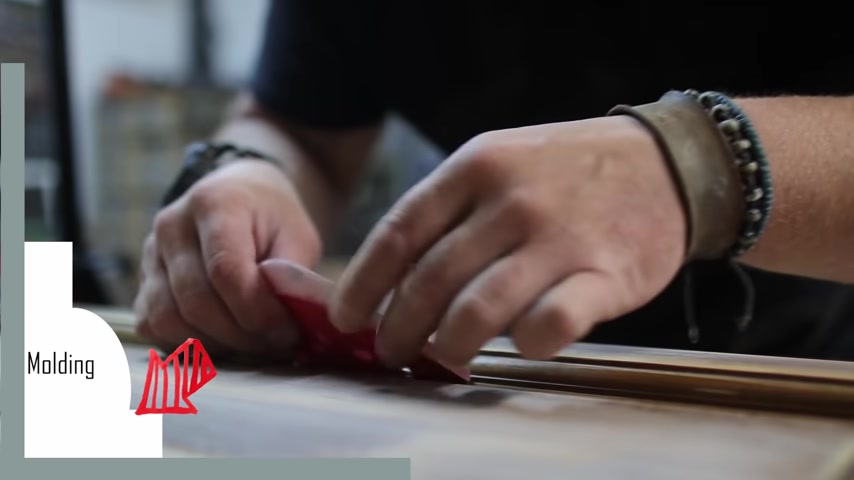
Now it's time to start working on the molding profiles and this is the tedious part .
First thing I do is fold a piece of 100 and 20 sandpaper and place it on top groove and moving it back and forth one time .
And you can see here you've gotten that groove and the top portion of the round over .
Then I move to the lower groove .
The one that connects to the panel .
I lay the sandpaper against the groove facing up on top of the round over and then move it back and forth one time .
Then I can take the sandpaper and lay it down onto the panel and do the same thing again .
Then you're left with just the finish in the middle of the round over which can be easily removed by folding the sandpaper over it and doing a couple of passes .
Now , during this process , I've tried a bunch of different tools to help me do it faster .
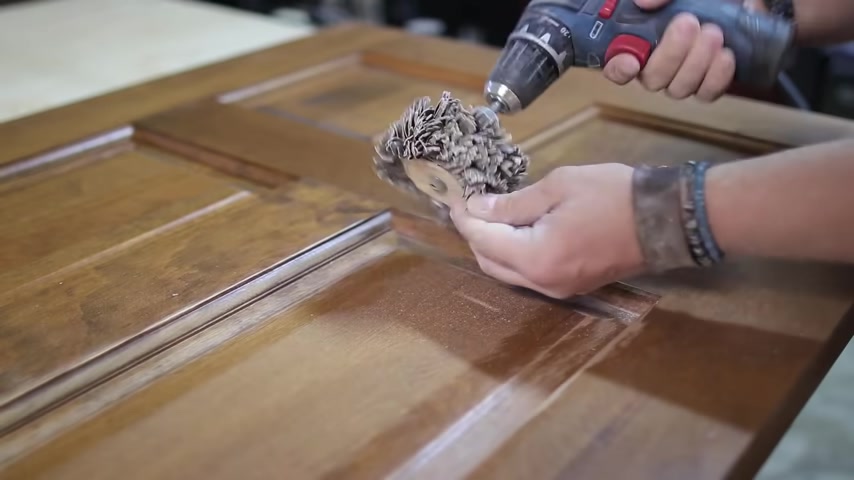
I tried a sanding stick which worked really well for corners , a sanding wheel on a drill and that was ok on the round over , but a little hard to control .
And I even tried a liquid the glosser on the flat panels , which I didn't see any difference .
Now , obviously , results are going to vary from person to person .
But for me , sanding was a way to go and I was even able to complete both sides of the door in 22 minutes , which for me was worth the time seeing is that a new primed solid core door can cost about 250 bucks .
All right .
That was pretty brutal .
Two days of sanding .
But we got it all done next is probably the most important part when it comes to painting doors like this .
And no , it's not more sanding .
Cocking .
That's right .
Cocking .
Yeah , you have to cock it .
And this is probably one of those steps that I see people miss all the time .
They probably just don't know about it or hope that that paint is gonna fill the cracks and they're gonna be good .
Well , over time that paint is gonna crack and it's gonna open up this seam .
So your best bet is to cock it .
Let's do it .
I got a very small hole in the tube at 45 degrees and just like with the casing and baseboards , I cocked all the seams in a panel door like this .
You're going to have the outside rails and the inside panel .
And what you're doing here is cocking the seam where they actually connect this way , the flexible cock will not only fill the gaps but also keep the paint from cracking during seasonal expansion and contraction .
So with the doors all prepped and ready for paint , the family jumped in again to help me set up a makeshift paint booth in the shop .
It's pretty important to have a dust free environment whenever you're painting because we just spent all this time getting these doors ready .
And the last thing you want is dust all over your hard work .
It can honestly make a grown man cry , feels like a maze , but it's gonna work perfectly .
That way .
I can spray all of them .
I can primer them .
I don't even have to flip them over or anything like that .
And then the next day I can spray as many coats that I want all at once .
And such a good idea .
I'm using the same primer as I did upstairs .
But this time I'm spraying it with H V O P sprayer .
And this can also be done by rolling it on .
But you just want to make sure that you get nice and even coverage .
I gotta take you guys with me inside the kill room .
Ok ?
So we have primer on and this is a perfect opportunity to actually go through all of the doors and check for any imperfections that we might have missed .
So any holes that need to be recalled , any sanding that needs to be done , the sprayer did put out a little bit of an overspray .
So we're gonna touch that stuff up with some 150 grit sandpaper and then we're gonna be ready to paint again when touching stuff up on white doors .
I always go through each door and put a piece of blue tape on any of the imperfections .
That way I can actually see what I'm doing when it dries .
I san everything with 100 and 20 grip sandpaper again .
Remove the tape and vacuum everything nice and clean .
All right , guys , the doors are completely prepped and they're prying and it's finally time to paint them and painting .
Well , it's boring , boring .
I'd rather cut my lawn than paint .
So , let's make it a little bit fun .
Let's do it .
Boring .
Painting .
At least this makes my day better .
Apple juice .
Apple juice .
Mhm .
And that is it done ?
Uh , tomorrow we're gonna be hanging these bad boys .
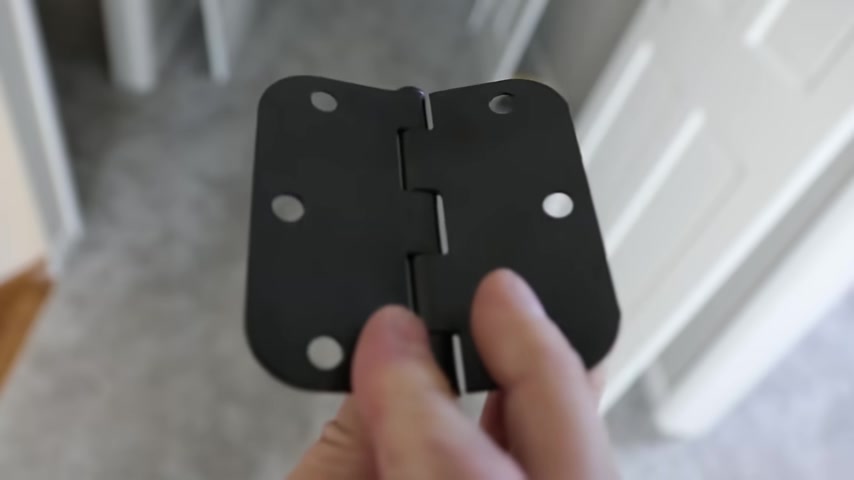
It's door hanging day .
And yeah , that's right .
We got black hardware going on , which is gonna pop on these doors and look awesome .
So I got a couple of tricks up my sleeve , hanging these doors .
So let's do it when installing hinges on old doors .
The screw holes are usually pretty worn out .
So I will use a toothpick a match or in this case , a stir stick and break it off in the old holes .
This gives the screw something better to hold on to and secures the hinge a lot better .
There's a couple of ways of installing hinges or I should say installing the doors using a different hinging method .
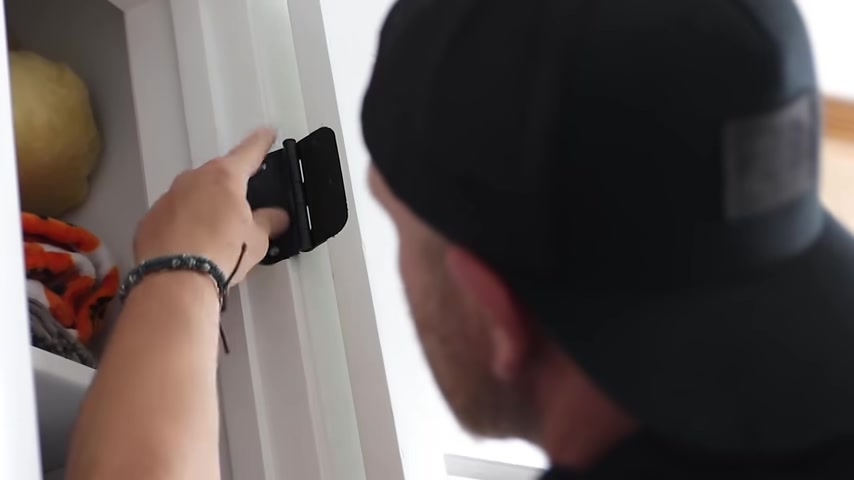
The first is to mount the Hinch to the door , then balance the door on a couple of shims lining up the second flap of the Hinch on the door frame , then using a couple screws , screw it in and your door should be good to go .
The other method and the one that I typically use is to mount the Hinch to the door and then use a punch to knock out the pin of the Hinch .
Then take the loose part of the Hinch and mount it to the door frame using the provided screws .
And now you're basically putting the Hinch back together , except now part of it is mounted on the door frame and the other one has a door on it .
So it takes a little bit of wiggle .
But once you get all the knuckles lined up , you can just slide that pin right in and your door is hung .
We got a door .
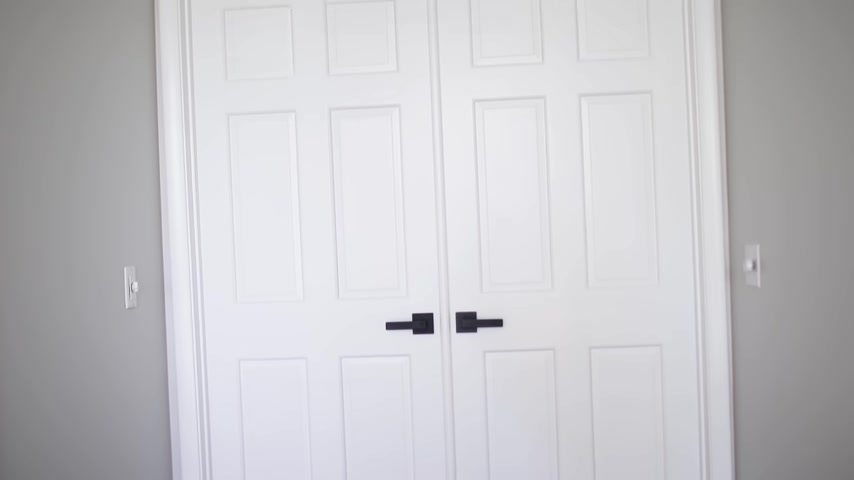
Finally , it was time for some new door handles to make these doors pop .
I ordered these off of Amazon and it took about three weeks for them to get here .
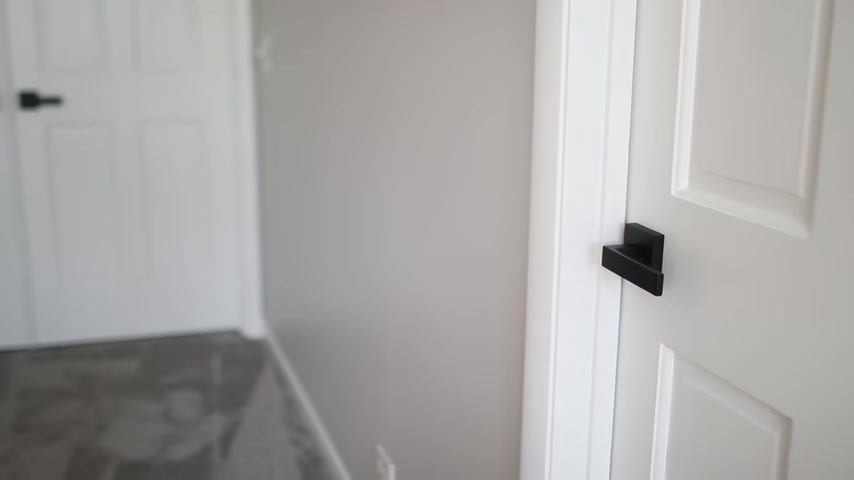
But once they went on to these doors , everything just popped and made sense .
So there you go , guys , a little cock , some sanding a little paint .
And we have a dramatic change from where we started .
The entire process took a couple of weeks and it was so worth the effort because we are loving the way it turned out .
If you guys have any questions on this process or if you've done this before , I would love to hear your insight or helpful tips in the comments section below .
There's a lot of people that are renovating their homes right now and any help would be appreciated .
Let's start the conversation , help each other out .
And if you guys are new to the channel , don't forget to subscribe and hit the bell notification .
So you don't miss upcoming videos .
This is the first one in many renovations that we're gonna be doing in this home .
And I would love to have you guys along for the ride .
Thank you so much for joining me on this experience .
I'll see you guys next time .
Yeah , that just happened .
What do you need a handle for ?
You ?
Stick a hammer in there like this and that's your handle .
Those are the dummies for the dummies .
What do not dummy handles look like ?
What do dummy handles look like ?
Well , you're going to Harvard , you should know the difference of a handle .
No .
Partnership
Are you looking for a way to reach a wider audience and get more views on your videos?
Our innovative video to text transcribing service can help you do just that.
We provide accurate transcriptions of your videos along with visual content that will help you attract new viewers and keep them engaged. Plus, our data analytics and ad campaign tools can help you monetize your content and maximize your revenue.
Let's partner up and take your video content to the next level!
Contact us today to learn more.