https://www.youtube.com/watch?v=nvYyKxmxEis
DIY CONCRETE COUNTERTOPS _ OUTDOOR KITCHEN UPDATE _ MODERN BUILDS
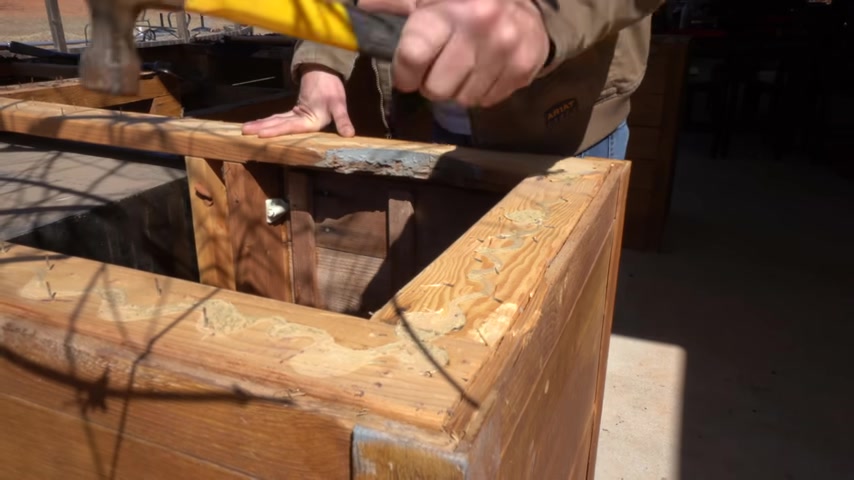
A few years ago , I built this diy outdoor kitchen on my parents back porch .
I did an overlay skim coat concrete countertop technique that unfortunately failed .
So in today's video , I am tearing all of that out , right .
My wrongs and doing Diy poured in place concrete counters .
Oh , and I'm also upgrading the grill .
I built this project pretty early on into my whole diy journey and I did some things that I wouldn't do today , mainly put skim coat concrete countertops on particle board doors outside those doors swelled and shrank with moisture and humidity and heat and the concrete cracked and I don't want to knock the product .
I used Henry's feather finish .
I think it would work great indoors .
These countertops lasted a couple of years before the elements finally took their toll .
We're also upgrading the grill to a 36 inch wide black stone flat top that's taller than the old one .
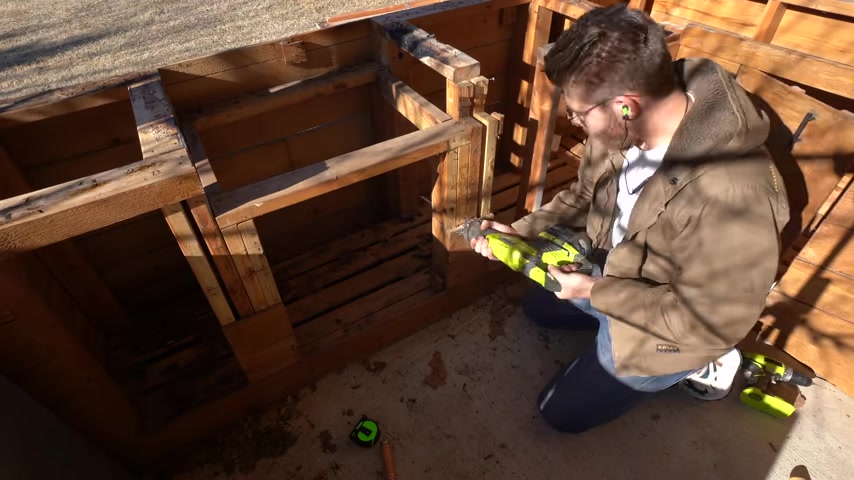
So I needed to open everything up and reinforce some areas and I don't want to go into too much detail here because this is so specific to this grill , but I just reinforced things with new studs .
Then I use the to cut away the old boards that I needed to get out of there .
The new grill I'm installing does have a metal stand , but we are not using it instead , I screwed in these metal blocks and the legs are going to rest on those .
And here you can see the dope new grill that we are using from Blackstone , not a sponsor , but I will leave a link Blackstone .
Reach out to me if you do want to sponsor something .
And finally , I did add more blocking to help support the weight of all this concrete .
I'm using three quarter inch Rata pine plywood for the base of my countertops .
I cut everything the sides with my circular saw and a straight edge so that there would be about a three quarter inch overhang everywhere around my edges .
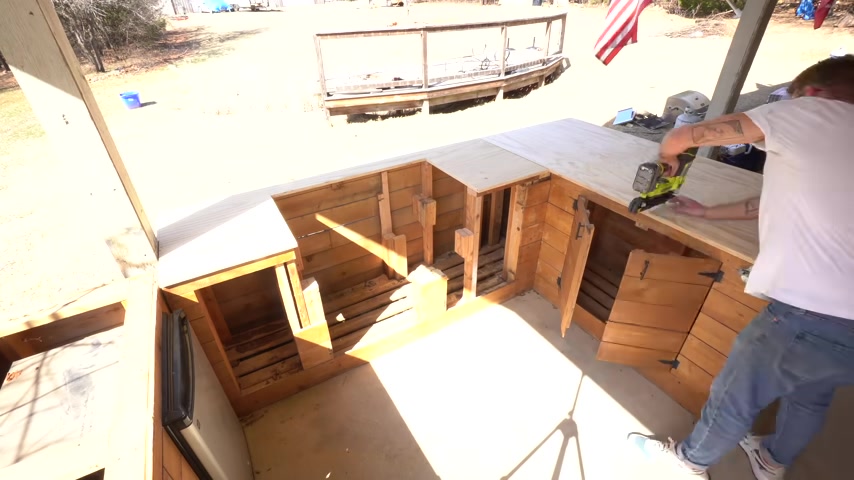
After I cut my second countertop piece to length , I then cut an opening out where the grill insert needs to be .
I did a plunge cut with my circular saw here which is totally safe , but do be careful .
Then I use a pull saw to cut away the corners after things were lined up and it looked good .
I used my 16 gauge finish nailer to attach the plywood to my frame .
The counter over here has a handy little bar sink that drains into a five gallon bucket .
So I need to cut an opening for it after marking it out with the sink bowl first I drilled the pilot hole close to the edge .
Then I use the jigsaw to cut it out .
I picked up this Diy installation kit from Home Depot and I'll be using it to make the sink negative in my mold .
I wanna make sure that my opening is just a little bit smaller than my sink bowl .
That way , the lip will sit flat on top of the concrete .
After I cut my first piece out with the utility knife , I then used it to create two more .
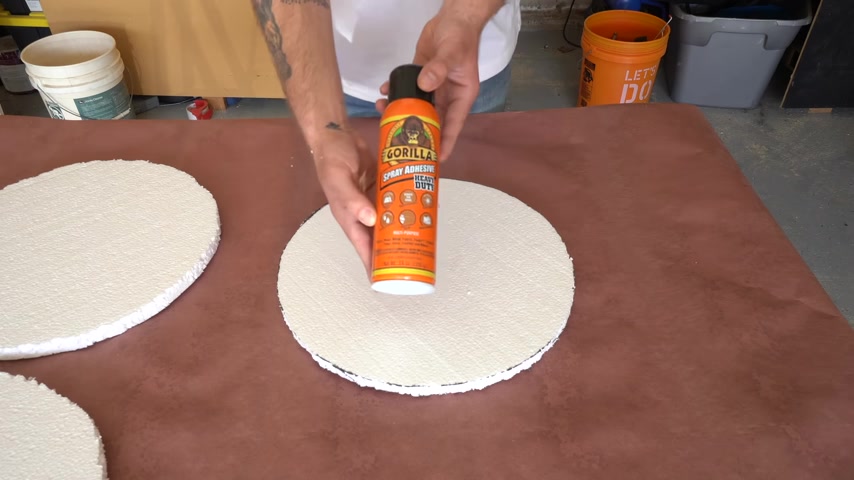
I'm basically making a layer cake here .
That way it sits higher than the surface of the concrete .
I attach my pieces together with gorilla spray adhesive .
This stuff works really good and it's best if you let it sit for about 30 seconds before you press the pieces together .
That way they have a more waterproof permanent bond , be sure to apply a good coat .
But it's crazy how it does eat away at the polystyrene insulation .
A little bit very cool .
Once my cake was assembled , I screwed on a plywood plate onto the back .
That way I could attach it outside and just to clean things up .
I used a little bit of painter's tape to help seal around the edges .
All of this is gonna be able to tear away easily .
I built the removable edge forms out of three quarter inch melamine .
After cutting the pieces to width , I screwed them together and then attached them to the bottom of the plywood .
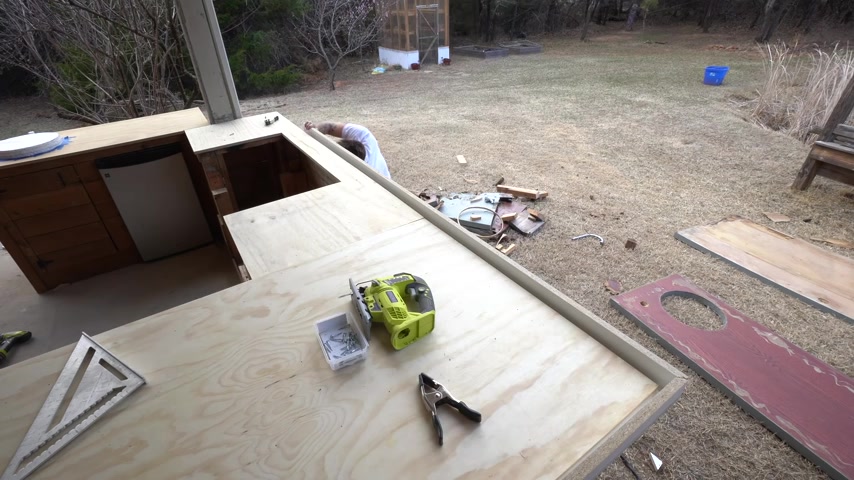
Make sure your melamine is the height of the countertops that you want to make , including the thickness of the plywood because we're gonna be using the top of the melamine to screed our concrete flat .
It's also convenient to attach the screws to the melamine edges before screwing them underneath my concrete is about an inch and a quarter above my plywood .
But the thicker you go , the better and the thicker you make your edges the better .
And here you can see how I had to work around the post .
I'm applying two coats of water based polyurethane onto my plywood to help seal it .
This will help everything be more stable and prevent warping and cracking .
I led that cure .
Then I applied a coat of paste wax onto my melamine forms .
This is going to help them release from the concrete easier .
It's also going to help this step , which is where I'm applying silicone caulk onto all of my edges .
And then I'm using a cake fondant tool to round them all over .
After the silicone dries , you can peel it all away for a really nice round over this way .
It's smooth to the touch and looks finished next .
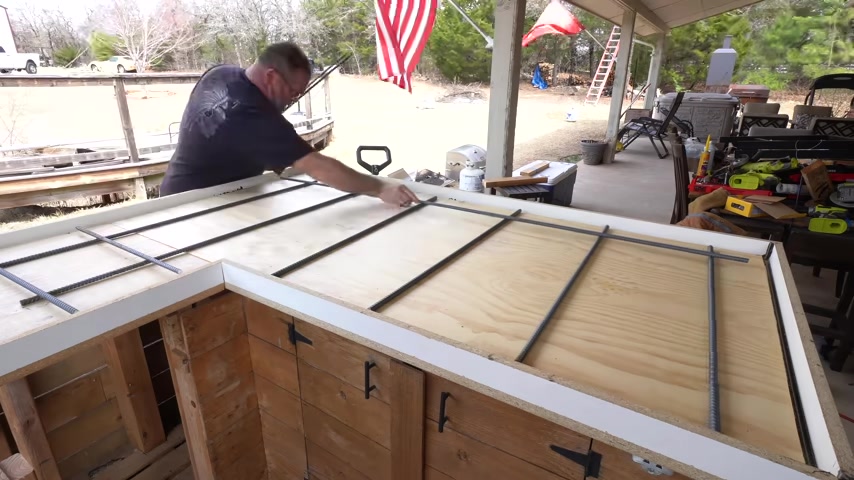
I got a hand from my dad cutting some three quarter inch rear to length .
We're gonna make a grid of this inside of the form and this more than anything is gonna prevent warping and help give us more structural integrity across all of our counters .
After the grid was laid out , we used precut tie wire , which was really convenient and we just zipped everything together and I'll be sure to leave a link to all the tools , materials and supplies we used for this project .
And if you've made it this far in the video , congratulations because our forms are complete and it is now time to start mixing up some concrete .
I'm using quick crack resistant mix and you can probably guess why .
One convenient thing they do have is a bag of calculator on the back , depending on what thickness slap you're pouring .
I started by mixing the concrete in a bucket with a drill attachment , but this did not move very quick .
So I switched to mixing everything up in a wheelbarrow with a shovel .
The old fashioned way .
You wanna make sure there's enough water that the concrete can flow .
But I used a little bit too much .
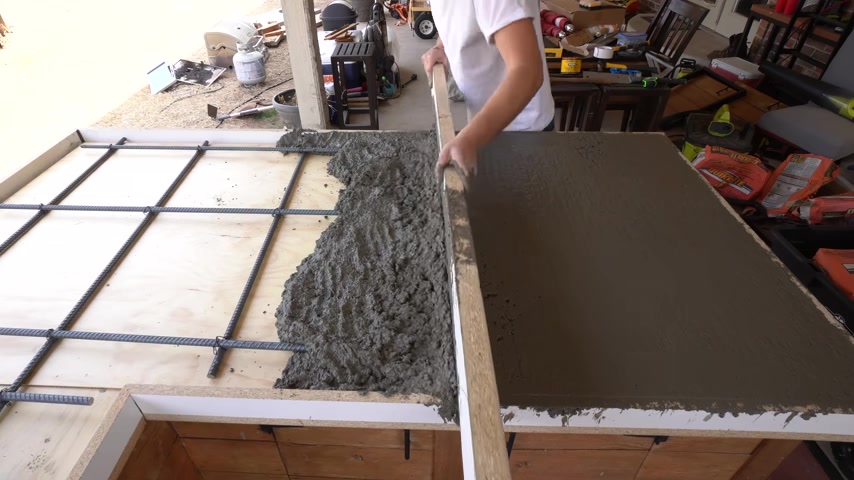
You want it to be as dry as possible , that way it stays strong , but it's still workable .
Be sure to pack the concrete in around the edges and then you're gonna need a really straight screening board .
Now , I'm using an old cut off from a countertop , but you could use a really straight two by four or some MD F .
At first , I was focused on getting the material spread out without losing too much spilling over the edges .
Although you want to make sure and come back and get any large voids that you see in spoiler alert .
I did get a little bit more bubbles than I would have wanted around the concrete edges , so make sure and really pack that concrete in and vibrate the bubbles out using a hammer or a reciprocating saw very soon .
I wanna do some diy indoor concrete countertops at my place and I'm considering this project a little bit of a practice round and I learned a lot .
I mixed the second batch of concrete a little bit drier and this actually made it more workable .
If your mix is too runny , it really makes a mess and it's hard to flatten and smooth .
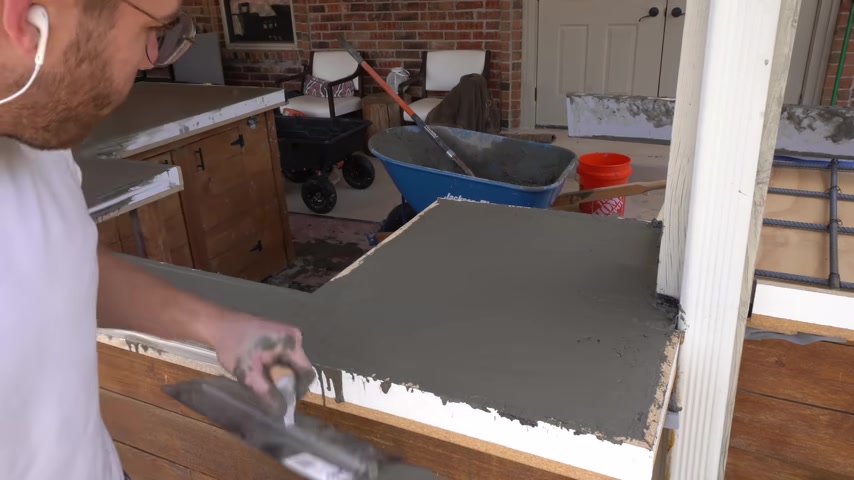
I s greeted my way to the post and then hand trailed the rest of the concrete down .
I made the third batch of concrete a little soupy and you'll see how it's inconvenient to work with .
It just makes a mess .
The crack resistant Quick remix has fiberglass mixed into it .
So I really hope that that's gonna compensate for anything that I did wrong .
And I'll be sure to leave a couple of links to videos that I learned from in the description box below while my concrete was still wet , I came back and I filled in as many voids as I could find with my large finishing towel .
And right after screening , I've also seen people use magnesium floats and they say that that really helps get a good finish too after maybe 10 or 15 minutes while my , it was still really wet and workable .
I used my finishing trail to knock down as many ridges as I could .
I'm definitely not an expert , but I am encouraged by the results that I got .
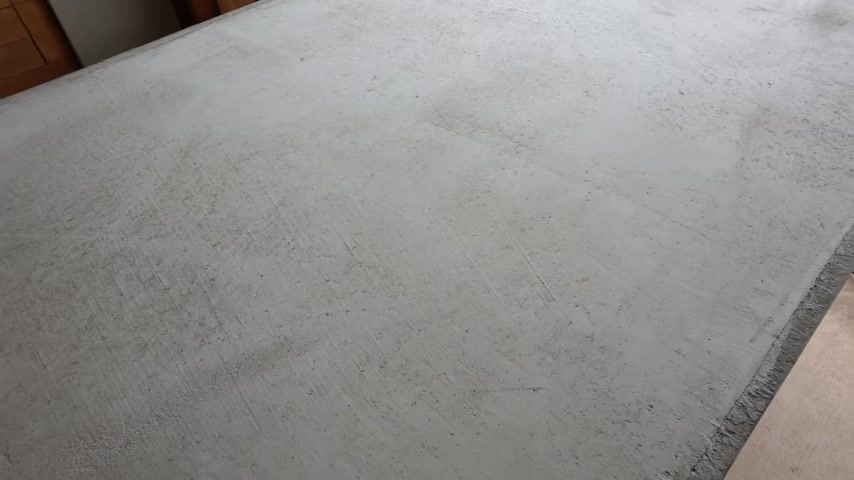
And finally before the concrete hardened , I burnished it with a towel and you're looking for this sound .
I did this about two hours after everything was greeted and we are gonna get everything de moded after this sponsor break .
If you need a website , an online store or just a custom domain .
Squarespace is your one stop shop .
And the best part is is you need zero website building experience .
I'm serious .
If you can upload files in drag and drop text blocks , you are well on your way to a one of a kind site .
Squarespace is designer templates look great on desktop tablet and mobile .
No matter where customers find you and they are packed with awesome features like no limit to the number of products that you can sell using a squarespace store .
Squarespace is video studio mobile app that allows you to create high level professional content for your website and social platforms and a cool new feature called member areas that allow you to put premium content behind a pay wall and charge your members a monthly fee to learn more .
Make sure and follow my link down in the description that is squarespace dot com slash modern bills where you can build out your entire squarespace site before entering any of your credit card info .
And then when it's time to make your website live , don't forget to use my code .
Modern builds for 10% off your first site store or domain .
One more big thanks to squarespace .
Now , let's get back to the bill .
So , welcome back .
It is officially time to de mold .
About two weeks have passed and the concrete counters are looking great .
First things first , I removed the screws from my melamine edging and then took it off .
I was really excited with the look of the concrete edges even though I did have more air bubbles and voids than I expected .
And I have to say some of them look cool .
I installed three of these heavy duty shelf brackets to reinforce the overhang and then I kicked out the two by four supports that I had in place .
And this is where I'm going to say if you're not already make sure and click the subscribe in the notification bell and be sure to follow me at Modern Builds on Instagram .
Sun's done removing the foam for the sync opening was a huge success .
Although I almost hit my head pretty good .
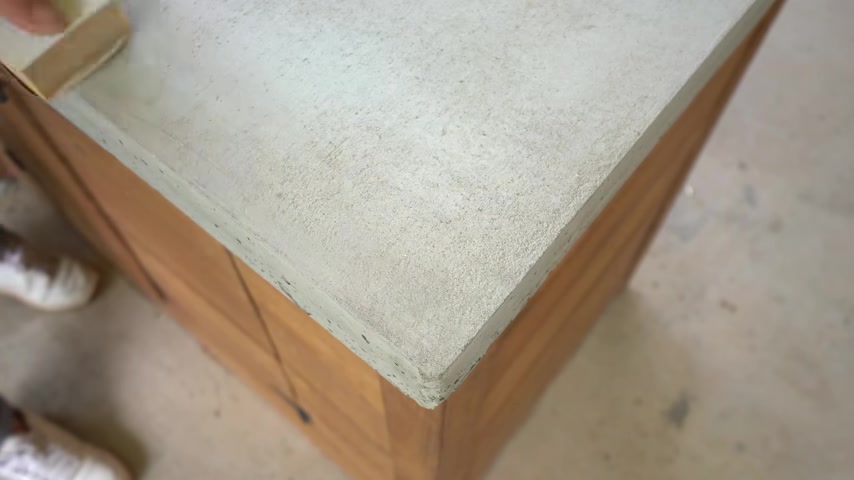
Whoa , on any sharp corners , I use 60 grit sand paper to knock those down and just round them over a little bit .
If your counters were super rough , I would recommend a concrete honing block .
I cut and folded these pieces of sheet metal to create a shroud around the grill insert .
That way none of the Vins would be pointing directly at any of the wood .
And now hopefully that doesn't light on fire .
I applied three coats of this low luster outdoor sealer by bear .
They make this especially for concrete pavers which I thought would be good for this application .
Pavers are a pretty porous material and I had quite a few little pin holes and air bubbles in my concrete .
So I thought it was a good match and really just about any finish is food safe once it's completely cured .
But if you're specifically worried about that , I'll leave a link to one listed as food safe in the description below .
And with that , this project is done .
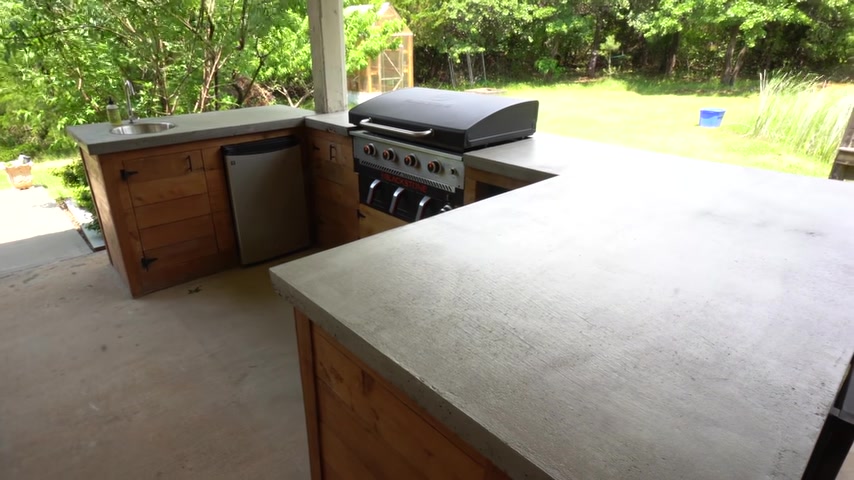
I am very happy with the results of this project .
Long ago , I built this outdoor kitchen and it was a little bit of a stretch for me .
Like I said , it was early on in my project history .
It gets used all the time , but I was always really bummed out at the chipped concrete counter .
So I am really happy to fix that .
Now , the new Blackstone grill is a huge upgrade .
It is really cool to use .
It's basically a giant cast iron flat top .
I reconfigured all the doors in the storage around it and it works great .
I'm a big fan of this low Luster Sealer .
It looks killer .
We tested everything out over Memorial Day weekend and it got the stamp of approval from dad and I'd like to give a big shout out to grill Hollick for hooking it up with all of this grilling gear .
I'll leave a link down below .
All right , everybody .
Thanks for watching .
Make sure and like , comment and subscribe and we'll see you next time on modern bills .
Bye .
Are you looking for a way to reach a wider audience and get more views on your videos?
Our innovative video to text transcribing service can help you do just that.
We provide accurate transcriptions of your videos along with visual content that will help you attract new viewers and keep them engaged. Plus, our data analytics and ad campaign tools can help you monetize your content and maximize your revenue.
Let's partner up and take your video content to the next level!
Contact us today to learn more.