https://www.youtube.com/watch?v=S9YCs4jhgL0
2023-06-14 18:19:30
DIY Castle Joint Platform Bed made w_ 2x4's Buy vs. DIY
This week , I built this bed out of two by fours and the whole thing slots together using these castle joints .
Now , you may have seen a bed like this online or advertised on Instagram for over 1000 bucks .
And today I'm gonna show you how to build this out of two by fours accessible tools using Diy techniques .
And when today's inflated lumber prices , I'll explore the idea of whether or not it's better to buy or Diy .
Let's jump in .
I used 11 2 by fours to build this bed , which cost me about $8 a piece at my local home depot .
And I'm gonna give you a full cost breakdown at the end of this build , but I'll go ahead and say it's much less expensive to build this versus buying first up .
I ran those two by fours through my planner to flatten both sides , which also gets rid of those rounded corners and the finish dimension was just a hair over one and an eight inch thick .
I wanted to show you how you can build a castle joint bed using additive joinery versus having to use chisels and handles to build the legs and those stretcher connections .
Right now , I'm cutting the pieces that will get sliced up and then glued back together to create the legs .
And I use this Rockler hand screw clamp as a quick stop block to make those repeatable cuts .
Next , I'll work those boards in the strips that are the same width as the thickness of the planks .
I needed 16 strips , cut to 15 inches and eight strips , cut to 11 inches .
And I'll show you how all these fit together to become the legs in another step .
These full length boards are ripping into strips here for that ledge that runs all the way around the bed frame as well as those ledges on the inside that hold up those slats .
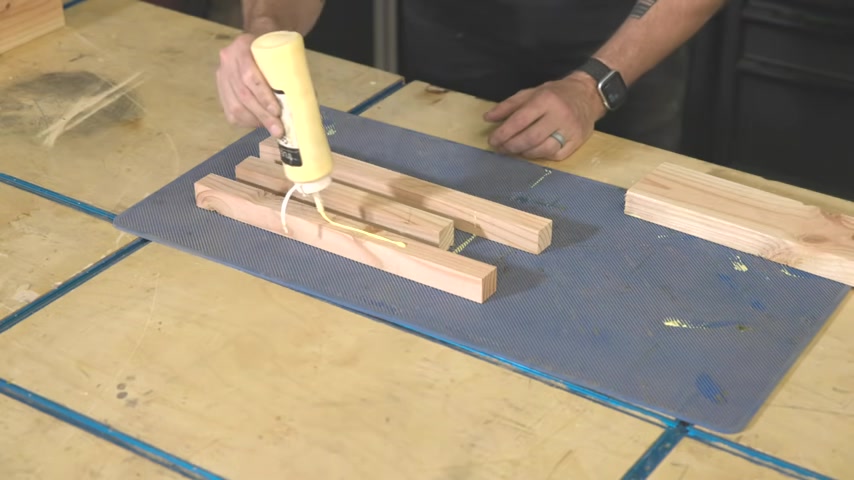
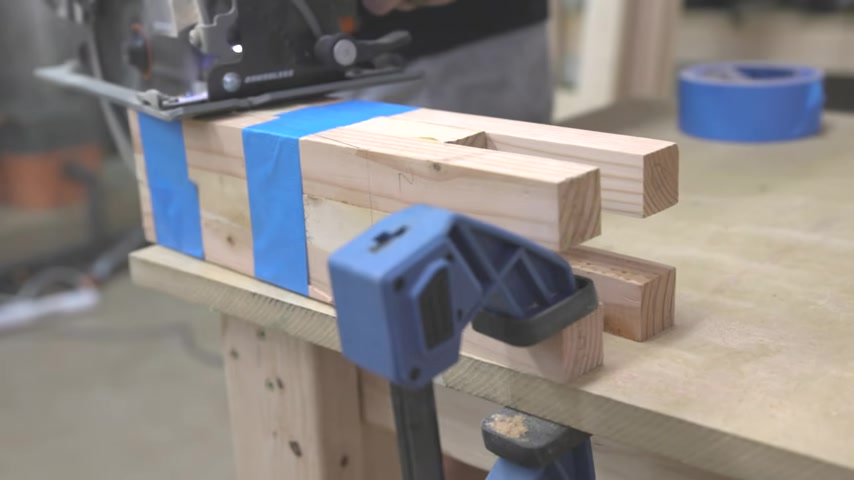
The four bed lights get put together in a series of glue up starting with making eight of these outside pieces consisting of two of the long strips , one short strip and they're arranged so that they are offset the exact height of the stretchers .
The other end is gonna end up uneven , but I'll cut that flush once all the legs are built , I use these super handy Rockler squeeze clamps to hold everything together while the glue sets .
And I wanna say thanks to Rocker for supporting my channel and I'll have links for all the Rockler products that I use down in the description below .
Once all eight assemblies are out of the clamps , I set them up to get rid of any glue , squeeze out using two of the outer leg pieces .
I just glued up .

I sandwiched an 11 inch board between them and made sure to align them with the shorter strips on those outside pieces .
Again , I use some of these Rockler squeeze clamps to hold it all together .
And now I've created the castle portion of the castle joint using additive joinery without using any chisels .
Here .
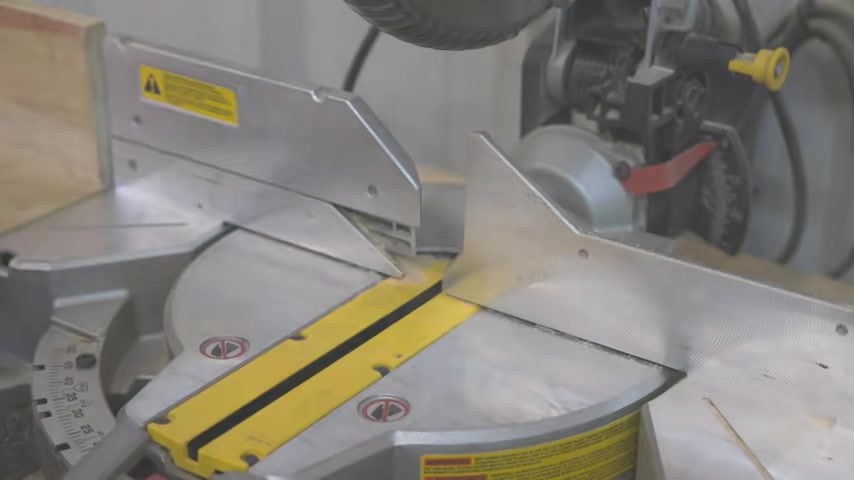
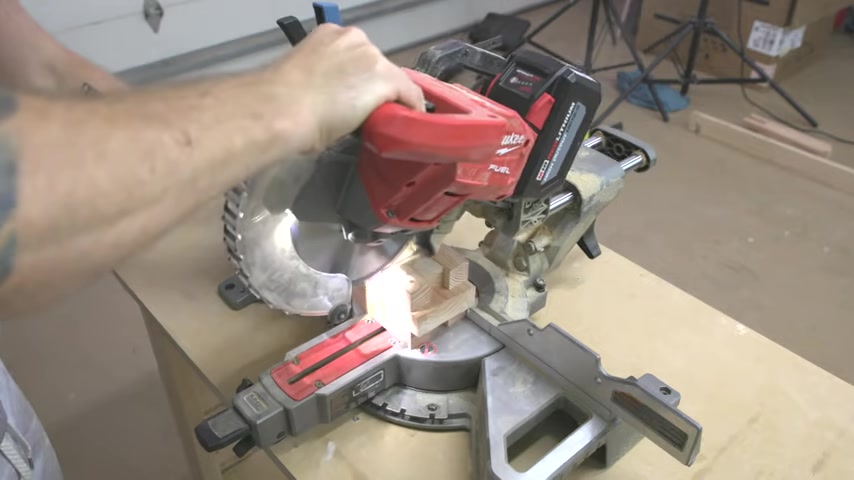
I'm cutting some more of those playing down two by fours to their final length to become the 85 inch long side stretchers and the 65 inch long head and footer of the bed .
Right ?
As you see , we've had a little change of venue .
I brought the whole project back to my garage to finish out this bed .
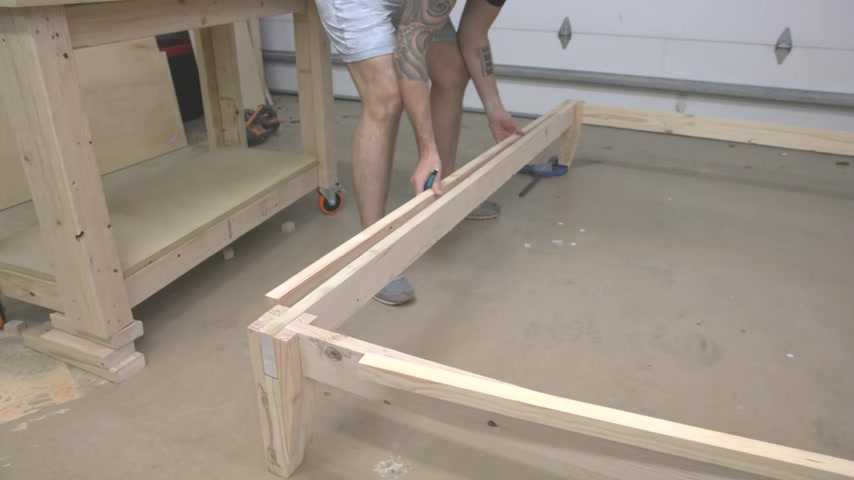
I just took the leg assemblies out of the clamps and these things came out really , really good and now I can move on to working on those side and those end pieces that slot down into that castle joint with a half lamp joint .
Ok .
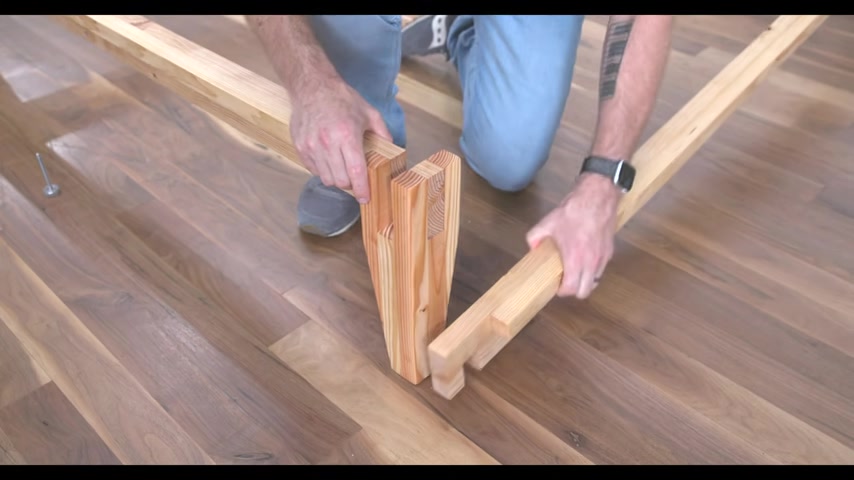
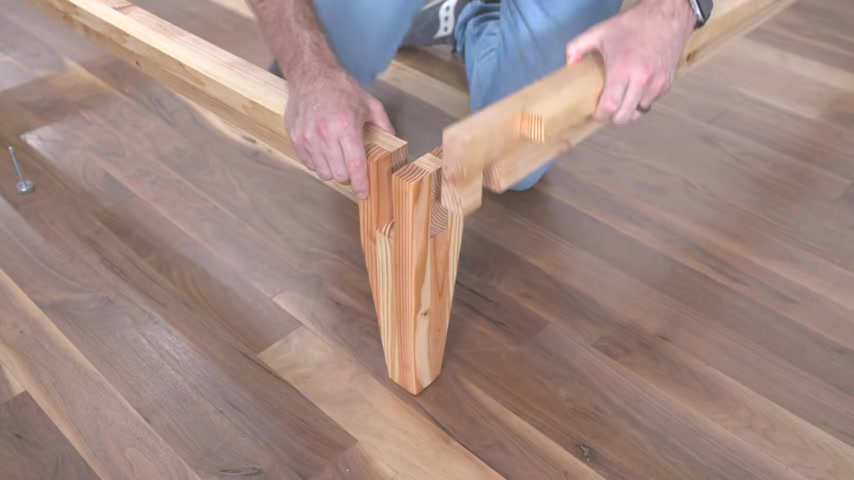
Here's a little prototype that I could created just to kind of get my process down and to be able to show you guys an example .
Like I said , it's a half lap joint .
Imagine this is the side piece and this is the end piece , those two slot together and then they go down into that castle jointed leg .
Normally , you would do this with a bunch of hand tools but we're going to do this super diy here .
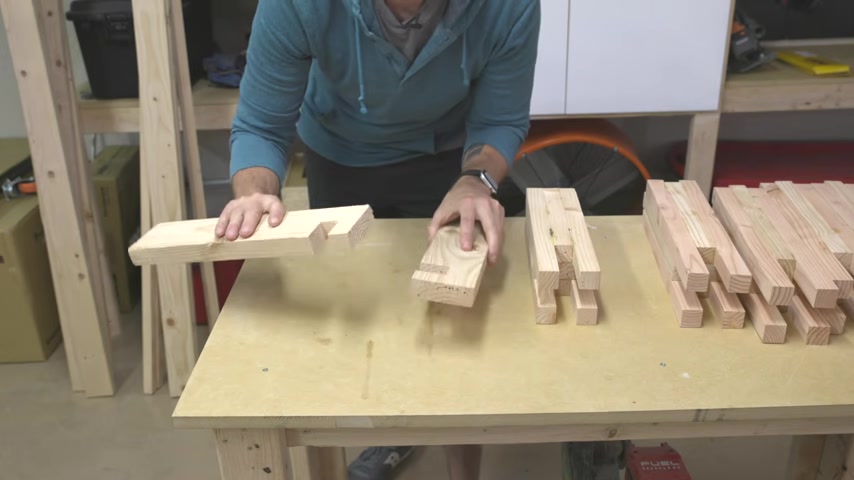
You can see how I labeled each end that will slot together to match the corresponding leg .
And this was super helpful to keep everything organized and not cut anything the wrong way .
I'm using the actual legs .
These pieces will slot down into to mark the lines that I need to cut those half .
Since I'm using pine lumber for this build , which is a softer straight grain wood .
Those ends are gonna be susceptible to breaking if I get the joint too tight , I'm adding in this diagonal offset to provide relief .
So the joints don't break and you'll never see that once this bed is completely assembled to make the joint .
I cut just proud of my line with the jigsaw .
And then I'm gonna use this 100 grit sanding block that I made with just a piece of MD F and some spray adhesive .
I came back and used that sanding block to refine my cuts and sand everything back to those lines that I drew earlier .
I also sand those castle joint legs using that same sanding block until the fit of the stretchers was completely dialed in .
I measured 13 inches from the top of the legs and set up this Rockler squeeze clamp to act as a stop block where I cut all four legs .
And I really love the pattern on the end of the legs that was created from gluing them up in this fashion .
Now I'm gonna cut the double taper on the legs and I did this by marking a diagonal line on the two inside faces , 4.5 inches down from the top of the leg and then tapering in an inch and a half at the bottom to cut the tapers .
I'm going to use a circular saw and free hand cut them just proud of that line that I marked the saw blade on the circular saw doesn't go all the way through .
So I have to finish those cuts with a handsaw , taking that off cut .
I take it back onto the leg so I can reference off that surface to make the second cut on the other side .
I did the same thing as the first cut and pre handed it with my circular saw and then finish that off with the hand saw when that was done .
I peeled off the tape which reveals that double taper which I think looks super clean .
I'm gonna clean up those cuts with a belt sander .
And the easiest way to do that is to just clamp it to my work bench with one of those broccoli squeeze clamps and then run the work piece over the top of it .
I came back with my orbital sander and sanded everything up to 220 grand .
Yeah .
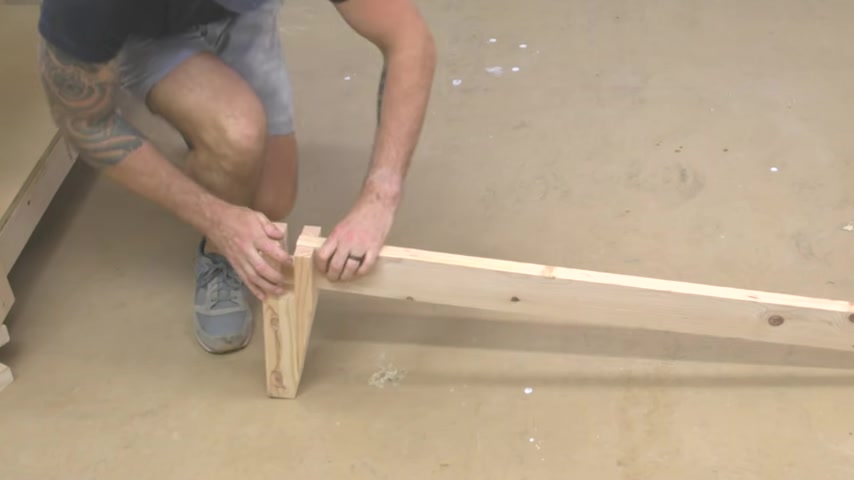
And now it's time to slot all those stretchers and the legs together and hope that it actually fits .
Now , I'm going to work my way around the bed , cutting the ledges for the stretchers and the end pieces to fit .
I'll take my time with these cuts and make sure to sneak up on that final fit these ledges fit right up against the legs and help add rigidity .
As a matter of fact , this bed seems a little bit wobbly when you first put it together .
But by the time everything is attached , it becomes rigid and super strong with all four ledges cut to size , I can glue them on and clamp them in place so that they're flush with the top edges of the stretchers .
Here , I'm measuring and cutting the inside ledges that go along the long sides of the bed to help support the slats .
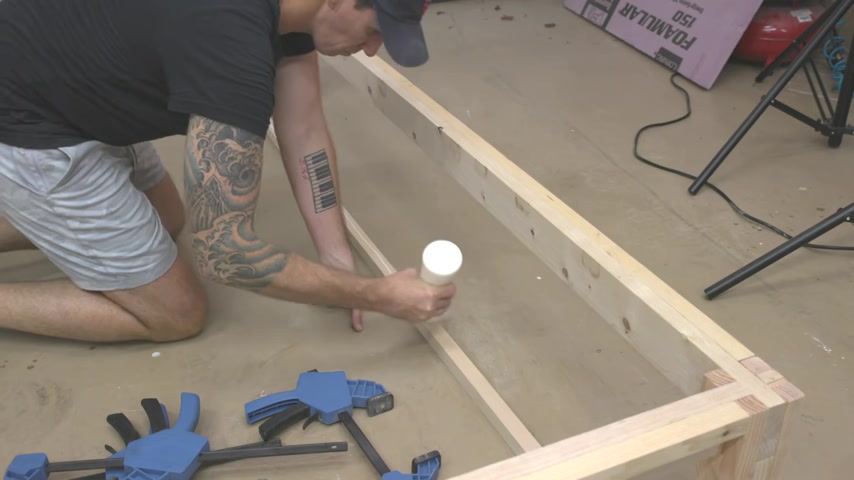
And eventually that mattress again , I'm gonna glue these on .
But once that glue was dry , I came back and drove in some screws to help reinforce the ledges .
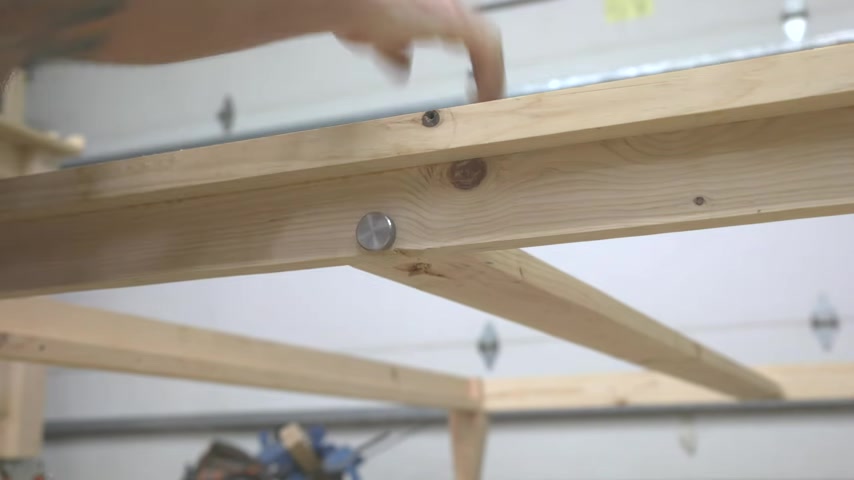
Now , I'm going to work on that center support that runs parallel to those stretchers and this attaches to each end with a thumb screw to provide support for the middle of the mattress and then help to pull the whole frame in together .
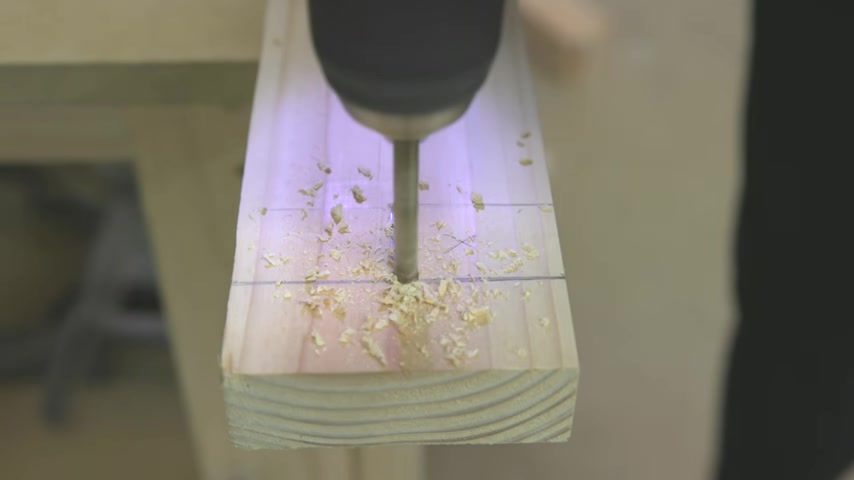
I made this little drill guide from an off cut and then use this to drill the holes in the center of those end pieces .
I came back with a 400 bit to make a hole through the stretcher that allows me to drop in a tea nut that's threaded like the thumb screw and holds this all together .
I attached the center stretcher to the bed and laid out these one by four boards I'm gonna use for the slats leaving roughly five inches of spacing between them before cutting them to fit .
I'm using this two inch nylon webbing which I picked up on Amazon to join the slats and I'll leave a link for these as well as all the products that I use in this video down in the description below .
After cutting the webbing to length , I burn the ends to seal the fibers and then use some C A glue to hold them to the slats before coming back with some half inch truss head screws to secure the webbing in place .
Now I'm gonna work on a headboard which I'm making out of three quarter inch plywood and some one inch foam .
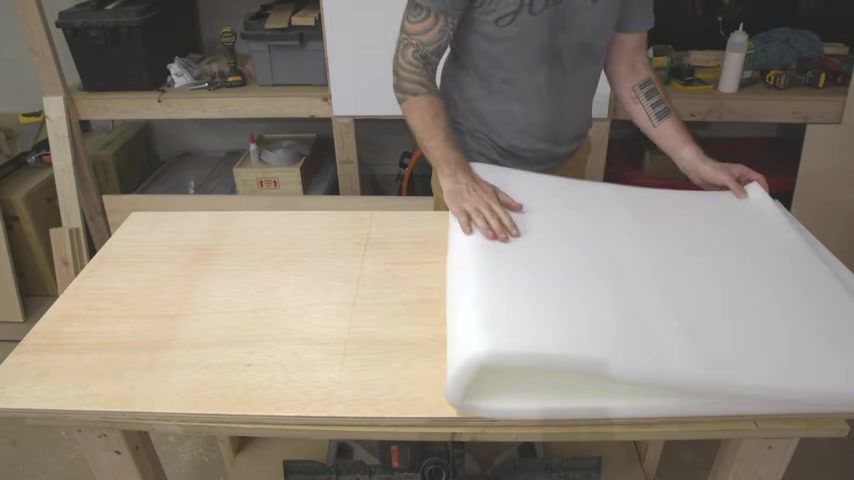
I cut that plywood to 24 inches by 58 inches , which is the same size as the foam that I ordered online .
And I'll leave a link for that foam that I use down below the foam gets attached to the plywood with some spray adhesive and you allow both sides to dry and then you stick them together for a permanent bond .
I covered the foam with some batting material and then used half inch staples to attach to the back of the headboard after pulling everything tight .
Next I ran up to Joann's and picked between this orange linen before I finally settled on this turquoise linen and bought two yards of this fabric .
Now , this fabric goes over the batting and I ran a steamer over everything to get out those wrinkles .
Now I'm by no means an expert at upholstery .
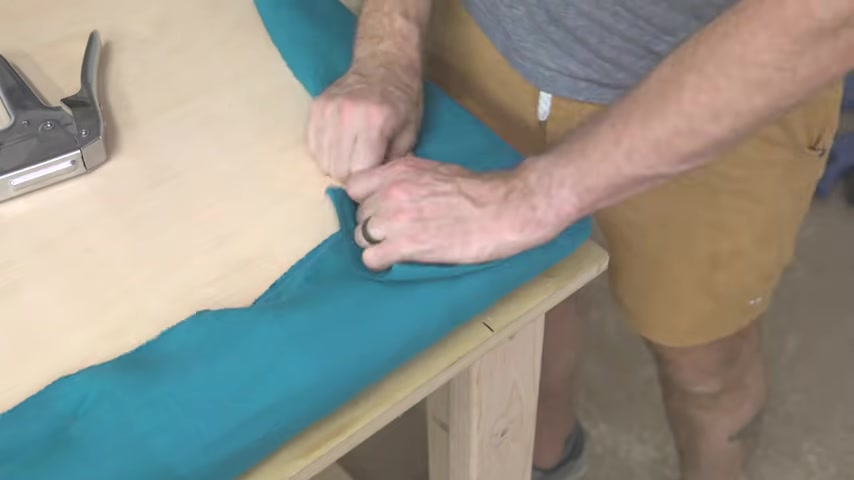
But I find if you take your time and work section by section , you can get a nice clean looking headboard back to the bed frame .
I had glued these offset strips and the pairs which all clean up and glued together to create the middle support for that center stretcher .
I cut that support to fit and then screwed it underneath that center stretcher .
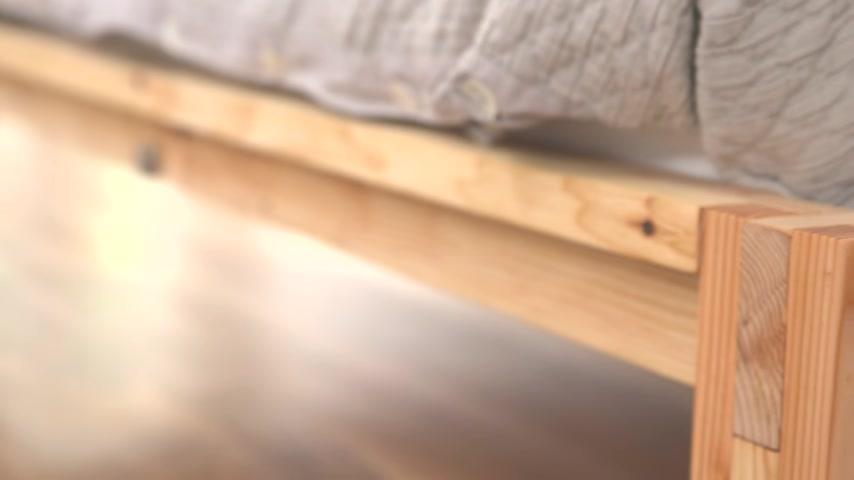
Now , all that's left is some finish sanding and a few coats of maker brand simple finish and this bed is done .
The great thing about this design is how easily it all slots together and how great those castle joint legs look like I mentioned .
If you were to purchase this bed online , it's gonna cost you around $1100 .
Here , I used 11 2 by fours , 11 , 1 by fours , two thumb screws , the tea nuts , the nylon webbing and those Russ head screws for a total material cost of $330 .
And this is all why those lumber prices are inflated .
But everything I'm reading lately says those prices are going to start to drop soon .
I hope even with those inflated lumber prices .
Of two by fours .
This bed is less than a third of the cost .
If , if you were to buy it , it's a super satisfying project to build with those beautiful clean modern results .
So I'm gonna say it , it's worth it to Diy versus buy .
But let me know down in the comments below what you think , make sure you get subscribed to check out my next projects .
And as always , thanks for checking this one out and I'll see you back here next time .
Partnership
Are you looking for a way to reach a wider audience and get more views on your videos?
Our innovative video to text transcribing service can help you do just that.
We provide accurate transcriptions of your videos along with visual content that will help you attract new viewers and keep them engaged. Plus, our data analytics and ad campaign tools can help you monetize your content and maximize your revenue.
Let's partner up and take your video content to the next level!
Contact us today to learn more.