https://www.youtube.com/watch?v=ca20JkKFAcE
2023-06-14 18:19:27
How To Make Clay At Home (It's Just Dirt)

Most people buy their clay at the store , but let's face it .
It's just dirt .
In fact , most of us probably walk past perfectly good clay on our way to the store to buy clay .
In this video .
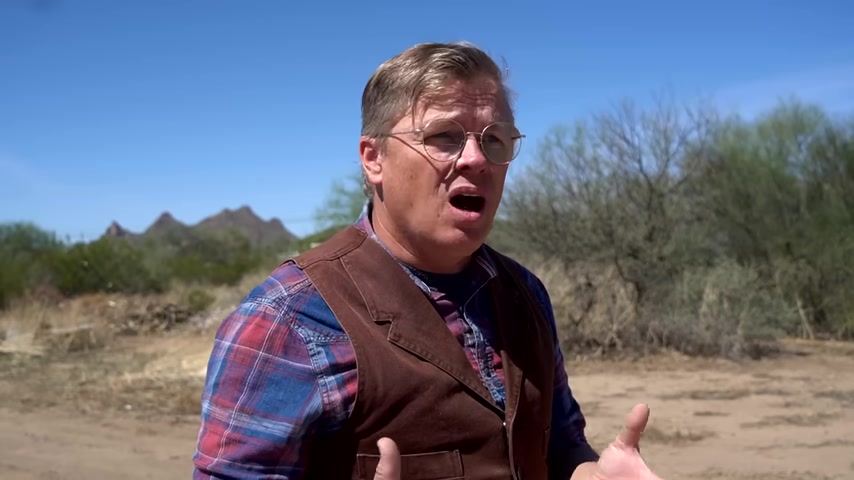
I'm gonna discuss three ways that you can make your own clay at home using dirt .
And then I'm gonna talk about when those different methods are best used to start with .
Let's define clay .
If we bring up Google and look at the technical definition of clay , it is sediment with particles smaller than silt typically less than 0.16 inch .
So looking at that definition , we realize that not all dirt will work the same for making clay while some dirt has a lot of clay in it , other dirt have almost no clay at all in them , which is why some of the how to make clay from dirt videos here on youtube show people struggling so much to make clay take , for example , that video by the king of random , that's had so many views .
He started out with a bucket full of dirt and he turned that into a handful of clay that's because he didn't use dirt that had a lot of clay in it .
Let me show you what I mean , dirt that has a lot of clay has certain properties that we can recognize when it's wet .
We might recognize that dirt sticky or plastic properties as being similar to clay .
But when it's dry , we might look for tire tracks that stand up that stay in place for long periods because that clay is holding it in place .
We might also look for that crackled texture in the dirt showing that that clay is expansive .
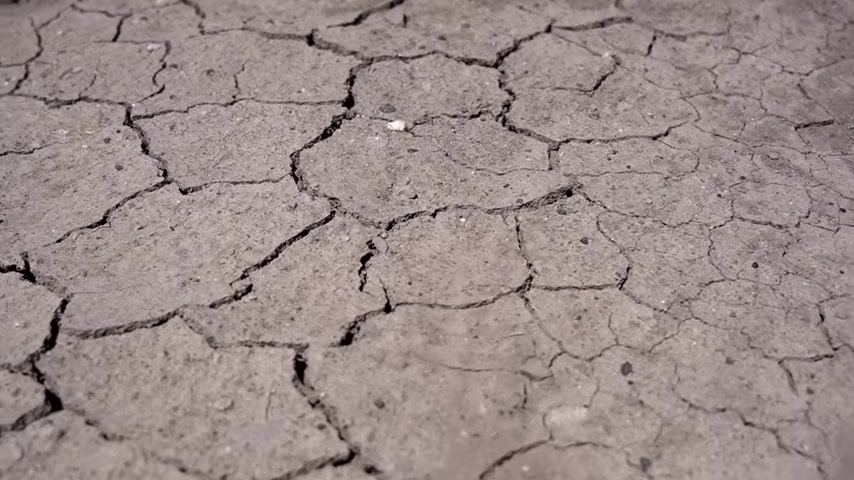
It expands when it's wet , it contracts when it's dry , which is a property of clay .
So when we see that crackled texture that tells us that there's a large percentage of clay in that dirt .
So today , I'm going to collect dirt from three different locations around town and then I'm gonna take them back to my studio and I'm going to show you how we can test those to know whether they have a large percentage of clay or not and then know whether these are really suitable for making clay out of .
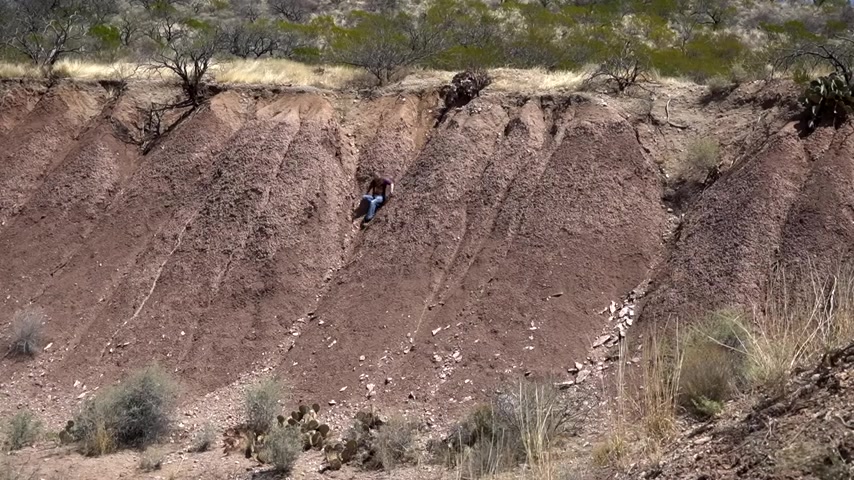
I want to remind you that staring at the internet all day is not good for you , go out exploring and find some clay and while you're at it , have an adventure like I'm having here , ok .
I've got my three samples of dirt from different places around town .
Now , I need to determine just how much clay or how much impurities are in it .
So I know how best to process it .
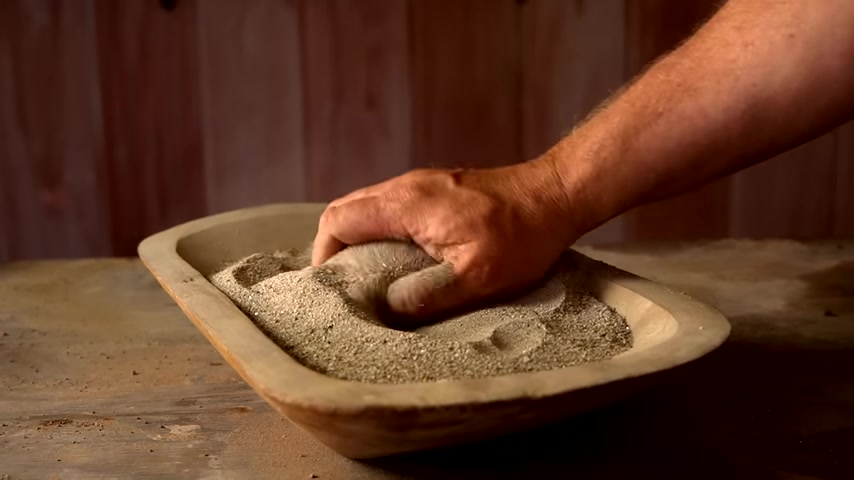
So I'm going to grind them up a little bit .
I'm just going to powder them , using my hands on the work bench here and then I'm going to get them wet .
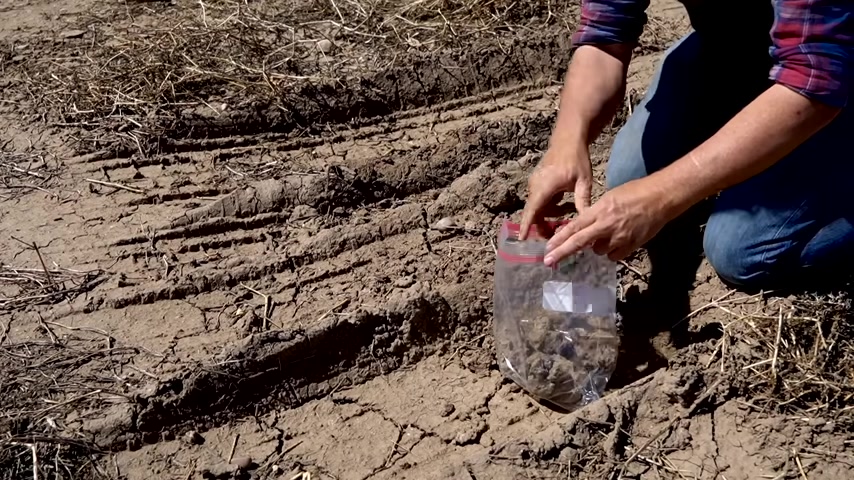
Once I get that dirt wetted , I can kind of feel how clay like it is , how well it sticks to itself , how plastic it is or just how greedy it is .
And that will help me determine just how much processing I have to go through to get it ready to use .
So with dirt sample number one , this is really high in clay , you can feel it's sticking to itself really well .
It's not even sticky on my hands .
It's got a nice texture to it .
It's really plastic .
If you remember , I picked this up in a place where people drove cars and parked and such .
And so there was quite a bit of uh pieces of plants and gravel and stuff in there .
So I think I'm gonna pass this through a screen just to kind of clean out some of the larger material .
But I think the amount of smaller material is just fine that it has .
So I shouldn't have to remove a lot of silk or anything because it is quite plastic and I think it's going to work .
Ok .
Uh For dirt sample number two .
Uh Again , this is a really pure clay .
This feels really nice in my hand .
It's got a nice texture to it .

It doesn't seem to have any pieces of dried plant material or rocks or anything in it .
So , with number two , I'm just gonna dry , process it because it doesn't need a lot of purification .
Now , my third dirt sample , this stuff is really gritty and you can see that it's got a lot of gravel and sand in it .
Probably silt as well .
It just , it doesn't even stick together very well .
And so this needs a lot of purification to separate the clay from the silt and sand that's in it .
And so with this dirt , I'm going to use the navigation process to purify it .
So let's get started purifying these dirt into usable clay .
So with sample number one here , I'm just gonna scream this .
So I'm gonna put it in a bucket and I'm going to add water and I'm gonna mix it up so that it's nice and thin .
And so the dirt and the water are mixed together , there's no lumps in it and then once it's mixed up good , I'm just going to pour it through a piece of screen .
Now , I have this nice strainer screen that I'm using here .
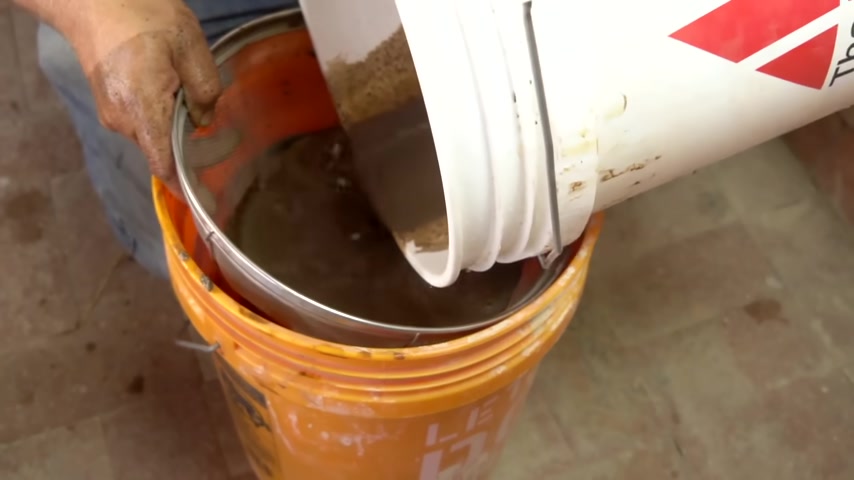
You can get strainers like this off the internet and I'll put links to where you can get some of these kind of things in the doble do , but it doesn't even have to be this fancy .
You can just use an old piece of window screen or you can go to the local hardware store and just buy a chunk of .
And so I just pour it through the screen and then , you know , add a little extra water if it kind of gets gummed up to clean it out at this point .
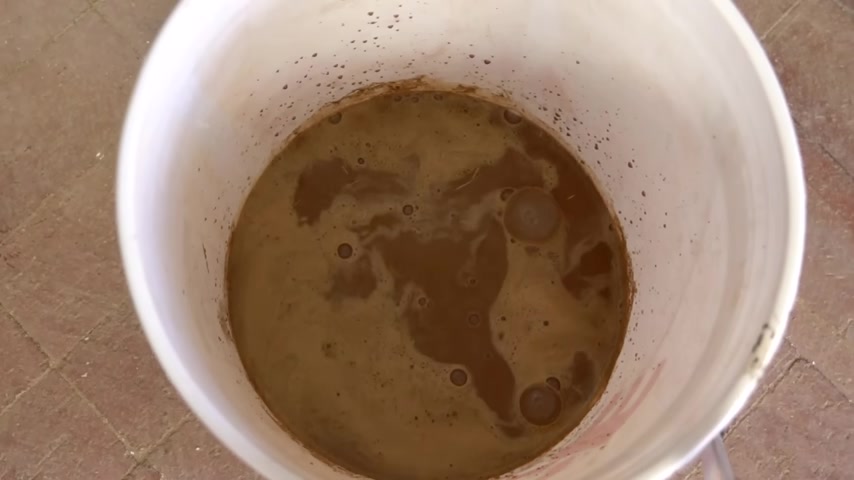
Now , we have this liquid clay and we have to get a lot of that water out of it before we can use it .
So at this point , I'll let this sit for an hour or so to let that clay settle to the bottom of the bucket and then once it's settled , I can just pour off the clear water from the top .
So even after I've poured this water off , the clay still has too much water in it for me to use this clay for making pottery or anything else .
So I'm going to pour this into an old pillow case I have and then I can just take that pillowcase and set it outside in the sun and let it dry out until it's the right consistency .
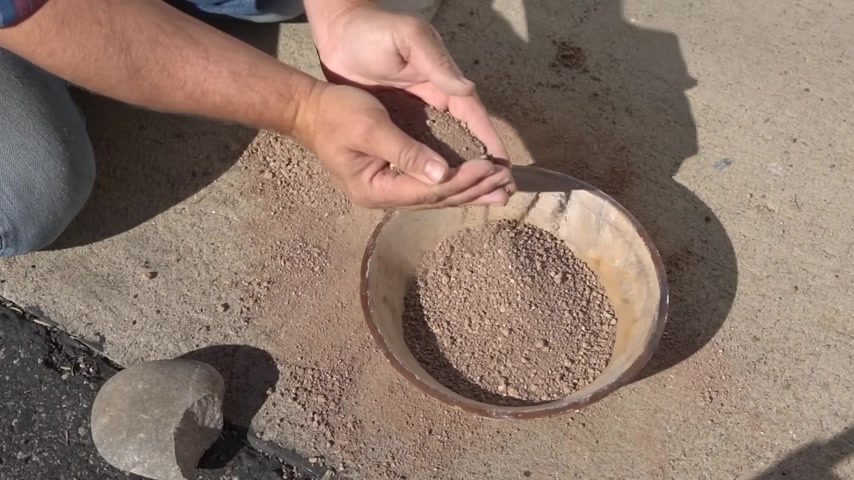
Now , for clay , number two , I'm just dry , processing this and this is the easiest and fastest , most efficient way of processing clay .
This is when you have dirt that is pretty much pure clay and you really don't have to take anything out of it .
I'm just using the cement in my driveway and a rock to just pound this up .
But you can use anything .
If you don't want to sit on the ground , you can do this on a countertop .
Just put a piece of plywood or a piece of flagstone or even like a paver brick , put something down so that you're not smashing it directly on your countertop and then just use a brick or a rock or something to just gently kind of pound it into a powder and most clay isn't that hard .
It's pretty easy to turn into a powder and it doesn't have to be perfectly like flower fine .
If I did clay , that's too wet to grind like this .
I'll just let it sit out in a covered area .
So it doesn't get rained on for a couple of weeks and let it dry out .
So for sample number three , I'm going to navigate this clay .
Navigation is just the process of using gravity to sort those different size particles that are in this dirt .
So I put water over the dirt and I mix it all up , reach in and make sure you've got all the lumps broken up so that it's all mixed up with the water and then let it sit for a minute , not long , a minute or two is fine .
And then the larger particles that sand and silt will settle to the bottom of the bucket and then you can pour off that liquid clay from the top and you're going to keep doing this , adding more water mixing letting it sit for a minute and then pour off that liquid clay do this 345 times until you get mostly just grit in the original bucket .
At this point , your second bucket is pretty much pure liquid clay .
So again , we're going to let this set for a while so that the clay can settle to the bottom .
It might take an hour or two .
You might wait overnight when you come back , you'll have a layer of pure water at the top that you can then pour off .
Now , you've got that liquid clay at the bottom , still way too watery to use for craft projects .

Now , I'm gonna take these bricks and set them out on my patio and then I'm gonna take this piece of cotton cloth and I'm gonna set in it and I'm going to pour the clay into this little trough that I've made .
Moisture will leak through the bottom of that cloth and moisture will evaporate off the top and by the end of the day , it should be good .
Ok .

So I've got my clay made , but I'm still not ready to use it before I can make pottery .
There's still another step .
So here's the problem with clay .
All clay shrinks when it dries .
If it dries unevenly and therefore shrinks unevenly , it will crack and break as it dries .
So to encourage even drying , the clay has to have temper added to it .
Temper is defined as any non plastic material added to the clay body .
So the clay itself is plastic , it's Moldable , right .
We need something that's not plastic in store .
Bought clay .
That temper is usually grog .
It's just clay that is fired and then ground up into a powder and put into it in wild clay .
It can be grog .
We can purchase grog , we can make our own grog , but sometimes easier is sand because it's pretty universally available .
You can go any place in the world and find sand , others , other things you could use volcanic ash is really good because it's fine and it's inert in a firing dima earth is also very fine and inert .
If we want to use this , we have to add about 20% .
It's a good round ballpark , number of non plastic material .
So I have this sand that I collected recently and I'm gonna add about 20% to these clay bodies .
Uh The other thing is I haven't mixed up my dry , processed clay yet .
And the reason is it's a lot easier to add that 20% sand to it dry than it is to add that 20% to it wet .
When I'm adding to wet clay , it's more difficult to measure .
It's more difficult to mix it throughout .
I have to need it throughout .
But when it's dry , it's easy to just stir it around and mix that sand through it .
So I'm going to be adding the sand to these clay bodies so that they're ready to use for making pottery .
So now that you know how to make clay from dirt , you're probably gonna need to know how to find clay out in nature near your home .
Well , that's another subject for a different day .
But fortunately for you , I've already made that video and here it is .
So , go check that one out right now .
Thanks for watching .
I'll catch you next time .
Partnership
Are you looking for a way to reach a wider audience and get more views on your videos?
Our innovative video to text transcribing service can help you do just that.
We provide accurate transcriptions of your videos along with visual content that will help you attract new viewers and keep them engaged. Plus, our data analytics and ad campaign tools can help you monetize your content and maximize your revenue.
Let's partner up and take your video content to the next level!
Contact us today to learn more.