https://www.youtube.com/watch?v=39bvk4n6psw
DIY ONE DAY GAZEBO
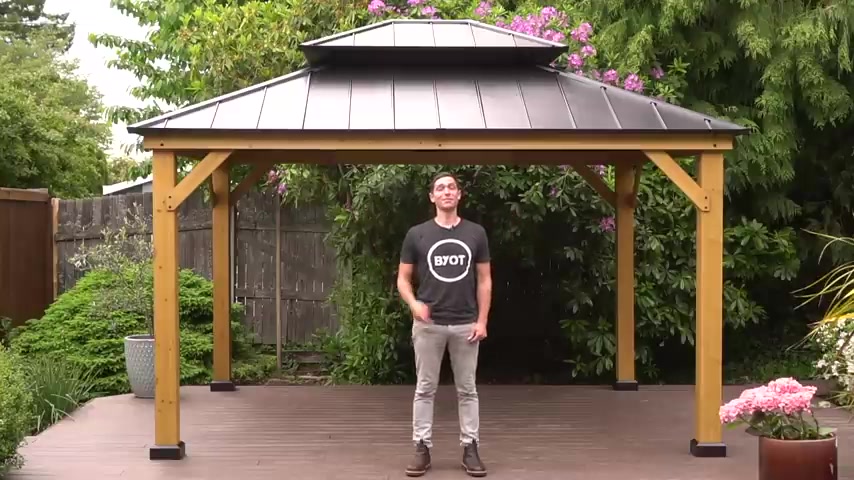
Why , how old there , Brent here with Bring your own tools and on today's episode , if you wanna see how we built this in just one day , keep it was get it started .
I'm an individual that loves building things from scratch , but some things just make complete sense to actually purchase some type of kit .
And that's where this Sun Joy Gazebo comes into play because it's an 11 ft by 13 ft gazebo that's over £400 and it can be delivered straight to your doorstep .
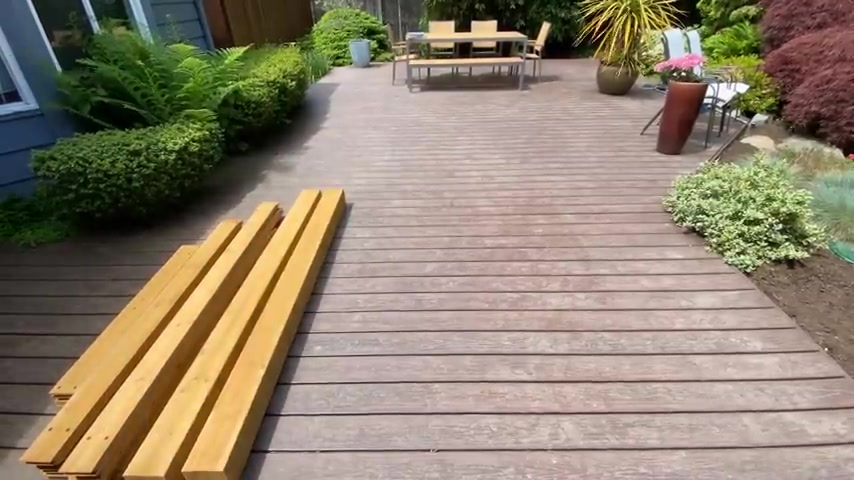
Now , Sun Joy is the sponsor of this week's video and they personally reached out to me wanting a video on the B Y O T platform .
And if you want 13% off their amazing product line , stay tuned till the end and paper instructions can only do so much , which is why a video instructional tool is helpful .
The first step is to make sure everything is accounted for as well as unwrapped because that makes for ease of installation .
Later on , all the metal parts here are sturdy steel with a powder coat finish which not only provides a really nice look but also provides a rust resistant finish to provide longevity for this entire unit .
As you can see , this is a very detailed kit with many moving parts .
And therefore we have to get right to the assembly process .
If we want to get this thing done in a day , we start from the ground up on this project .
And therefore the first step is to take our posts and the post base and get them attached properly .
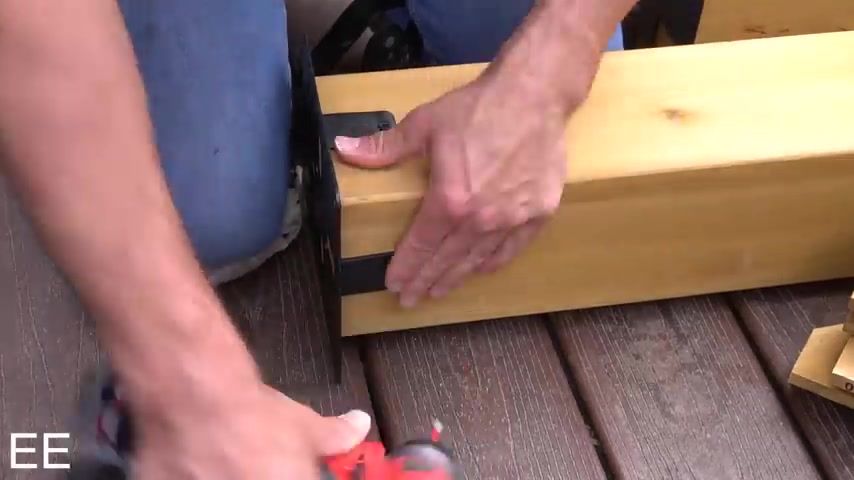
There are four side brackets attached to each post base and the fasteners we're using on this one are labeled as E E throughout this video , I'll be noting the hardware call outs in the bottom left corner .
So if you're wondering what those numbers or letters are , just know that that's the hardware that's associated with the installation instructions .
And before you move any further , make sure you have your post based cover caps on posts before you start installing anything else because now that our posts are taken care of , we can move on to our support beams .
Now , these are the beams that are gonna be connecting our posts altogether at all four corners .
And in order to accommodate such a large span in this gazebo , we have to connect these beams together .
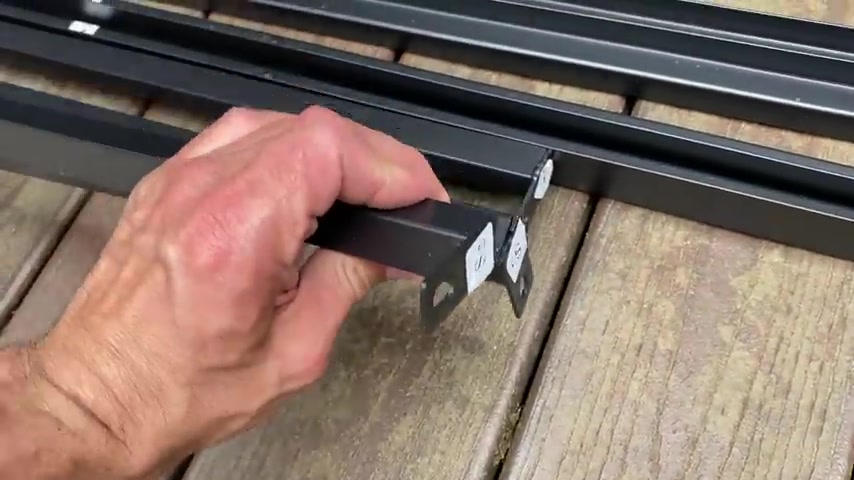
All holes are pre drilled and recessed , which makes it really easy to figure out exactly where things need to be placed , including these tea nuts that are placed on the recess side and hammered down in order for them not to move .
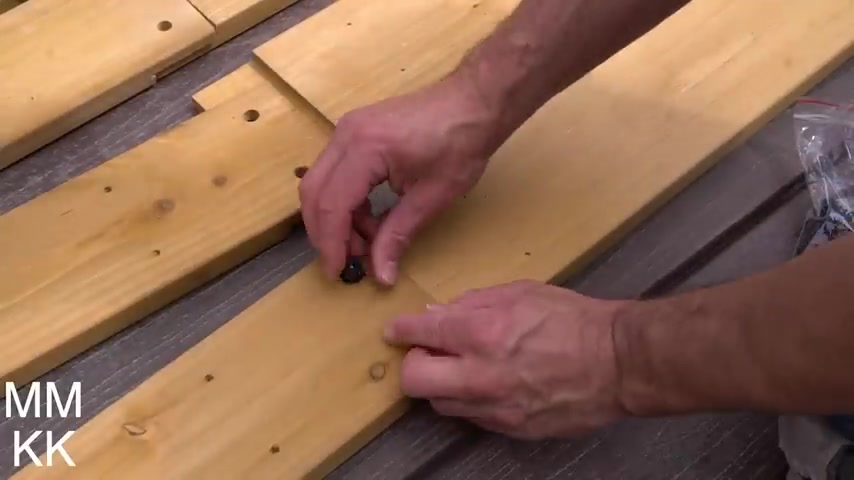
When we flip them over , we set our washers on the opposite side and then fasten them securely with our bolts .
However , I do suggest grabbing a larger level before you fasten them tightly because you want to guarantee that these boards are perfectly straight before you tighten them down .
Completely .
Each side of our gazebo gets two of these beams , which means that we have eight total to assemble , then we assemble two of the boards together , which provides a very stiff beam all the way across .
Prior to installing the beams , you do want to take the longer tea nut screws and place them into the boards that need it .
Now , this doesn't actually secure the boards together , but this is necessary to be done now versus later because these are here to secure our arch supports , which we'll get to momentarily , I overlap our beams appropriately .
And once our holes are lined up , I then clamp them down in place .
I grab a few screws and in every pre drilled hole , I secure a screw at that location .
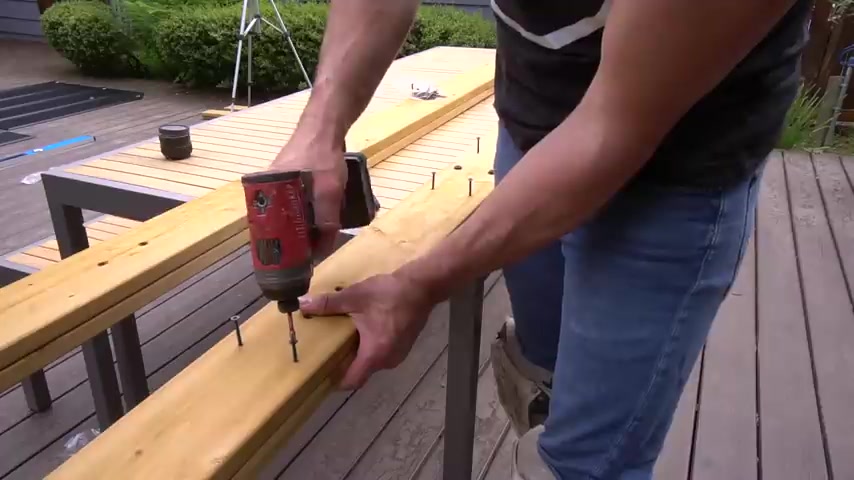
Now , you might be saying to yourself , this is a lot of work for a couple two by sixes .
And you're right , but keep in mind that this is a kit and in order to fit this into a foot long box , you have to fit these beams in there any way you can .
And also remember that this cuts down the shipping cost greatly .
I bet this saves you the customer a couple $100 on shipping alone if of course , these were full length beams .
Now that our beams are taken care of , we can then move on to installing our middle beam connectors .
Now , this is gonna be for the roof line , but you do want to get it installed now versus later , just because of ease of installation at these locations .
I did have to pre drill a couple holes , but this is literally the only area where I needed to pre drill .
Anything pretty amazing for a system .
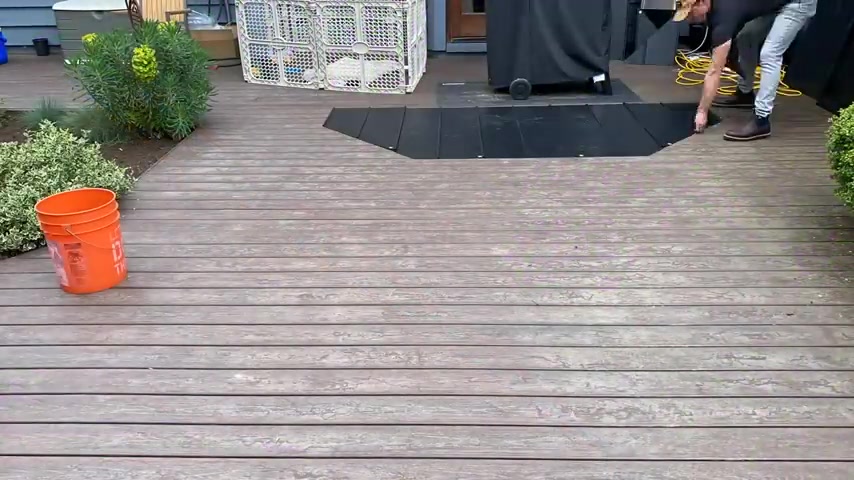
This large I laid out the general location where I want the gazebo to be placed .
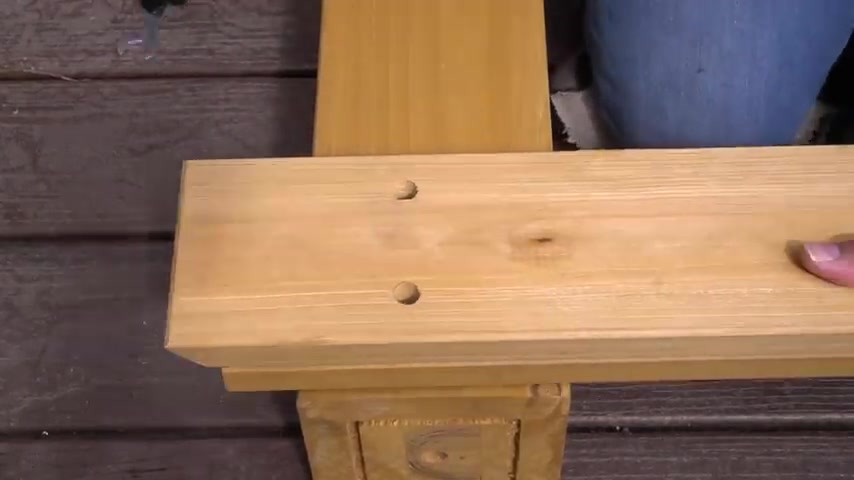
And after I have that accounted for , it's now time to bring in our posts in order to secure our beams to our posts appropriately , we have a bolt as well as a large screw .
Of course , we're inserting a washer first , then inserting our bolton screw and tightening down our screw just enough to where our beam and our posts have a bit of friction in order to stand them up appropriately .
We don't need it fully taught yet because we still need to install our side arches which gives the structure stability and rigidity .
Once we have all four posts connected to at least one beam , it's time to start standing a few of these items up .
And this is where it comes in extremely handy to have at least 2 to 3 people on hand to do this in order to make sure that these posts are positioned appropriately and they don't fall over while you're trying to install the entire thing .
It's nice to have a few helping hands on hand .
Once your posts are stood up , you can install your washer and nut on all of your bolts .
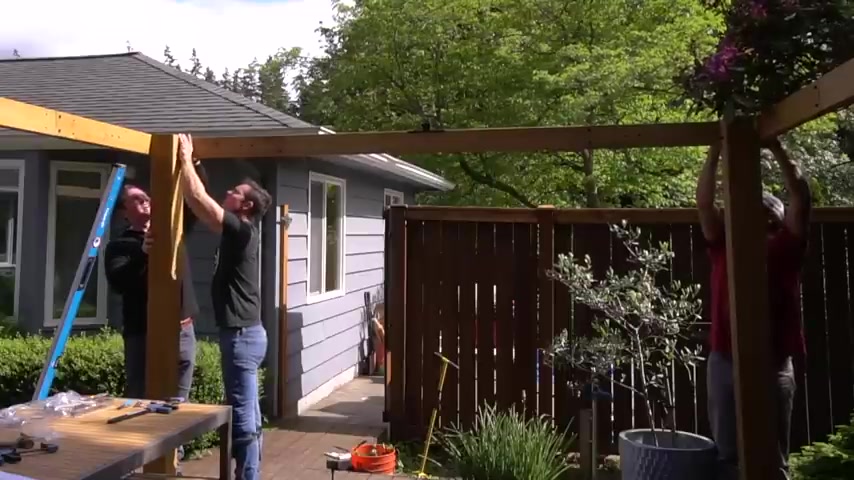
Just remember again , we're not trying to overly tighten everything .
We just want to make sure it's a nice snug fit in order to stabilize the structure , I then install our 3rd and 4th beam in the same fashion I did with our first couple beams , there's obviously plenty of movement within the structure still with these beams installed .
But at least , you know , it's not gonna be falling down on you .
I suggest tightening down your three bolts first and once you have that taken care of , you can then go back and tighten down your bolts .
The one key element with the structure is to make sure that we have a structure that is at least somewhat square and that's where our tape measure comes into play because you want to make sure you have a cross dimensional measurement that's at least somewhat close .
I quickly install our slanting beam connectors at every single post location , which is a very important bracket .
When it comes time to installing our roof line , just make sure the bracket is slanted outward , not inward .
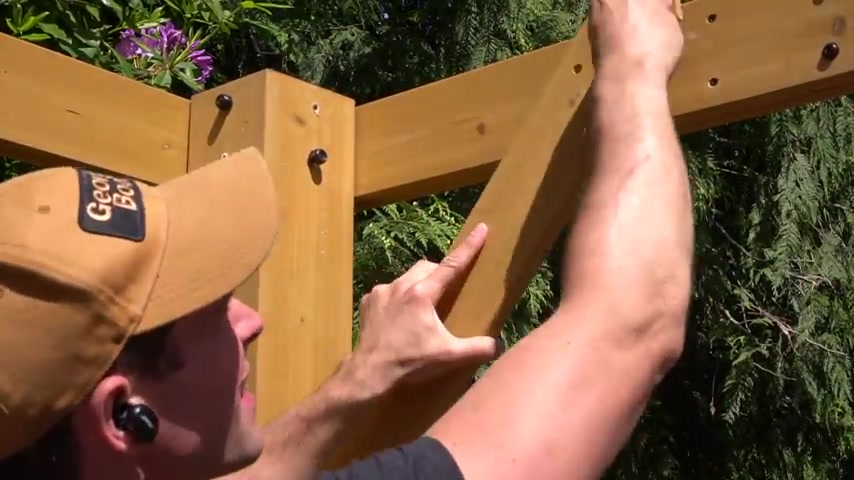
Now it comes time for our arch supports .
Now , these are really important especially to make sure that this entire structure becomes more rigid and perfectly square .
We line up our holes and tighten down our bolts that are attached to our beam .
But then we also secure our screws into our posts .
Now keep in mind that all these holes are pre drilled and making sure that you have these holes lined up on the outside of your beam is important because if you don't , you'll have unsightly holes at certain locations .
And that's why you have a couple of empty holes right there at the top of that post , which was my mistake due to the fact that I drilled into the wrong side .
And therefore I had to flip the post around .
So just keep that in mind on your project .
So you don't have to worry about that .
Later on , I go around our entire structure , installing all of our arch supports .
And once all of those are fully installed , we can then tighten all of our bolts down and check for square .
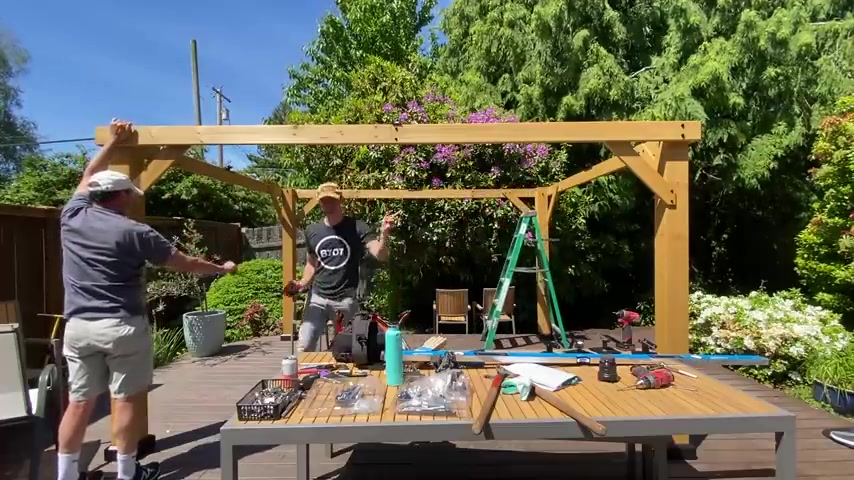
This cross dimensional measurement is very important because it does affect your roof line .
And if it's not square here , your roof is never going to be square .
But luckily for us , we are within an eighth of an inch and on a structure this size , I call that good .
And with that , we can move on to our roof .
Now we first grab our corners as well as our tube steel , which they call out as our big roof frame , long and short tube connectors , all of our steel parts are made to the exact size needed .
And therefore all we need to do with every single piece is to secure them with the appropriate fasteners .
Once we have our center frame assembled , we can then install our side railing supports at every single corner , we then lift our metal frame up overhead and place them directly on our slanted post connectors .
Then all you have to do is fasten them at the appropriate locations and it's fully secured .
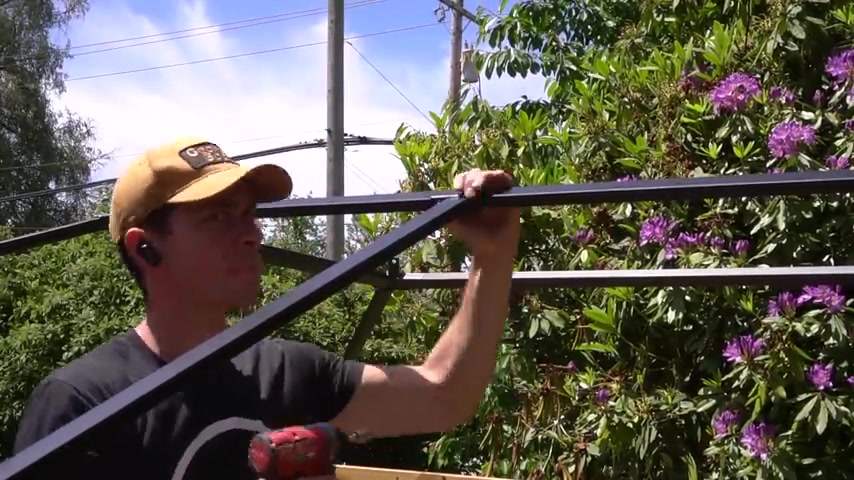
In order to gain more rigidity and strength into our roof line , we then install our big roof middle beam connectors on all four sides .
This really strengthens the entire system as well as provides more consistent alignment for our roof line .
Now that we have our main framing taken care of , we can then install our lower dual rail hanging system .
Now , this is a really nice added bonus to this entire unit because if you ever want to hang up some string lights a privacy curtain or even a mosquito netting system , this is something that you can easily attach to and it makes a breeze to install later on this sun joy unit that we're installing has a two tiered roof system which provides some natural lighting as well as some general air flow , which is why we also have to install a top cap with coat hook .
Well , it's a hook specifically for a chandelier or even a heater that you can hang up at the very top .
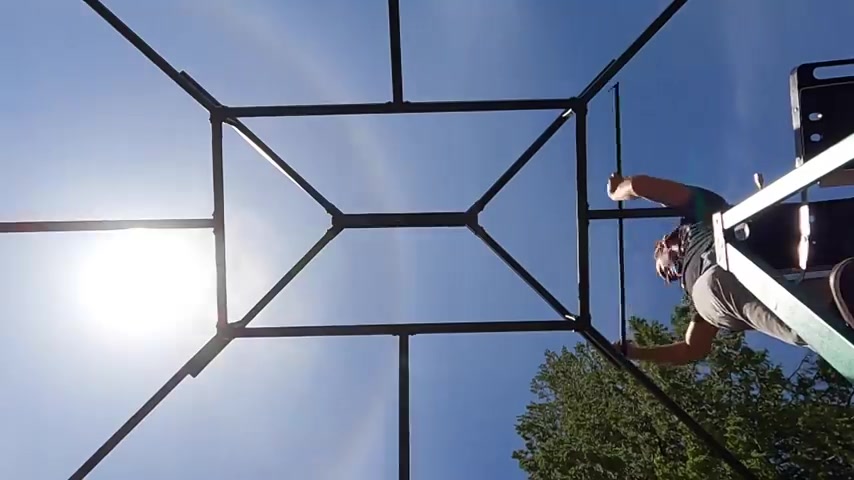
We insert our upper frame system into our lower frame system and secure them together with the same fasteners we've been using for the entire roof line .
Now , with the majority of our framework for our roof taken care of .
It's now time to attach the outer edge of our roof .
This is gonna be for the very top section first because we do have to work from top down now and sometimes you just get lucky and you don't quite understand what you're capturing on video until you take a look and look at that beautiful rainbow .
Nice .
These side rails are a bit more difficult to install because they have inward angles on both sides .
But the nice thing is is that the kit comes with an appropriate small wrench which gets into very tight knit areas like this .
We're finally done with the upper framework of our roof section , which is why we can now move on to the roofing panels .
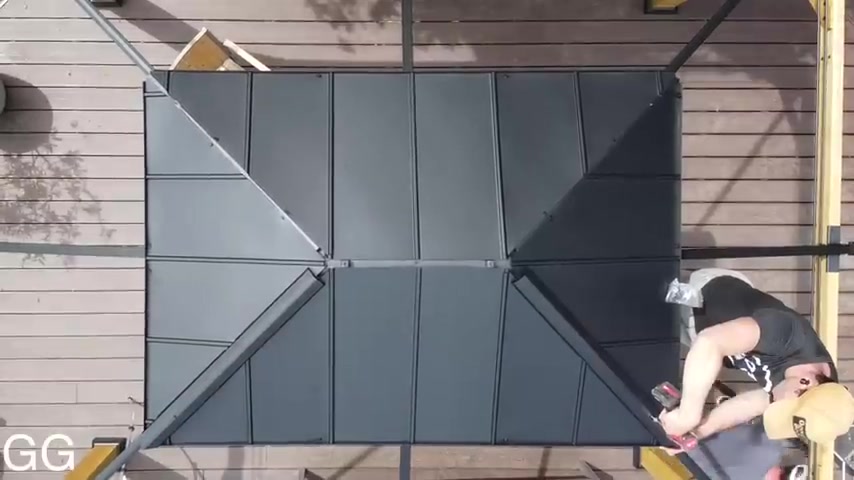
I do want to lay out all of my panels accordingly to make sure that we have the appropriate sections allocated for each side in order to get the best shots possible for this .
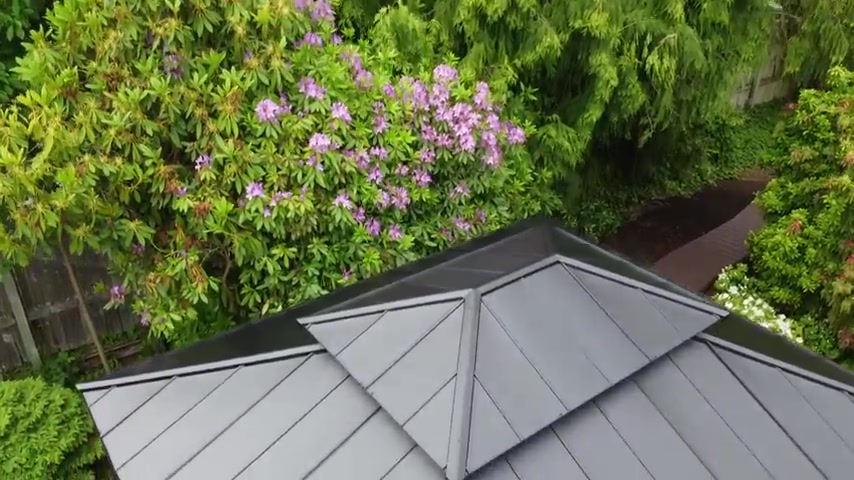
I did grab my drone because it was so high and filmed as I was installing and as you can see , it's really easy to snap these pieces together and all you need to do to ensure that this is installed correctly is to make sure that each section is overlapping each other as well as remember that these panels need to line up appropriately with the holes on the framework .
That way our pre drilled holes will line up with our panels and we can secure each panel in place without any drilling whatsoever .
In order to guarantee that no moisture is coming through the sides of the panels , we do need to install a side rail on every single corner as well as a top cap that goes right on top that interlocks the entire system together .
This way , there's no chance of any of that Pesky Seattle rain laying on us .
If we're under our beautiful gazebo , now that we're done with the top section of our roof , we can move on to the lower section , which there's plenty of support framing that still needs to be installed .
And we didn't install this until now because it's a lot easier to get to the upper roof line with this framing not in our way because all the other framing is already installed .
Some of these sections were a bit more difficult to install than others , but I found that the easiest way to get them installed was to actually just hand , tighten each section down first and then come back with your drill and tighten them all down securely just like we did for the upper roof line .
The lower roof line also has a lower edge lip which our roof paneling lays upon very nicely .
Once installed , we did come across some very tight areas on this section as well because this is the last piece of the puzzle but nothing that a couple love taps with a hammer won't fix .
Now that we have all of our framing installed .
And I do mean all of it , we can now finally come to the finishing portion of this project , which is the paneling for the lower roof section , same exact process of installation just as the upper roof line .
But of course , we're working with larger panels on this section .
It did become a bit more of a reach to get to every single fastener but plenty easy to do so .
Just be careful when you're on a tall ladder .
I want to take a moment to say a huge and special .
Thank you to Sun Joy for sponsoring this week's video .
This gazebo was extremely high quality and if you want to check out their amazing lineup of gazebos , Perlas carports , sun rooms , fire pits and so forth , I'll make sure and leave a link in the description box below .
Plus for any of you who want 13% off their amazing lineup to choose from all you have to do at checkout is type in the promo code B Y O T .
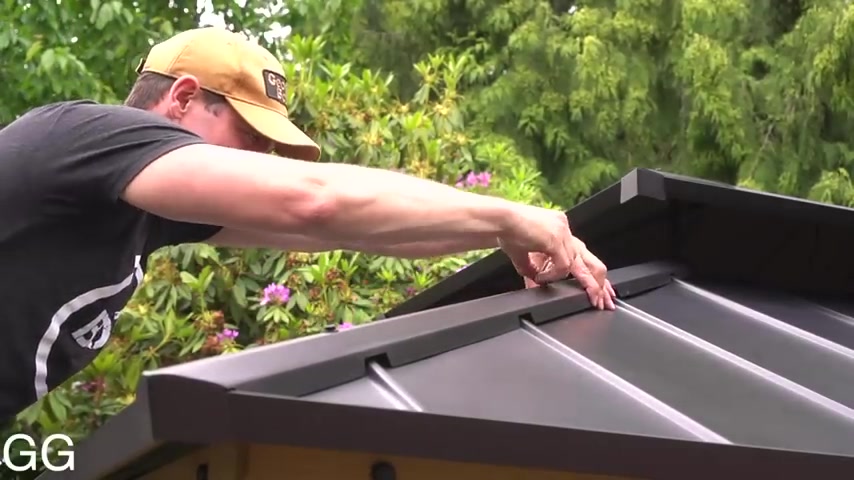
And with that said , let's put the final finishing touches on this amazing gazebo and all it is is attaching and securing our four corner roof lines just like we did at the very top section of our roof .
In every instance I hand tighten them first and then secure them fully with a drill .
But just remember when you're using your drill , don't tighten them down too much because this is heavy duty sheet metal , but it can bend .
But with that said , guess what we are done .
I'm truly in love and impressed with this entire system .
It's absolutely gorgeous .
It not only provides beauty but functionality to this entire backyard , no matter what the weather is like outside .
Now , in all honesty and full disclosure , this did take two days to film , but I only spent four hours building the first day and eight hours building it the second plus I'm videotaping the entire process which hopefully saves you hours on your project since you're probably not videotaping it .
But in any case , this is truly one beautiful , sexy beast of a gazebo .
Oh , yeah .
Are you looking for a way to reach a wider audience and get more views on your videos?
Our innovative video to text transcribing service can help you do just that.
We provide accurate transcriptions of your videos along with visual content that will help you attract new viewers and keep them engaged. Plus, our data analytics and ad campaign tools can help you monetize your content and maximize your revenue.
Let's partner up and take your video content to the next level!
Contact us today to learn more.