https://www.youtube.com/watch?v=4XTCQsSLBFw
2023-06-14 18:18:56
How to Sew an Invisible Zipper Step by Step _ Sewing Tutorial with Angela Wolf
An invisible or concealed zipper can really give your garment or project a professional edge and it's easier to sew than you might think .
Hi , I'm Angela Wolf .
Let me show you my foolproof way to sew an invisible zipper .
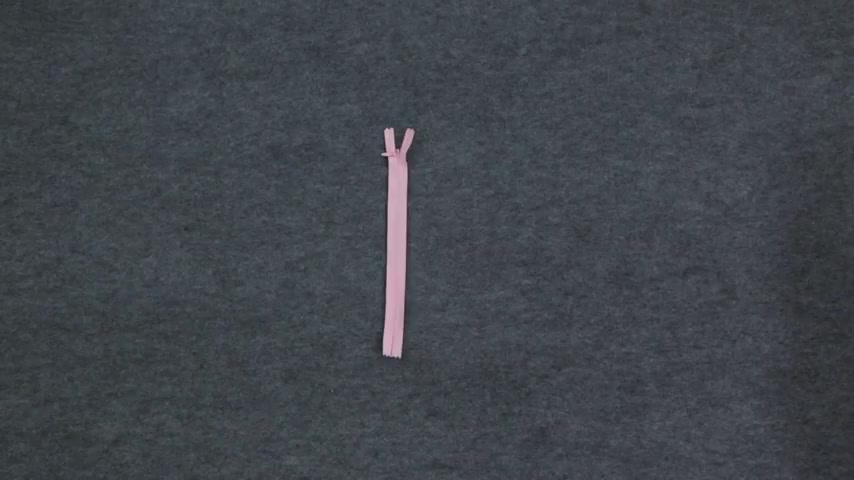
You will need an invisible zipper two inches longer than the zipper opening .
Two pieces of fusible interfacing and two pieces of fabric first stabilize the seam where the zipper is going to be inserted .
My fusible interfacing is cut about an inch longer than the zipper opening and is wide enough to cover the seam allowance and another half of an inch .
I'm trimming one side of the interfacing with Pinking shears to prevent it from showing through on the right side .
This is a great tip .
If you're using lighter weight fabrics line up the interfacing along the top and side raw edges and press by holding the iron for about 3 to 5 seconds , lifting and pressing next , prepare the zipper by pressing the zipper teeth away from the zipper tape .
Make sure your iron is at a low setting .
You don't want to melt the zipper and just quickly press see how this fold opens .
This makes it so much easier to sew .
Now , take a look at this handy line here on the zipper tape .
This will be a good guide for you to follow with the needle .
When it comes to sewing here are both pieces of fabric and my zipper start with the zipper closed .
This will hopefully stop you from sewing it in backwards .
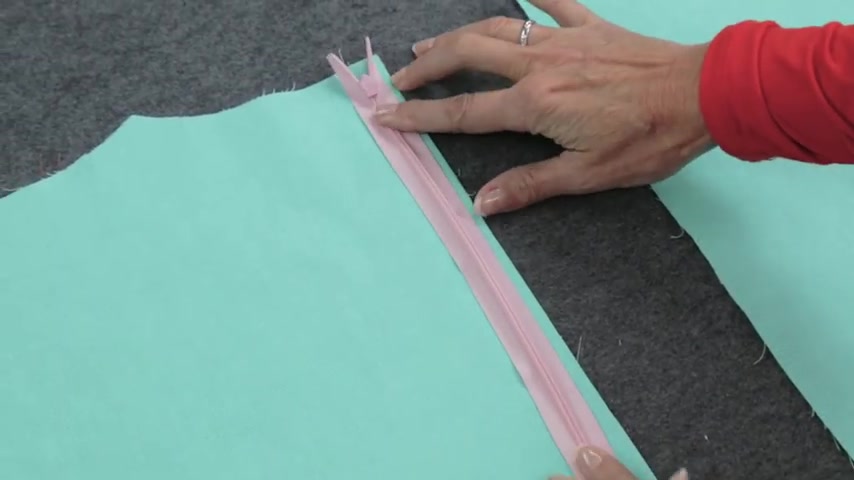
Flip the zipper with the right side facing the right side of the fabric insert , one pin to keep the zipper lined up .
And now unzip the zipper all the way line up the zipper tape inside the edge of the seam allowance .
You want the zipper teeth to land right here on the seam .
So if your pattern calls for half inch sea ounces , you would line up your zipper right here .
This is an invisible zipper foot which makes it really simple to sew see these grooves underneath the foot .
They line up with the zipper teeth and glide right along that edge as your needle goes through the hole .
But you can also use a standard zipper foot .
The difference is the foot will glide along the edge of the zipper teeth like this line up the standard zipper foot with the needle right next to the zipper teeth using that handy line as your guide and stitch .
This snip represents the bottom of my zipper opening back stitch and one side is finished zip up your zipper and find that snip .
Now with the fabric marker , make a mark crossed from the last stitch .
This will show you where to end your stitches .
Well done .
Take a bow or take a break and then start on the other side .
Turn the edge of the second piece of fabric right side toward the right side of the zipper .
Pin it in place and open the zipper all the way past the last ditch .
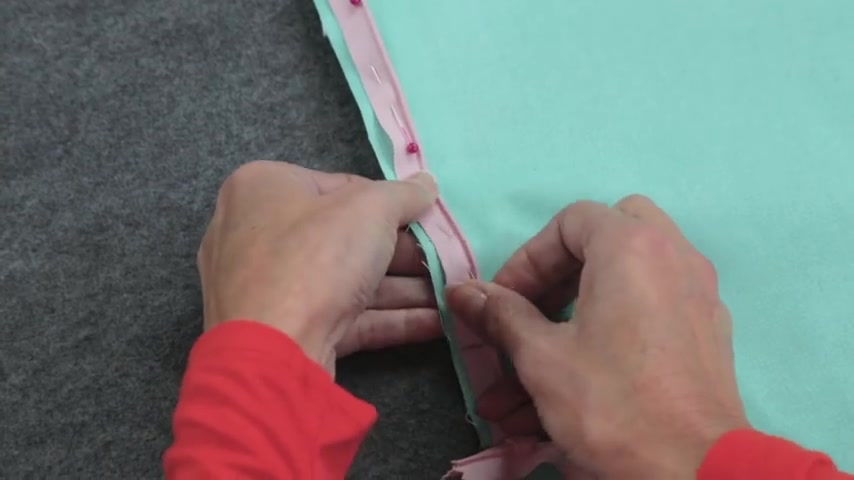
Flip the fabric , remove that pin and start pinning the tape in place just like we did before pushing the finish side of the zipper out of the way you're now going to stitch down this side , change the zipper foot to the other side line up the needle right next to the zipper teeth and stitch .
When you get to the mark representing the last stitch back stitch and you're almost finished .
It's very important that the last stitches on each side of the zipper tape are even right here .
If they're not go back and stitch a few more stitches on the shorter side to even them out , you're nearly there .

The final step is to close the rest of the seam , place a pin along the seam allowance underneath the zipper tape , push the zipper tape out of the way as much as possible and add another pin back at the sewing machine line up your needle here , starting a quarter of an inch above the last stitch just on the inside of the stitch line , push the zipper tape out of the way back .
Stitch once or twice and stitch switch to a standard pressor foot and starting on that last ditch .
So the rest of your seam closed .
So let's take a look at our finish zipper .
See how neat the seam below looks and on the right side you can hardly see the zipper teeth , which is perfect since it's an invisible zipper .
That's how easy it is to insert one .
Thanks for watching .
Get expert sewing instruction , free resources and supplies for your next project by clicking the eye in the top right corner of this video .
Partnership
Are you looking for a way to reach a wider audience and get more views on your videos?
Our innovative video to text transcribing service can help you do just that.
We provide accurate transcriptions of your videos along with visual content that will help you attract new viewers and keep them engaged. Plus, our data analytics and ad campaign tools can help you monetize your content and maximize your revenue.
Let's partner up and take your video content to the next level!
Contact us today to learn more.