https://www.youtube.com/watch?v=PUAwDPUNyrs
How to Centre Clay and Throw Pots on the Pottery Wheel
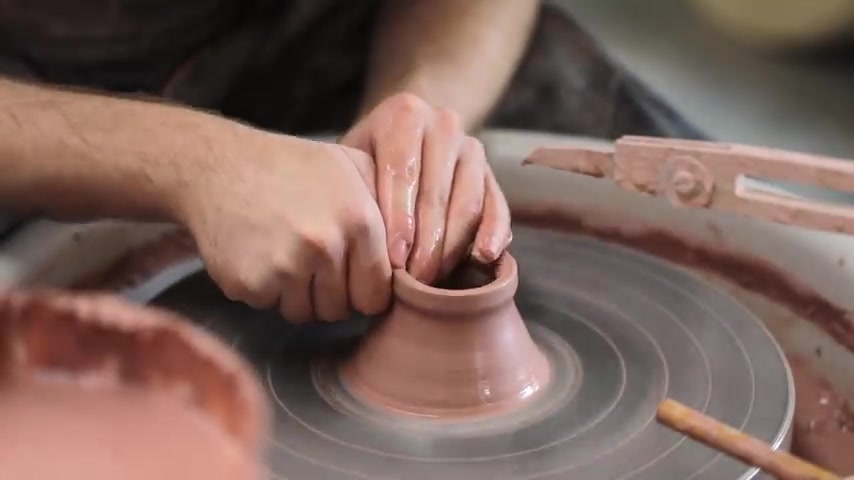
Perhaps the hardest part about learning to throw on the potter's wheel is learning how to center the clay and thereafter how to pull up the walls of clay to form the pot itself .
This video will act as an in depth tutorial on how to center how to throw and how to lift pots away from the wheel alongside all kinds of other tips and tricks that I've learned over the years .
For those who don't know , centering is the beginning part of the process .
It's when the clay is forced into the very middle of the wheel before any of the pot has been thrown itself .
It is crucially important and it's one of the most basic things that must be learned .
If you plan on throwing pots on the wheel , if you are just starting out the weight on screen might be a good starting point .
The first step as always is wedging your clay properly .
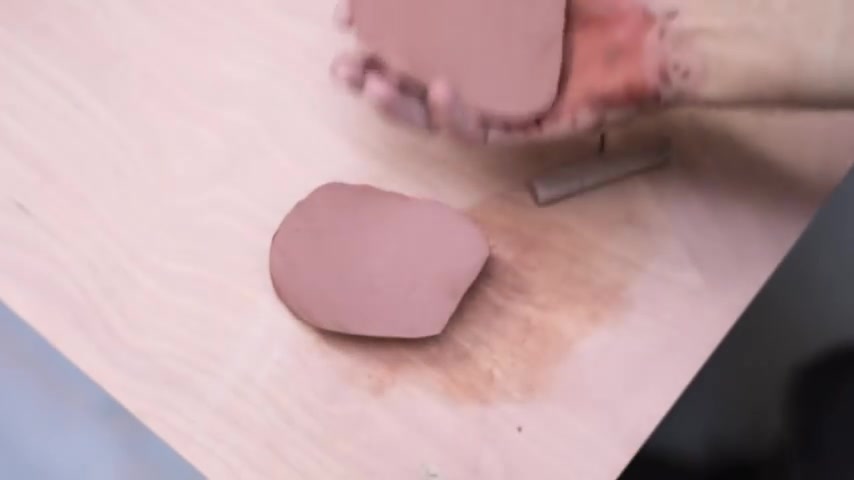
And I won't go over that in too much detail in this video as I have another one that does just that which you can find a link for on screen now or in the description of this video too simply put wedging is a process that removes all pockets of air from the clay .
It also makes it totally even , ideally what you want is a lump of clay .
That's one even texture throughout the entire piece .
I wedge these lumps up .
So they have a rounded bottom .
That way , when I throw them onto the wheel head , they don't trap any air beneath them .
So to begin with , once you're on the wheel , you want to place the lump of clay as centrally as possible .
And again , the rounded bottom means that no air is trapped when I slam this against the wheel head , as opposed to a piece of clay like this , which could cause issues later on .
So initially , I want to firmly place down the lump of clay into the middle of the wheel .
If it is off center , it will only make your life more difficult .
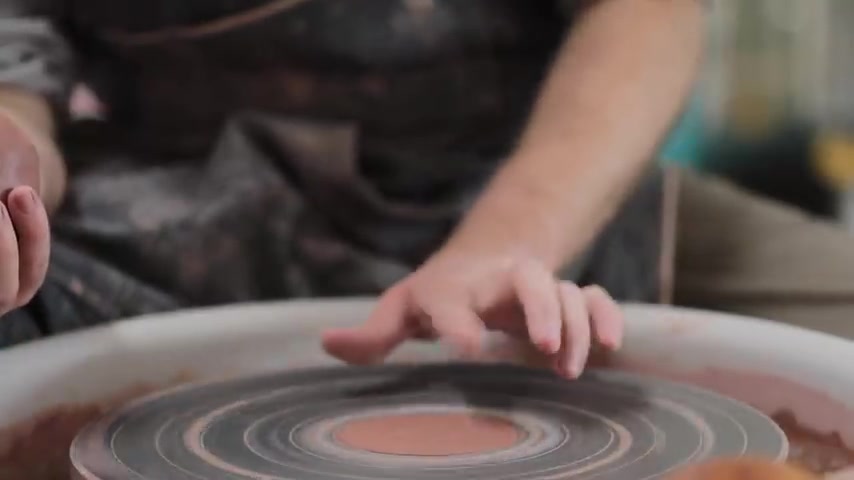
But with a bit of practice , you should be able to firmly slam it down into the middle of the wheel .
There are a few other things to consider .
Here .
First is the surface on which you're slamming the clay onto .
You may often be left with this dry pad of clay from the previous pot that's been sliced off the wheel .
This is perfect as it acts like glue almost and helps to stick the next lump down very firmly .
But you want both the ball of clay and the wheel head itself to be relatively dry and you definitely don't want any water or slip in between the ball of clay and the wheel head as you'll likely find it will slide off .
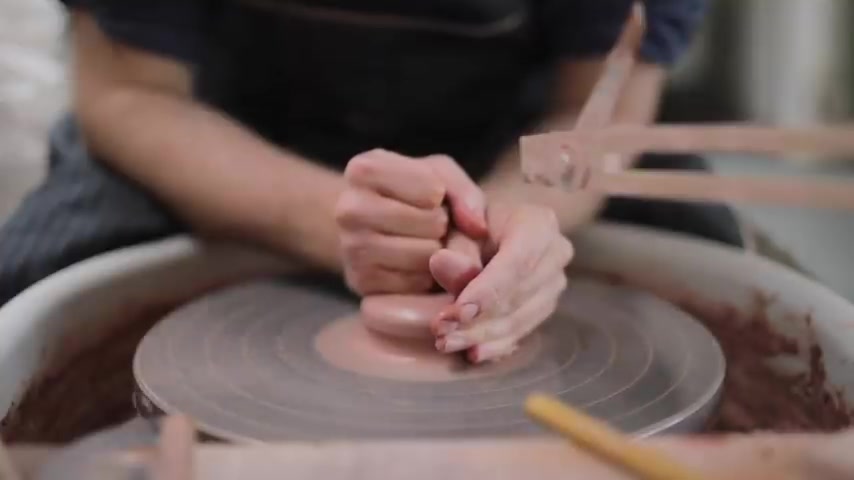
Like so once the lump of clay is firmly pinned down , you can begin the center in .
And really , this is a process where you apply both equal pressure from above and from the side , I take my left arm and I push my elbow into my waist and rest my forearm onto the wheel's tray .
I want to anchor it and secure it as much as possible .
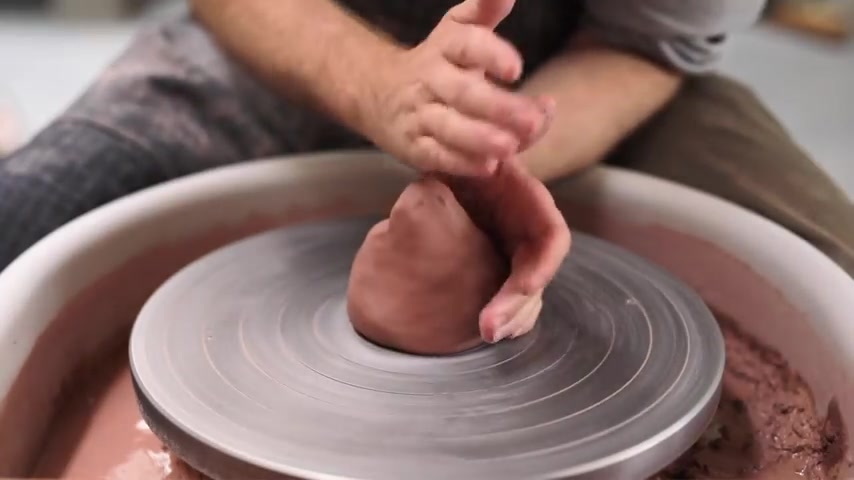
And I can easily lean my upper body weight onto that arm which I've tucked into my torso .
I'm practically leaning onto the lump of clay with my left hand and I push onto the lump of clay using the base of my hand .
But you also mustn't forget about your fingers .
They're vital for this entire process .
So while the palm of my hand is applying pressure , I also then squeeze the lump of clay with all of my fingers and thumb .
You'll notice with my little finger especially , I really dig it into the bottom .
This creates a strong seal between the clay and the metal of the wheel head .
It helps to contain it and prevents it from spreading out below your hand .
So that's more or less what my left hand does .
I then take my right hand and from above , I apply equal pressure downward , making sure that my point of contact is directly over the middle of the lump of clay and not off to one side slightly .
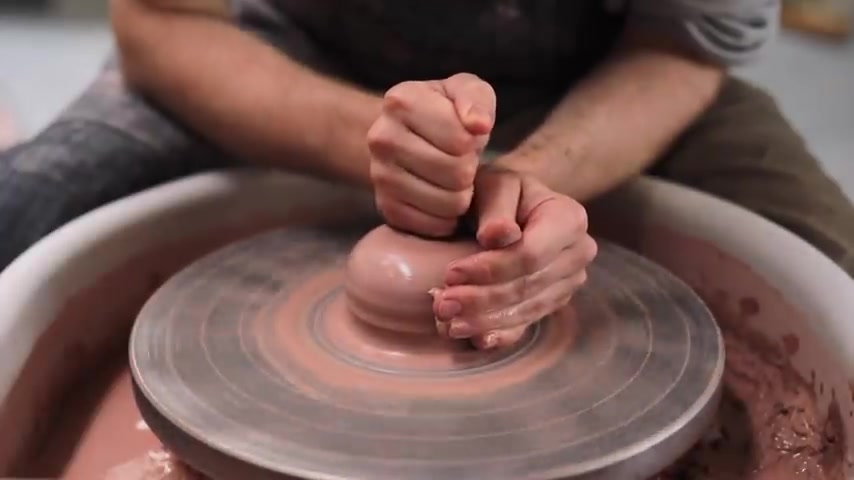
And often as I'm centering , my eye is watching my fingertips as you'll easily see them wobble if your clay is off center .
And if I notice that , I simply squeeze those fingers inward until the wobble disappears .
Essentially , what we're looking for is a lump of clay that runs perfectly smooth beneath our fingers with no wobbles or undulations .
And you want it to look sort of like this .
You don't want it to be like a hill with slopes that gradually flow onto the wheel head .
You want it to be contained and under control .
This is the sort of shape that I want the lump of clay to be before I open it up and create a pot .
But there is another process we can do to help center a piece of clay .
And that's a process called coning and it's essentially like wedging .
But on the wheel first , I make sure that the lump of clay has a nice rounded top .
I then apply even pressure from both sides using the palms of my hands and I push it up into a conical shape .
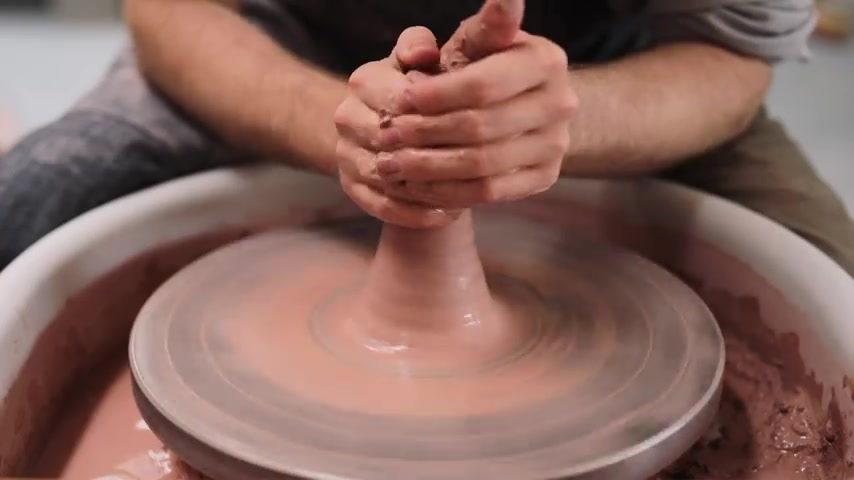
You should notice any irregularities or undulations as they appear somewhat exaggerated at the top of the cone of clay .
Then with both hands , I carefully squash the cone all the way back down .
But there is a trick to this which you should be able to see better from this angle when it comes to actually pushing the clay down .
I don't apply pressure directly from the top downward as what this does is cause the lump of clay to build and thickness in a bulge towards the top like so which can be quite tricky to deal with , especially if you're new to throwing .
So instead of pushing directly down , you want to push at a slight angle , leaning the cone over ever so slightly as you push downward .
And this will cause the lump of clay to gather in thickness towards the base instead of at the top of the lump of clay .
So I'll show that again .
This is what happens if I push directly down from on top , you'll notice that a bulge begins to build out towards the top of the lamp of clay .
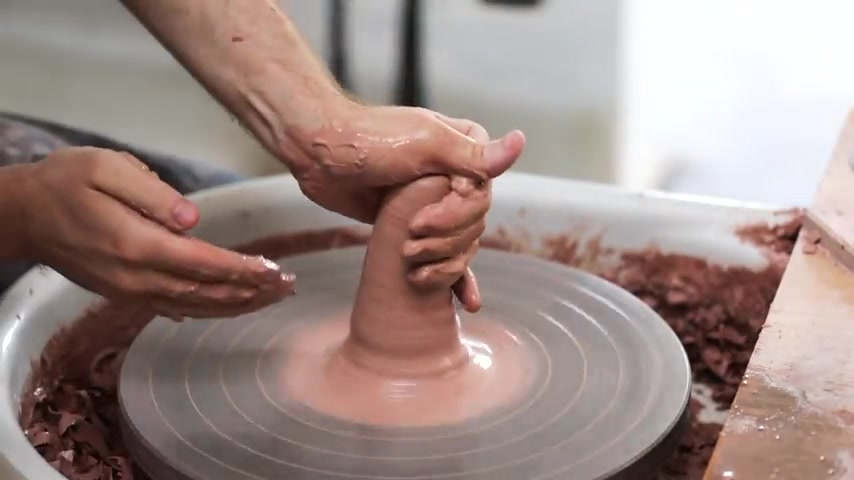
So instead I turn the clay back up before pushing it down at a slight angle .
And I'll do it with just one hand here .
So you can see it gather towards the bottom .
Coning is one of those things that you don't always necessarily need to do .
But if you are having trouble centering the clay and throwing a pot thereafter too , then coning can be incredibly useful .
This lump of clay was wedged very well , but you can see already in the first cone just how uneven the top was .
So when I am coning my clay , I'll go up and down a number of times until this peak that you see at the top here runs perfectly smoothly without any undulation , which may take three or four cones up and down .
But the effect it will have on the ease of throwing later on is very significant .
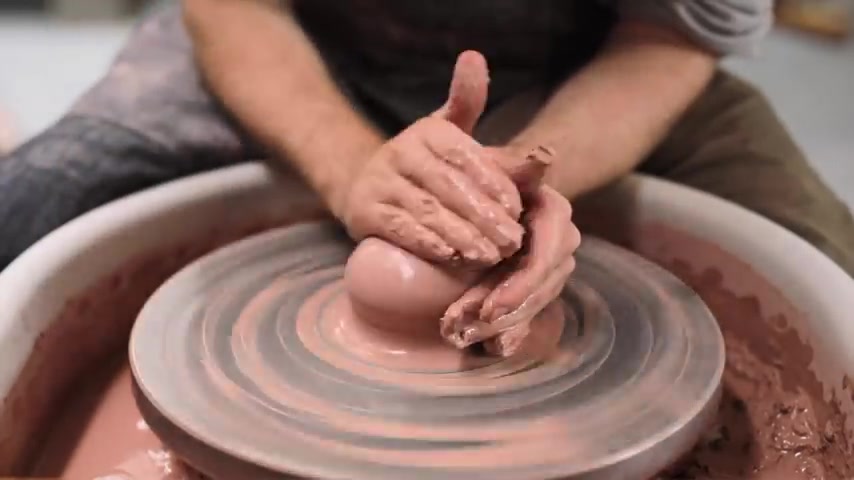
Another thing I do as I'm centering , this might seem obvious , but instead of reaching my hand into my water bucket to get more water , I simply scrape this slip off of the wheel head and use that instead , which can help you use less water during this process .
Another thing that can happen , especially when you're just learning to throw is that the lump of clay can get incredibly sandy and gritty and it almost feels as if it's grinding away your skin .
So to remedy this , you can simply scrape away the outer layer of clay and then continue centering once again .
But this is also a sign generally that you've been centering the clay for too long and you've worn away the outside layer of clay , exposing all the groggy bits of sand inside .
This won't be the case if you're using a particularly smooth clay body , it's just something to bear in mind .
As ideally the process of centering itself for a small lump of clay like this should only take about 10 to 20 seconds .
If that ultimately , a lot depends on the firmness of the clay .
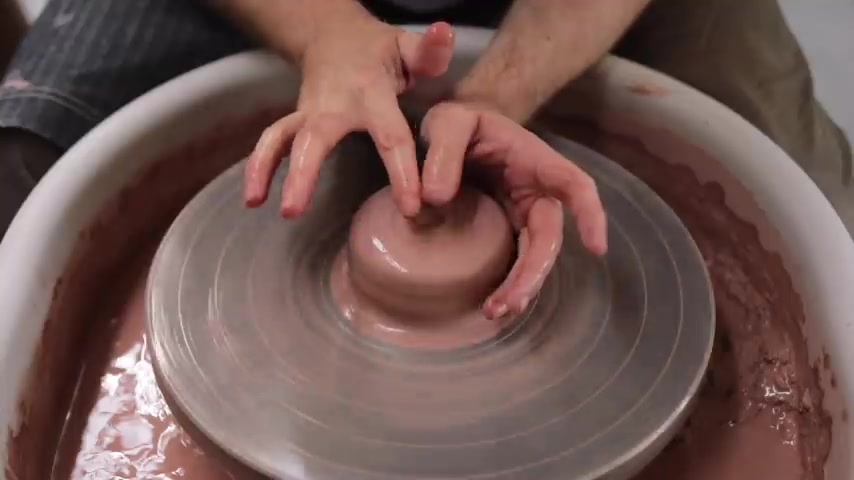
You're working with firm clay will obviously take longer and soft clay can be centered in just a matter of seconds .
But with the center incomplete , we can move on to the next step , which is opening up the lump of clay .
You can find the middle just by gliding one finger across the top until it comes to the center of the spiral .
I then keep my left palm on the outside supporting the lump .
And then personally , I use an index finger and a thumb or you can use two thumbs too .
Really ?
You want to just find what feels comfortable for yourself as you'll find , especially as you watch more and more potter's work that everybody throws slightly differently .
I then take those two digits and I push them into the center of the lump of clay , making sure that I've lubricated it with enough water .
So nothing sticks .
I push them down together until I can envision that the base of clay is about four or five millimeters thick .
And these days , this is something I can do by eye by judging the level of the metal as compared to the level of the clay on the inside of the pot .
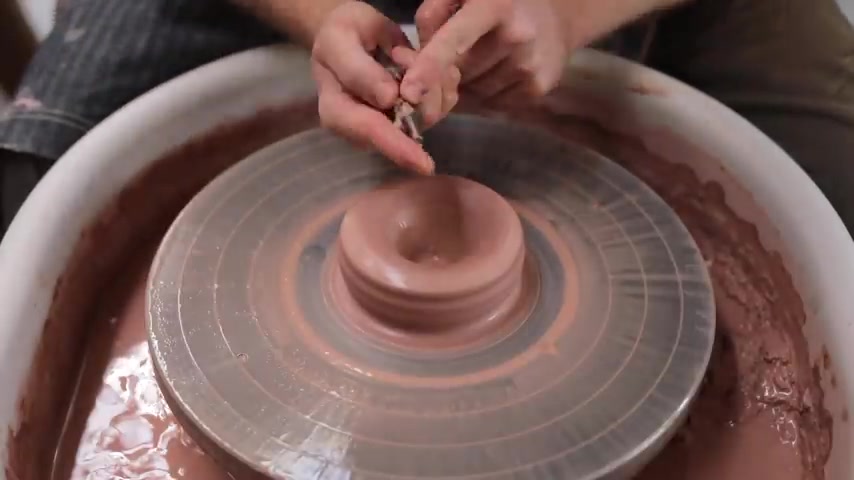
But if you want to check properly , you can simply stick a potter's needle through the base until it hits the wheel head , then place a finger inside , touching the base of the pot and finally pull the needle out whilst keeping your finger in place .
And the thickness of the base will be displayed on the end part of the needle .
Once you're content with the depth , you can move on to forming the base properly .
I do this by first wetting it .
Then I put my thumb and index finger back into the same position they were .
Then I gently pull the walls out horizontally towards my torso .
This is done in one steady motion and I make sure as I'm pulling out that I don't press down any further as I don't want to compromise the thickness of the base and make it perhaps too thin .
I then spend a moment just compressing the base .
You can do this with either your fingertips or in my case , I do it with my particularly bendy thumb .
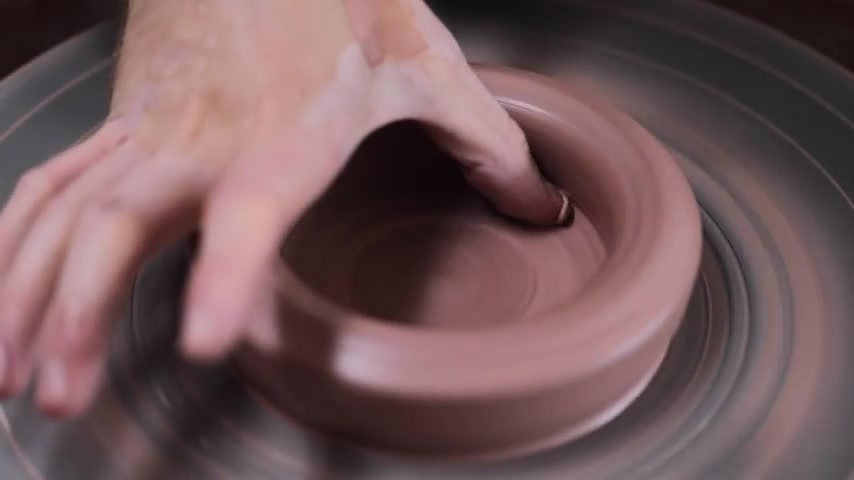
And all I'm doing here is I'm pushing down ever so slightly and I'm just moving my thumb back and forth across the base , compressing the clay and evening it out , this is done to help prevent the base from cracking as it dries , which perhaps occurs more regularly with porcelain and forms such as plates .
When I'm throwing simple cylindrical forms , I make sure that this interior corner is practically a right angle .
This way , all the excess clay will be accessible when it comes to pulling up the walls .
What you don't want is the clay here to sort of slope into the base as that will make some of the clay very difficult to access .
And it will usually result in a pot which is slightly bottom heavy .
So instead I make sure that the angle inside here is very sharp .
Here's the opening up from another angle .
And you can see on the outside of the form that my fingertips on my left and right hand are supporting the outermost boundaries of the clay .
They're pushing in ever so slightly as I pull out to help keep things under control .
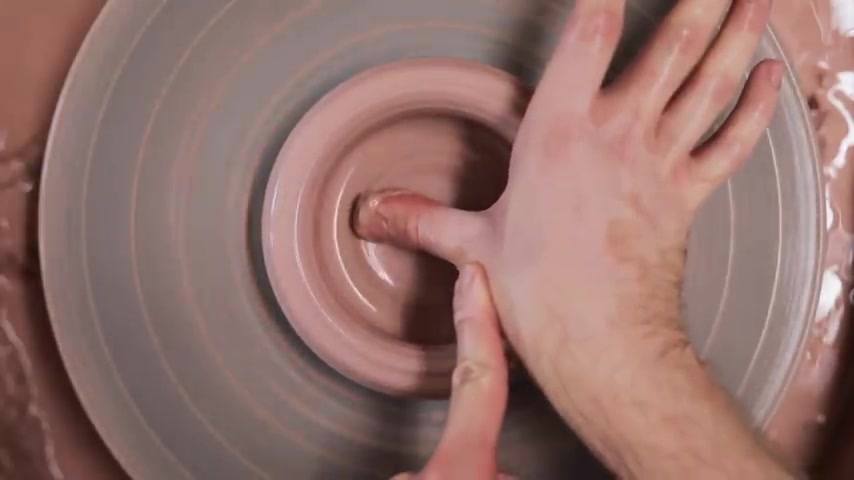
And here's the compressing again , which is done by a thumb supported by my left hand too .
As you can see , I'm pushing down using the index finger of my left hand .
And this is something you'll see an awful lot when you watch anybody throw that .
Whenever they're working , they're usually keeping both hands connected in some way .
And now that the base has been formed , we can move on to pulling up the walls of clay to start .
I make sure that the surfaces I'm working on are nice and wet .
And then I place the pads of my fingers on the inside and a knuckle like this on the outside .
The exact part of the knuckle is this outer portion .
Sometimes my thumb will be tucked inside it and other times it won't be .
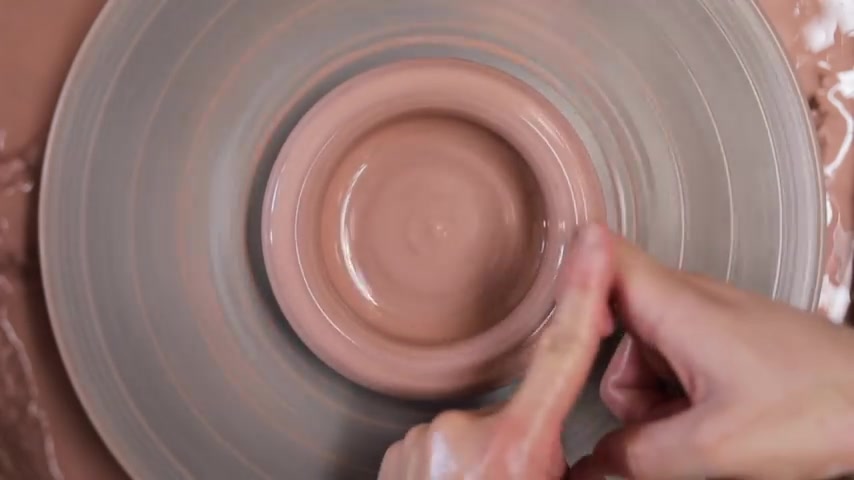
But essentially , if you straighten your finger and just fold it back , it's the left side of the finger , you'll be using not the bottom , my fingers on the inside , go right into that bottom corner and on the outside , my knuckle is placed into the groove just at the bottom of the pot , I then pinch the two together , forcing the clay upward as I pull .
And this is a process , I'll show multiple times from multiple angles .
So first I wet the walls and then I tuck the side of my finger into the groove towards the base and together both with my knuckle and the pads of the fingers on the inside .
I squeeze and I gently pull the clay upward .
And as I get to the top , I very gently release my fingers .
And again , during this entire process , my two hands are still connected in some way .
Usually by resting one thumb on the other .
As I pull the clay upward , any kind of connection helps to build stability .
And that's crucial for when throwing pots .
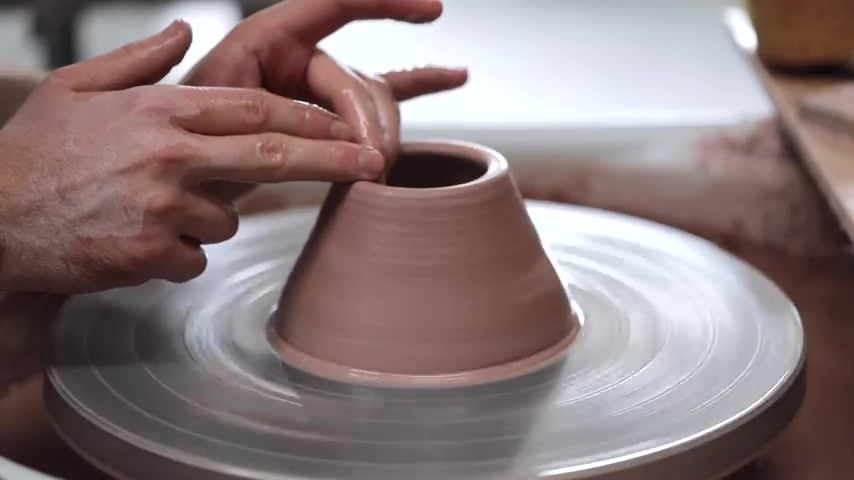
Another thing you might have noticed is that when I pulled the clay up , I did so in such a way that I kept the shape conical sloping inward .
And I do this as it's the clay's natural inclination when thrown on a wheel to spread outward .
So by keeping it initially in this conical shape , it helps me to keep the piece under control as I'm throwing .
Another thing you can do is after each pull is you can just slightly compress the rim like .
So at this point , after the first pull , we don't want a rim that's very thin and sharp .
We want it to be quite thick and sturdy as it adds a lot of strength to the form as we throw is the pulling process .
But as seen from the inside , as my knuckle is pinching on the outside , I'm also pinching with these fingers on the inside .
And again , I'm very careful not to dig these fingers too far into the base .
I pinch my fingers in against the knuckle on the outside and very carefully .
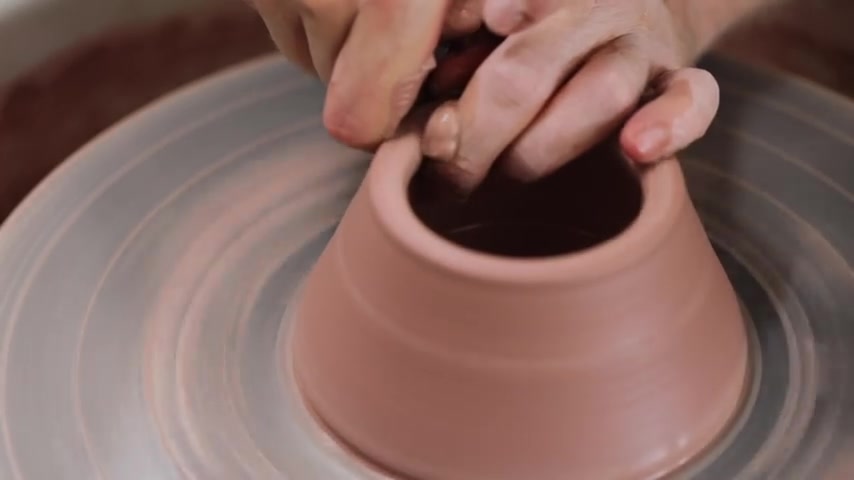
And in one gradual even movement , I pull them up towards the top of the pot .
And like previously mentioned , I come off this section of the pot very gently .
When I reach it , you don't want to keep throwing and sort of pinch through it like this .
Instead , you want to reach a certain point and leave it at a certain thickness and remove your fingers very gently from the form .
So the second pull , essentially , I do the exact same thing .
I make sure that the walls both inside and outside are nice and wet .
And then I push in with my knuckle around the bottom forming a groove .
And then I pull that clay up .
And as I'm pulling , I don't hesitate , I don't suddenly speed up or slow down .
Instead , I really try to keep the movement as consistent as possible .
If you pull the walls up in an irregular manner , say you hesitate for a moment and keep pressure on one spot , you end up creating a ring around the pot that's thinner than any other portion .
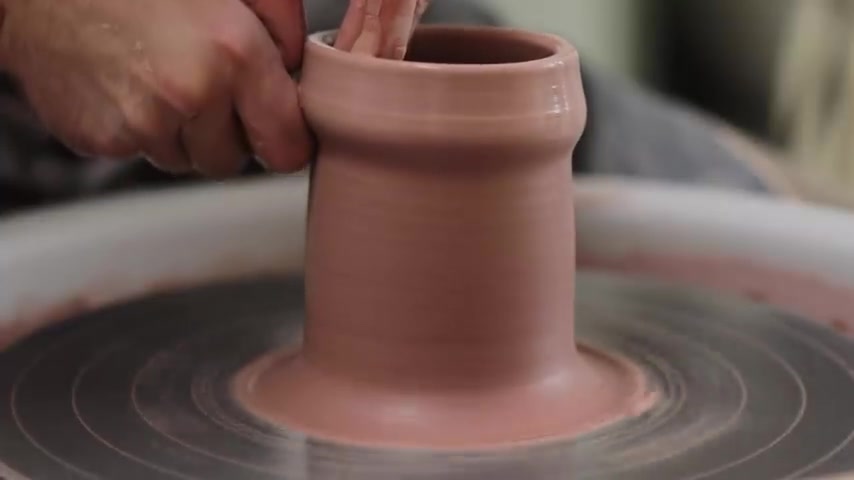
And this , if it occurs in the wrong place , can easily cause the walls to buckle and the pot to deform .
Ultimately , the biggest piece of advice I can give you for this stage is to just practice over and over and over again .
Pull cylinders until they break , pull them as tall as you can pull them quickly , pull them up slowly at the start .
What you're learning is the limitations of the material that you work with .
So it's best not to be too precious about the pots you're making simply throwing a dozen cylinders until they break is incredibly good practice .
Now , if you watch my fingertips here , I'm going to purposely show you what happens if you remove them too quickly from the part you're working on .
And although it's subtle , you might be able to see this slight undulation that removing them quickly imparted on the vessel .
So instead when I remove my fingers , it's done so incredibly gently rather than quickly like this .
And if you do this once , perhaps it isn't worse then .
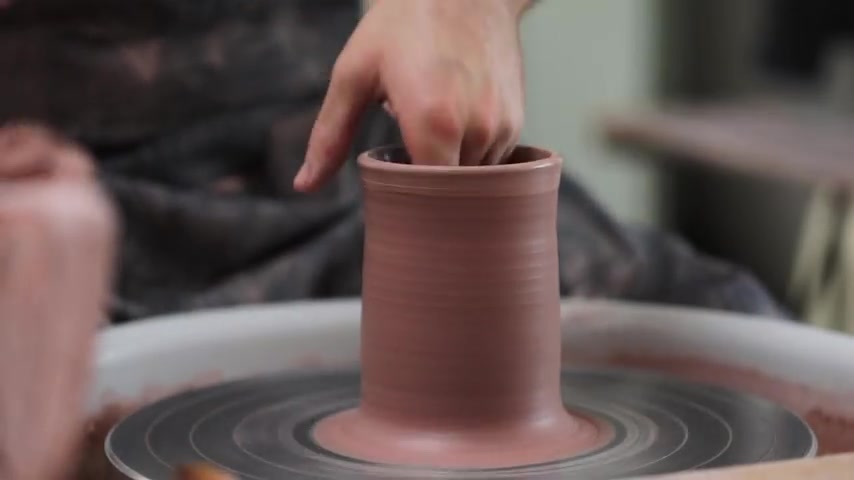
But if you do it for five or six times consecutively as you're throwing , it can really make your pot far more wobbly than it should be .
As the pot gets taller , there's still some reserves of clay towards the base .
You'll see that my knuckle on the outside pushes in that slope of clay that was around the base and pulls that up .
And as soon as my two hands are close enough , you'll see that I'll connect them adding stability to the upper parts of the pole .
And from this view , you can really envisage where my fingertips are on the inside , pushing that bulge slightly outward .
Whilst my knuckle glides up just underneath it , forcing that clay up towards the top .
You can also , if you want to use a sponge on the outside to help you pull up the walls of clay .
If you find the walls , keep drying out too quickly , this can be helpful .
Although you don't want to become too reliant on it .
It's by using a sponge , you are sacrificing some of the feeling that you have just by using your fingertips .
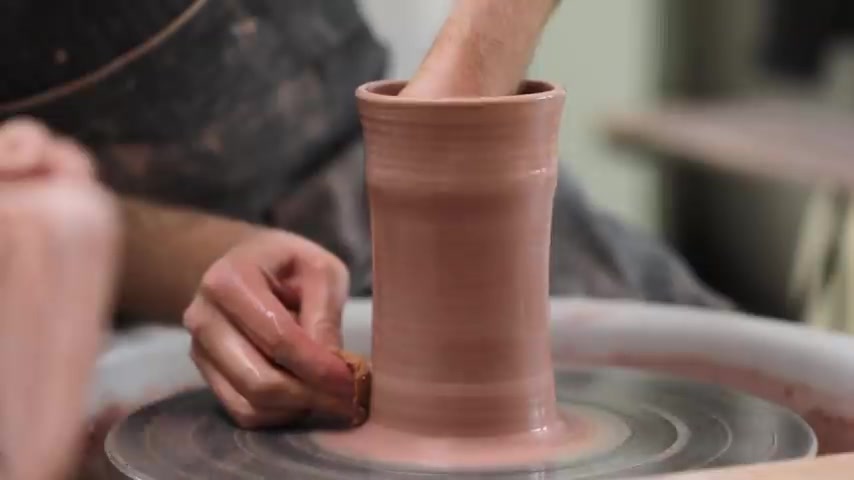
So to negate that as much as possible , I make sure that I use a thin sponge .
So there's as little as possible between my fingertips and the clay .
I then soak it and I push it into the bottom in the exact same way as my knuckle would be doing the same job .
And once that pinch is applied , I move evenly and slowly all the way until I reach the top .
The goal here is to throw a pot which has walls that are as even as possible from top to bottom .
What tends to happen at the start when you're learning to throw is that the pots that you make are generally quite bottom heavy as not enough clay is pulled up during this process .
But once we're happy with the height and the thinness of the walls , we can move on to the next step , which is cleaning up the pot ready to be lifted away from the wheel .
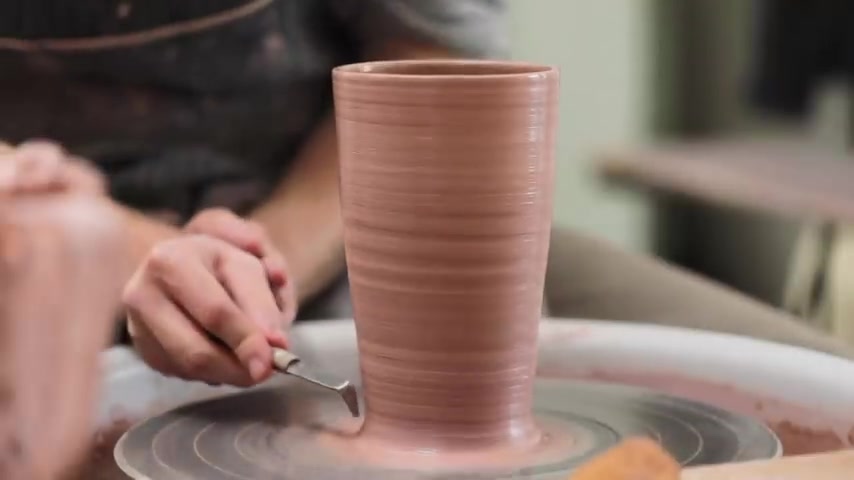
The first thing I do is take this old blunted metal trimming tool and I dig it in towards the base of the pot , removing this tiny bit of excess clay around the bottom .
This is a maneuver you need to do carefully is you don't want to let too much gather up on your tool which then might hit back into the pot deforming it .
So at the beginning , it could be better to take off little by little rather than lots in one go next .
It's time to clean up the walls .
And I personally use a metal tool like this to do the job .
But essentially any sort of kidney or rib with a sharp flat edge will do the job like this rubber one or even this wooden one .
Essentially , this comes down to personal preference .
Although I would say that the metal one is the hardest to use as the edge is just so sharp .
So perhaps if you are just beginning , try using the rubber one or the wooden one until you get very comfortable with it before trying the metal .
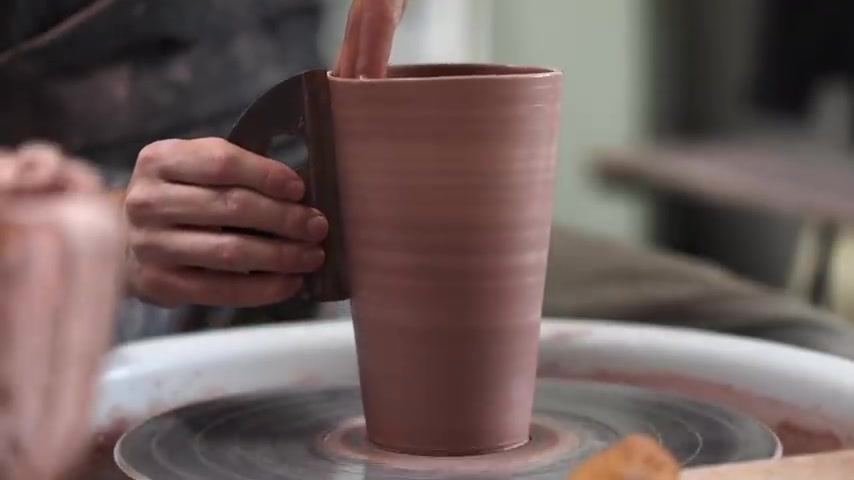
Anyhow , what I'm using this tool for is to scrape away the excess slip on the outside of the form .
This is also the moment that I can refine and shape the outside but essentially all I do is offer the tool up to the clay .
And then from the inside , I push the clay carefully out against that metal edge .
I'm not doing the opposite of that , which is digging in the metal into the clay itself as if it's a thinly thrown pot .
There's a really high chance that the tool will catch and drag the whole thing off center and deform the pot .
So really , I'm only ever letting the tool just skim over the surface is the same process as seen from a closer view .
And you can see how the metal tool never digs into the clay .
Instead , it just follows the form upward and from the inside , I'm using the pads of my fingers to push the clay out against the metal .
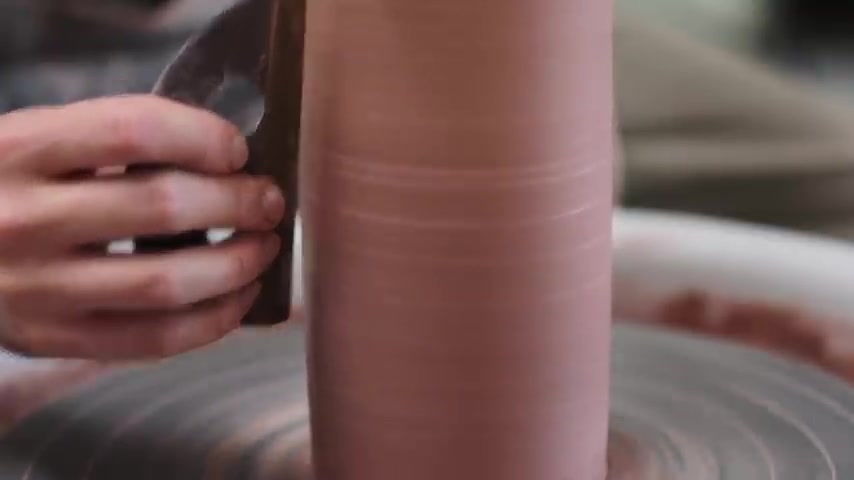
The reason I scrape so much slip away from the outside of the pot is that it makes it far easier to lift off once the pot has been finished .
Eventually , if you want to lift the pot off just with your hands , if the piece has a very sticky surface , when it comes to lifting it off , it will simply stick to your hands and you won't be able to place it down neatly .
Another important aspect to consider is the rim of the pot you're making .
Ultimately , it depends on what type of vessel you're making .
But say for instance , that the pot here is one that we want to drink out of a blocky rim like so won't fit comfortably into the corners of your mouth , which doesn't make it particularly ergonomic for use .
You also perceive the thickness of a pot through what's visible at the rim .
So if it is thick and blocky , you'll perceive the rest of the pot as having some weight to it .
Whereas if it was thrown to a razor sharp edge , you'd perceive it as being very thin and light .
The next rim isn't particularly ergonomic to drink from either .
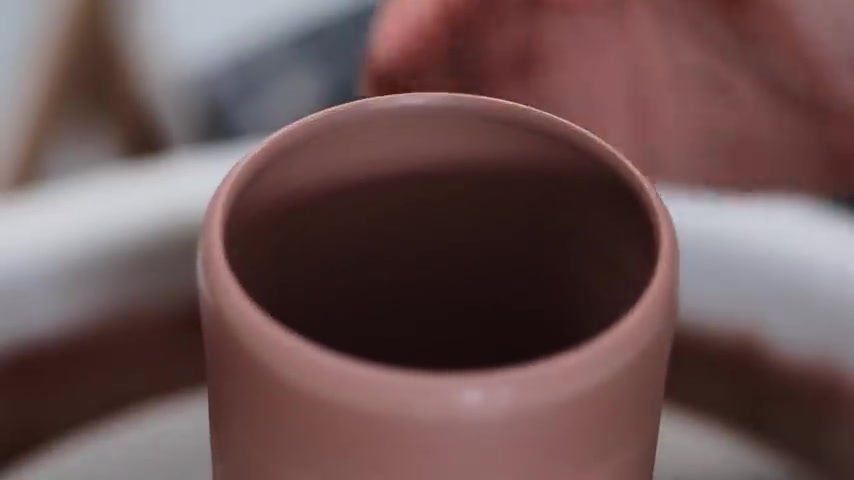
As now I've made it slope inward , coming to a beveled point on the inside of the pot .
This is immediately quite an unappealing form to drink from and an uncomfortable one too .
So lastly , to make a lip that's pleasant to drink from , I take that beveled edge and I angle it outward this way , the inner form flows out and that sharp beveled edge that I'll soften ever so slightly with a Shammi leather will fit very comfortably into the corners of your mouth when you drink from this vessel .
And equally so as it's a thinner edge , you'll perceive the pot itself to be lighter and more delicate .
And if you are making pots that you intend to use and to hold , then these things really do need to be considered .
Another thing you might run into when you're starting to make pots are wobbly rims , ones that undulate and move slightly due to an inconsistency in the wall somewhere or clay that wasn't centered well enough at the beginning , but it's an easy fix .
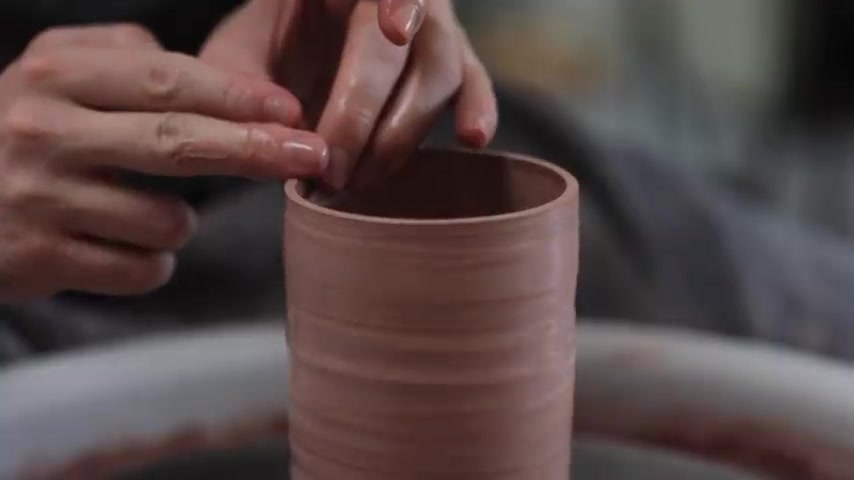
I simply run a potter's needle underneath all the undulations until it clears them all .
Then I place the fingers of my left hand inside the pot wet it slightly so the rim doesn't stick .
And I gently push the needle through that line which I scored until it touches one of my fingers on the inside .
That way .
I know it's gone all the way through .
And then I simply lift the needle and my hand away in one motion and it should bring the sliced off clay along with it .
Then I can crack the rim eve it and soften it with a shammy leather which is soaked and then carefully draped over and allowed to glide over the rim for a few moments .
Another important thing that must be done before the pot can be lifted away from the wheel is to remove all the excess water from the inside .
If you forget to do this , the water inside will slowly disintegrate the base , eating through the clay and making it very weak .
So once all the water has been removed , the rim shammed and the walls scraped clean of slip .
It's finally time to remove the pot from the wheel .
And all I do is slide a very tart wire underneath the vessel .
And I think these kinds of wires , those that have a bit of texture to them , make a thicker cut which is better for when you want to lift the pot away from the wheel straight away .
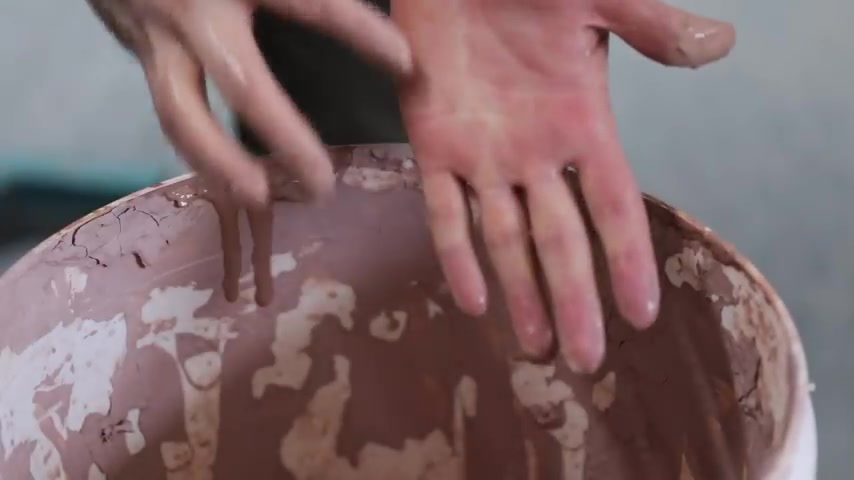
The other thing I do before I lift the pot off the wheel is that I thoroughly scrape clean the palms of my hands and my fingers and I keep this bucket next to my wheel just for that purpose .
It has a sharp plastic edge and it moves the slip from my hands in the areas that I need to lift the pot away with .
So with dry hands and with a pot that has a relatively dry surface , I can now lift it off .
And there's a lot to discuss here .
The first is hand placement .
You want to lift from around the base of the pot , not from around the top where the rim isn't supported by the base of clay .
The bottom of the vessel has far more structural integrity .
So that's where I do most of the lifting from .
And really , all I'm doing is placing the palms of my hands and the fingers onto the pot .
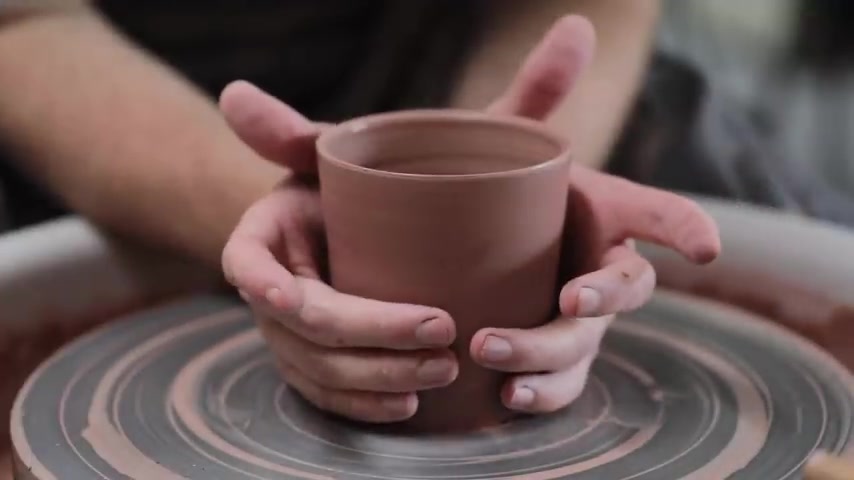
I just make contact .
I don't squeeze in enough to deform the piece .
My hands are just resting on the surface and then I lift and I spin the wheel in the exact same moment which helps to break any sticky seal .
There might be between the two .
I then move the pot over to where I want it , making sure that I keep both my hands incredibly steady and level as I move them and here's the same process again .
But on a slightly larger piece , I make contact with my fingers and my palms .
And as the pot is slightly tacky as you lift it should stick to your hands .
If the pot was too wet or your hands were still covered in slip , the two parts would stick to each other and you can't actually place the pot down very easily without deforming it .
And with shorter forms such as a mug .
Notice that when I lift the pot away from the wheel , I keep my index finger and thumb away from the rim section of the pot .
As the rim of the pot is far easier to deform .
I try not to touch anywhere near it as I lift the pieces away .
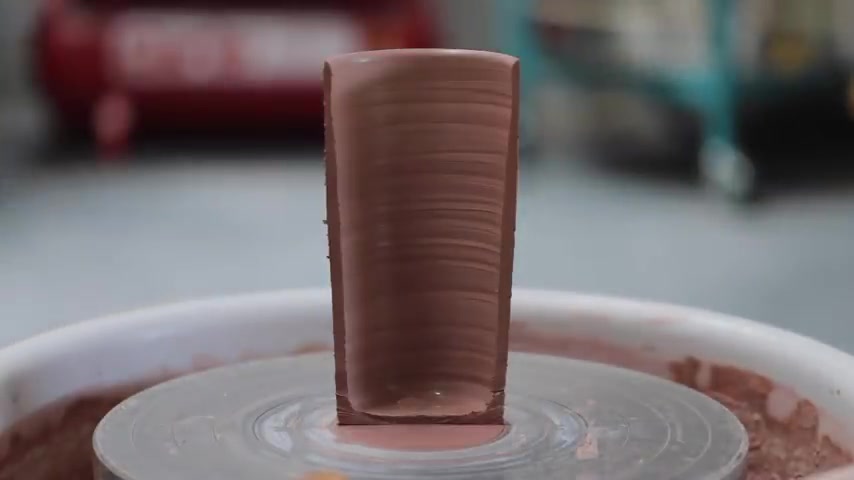
And lastly is just a little cross section of what a thrown pot should look like relatively .
Despite the tiny thinness close to the rim , the rest of the pot is more or less the same thickness the entire way from top to bottom .
If you are slicing your pots in half , this is what you want to see .
You don't want the bottom part of the wall to be much thicker than the upper section and the rim .
And that little thickness in the base can be easily trimmed away .
Later on .
Inevitably , that bottom corner will always be a tiny bit thicker than the rest of the pot .
And that's more or less it .
Thanks for watching .
And I hope you found this video useful , especially if you're just starting your pottery journey .
Now , it's worth remembering .
But like any skill , it does take time learning to throw and make pottery is just like learning a language or learning how to play an instrument .
It takes an awful amount of practice and many ruined pots and a lot of frustration , especially at the start after watching this video , I think it's also worth going and watching as many other videos as you can about how to center and throw pots as the way somebody else describes a process might just make something click and you'll understand it in a way that my video might not have done .
After all , everybody throws differently and the way somebody else throws might be more suited to the way you make .
So explore , try out some different methods and see what works best .
Good luck .
And I'll see you next time .
Are you looking for a way to reach a wider audience and get more views on your videos?
Our innovative video to text transcribing service can help you do just that.
We provide accurate transcriptions of your videos along with visual content that will help you attract new viewers and keep them engaged. Plus, our data analytics and ad campaign tools can help you monetize your content and maximize your revenue.
Let's partner up and take your video content to the next level!
Contact us today to learn more.