https://www.youtube.com/watch?v=bkcoQnuiq9g
DIY Sofa Bed
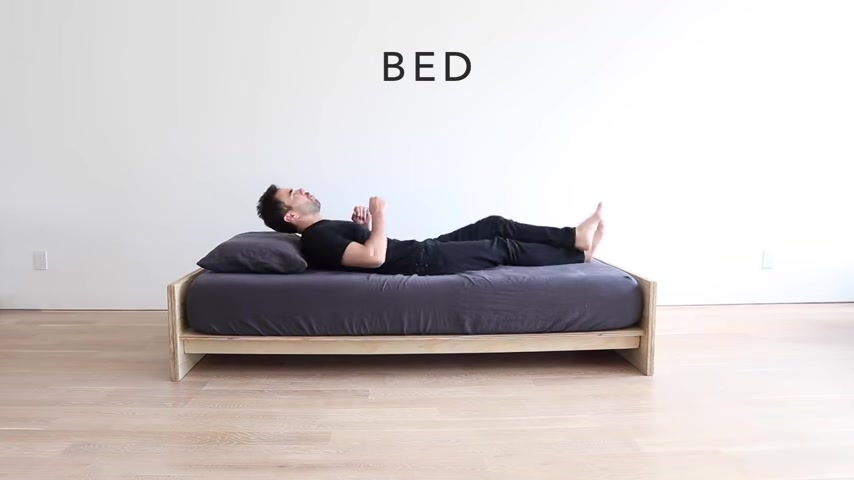
Today , we're going to make a bed that turns into a sofa , most pullout sofas that I've ever slept on haven't been that comfortable .
So for this one , I decide to start with a super comfortable tuft and needle mattress and then make the sofa around that .
I really like this idea of a sofa bed , that's primarily a bed because most of the time when I'm on a sofa , I'm not sitting straight up .
Right .
I'm usually lounging or lying down .
The structure of the sofa is made entirely out of three quarter inch thick plywood .
I'm using sanded pine plywood and I'm just cutting it all with my circus .
I saw using a trim board and some squeeze clamps to guide it .
I started by ripping a series of six inch wide pieces and don't worry , I'll put a link to dimension drawings in the description box below .
For the side panels of the sofa , I'm going to rip pieces that are 17 inches wide .
I'm using a twin XL mattress .
So I'm cutting the bottom panel to fit that for the folding arm pieces .
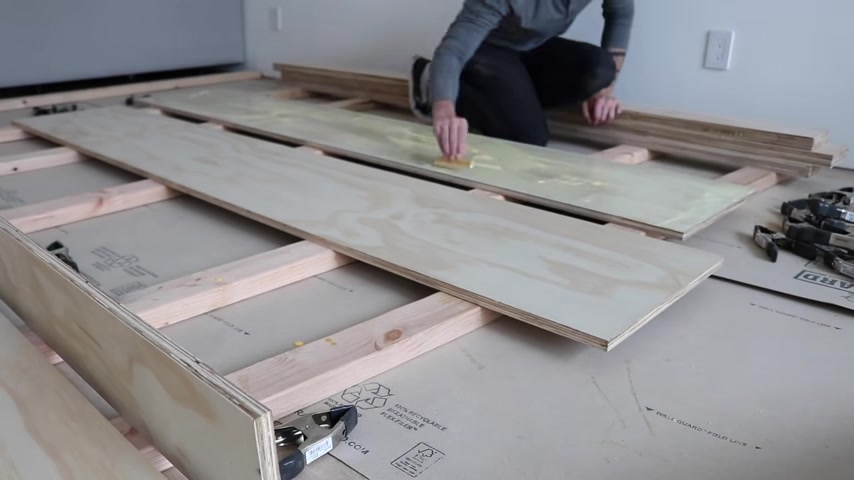
I'm just going to take these six inch wide strips and glue them together two at a time , I made sure to spread the glue evenly and then clamped them together with a whole bunch of these 99 cent spring clamps .
I've repeated the same process with these 17 inch wide strips that I'm going to use for the side panels .
When gluing strips of wood together , sometimes the wood will slide a little bit .
So I use some longer clamps just to make sure the edges are lined up .
And this will save me time during the sanding process .
Later , once the glue had fully cured , I then cut the side panels to length .
I want to make sure that the pivot holes on the side panels are perfectly aligned .
So I stacked the two panels on top of each other and then drilled one inch diameter holes through them for the rotating arm pieces .
I cut the six inch wide , doubled up strips to length and then drilled a series of one inch diameter holes through them .
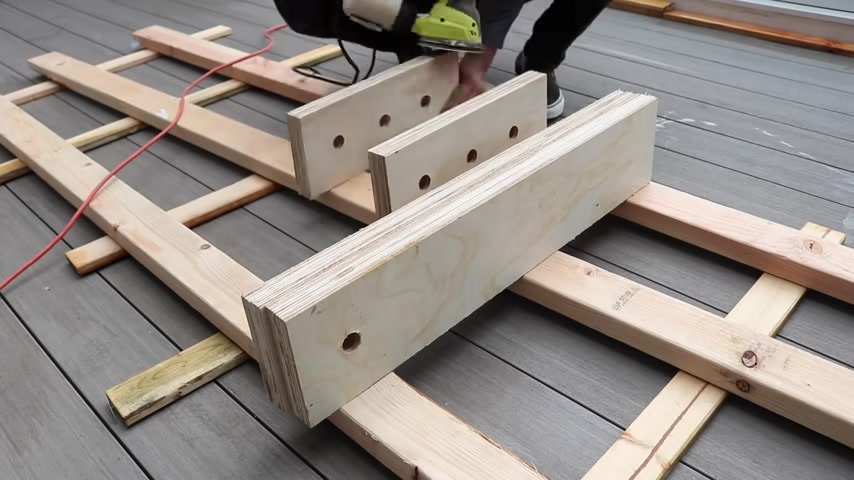
The outside diameter of the E M T Conduit that's going to go into these holes is just a little over 7/8 of an inch .
So if you have 1/15 16th diameter drill bit , that would be ideal , but this one inch diameter bit gives you a little bit more flexibility .
If your holes aren't perfectly vertical , the flat surfaces were already pretty smooth since this was pre sanded plywood .
But I did need to do a bit of sanding on the edges .
I also rounded over all the sharp corners .
I started with 80 grit pads , switched to 120 then finished with 220 grit .
I'm going to need some support underneath the deck that holds up the mattress .
Now , I could just use two by fours , but I really like the look of this ply .
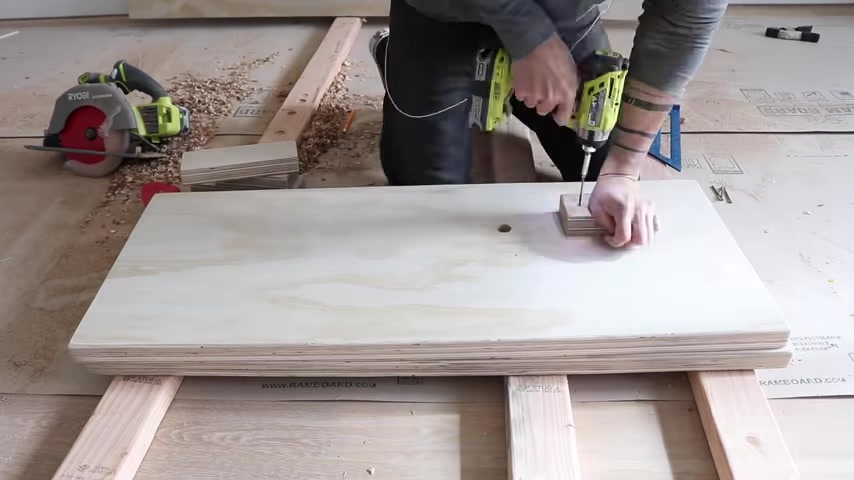
So I just took one of these six inch wide strips that was doubled up and ripped it down the middle and then cut two pieces that were the same length as the plywood deck and took the scrap pieces and cut them into four short pieces that will be used to screw to the side panels to create a ledge that the deck sits on .
I'm screwing all these pieces together using 2.5 inch long finish screws .
I then screwed the plywood deck to these ledges .
I was working by myself .
So I did this on the side and then I rotated it right side up , drove some additional screws before flipping it to the other side and screwing in the supports that go underneath the deck .
It's the support pieces underneath the plywood deck that could be substituted with two by fours .
If you wanted , the one inch diameter holes are going to be for pieces of three quarter inch conduit , which I'm going to use for the back rest .
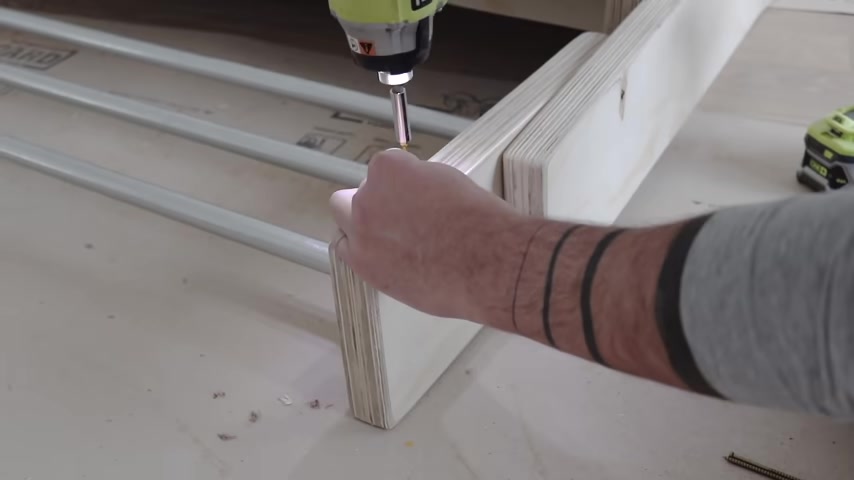
But I also need some pivot points and I'm going to use 3/8 diameter stainless steel bolts .
So I just drilled 38 diameter holes .
E M T Conduit is really inexpensive and easy to work with .
Since it can be cut with one of these tubing cutters by hand , I'm gonna use three pieces of Conduit for the back rest .
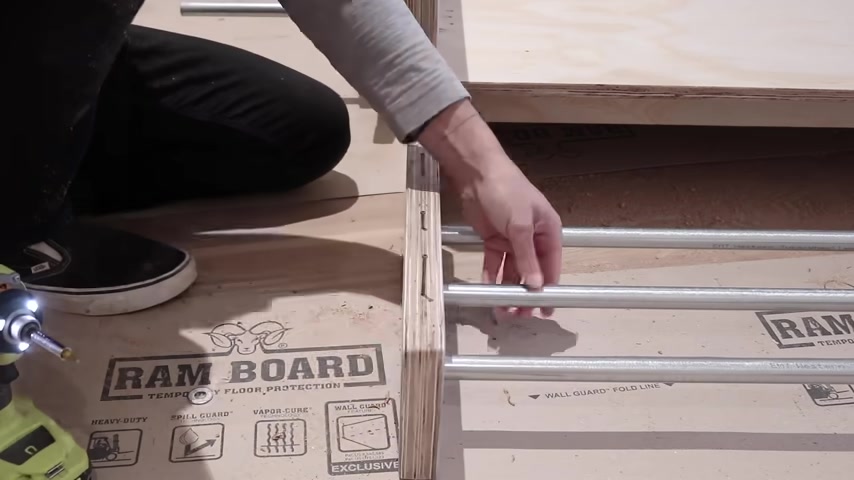
So I just placed them in the holes and then I predrilled some holes through the side of the plywood so that I could drive three and an eighth inch long finish screws into these holes .
Now , I didn't drive them all the way in .
I just did just enough so that they would make a little mark on the conduit .
And then I could slide the conduit out and drill a hole through it so that these long finished screws would go through that hole and keep the conduit from sliding out .
The conduit is plenty strong for a backrest .
But if you want to make a really heavy duty sofa , you could substitute the holes and conduit for a steel pipe with threaded flanges .
Now , for the pivot point that goes through the side panels , I'm also going to use Conduit .
So I need to make some washers that'll keep it from sliding out .
And for this , I just use my whole saw and d drilled through a scrap piece of plywood to basically make a plywood doughnut and then put a finish screw through the plywood and into the conduit , create a cheap and easy end .
That'll keep the conduit from sliding .
Now , if you wanted a more substantial connection , you could just order some 7/8 diameter nuts and bolts for the sofa position .
I wanted the back rest at a 15 degree angle .
So I used my squeeze clamps and my digital angle measurer to set the back rest in place .
And then I drilled some 38 inch diameter holes , four additional bolts that would hold it here .
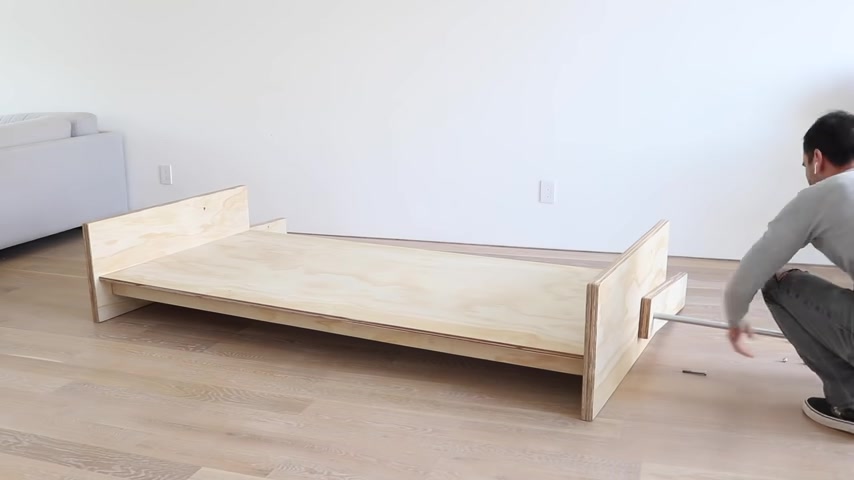
I sealed all of the plywood pieces with verree water based polyurethane and crystal clear mat .
This is an extremely durable low V O C finish that I really like because it doesn't turn to wood yellowish the way a lot of oil based finishes do .
The design is pretty simple and assembling .
The pieces went easily and I also pleasantly discovered that there was sort of a lounge position in between the sofa and bed positions .
I covered up the conduit with 3.5 inch diameter pool noodles that I bought from Amazon .
These were really easy to cut to length with a box cutter .
And then I unboxed my twin XL Tuft and needle mattress , Tuft and needle makes by far the most comfortable mattresses that I've ever used .
They come in a nice compact box .
I've partnered with Tuft and Needle , not just to create this project but a whole series of Diy bed options .
We've already published two of these projects and we still have more coming after this .
Our goal is to provide comprehensive diy solutions for all your sleep needs .
They also make really nice linen bedding and this is especially important for this project because not only do I need these sheets for when this piece is used as a bed , I'm going to need the fabric from the top sheet to cover up the pool noodles .
I'll put a link to the Tuft to Needle website in the description box below along with links to the other diy projects that we did with them .
I wanted to make this cover for the pool noodles without using a sewing machine .
I cut the sheet to width using my squeeze clamps and a trim board .
And then I realized I could cut a piece of the cardboard box and use that as a and what I did was plant that in place to one edge and then iron a seam over it on the other and now had a nice fold that I could put fabric glue into to create a hemmed edge .
Without sewing .
I am making a single sleeve that goes over all three pool noodles .
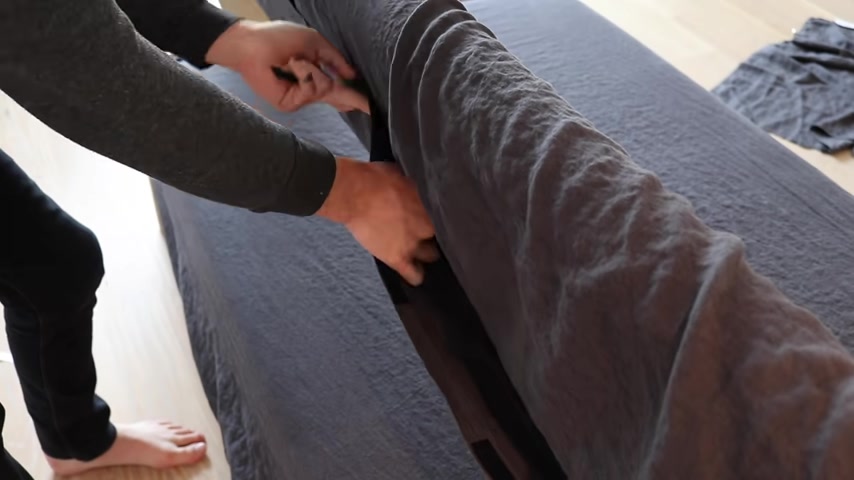
But I also think that individual sleeves made out of leather or felt could look really cool as well .
I then use strips of adhesive backed velcro to create a fastening system for this linen sleeve .
The combination of the flex in the conduit and the foam pool noodles makes for a comfortable back rest once in the sofa position , but I actually prefer it at a more reclined angle where I can use this as an oversized lounge .
There's two different ways to use this piece as a bed .
The double hinge in the backrest lets it act as a sideboard or it can be rotated all the way down .
This is an easy low cost diy project that would be great for a home office that also occasionally needs to be used as a guest room or as a versatile lounge piece in a home theater .
Thanks for watching .
Be sure to check out some of our other diy bed projects and don't forget to subscribe to this channel if you haven't already .
Thanks .
Bye .
Are you looking for a way to reach a wider audience and get more views on your videos?
Our innovative video to text transcribing service can help you do just that.
We provide accurate transcriptions of your videos along with visual content that will help you attract new viewers and keep them engaged. Plus, our data analytics and ad campaign tools can help you monetize your content and maximize your revenue.
Let's partner up and take your video content to the next level!
Contact us today to learn more.