https://www.youtube.com/watch?v=omox4uipkEI
2023-06-14 18:18:09
How to Fix Timber to Brickwork - Fencing and Gates
Hello there .
Welcome to proper DIY .
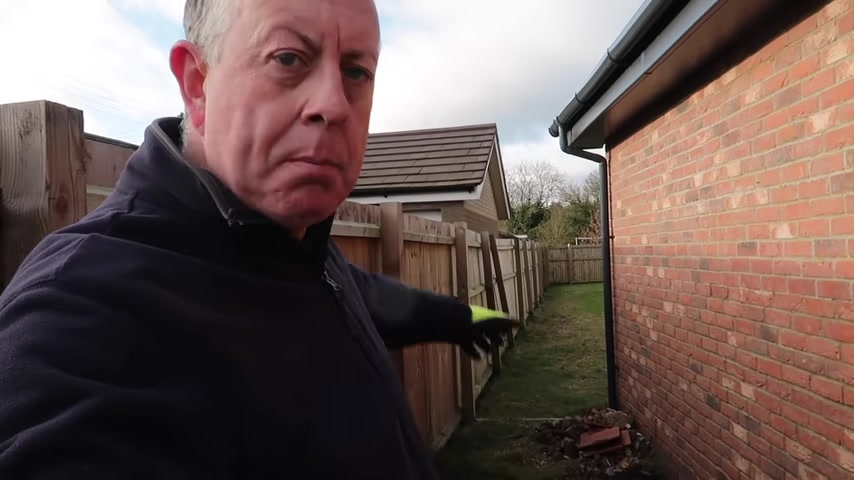
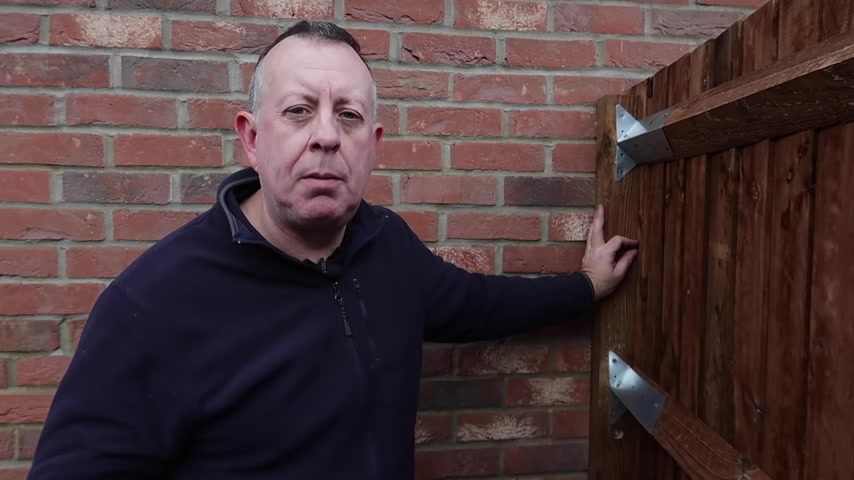
My name is Stuart Matthews , and today I'm doing some fencing and I'm gonna be putting in the fence between my side fence and the back of the garage here just to block this passageway .
Now , that's not the difficult bit , because it's only about a two metre gap .
But the success of that piece of fencing really relies on how well I can fix this post to this brick wall .
So today , that's what I'm gonna be showing you how to get a really good fixing between timber and brick .
So before I can even think about bolting this post to the wall , I need to understand where it's going to go now .
Some of you might have already recognised that this fence is nowhere near parallel to my garage .

So I need to understand the geometry here and making a few decisions on where this short fence is going to be and where it intersects the garage and therefore , where the post is going to go to explain that problem to you , it's probably best that I use the white board .
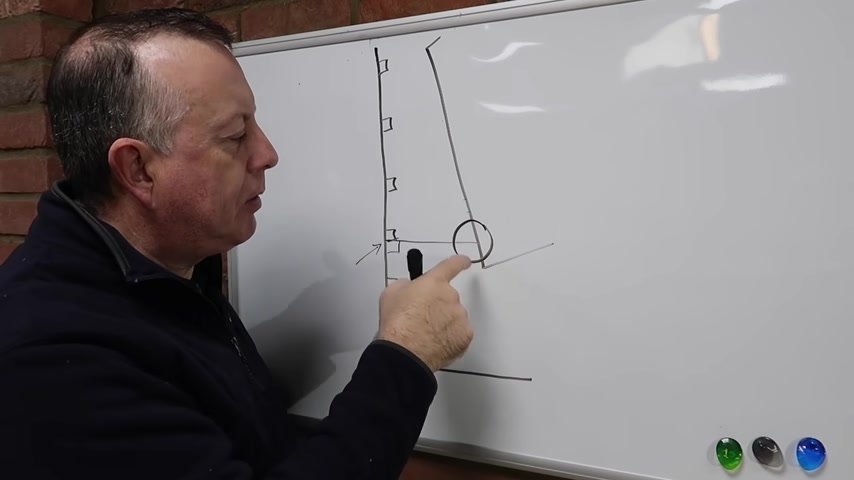
So looking at the area in plan , that means from above if this is my side fence where I'll stand in just now and I have posts supporting that fence every eight ft , I've already decided which post I'm gonna come off .
My garage is skewed at an angle a bit like that .
Now , my dilemma was , Do I bring the new fence off at 90 degrees to this existing fence ?
Or do I bring my fence off at 90 degrees to the garage ?
And I don't know why I thought too long about this because then I realised I've got a front fence adjoining the road here that is at 90 degrees to this side fence .
So I think this one that comes off square to the fence will mirror this one and actually look correct compared to this one on the skew .
So that's absolutely fine , however , where we've got an intersection with the garage here , I've got a bit of a strange angle to connect on to .
So if we look at at this area , if I have my garage wall and this is 1 to 1 scale and I have , I just bolt my 75 by 75 mil post onto the garage .
Although I get a really good connection when I bolt it onto the garage as the fence comes on along at this angle and the Aris rail comes along at the back and the Aris rail bracket comes along at the back , these fixings are a little bit dubious because I've got these sort of triangles here that I'm gonna have to fill and sort of wedge in .
So the solution is obviously to bevel the back edge of this 75 mil post .
So it ends up that sort of shape with this section having been cut off .
Now that suits the front fence and I get a really good fixing in .
There also suits the Aris rail and I get a good fixing in here .
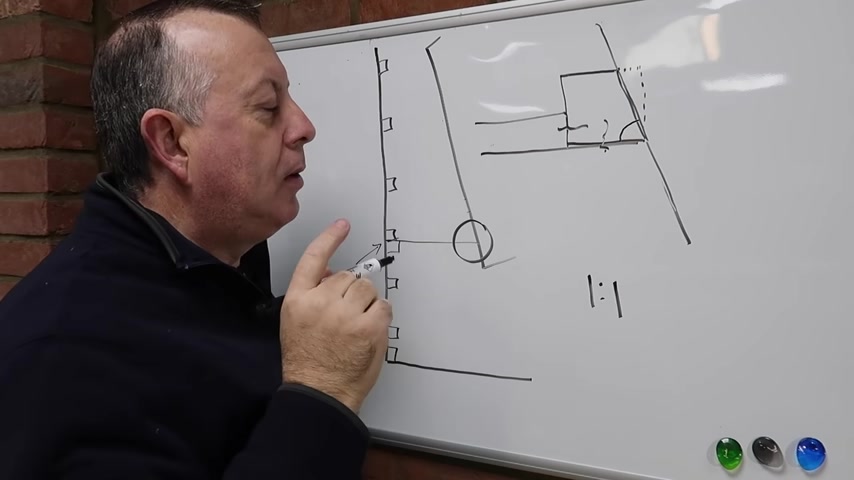
And then I get a good connection across the brick here , and that means I need to understand what that angle is so I can trim down the post .
So I think that's enough talking .
I better get on and do something .
I use the biggest T Square .
I've got to line up a couple of fence boards perpendicular to the existing fence and then to mark where this line intersects the garage .
I didn't worry too much about accuracy for this .
It's really just got to look right , so anything within 20 or 30 mil is good enough .
I then lined up and scribed a piece of cardboard which had helped me set the angle of my circular saw blade to trim the new post .
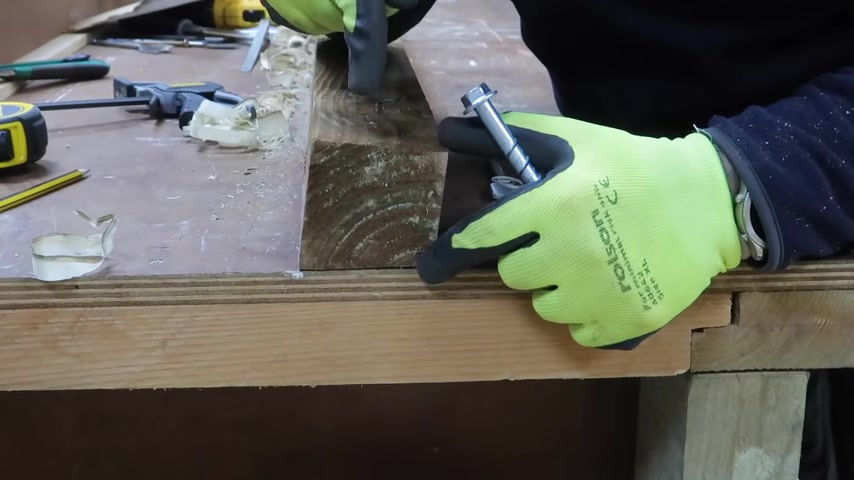
Yeah , so the main fixings I'm going to be using into the brickwork are these 120 millimetre concrete screws .
They're 10 millimetres in diameter .
And if you drill a 10 millimetre hole , they essentially cut their own thread when you screw them in .
And that's how they tighten up now with regard to how I get the through the post .
If you have a look at this and this is obviously the post , which I've just bevelled the bottom face .
If you assume that this is the brick work , then really this concrete screw wants to end up in around about that position .
So I've got a good 50 60 mil embedment into the concrete .
This will be recessed and counter sunk into the top , so it's not sticking out of the timber At the same time .
This wants to be at right angles to the front face of the brickwork , not to right angles to the front face of the timber .
So when I drill the holes in the top of this , I need to be going vertically down , not at right angles to this top surface .
So for each fixing position in the timber , I'm gonna need to drill two holes .
Obviously , I need to drill a hole all the way through .
That's big enough to accept this concrete bolt so it can get into the brickwork .
And to do that , I'm using this 12 mil Brad Timber drill bit .
But I also want to counter sync this head .
So I'm using a 24 mil spade bit .
That's big enough for this to be countersunk maybe up to a depth of 25 mil into the post .
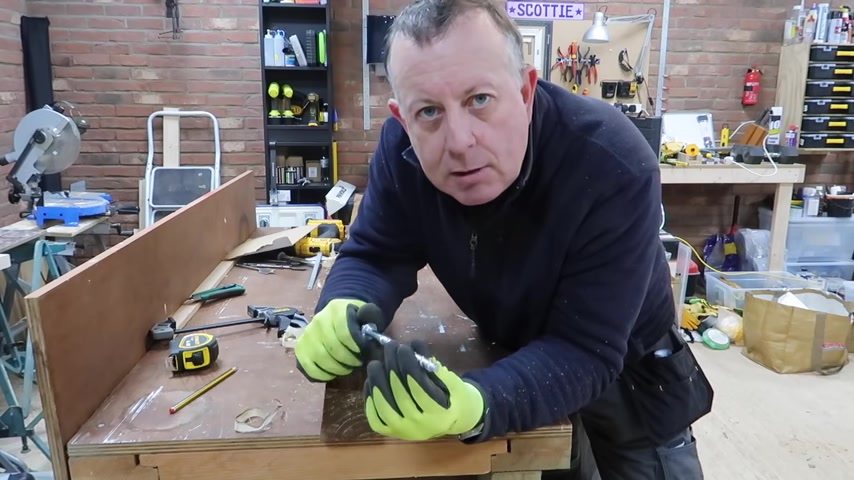
Now , if you're gonna use a spade bit to counter sink a hole , then it's always important that you drill the counter sink section of that hole first .
And I'll tell you the reason why .
If you drill the primary hole first , then when you come to use this and put this into the primary hole , you've now got a 12 millimetre hole that this little spiky bit at the end can wander in .
And if you're not careful , you can end up with two holes .

They're actually off centre and don't work .
So my advice is , if you're going to use a spade bit as a counter sink , always drill this hole first .
So just before I go and fix this post , the last thing I'm gonna do is where I've disturbed the timber , whether it these fixing holes or the bevel on the back , I'm gonna give a coat of this water repellent sealer that I've got from screw fix here .
This may or may not be necessary , but as I've got some of this left over from a previous project going along the belt and braces principle , I'm gonna give everything .
I've disturbed a quick coat .
Don't worry .

Tesco Halloween sale .
25 pence .
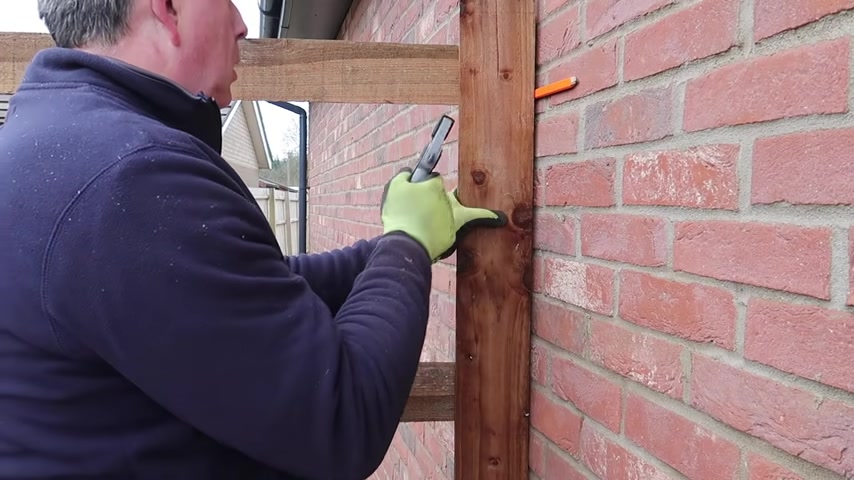
Before doing any drilling , I used my laser level just to double check that my new post is the same level as the old .
Once I was happy that the Post was in the right position and level .
I used my Cordless drill just to make a very shallow hole at each fixing position .
I then swapped my SDS drill and finished off each hole , making sure that I didn't over drill and blow out the back of the brick .

You notice I positioned each fixing in the centre of a brick for this type of concrete screw to bite properly , you need to avoid drilling and fixing into the mortar joints and definitely aim into the brick that is really biting hard .
Actually , it's actually deflecting the timber to get a tight fixing onto the bricks .
So yeah , yeah , Wow , that is a really strong connection .
Oh , yeah , Ouch .
Oh , that is solid .

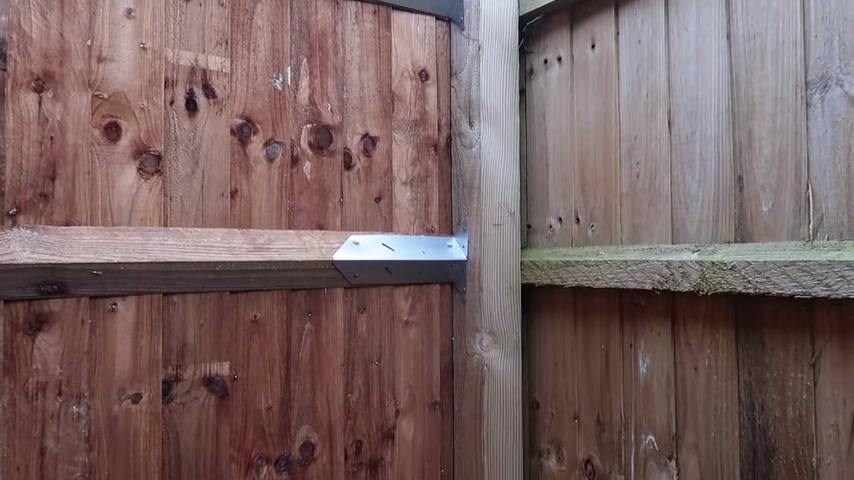
From now on , the fence insulation is now fairly straightforward , starting with the timber gravel board being fixed at the bottom , making sure that it's absolutely dead level .
As the rest of the fence is constructed off of this , I then fix the three Aris rails to match the old fence .
Just with galvanised brackets .
I've decided to use screws in all the fixings rather than nails .
I'm not really a big fan of nails , and I doubt if the neighbours will be either .
You'll notice that I'm drilling a pilot hole for every fixing to ensure that I don't get any timber split in so The last thing I've got to do is to fit these feather edge fencing boards , and I need to take about 100 mil off .
I want that to be cut at the bottom , so if there is any water ingress , it's gonna be less at the bottom .
Then I'll see exposed at the top .
So the first fence panel I fixed right up to the brickwork just leave in a shallow gap of the thickness of about 10 mil or a carpenter's pencil .
All of these boards are 125 millimetres wide , so I'm aiming for a 25 millimetre overlap for each one that's leaving 100 millimetre exposed .
The second board .
I fixed 100 millimetres from the first and made sure it is vertical , using a spirit level for the third board onwards .
I could then use this little 100 millimetre jig that I made spacing the boards uniformly top and bottom and then checking for plum .
Every few boards , the fixings .
I'm drilling here around about 30 millimetres from the right hand edge of each board , which can ensure that I'm not drilling through the board behind .
I'm fixing with just one screw per board per rail .
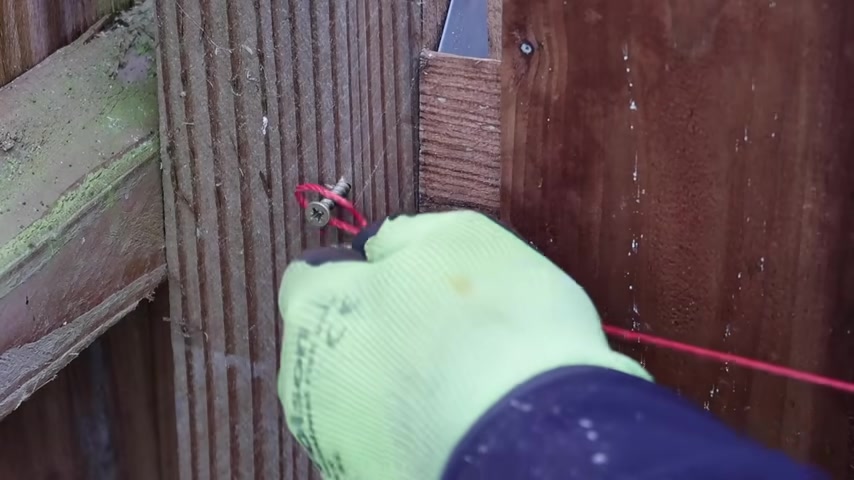
That's just three per board in total .
This allows for future expansion , contraction of the timber and a replacement if I need to .
So what I've done for this last section is measured a piece of timber that's exactly 100 mil long .
And that's the overlap I want for each one of these boards .
So I can use this to help me scribe , to get an exact fit down here around the rails and everything else .
That pencil doesn't work now , so fences fully installed .
And I got a really good fix in between this post and this brickwork .
In fact , it was that strong as I was tightening up the concrete screws , this post was bending to follow the shape of the wall .
Quite incredible how strong those concrete screws are and how that thread cuts into the masonry and how tight it actually bites .
I'm actually really , really impressed , so I hope you've enjoyed this video .
If you have , please check out the other ones on my channel , which are reviews and D .
R Y jobs all around the house and garden .
If you're feeling really brave , please hit .
Subscribe .
So from another bit of fencing and a really good fixing job done , I'll see you next time
Partnership
Are you looking for a way to reach a wider audience and get more views on your videos?
Our innovative video to text transcribing service can help you do just that.
We provide accurate transcriptions of your videos along with visual content that will help you attract new viewers and keep them engaged. Plus, our data analytics and ad campaign tools can help you monetize your content and maximize your revenue.
Let's partner up and take your video content to the next level!
Contact us today to learn more.