https://www.youtube.com/watch?v=m_fu5RaXMVk
How to Make Egg Pasta (an in-depth guide)
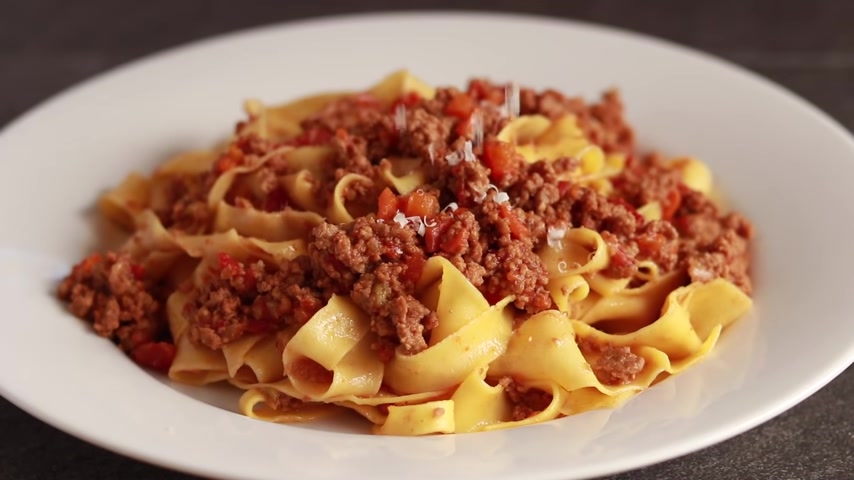
You know that part in Sami Norad's Salt Fat Acid Hit series where she makes the most sexy mouth watering pasta in Tuscany .
That's what we're making today here .
We will leave no stone unturned and answer all those persistent pasta questions is double zero flour really better than all purpose .
Should you salt your pasta dough or should you salt the water or should you solve both ?
And why should you use a food processor with a well method ?
Should you roll with a machine or rolling ?
And what's the best way to store pasta after making it ?
When people tell me about their first attempt at fresh pasta , they usually describe a disaster .
Basically three hours wasted to produce pasta .
That's worse than the dry stuff sold in the box .
That's what my first attempt felt like too .
And today we'll talk about all those rookie mistakes and how to prevent them .
The first mistake is choosing a pasta instructor based on their personality or the Italian heritage .
I know they make it look easy and so fun .
The problem is that they are trying to teach you to make pasta the way they learn to make pasta by touch and fuel .
Think of these chefs as native speakers of pasta , just like native speakers of a language .
You don't need to think about the grammar and vocabulary .
These chefs don't need to think about measurements .
They can adjust as they go intuitive pasta making is not for people learning from books and screens unless you have an Italian grandma or experienced pasta chef hiding in the a closet somewhere .

Think of yourself as a foreign language speaker of pasta , you need a lot of details and accurate measurements .
If you want to make quick progress .
First , let's talk about the flour you might have heard .
Definitely pasta is made with double zero flour .
And if you want the real deal , you should buy double zero .
Well , actually , I've been making pasta out of King Arthur and bleached all purpose flour for years .
But last year I wanted to try double zero to see what the hype was all about .
There was only one problem .
I quickly realized that there were many double zero flowers out there .
What does double zero even mean ?
I did a research .
In other words , I googled and here's what I've learned in the US .
We differentiate between flowers based on their protein content .

Cake , flour has very little protein , bread , flour has a lot of protein and all purpose flour is in the middle , but double zero has nothing to do with protein .
It has to do with the grind , the finer the grind .
The more zeros , double zero flour is very powdery .
It is ground more finely than American flour .
But you could have a double zero cake flour , double zero bread , flour and a double zero purpose flour .
Just like not all American flour makes the best chocolate chip cookies .
Not all double zero , Italian flour makes the best pasta .
So I thought if I'm going to seek out a specialty flour , I might as well get the right one , the one that's intended for pasta use .
I bought it on Amazon and that's what I did .
My experiment on the protein content of this flower is 11.5 to 12.5% which is somewhere between King Arthur all purpose and bread flour .
So was it worth it ?

Yes , it was pasta meat with King Arthur all purpose flour is either firm or soft depending on how long you cook it .
It doesn't have the chewy state that you get with double zero where the dough gradually yields to your teeth .
Double zero flour is a lot more expensive than all purpose .
So if you don't want to splurge on it until you get the basic technique down , that's totally understandable .
But at some point , definitely give it a shot .
And this second biggest mistake of rookie pasta makers is sloppy measurements , pasta is never the same twice .
So and you know why ?
Because flour is a powder and it's compressible .
So measuring it with cups is insanely inaccurate .
The eggs are different to weighing large eggs in their shells .
I found some as small as 54 g and as big as 70 g .

I know cem was shooting for an easy to remember formula of one cup of flour , one egg and one yolk .
But pasta formula is not a pin on your luggage .
The nation luck .
It doesn't need to be memorable .
It needs to be reliable and reproducible .
So here is what actually works .
300 g of flour .
285 g of wet ingredients .
Here's how to get the wet ingredients .
Start with two large eggs , then add three large yolks , then add enough water to get to 100 85 g .
Is it possible that you reach 185 g with eggs alone ?
Very unlikely .
Maybe if you're using jumbo eggs or something in that case , whisk them all together and pour a little bit out until you get to 100 85 g .

Yes , humidity and environmental factors make a small difference to but weighing all your ingredients will put you very close to your target and I'll show you how to make that final adjust if necessary .
So we've got flour , we've got eggs .
What about salt ?
In her book , Simmon suggests that adding salt to the pasta dough will make it firmer and harder to need .
I've tested this theory and found no difference in the dough texture with salt versus without salt .
But what about the flavor before the pasta ends up in your mouth ?
It needs to be very thoroughly salted .
How you get that salt in there ?
It's actually up to you .
I prefer to add two teaspoons of diamond crystal kosher salt to the dough or one teaspoon of table salt .
Please don't use Morton's Kosher for this .
It doesn't dissolve .

Well , if you use this amount of salt in the dough , you still need to salt the water a lot but not an absolutely insane amount means salt free requires a really insane amount of salt in the water which makes it too dangerous to use for thinning out the sauce .
You can easily make your sauce too salty Nikki from serious seeds dot com came to the same conclusion about salt in her pasta testing .
I think it's comforting when you can recreate someone else's results .
It's a thankless job both in science and in cooking , but someone's got to do it .
Ok .
We've got our ingredients .
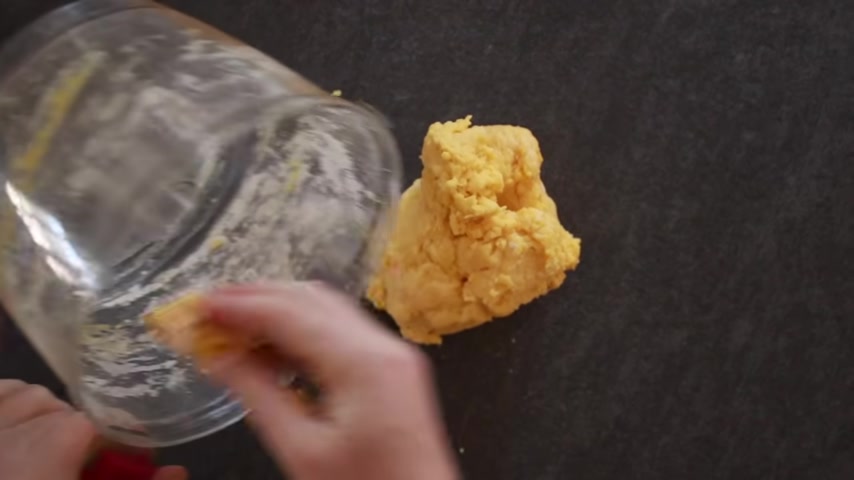
Let's make the dough , put the flour and salt into the food processor and buzz them to combine , add the eggs and water and spin things around until you get the dough .
Yes , you could have done it by hand , but this is way faster if you don't have a food processor and want the details on the Well method .
Check out the link below the video .
I explained it thoroughly in my water based dough video , several years ago , get the dough out of the processor and shake out all of flour that got stuck under the blade and all the other bits and pieces .
The dough won't be homogenous at this point .
So if you want those measurements to work , you do need to get absolutely everything out of your processor , work your dough for a minute before making a decision on adjustments .
It will feel a bit wet when it first comes out .
But in about a minute , it will settle down .
So don't even think about adding more flour until you've been needing it for a full minute .
During the first minute , your hands will be very sticky .
So you might want to rub them really well to get all this dough off and need those crumbs in our dough is doing great .
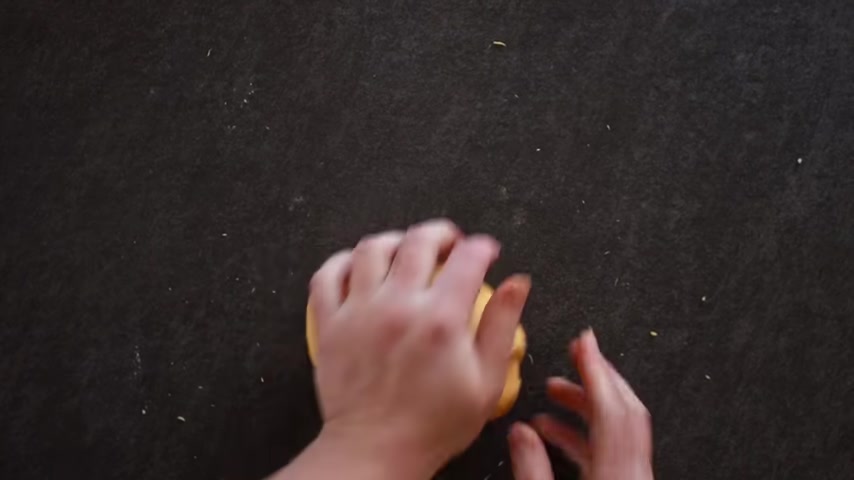
But if it was sticking to the counter , after the first minute of needing , I would need in about a tablespoon of flour , wait for it to get completely absorbed and then decide if I need even more flour needing pasta dough is very different from bread dough .
Pasta dough is tough .
It won't cooperate .
If you try to fold it all the way in half and rotate 90 degrees on each turn .
See it doesn't want to stick together , fold just a small amount of dough towards you .
Press and rotate the dough slightly fold , press rotate .
All the motions are a lot smaller with pasta dough than with bread dough .
The goal here is to very gradually wrap the dough around itself which will develop gluten and elasticity .
See how the top looks like a spiral and the bottom is getting silky smooth .
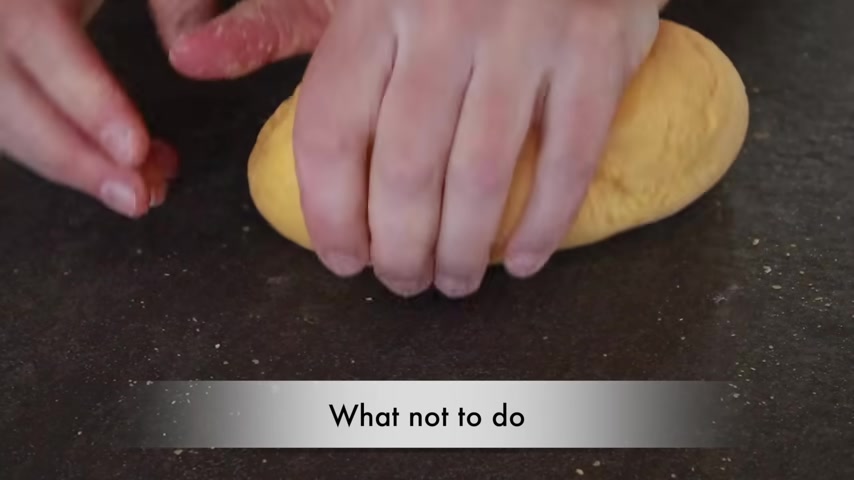
If your dough looks rough underneath , you might be smearing it too hard or grabbing it with your fingers while pressing down on it .
You don't want to rip the dough underneath .
So when you press down , make sure your fingertips are up .
How do you know when your dough is needed enough for bread dough ?
You can do a window paint test where you stretch it into a very thin membrane .
Pasta dough is too firm for that kind of test .
So I just go by time once my dough is out of the food processor , I set my timer for eight minutes .
The third biggest rookie mistake is insufficient .
Needing , you can't even eat pasta dough .
So if it's your first time and you have never needed anything before in your life , go for 10 minutes of needing since it might take you a few minutes to become productive .
And no , you can't need it in a stand mixer .
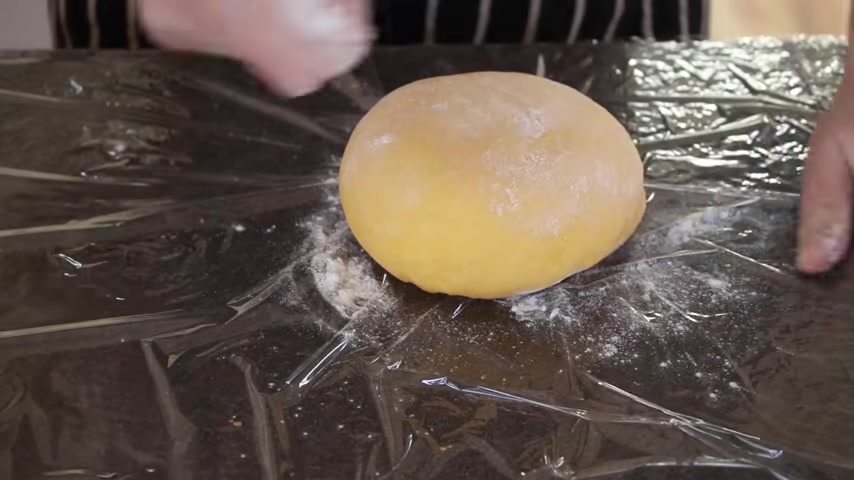
Pasta dough is too tough for machines .
When you're done needing Sprinkle the dough with flour on both sides , wrap tightly in plastic and let it rest for at least 30 minutes at room temperature .
This will relax the gluten and prevent the dough from shrinking when you try to get it to that one .
Millimeter thickness .
If you not ready to roll after 30 minutes , no worries .
Just keep your dough at room temperature until you're ready .
As long as you roll it out the same day , you make it now about the rolling .
You have three options , kitchenette attachment , table attachment and the rolling pin .
If you have a kitchenette mixer , I strongly suggest you buy a pasta rolling attachment .
It's way easier to use than the manual table thing .
The table attachment tends to wiggle but you can solve this problem by using the handle as a lever to help you tighten your machine to the table .
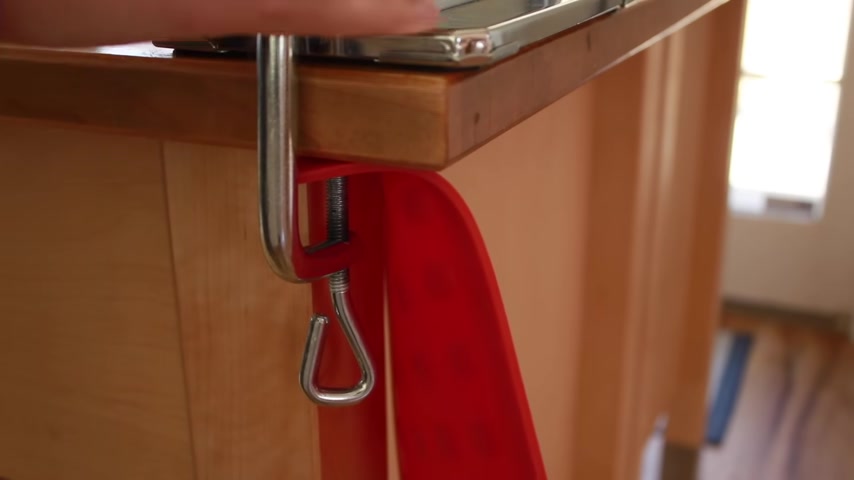
I've also placed the silicon trivet between the clamp and the table to provide the more sticky surface .
But that's optional .
Remember to push into the handle as you roll otherwise it can fall out and yeah , this thing won't get any usability awards before we start rolling out the dough .
Let's prep the work surface to put it on when it's done .
There is nothing worse than getting a sheet of beautiful pasta out of the machine and getting it stuck to the counter .
I'm using semolina flour because it's great at preventing sticking .
But you could use the same flour you used for making the dough just to clarify .
Semolina is only good for storage , not for rolling , for rolling use all .
So double zero and be liberal with it .
You want to avoid sticking at all costs .
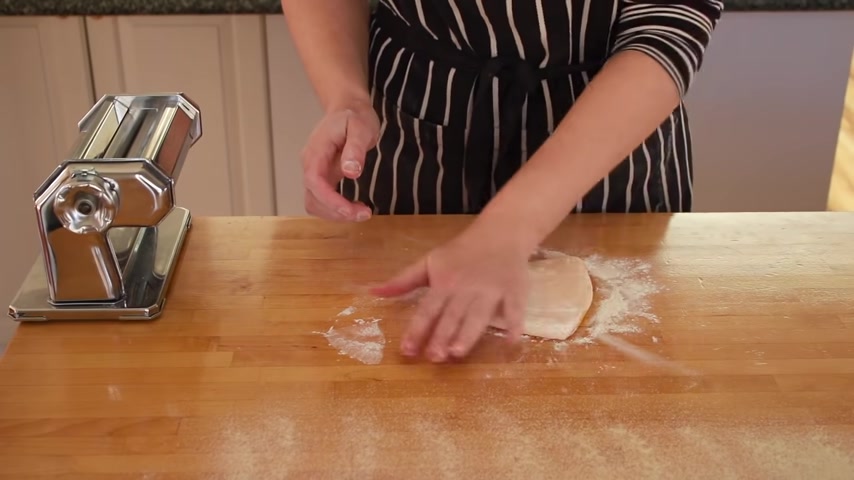
Here is our pasta dough we're going to divide it into four parts , wrap , whichever parts you are not currently working with tightly in plastic to prevent them from drying , flatten out the dough with your hands or a rolling pin until it's uh the thickness of a pancake .
Set your machine to the first setting and feed the dough through , fold the dough like a letter , folding it into thirds , flatten it out , ref flower it and feed it through do this process about four times until you get close to a rectangle .
We're still on the first setting .
By the way , we didn't start to send the dough out yet .
If you feel that folding the dough in half will get you closer to the red shape .
Do that .
When you're happy with the shape , you can start to thin out the dough .
No , you can't just jump from setting one to setting six .
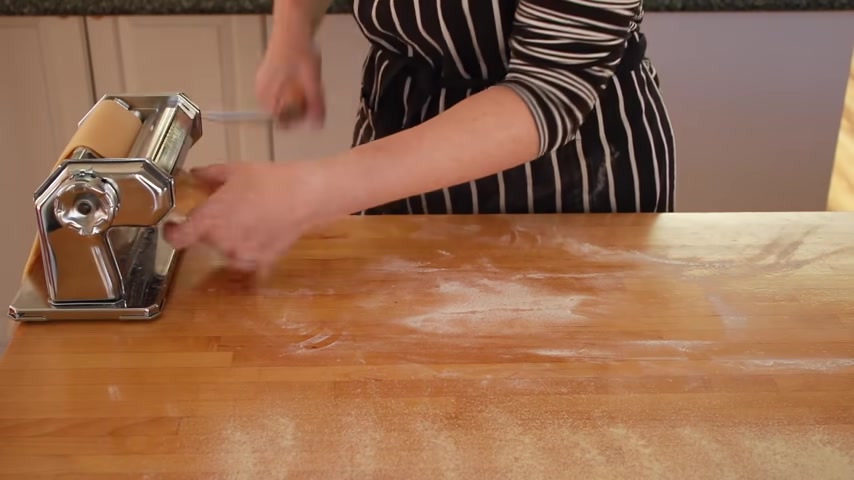
You have to go through each setting .
I prefer to do each setting twice because there's always a bit of shrinkage after the first pass .
Don't forget to add more flour .
If the dough feels at all sticky , when you feed the dough through the machine , you should let go of it as soon as it gets caught in the rollers , this frees up your hand to catch the dough as it comes out and it stretches the dough over the back of the rollers helping it to thin out after the fourth or fifth setting .
You might want to cut the dough in half or it will become very long and difficult to handle .
The question is where do we stop for any filled chips ?
And uh most ribbon pasta .
I like to stop at six .
Although I do each setting twice .
I do the sixth setting only once .
Otherwise the dough gets too thin .
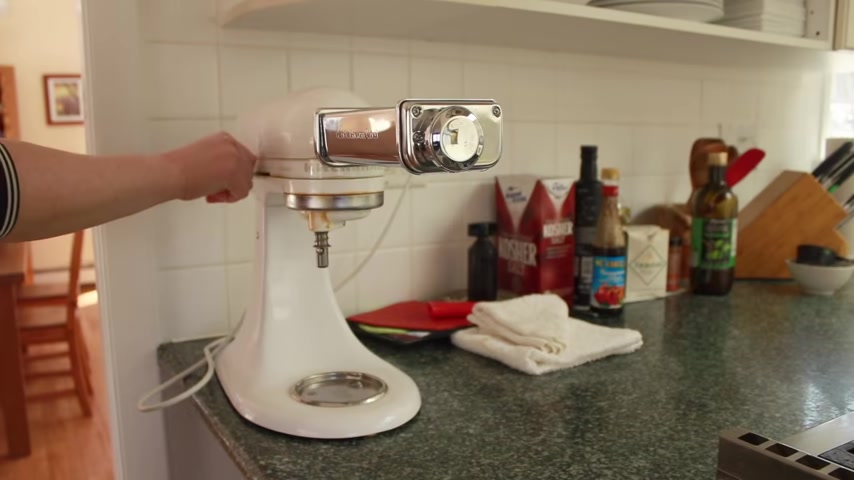
Here's what it looks like on a kitchenette said the mixer to the lowest speed .
As soon as the rollers catch my dough , I let it drop to help it stretch and catch it on the other side .
For very hardy ribbon pasta .
I stop at the fifth setting with a few caveats .
I put it through the fifth setting three times , stretching it a bit as it comes out .
By the way , the best way to carry pasta dough is on the back of your hands .
I'll stretch it out just a bit so that it's not as thin as six , but not as thick as five and last and most difficult way to roll out pasta .
Dough is with a rolling pin .
I only suggest you attempt this .
If you are using double zero pasta flour , all purpose flour makes it very difficult to roll out your dough thinly enough .
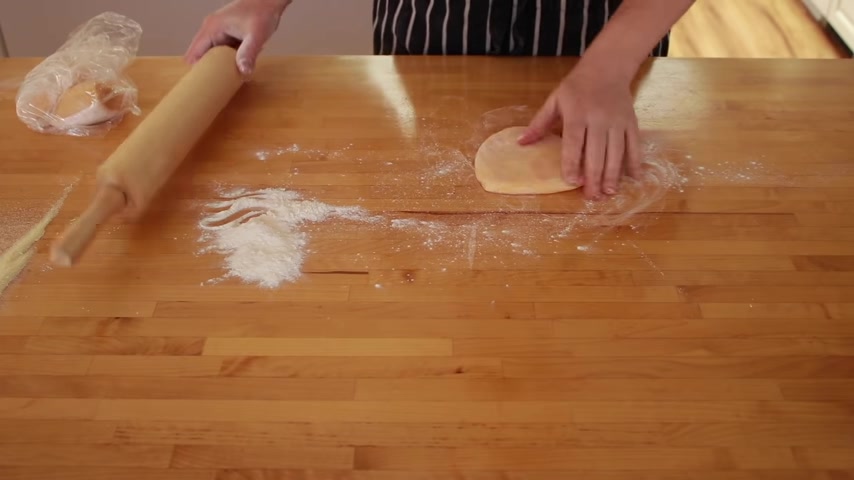
The fourth rookie mistake is using American flour and the rolling pan , which is a recipe for trouble .
Sprinkle your work surface generously with flour and start rolling .
As soon as your dough is more oval this way , rotate at 90 degrees , be extremely liberal with flour , whatever it takes to avoid sticking , always roll from the center to the outside .
Now it's more evolve this way again .
So we'll rotate it again .
Keep going like this way past the point that you think is thin enough .
Trust me , it's not , I find that it's much easier to roll the pasta with a thin .
If you have seen how thin it should be on that sixth setting of a machine actually not seen but more like felt .
It's really hard to see the differences between such small thicknesses in the video .
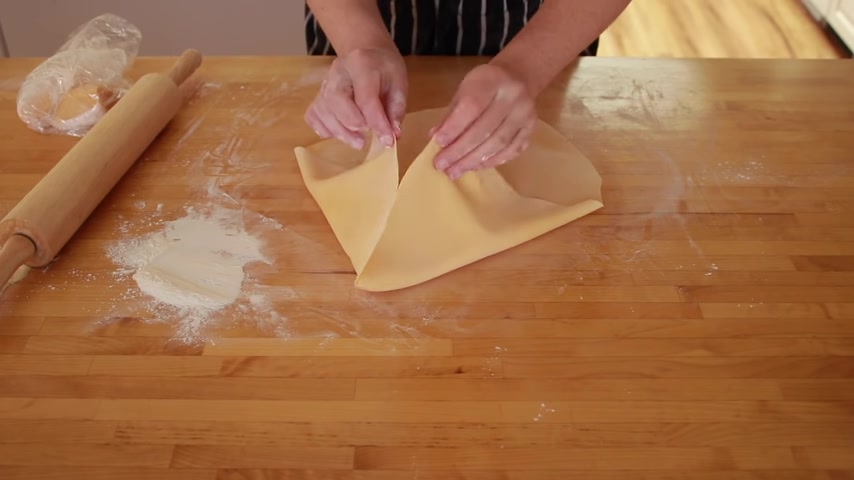
You want barely thicker than a sheet of dough .
It should feel like the kind of fabric you want to wear on a very hot and humid summer day if you don't have a rolling machine and they're thinking of making handshakes like or or sorry to break it to you , but they won't taste good out of this dough .
You need water past dough for those eggs produce much firmer chewier pasta .
Uh The dough we've made today is only tasty .
If you can get it very thin , the water produces much softer pasta .
It's great for rustic thicker shapes but doesn't really work for thin sheets .
I'll link to my water pasta dough and some hand shapes below .
If you want to give them a shot .
If you're filling the pasta , do so right away while it's still a tad sticky .
If you're cutting your pasta into ribbons let your pasta sheets dry out until they feel like leather .
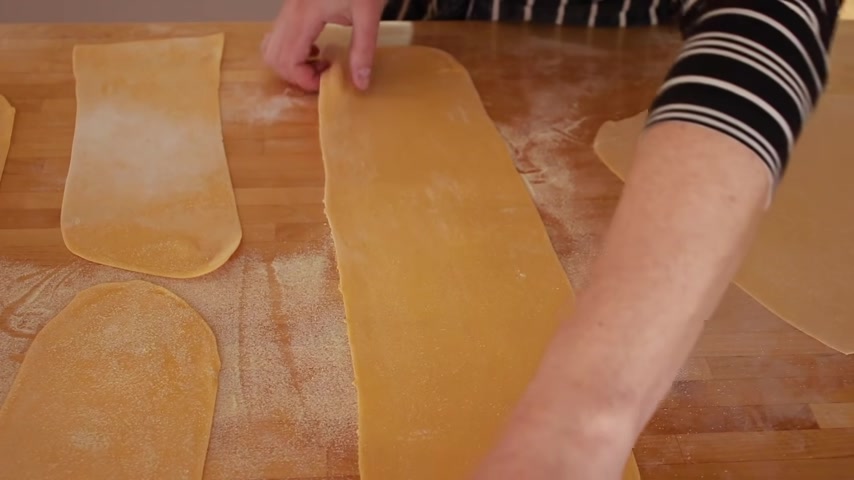
They should still be pliable but not at all sticky .
When the first side feels good .
Flip it and dry the other side , it will take 15 to 30 minutes depending on humidity of the room .
If you don't want to cook your pasta , right way , you can stack slightly dry but still pliable sheets between parchment paper , Sprinkle them with flour and wrap them tightly in plastic wrap .
They'll last just fine in the fridge for 1 to 2 days .
I like to cut dough right before it goes into the pot to prevent it from sticking together .
If you didn't have time to dry your pasta to the texture of skin Sprinkle it very liberally with semolina .
Actually , even if you dried it some Sprinkle it just in case , roll up your pasta from both directions toward the center and cut with the chef's knife on the cutting board .
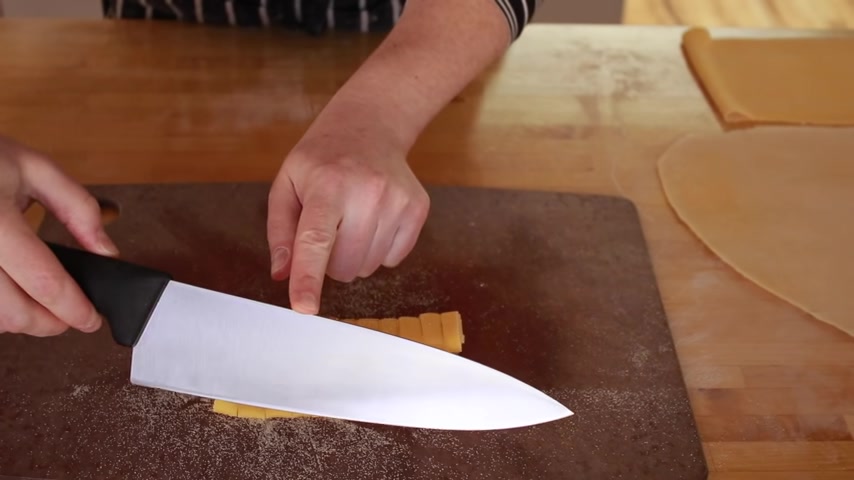
You can make it as wide or narrow as you like , stick the dull side of the knife into the crease like this and lift it up to enroll .
If you are dealing with a very long sheet , cut it in half .
Since this one was only rolled to the fifth setting , I'll cut it into more narrow ribbons .
You can play around with thickness and width until you find the one you like .
I think the cutting into ribbons is my favorite part of making pasta .
Just look at those beautiful ribbons .
The last but not least fresh pasta .
Mistake is not getting the salt right .
For dry pasta .
You need way less salt in the water than for fresh , fresh pasta .
Cooks in one minute , maybe two minute tops .
It doesn't get the chance to absorb a ton of wood the way it dry , pasted us .
So the water needs to be very salty .

The chefs call it like the sea , But in case it's been a while since you swallowed seawater , I'll give you actual measurements .
Just realize that we all have our own salt preferences and you might need to adjust to make it perfect for you for 6.5 quarts of water .
I use 65 g of salt .
That's half a cup of diamond crystal Kosher salt or a quarter cup of table salt .
If you have some other salt , I can't help you with the volume .
Again .
A reminder to be careful with Morton's Kosher , it's closer to table salt than to Dimon crystal kosher salt .
This amount of salt will produce a very flavorful pasta .
Assuming you added salt to the dough , if you are sensitive to sodium , use whatever you think is appropriate .
And about the pot , a covered pot will come to a boil a lot faster but a covered pot with salt will boil over unless you catch the right moment to remove the lead .
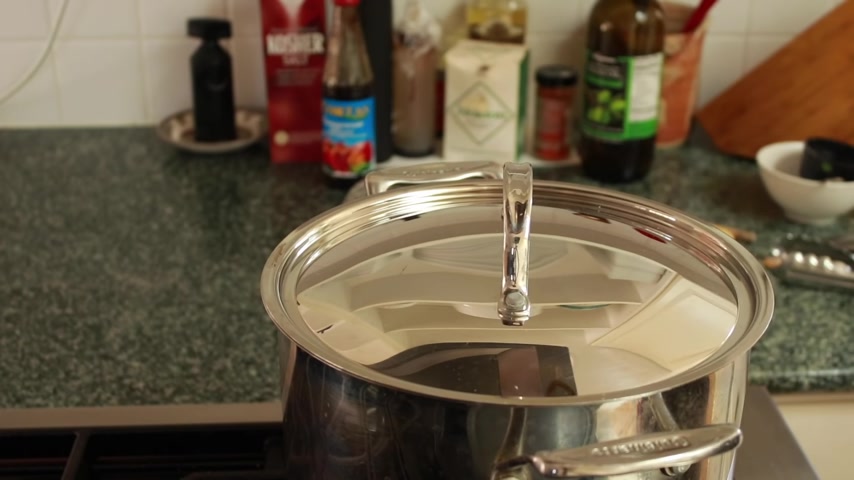
Since I want my water to boil quickly and not to boil over .
I add the salt after the water is almost boiling .
And after that , I wait for the boil without covering the pot .
Dampen your pasta stir and set the time of one minute taste to make sure your pasta is done and get it out .
Never drain fresh pasta .
In a calendar .
The flour you use to prevent sticking will settle on the bottom of the pot and will not hurt anyone if you just leave it there .
But if you dump all those water into the calendar , your pasta will be covered with semolina mush for long ribbon pasta .
I start with tons and then switch to a spider spoon .
This latter spoon has totally changed my life .
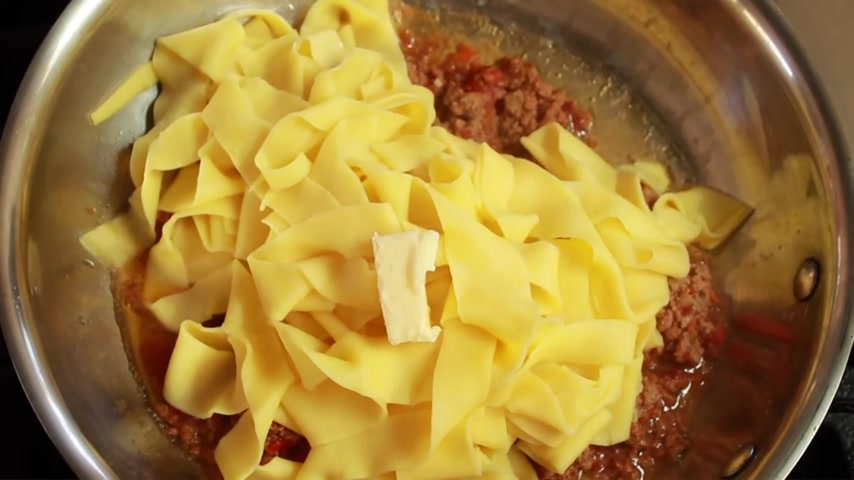
It holds a lot and drains well , toss your pasta with the sauce of your choice and a healthy chunk of butter and obviously the sauce should be hard before you add the pasta .
You don't want the pasta to cool off in case you think that all my precision has taken all the joy out of my pasta .
Trust me , I am very happy right now .
If you were eating this pasta , you'd be very happy right now too .
By the way , when I cook in vacation homes , I am perfectly capable of making pasta completely by fuel .
No scale , no measurement cups , no food processor and no rolling machine .
What do you know all those years of accuracy ?
Didn't destroy my intuition .
If anything he created the in .
If you want to learn to make ravioli tortellini , here is some videos for you to check out next week .

We'll make bone sauce to go with our fabulous fresh egg pasta .
So don't forget to subscribe , hit that little bell button for notifications .
And if you are ever in the Boston area , maybe I'll see you in one of my classes .
Are you looking for a way to reach a wider audience and get more views on your videos?
Our innovative video to text transcribing service can help you do just that.
We provide accurate transcriptions of your videos along with visual content that will help you attract new viewers and keep them engaged. Plus, our data analytics and ad campaign tools can help you monetize your content and maximize your revenue.
Let's partner up and take your video content to the next level!
Contact us today to learn more.