https://www.youtube.com/watch?v=C3Uu4eYJY6c
2023-06-14 18:17:37
How to patch plaster a wall

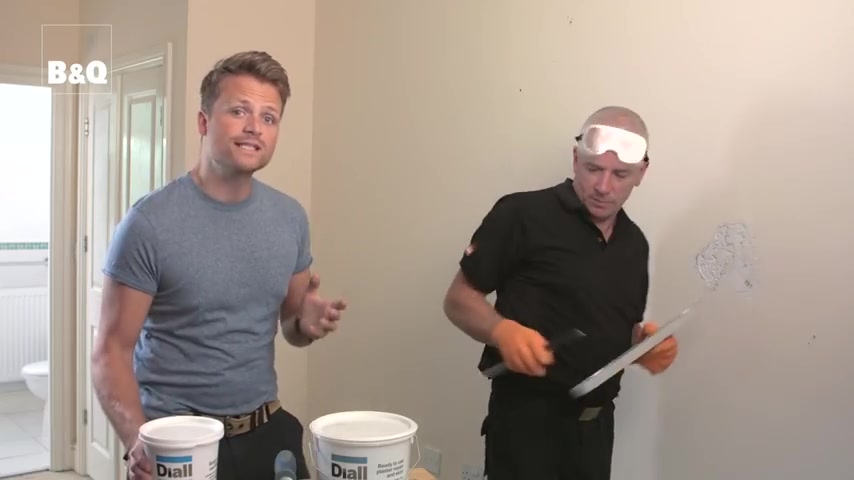
from time to time , most of us will come across some damage plaster like this that needs to be patched up before we can get on with projects such as painting , wallpapering or tiling .
Making a patch repair is easier than you think .
All you need is the right product and a little bit of know how .
In this film , we're gonna show you how it's done .
Using this , ready to use plaster repair and skim .
The preparation is quite straightforward .
First , put down a dust sheet and inspect the damaged area to see if there's any loose or crumbling plaster .
If there is , use a utility knife and scraper or a hammer and cold chisel to cut this back until you reach down plaster .
Ensuring the hole is not deeper than three millimetres .
Remember to always use a cable and pipe detector to check for hidden pipe and cables before cutting into a wall .

If the surface is glossy , you'll need to sand it first using the coarse grade sandpaper , brush the damaged area to remove any dust and check that there is no damp or grease .
If there is grease , then clean the area .
If you suspect damp then you might need to seek expert advice .
If there are any fixings , such as nails or screws in the repair area , make sure that the heads are well below the surface of the wall and any that protrude should be removed .
If they're not rustproof fixings , paint over the heads with oil or solvent based paint .
The last stage of the preparation is to prime the area with diluted P VA to give the plaster adhesion for the new plaster repair to stick to it , and that's your preparation Done .
This plaster repair and skim is easy to apply and is suitable for repairs up to three millimetres in depth to plaster walls and plasterboard .
Use a steel rule and a spirit level to check the depth of the damaged area before you start to apply the repair and the skin .
If the depth is greater than three millimetres , use plaster repair to reduce the depth .
This repair filler can be applied in layers up to 12 millimetres thick so you may only need one layer .
We're OK .
This damaged area is only three millimetres deep , so we don't need any additional filler .
Apply the skin directly to the wall , using a flat plaster tower and a scraper , allow some time for the plaster to begin to set .
The length of time needed will vary according to the room's temperature and humidity .
Once the plaster has begun to set , wet the flat plastering trail and use it to smooth the plaster .
When it's dry , lightly rub over the surface using medium grade sandpaper and wipe over the sanded surface with a damp cloth .

If you're going to paint wallpaper or tile over the repaired area , don't forget to coat the new plaster with an appropriate sealer first .
And that's that .
A nice , smooth wall ready for decorating for more ideas and know how .
Visit DIY dot com .
Partnership
Are you looking for a way to reach a wider audience and get more views on your videos?
Our innovative video to text transcribing service can help you do just that.
We provide accurate transcriptions of your videos along with visual content that will help you attract new viewers and keep them engaged. Plus, our data analytics and ad campaign tools can help you monetize your content and maximize your revenue.
Let's partner up and take your video content to the next level!
Contact us today to learn more.