https://www.youtube.com/watch?v=etid0oANZXs
How To Install a Skylight _ Lowe’s Pro How-To
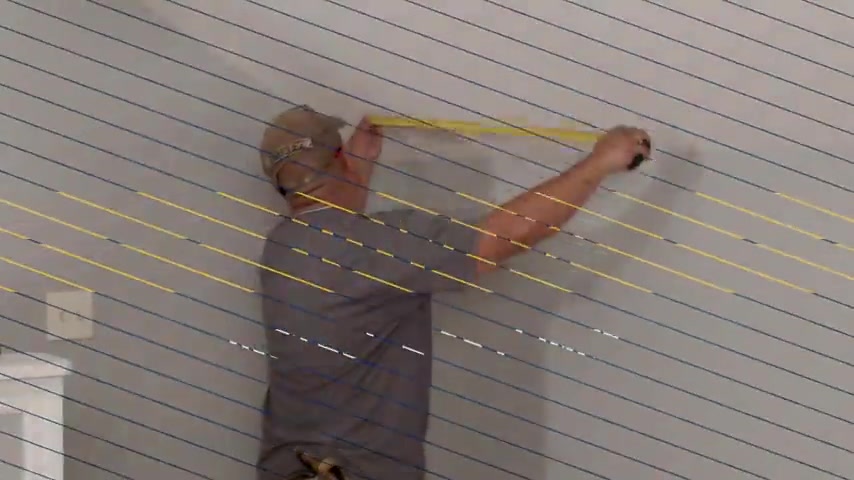
Step one planning plan out the space in the interior of the building where the skylight will be installed before cutting any piece of the roof system .
Check local codes regarding removal of any structural portions of the roof system and determine what the requirements are for that type of framing for proper water evacuation .
Be sure to choose the correct style of skylight for the pitch of the roof where it will be installed .
If the pitch of the roof is below a 3 12 use a curb mounted skylight .
If the pitch is above a 3 12 , use a deck mounted skylight .
Step two , locate and mark the rafters once the space for the skylight has been determined , locate the rafters with a stud finder and mark the locations between the rafter base for the rough opening .
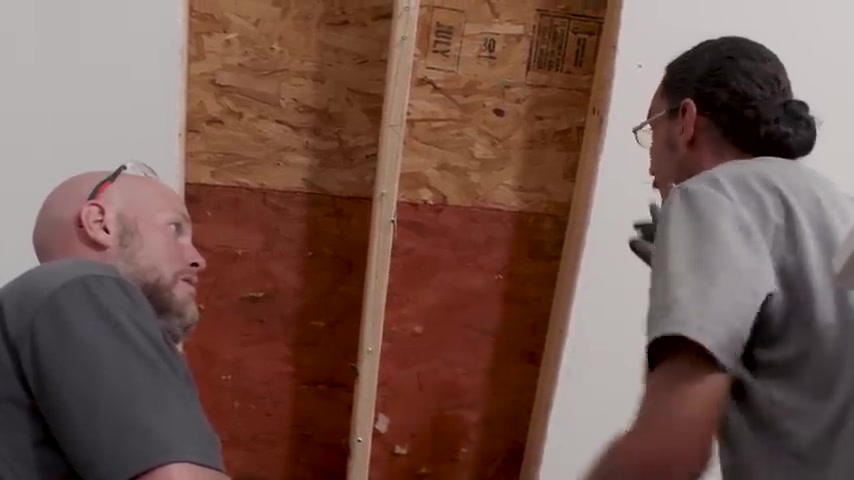
Step three , create rough opening , cut the drywall along the marks for the rough opening to expose the inside of the ceiling , remove any insulation between the exposed rafters .
If there is an additional rafter in the middle of the rough opening now is the time to remove it .
Step four framing using the dimensions of the selected skylight frame .
The rough opening for the skylight .
Once the rough opening for the skylight has been framed , drive a screw into each of the corners of the opening , make sure to use a long enough screw that it will entirely penetrate the roof so that the outline of the frame can be easily found .
Step five , prepare the roof , remove all of the shingles inside and 6 to 12 inches outside of the screws that are marking the skylight frame using a chalk line and the screws as a guide snap a line to mark the opening for the skylight , remove the screws .
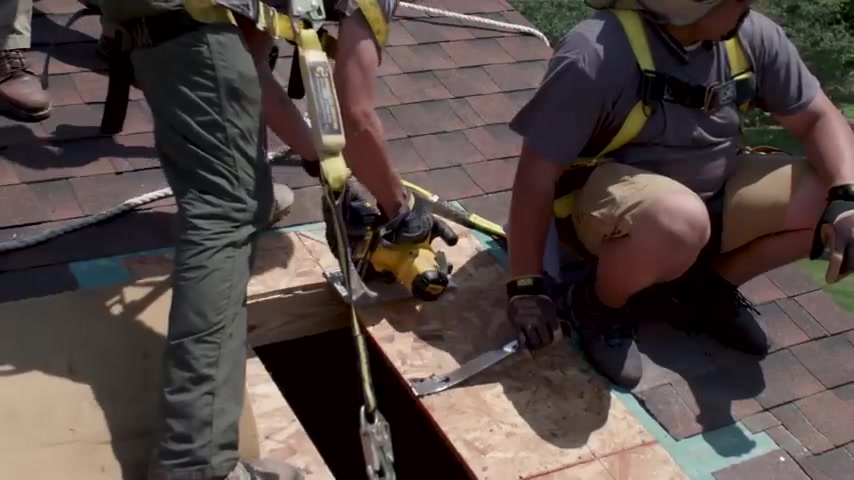
Once the outline has been made on the roof , step six , cut the opening using a circular saw and the outline as a guide cut out the opening for the skylight , be sure to secure the portion of the roof that is being cut out so that it doesn't fall inside , cut away the roofing underlayment six inches on all sides of the opening .
This will provide space for the ice and water shield to adhere directly to the actual decking around the opening .
Step seven , install the skylight , place the skylight over the opening and center it using the notches on the skylight as a guide , remove the cladding from the skylight by pulling the sides and bottom away from the skylight .
Once the skylight is centered over the opening , nail it into place through the flange using the provided nails .
Step eight , install the ice and water shield measure and cut the ice and water shield .
At least six inches from each corner of the skylight .
Starting at the bottom of the skylight , install the ice and water shield .
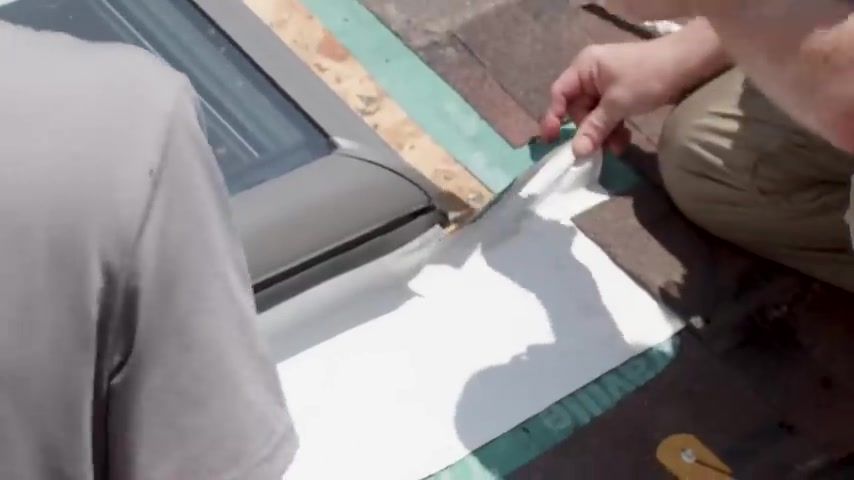
Make sure that the ice and water shield runs up the frame of the skylight , cut relief slits in the corners and wrap them around the side of the skylight and flat across the roof .
Follow the same process to install the ice and water shield on the sides and then finish with the top step nine flashing .
Install the bottom row of shingles and then place the sill flashing at the bottom edge of the skylight , overlapping the bottom row of shingles , secure this using roofing nails .
Once the sill flashing has been secured , start interweaving , slashing and shingles all the way up on both sides from the bottom to the top .
If the final piece of step flashing is too long , cut it to fit .
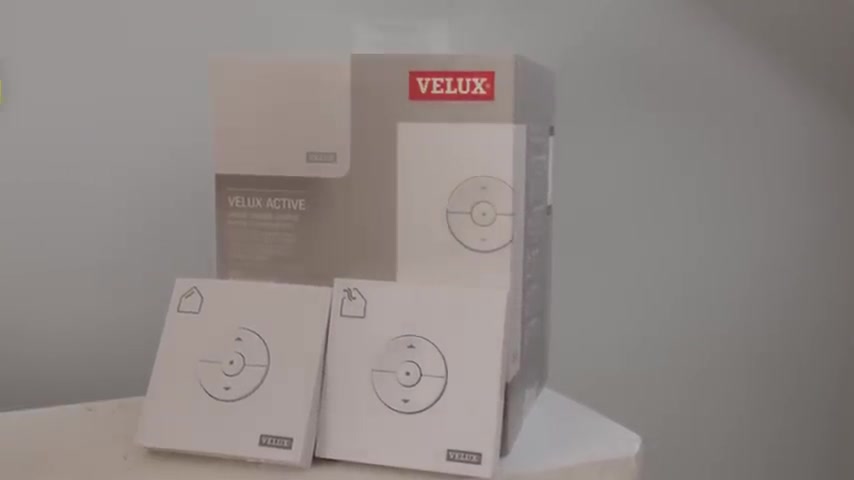
If a solar powered venting skylight has been installed now is the time to connect the solar panel to the body of the skylight after the step flashing and the shingles have been installed all the way up .
Both sides replace the cladding around the body of the skylight with the cladding in place .
Install the saddle flashing around the top of the skylight , make sure to fit this over the cladding , interweave another piece of the ice and water shield under the cut piece of underlayment above and then place it over top of the saddle flashing .
Now finish shingling the rest of the roof above the skylight .
Step 10 sink the skylight .
If a solar powered venting skylight has been installed , sink the remote to the skylight , sinking the skylight while still on the roof will make it easier to access if the ceilings are high or if it is in a difficult place to reach from the inside .
Step 11 , repair the dry wall return inside and place any removed pieces of insulation back into any open space in the rough opening around the skylight frame .
Once the installation has been replaced , it's time to repair the drywall step 12 .
Install the screen if a solar powered venting skylight has been installed and the drywall has been finished and painted , install the screen into place in the skylight .
This demonstration is intended for professionals .
Only homeowners should not attempt these projects without first consulting a licensed professional .
Are you looking for a way to reach a wider audience and get more views on your videos?
Our innovative video to text transcribing service can help you do just that.
We provide accurate transcriptions of your videos along with visual content that will help you attract new viewers and keep them engaged. Plus, our data analytics and ad campaign tools can help you monetize your content and maximize your revenue.
Let's partner up and take your video content to the next level!
Contact us today to learn more.