https://www.youtube.com/watch?v=3QXHF9YTelM
D.I.Y. Brick Planter Box - D.I.Y. At Bunnings
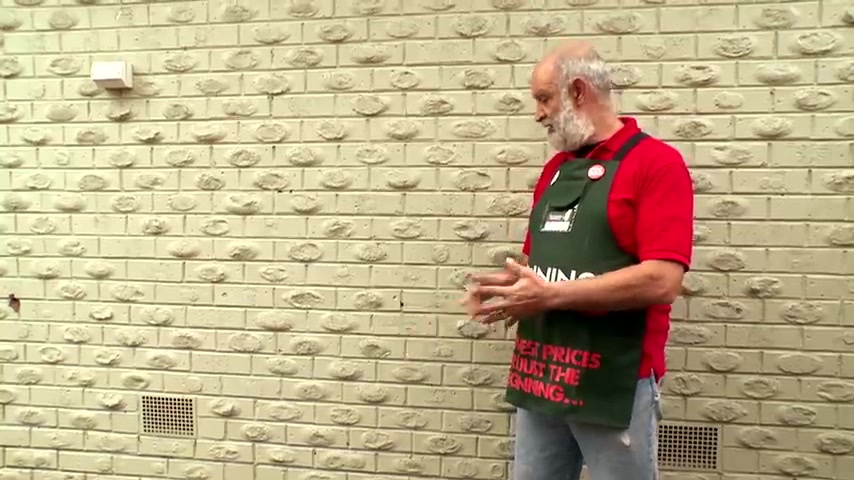
This area uh down the side of my house is screaming for attention .
I'm gonna put some flowers and lots of color in here .
And a brick planter box is an ideal way to do it because it will stand the test of time turning this dead area from this into a space full of life and color .
These are all the tools and equipment you'll need to make a brick planter box to build this planter box level .
We have to first ensure that the ground is level .
So we're digging it out to as level as possible with the shovel and then we'll test it with the level .
Yeah , that's pretty good .
My planter box is going to be two bricks wide .
I'll measure out for this allowing a little bit in between the brick works for the mortar and we'll be doing this on both sides .
Once we've worked out these measurements , we'll be putting a peg in at both these points and we're pulling a straight line through to get a parallel to the wall .
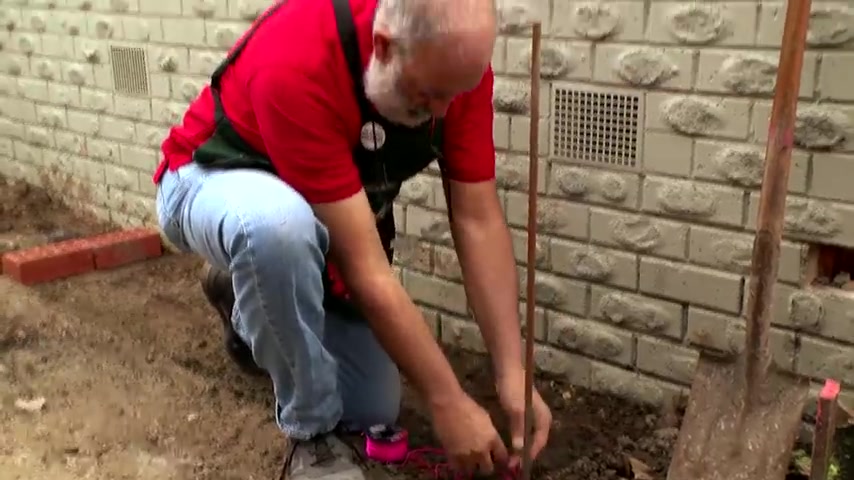
Now that the poles are set parallel to the wall , I'll set a spring lane in between them to give me a straight gauge for my brickwork .
The next step is mixing your mortar to lay our bricks .
You can mix your mortar in a wheelbarrow with a shovel or you can do like I'm going to do , I'm going to cheat and use a mixer .
One important tip is follow the instructions on the back of the bag .
It will tell you the proportions and remember , don't add too much water to it .
It'll become sloppy and you won't be able to lay bricks properly .
This is how I test for consistency in the mortar to see if it's the right consistency .
I put a bit on the trail , shake it off , great .
It's not slipping off the trail , which is good .
This is the consistency I need .
If it fell off the trail , it would be too sloppy to lay our bricks or we'll be laying some mortar on the ground .
We'll be bedding the brick into that mortar with a little bit of mortar in between each brick .
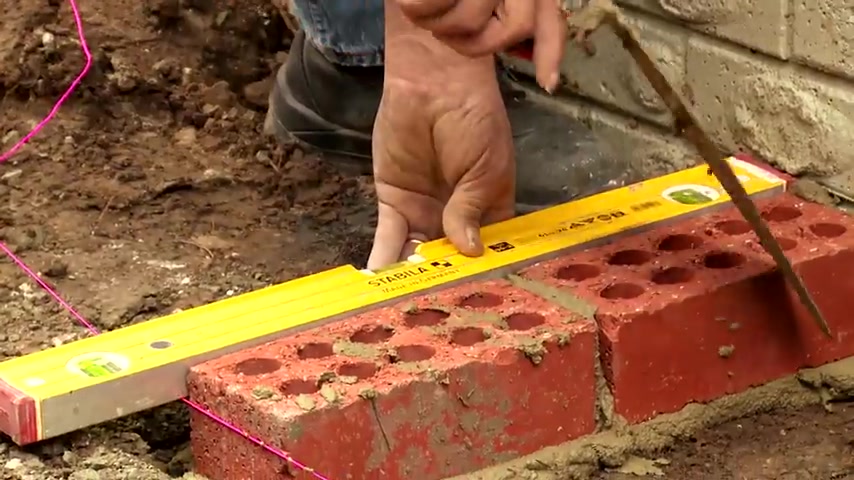
My brick planter box is only going to be three courses high .
So this ground is hard enough to take that pressure .
If it was any higher , we might consider putting a concrete footing down , but because it's only three high , so no footings are required just level off and lay on a bit of mortar .
Ok .
Now we make sure that both ends are level and dead level .
Adjust your string line .
Once we've adjusted it , we've got level on both sides and we can lay a note straight brick from one end to the other to lay the bricks in this middle section .
We just repeat the process .
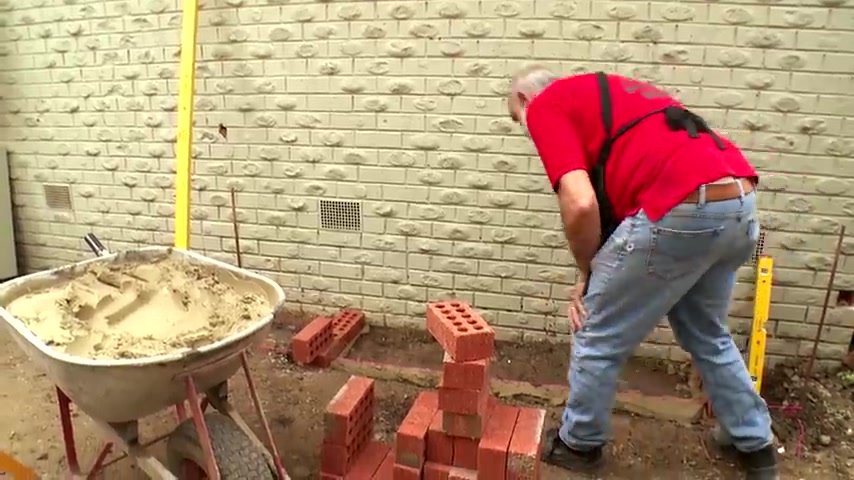
We just lay mortar on the ground , put the bricks on top butter in the end of the brick to butt into the previous .
As you go tap down your brickwork to the loan .
That way you'll achieve a nice straight brickwork and it will look good .
The first level is the most important .
Once that is down , level and straight , we know that above it , all we have to do is be consistent and we'll achieve the same thing .
We are laying this brickwork at half bond , which simply means that the underlying brick is covered by the top brick up to the halfway mark and not over to cut a half brick , simply measure to the middle of the brick and uh mark it with a pencil , then use a bolster and hammer to achieve the result .
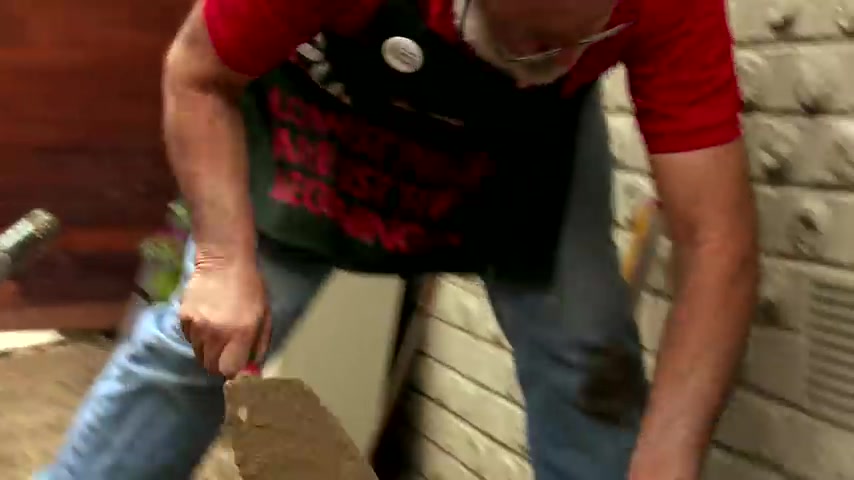
Now that we have our first course down and its level square in parallel , we just repeat the process for two more courses to achieve the height of our planter box using the half bricks that we've broken in the corner to start our half bond , lay your corners first step and run a string line in between them to achieve the same result as the first course , a straight consistent piece of brickwork while the water is still wet use a damp sponge , not too wet , just lightly damp to take off all the ugly little bits that are sitting on the brick and smooth out the joints to finish off the brickwork .
We're simply putting a little concrete caper over the top .
We're laying this with the same mortar as we lay the bricks .
You can leave it raw or paint it .
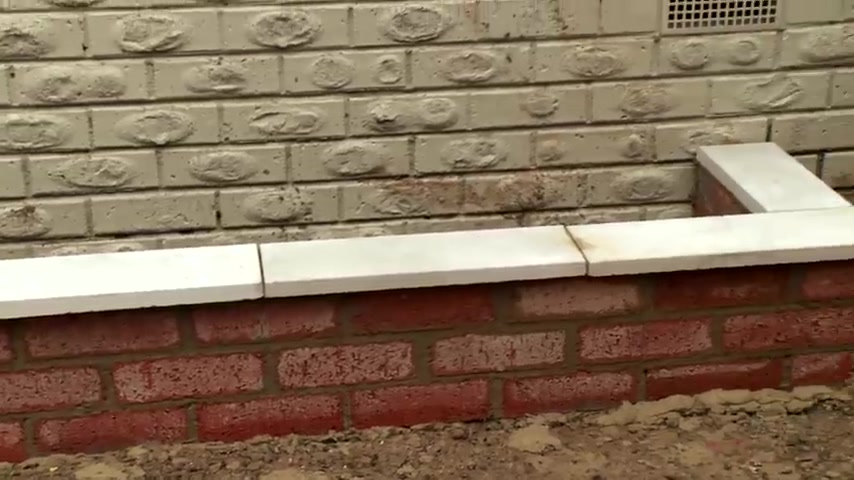
I'm gonna paint the concrete edging on the plaza box so it matches the color scheme of the house and there you have it .
That's how you build a brick blender box .
Remember if you're going to fill it with dirt ?
It's a good idea to waterproof it with bitumen based paint .
But wait at least seven days before a plan .
The product .
Oh , here we are the finished product .
Our brick planter box with a bit of care and attention .
You can build this yourself quite easily from an empty dirt patch on the side of my house to a good looking planter box that will stand the test of time .
Are you looking for a way to reach a wider audience and get more views on your videos?
Our innovative video to text transcribing service can help you do just that.
We provide accurate transcriptions of your videos along with visual content that will help you attract new viewers and keep them engaged. Plus, our data analytics and ad campaign tools can help you monetize your content and maximize your revenue.
Let's partner up and take your video content to the next level!
Contact us today to learn more.