https://www.youtube.com/watch?v=KWf6DUExPc0
How To Build A Greenhouse - D.I.Y. At Bunnings

a greenhouse doesn't have to be bucket loads of cash .
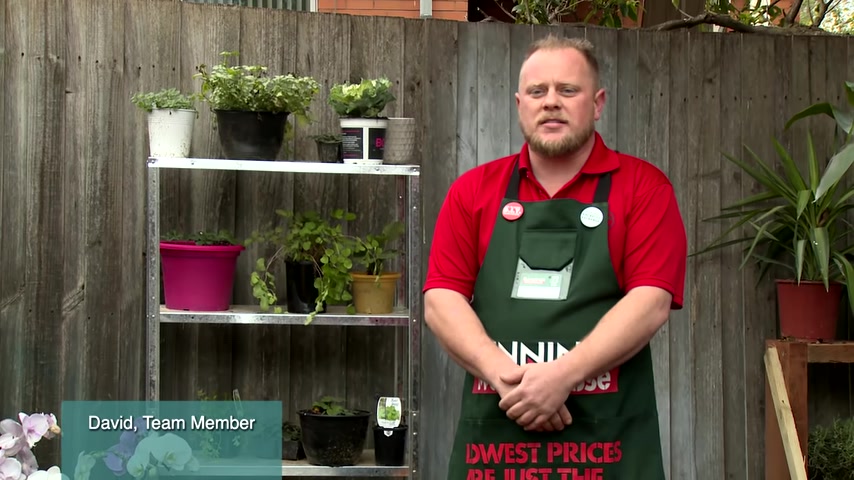
We're gonna make a simple one that you can move around and it's gonna have plenty of room in it for all your plants .
We're gonna take your garden area from this to this .
The good thing about a greenhouse is it can keep your gardening all year round .
I'm gonna show you how to make a real easy one today .
These are all the tools and equipment that we're gonna need to build our greenhouse .
Just a few frames , A little bit of plastic .
If you can garden , you're gonna want one of these .
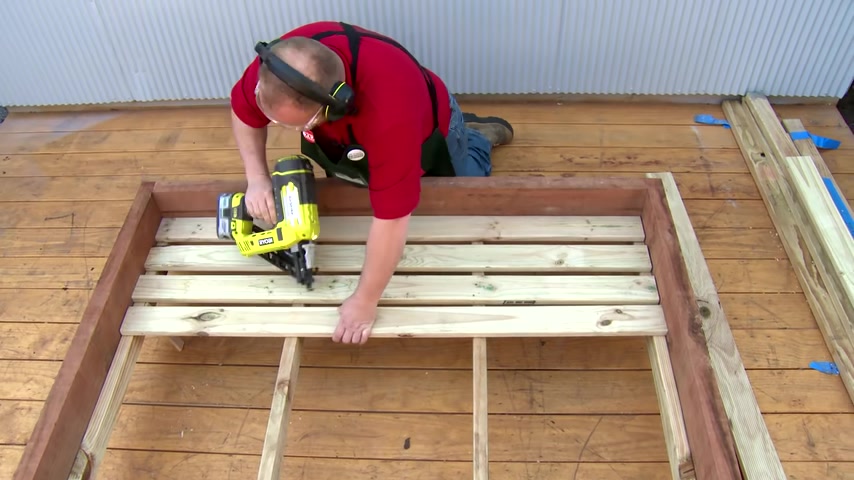
I've got all my timber precut at Bunnings and I've sectioned off and labelled all of my different components to make the build easy to make the base , get the hardwood sleepers pre drill and screw together with bugle screws to make the base for the floor .
We are now gonna add our timber down to the bottom , leaving it flush on the floor .
That way , you're gonna get a nice clean fit .
Once you have your frame in , you can adj Joice for extra support .
This is going to provide the base for the flooring .

Now we have our subfloor installed .
It's now time to flip it over and put on the casters .
Use bugle screws .
There's no need to pre drill , but make sure you put the wheels with the stoppers on opposing corners to lay your floor .
Put your timber and rips side down .
Allow about 30 mil spacing just to allow the drainage to make your frame .
Make the outer frame first using the framing gun .
I know how big I want my door .
So now I just have to measure and put in my start work .
Make sure you put in the second brace to allow for the HIY .
So that's our front frame made .
Now let's go and make the door .
Make sure your noggins are flushed to the front of the door to attach your hinges .
To build this side , make a frame and put a stud in the middle .

Repeat the process for the other two frames .
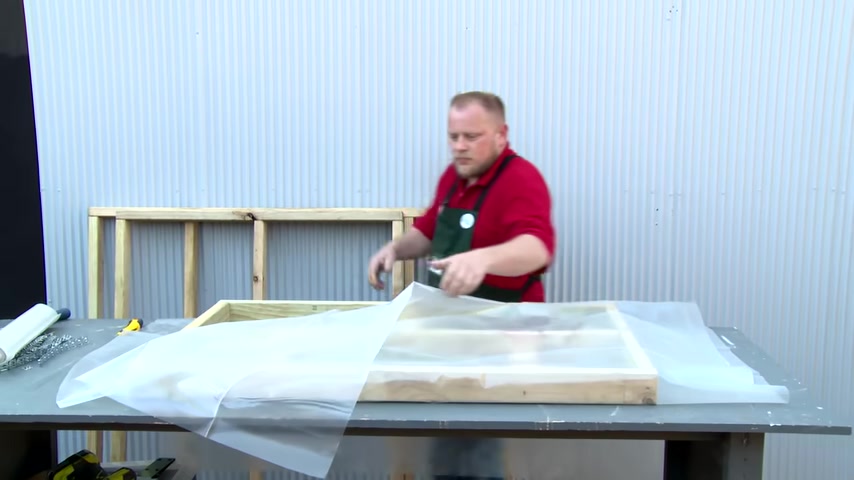
Once you've built your framework , it's time to put the plastic on .
Wrap your frames in plastic and fix it off .
Make sure you're wearing gloves and make sure you attach plastic to the inside of the frame so it looks nice from the outside , So now we have all of our sides in our front wrapped .
It's now time to attach the hinges .
Screw the hinges down to the side joists and attach your pad .
Bolt to the front .
Now the frame's almost finished .
Attach the frame to the base using bugle screws .
It's a little bit tricky , so you might need an extra pair of hands to fix the patterns to your roof .
Arrange them in descending sizes so you get run off on the back .

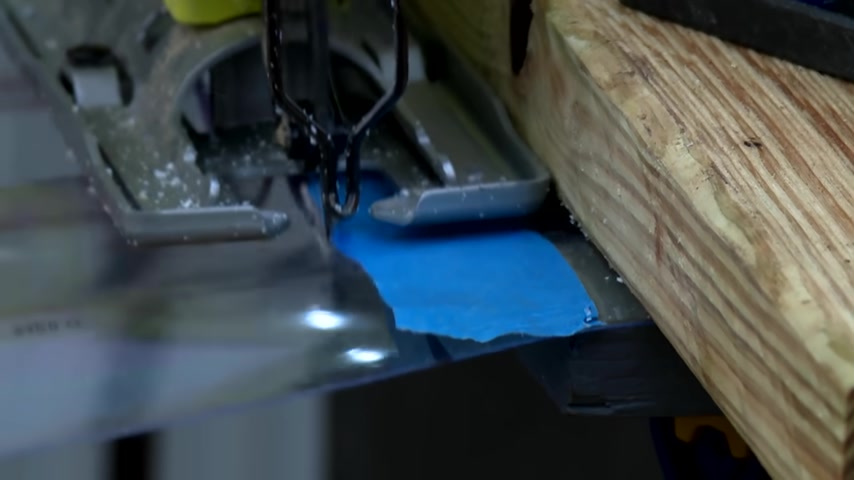
Transfer your measurements from your greenhouse onto some polycarbonate roofing .
Mark it with a bit of masking tape and cut to size .
I'm using a metal blade on a medium setting on the jigsaw to allow for a clean cut .
I have measured mine out with a little bit of overhang at the front and at the back to allow rain to fall off .
Last thing we have to do is attach our roof to our greenhouse .
We're gonna use some roofing screws .
To do that .
Attach your screws into the crest of the corrugate .
You only need to do this every second one .
So there you have it .
A fantastic little greenhouse .
Let's go and find a place for it in the backyard .
So we have created our own nice , warm environment for all of our plants .
Turning your garden from this to this ?
Yes .
Are you looking for a way to reach a wider audience and get more views on your videos?
Our innovative video to text transcribing service can help you do just that.
We provide accurate transcriptions of your videos along with visual content that will help you attract new viewers and keep them engaged. Plus, our data analytics and ad campaign tools can help you monetize your content and maximize your revenue.
Let's partner up and take your video content to the next level!
Contact us today to learn more.