https://www.youtube.com/watch?v=gqiydHTZdGk
2023-06-14 18:16:40
How to Fix a Broken Fence Post in Under 30 Minutes
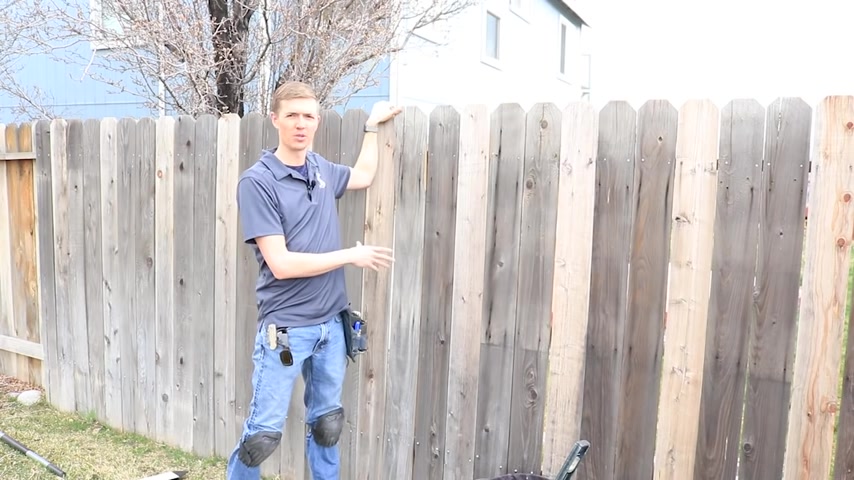
What's up ?
It's Dan Perry .
And in this video , I'm going to show you how to repair a broken fence post .
Like you see here , the fence is all wobbling like this .
But I'm going to show you how to do it without having to actually replace the fence post itself and for about $10 of materials total .
So let's go ahead and get started .
So the first thing I'm going to do is put on some ear protection and some eye protection .
I'll grab just a regular hammer and a crow bar here and just start peeling away the boards that are near the post .
And if we can , I'm gonna try to avoid breaking any of these because I could just reuse them once you remove five or six boards enough to give you room to work , remove the nails or the screws that are connecting the fence rails to the post .
So basically , what I'm going to use is one of these fences here .
Um , but I want to put it right here .
So I need a little bit of extra room .
So I'm just gonna cut a little bit off .
All right .
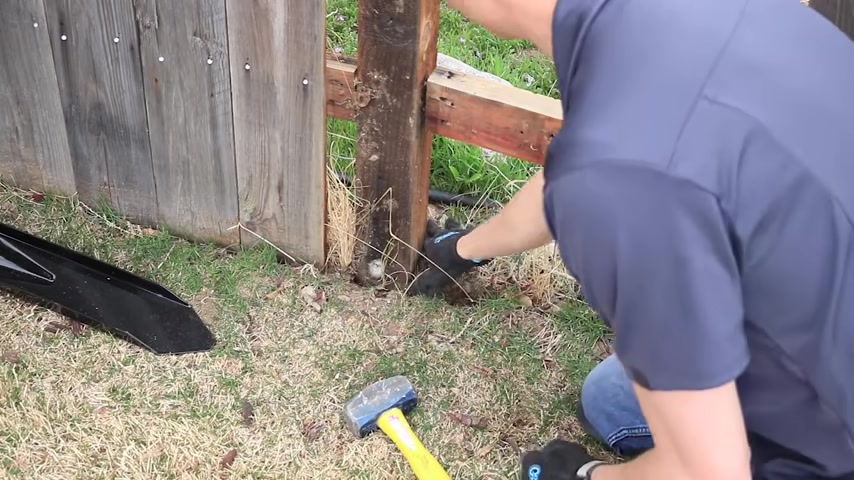
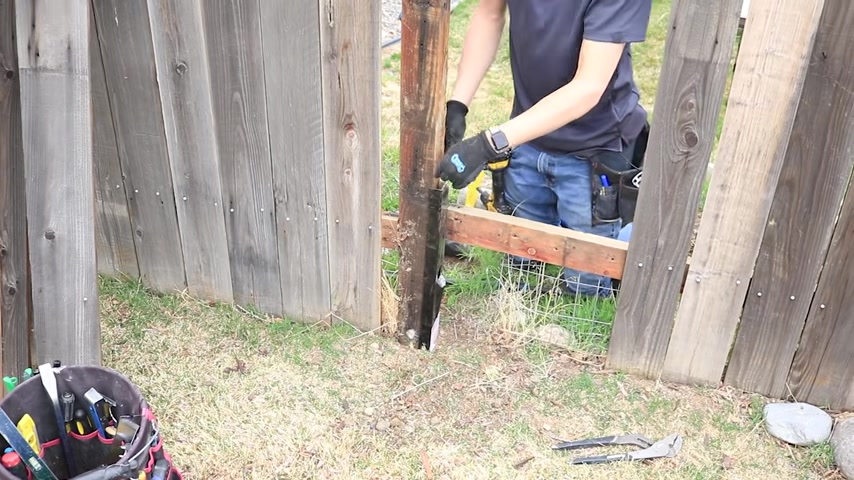
So then what I'm gonna do is go ahead and dig around the post just a little bit .
Um Just so I can expose just to the point where I actually expose the concrete footing .
So there's always a concrete footing down there and I just need to get to that .
So I just dig with the back of my hammer and I'm already scraping on top of it right here .
So that's good .
So what happens is basically the post just rots right here .
So it's only rotted for about a couple of inches right there up here .
It's still perfectly good .
The post is still perfectly fine .
There's nothing wrong with this post .
It's just rotted down below where it broke that .
It'll take something to kind of scrape in there .
So I find the hole in the concrete where the post sits .
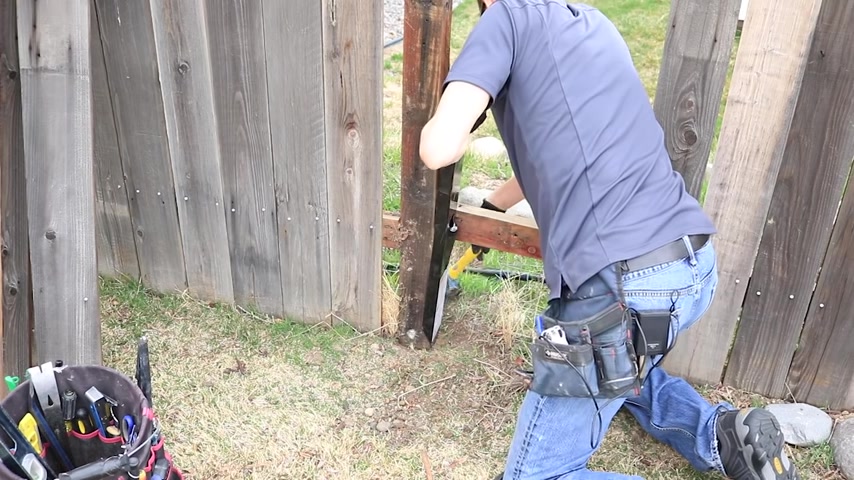
So now you can see that what we're going to do , install this .
Easy Me right there .
We're basically going to hammer it in .
So the trick here is to get the easy mender wedged in between the concrete and the fence post .
So you're gonna wanna make sure it's centered as it's going in .
You know , you can tap it on the side if it's not centered perfectly and then just go ahead and start pounding it in .
It may take quite a few hits in order to get it to go all the way in , but eventually it will go down .
Now , occasionally you'll find that the easy mender is about a quarter of an inch wider than the actual post and therefore the hole in the concrete .
You might be wondering if it'll actually work , um , nine out of 10 times , it still will work .
Although occasionally the easy mender will split the concrete .
In that case , you'll have to go with another type of repair for the fence post at a certain point .
This starts to get hard to hit , it starts to get beat up and you're gonna wanna , um , start hitting it from the top .
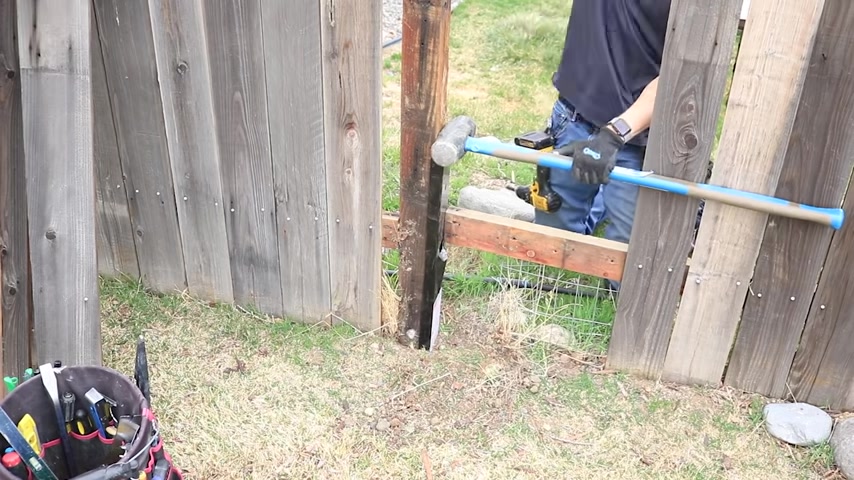
However , if you just start banging on the top right here , it's gonna get all folded over .
So what I like to do , put a piece of , just put a couple of , um , shims in there like that , then I'll actually grab myself a full size sledge hammer and then use the larger sledge hammer to distribute the force across the entire top surface of the easy mender .
Otherwise the easy mender does get all folded over .
And basically , you're just gonna keep on hitting that sledge hammer until you reach the point where the , this little notch in the easy mender , the top , the bottom of that notch reaches the top of the concrete .
And that's how you know that your easy menor is all the way in there and your post is gonna be nice and solid .
So , obviously , I've sped things up a little bit here just so you didn't have to watch me hammer this thing for 10 minutes straight , but again , it does take quite a few hits , just stick with it .
Um , definitely having this larger sledge hammer is definitely helpful .
And again , this easy mender , these things are only like , these things are less than 10 bucks at the store .
I can't remember the exact price , but they're pretty low price .
So , you know , you're talking about only 10 bucks plus the price of a couple of screws and your fence post is gonna be repaired .
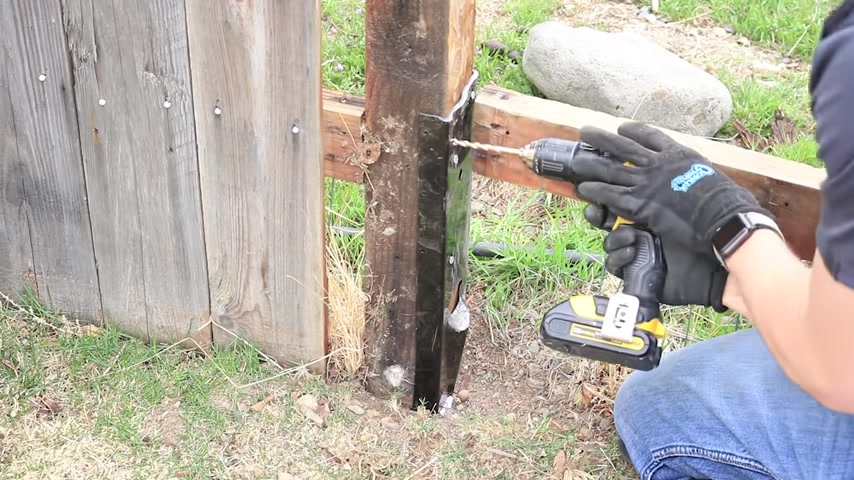
At this point , the hard work is over and now you just need to secure the easy measure to the post with a few screws .
I'm using 2.5 inch exterior screws here to tighten it up against the post .
All right .
So we're basically gonna pre drill some holes into this .
Um , and then let our , let our bit mark on that wood or mark on that piece of steel right there and we'll do the same from in over , from over here .
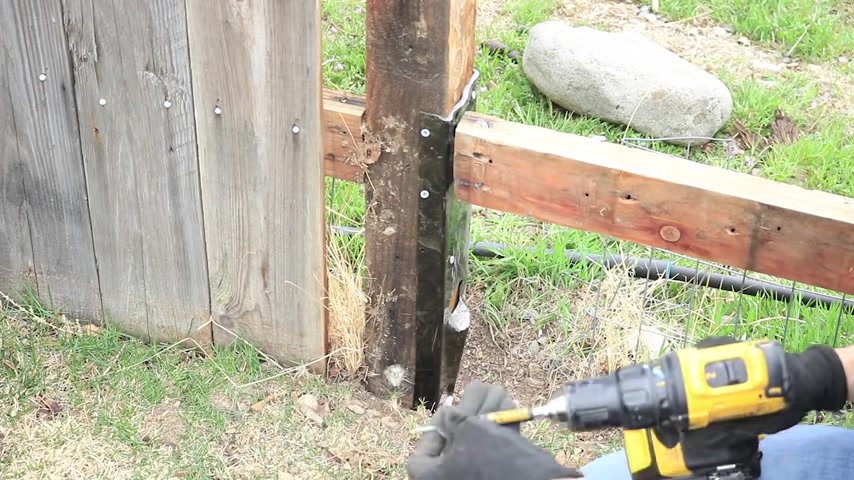
So you just take a bigger screwed , uh , bigger drill bit .
It doesn't matter if it's bigger than 3 16 .
So it gives you some room , you'll just drill where you made the mark that will allow your screws to actually penetrate through this , the easy mender piece of steel .
Then what you wanna do is grab yourself either at least a three inch long , but ideally like a 3.5 or a four inch screw uh exterior , of course .
So it doesn't rust and break on you and then just go right into those holes that you just pre drilled .
Usually you need about two screws board .
Now it's nice and solid .
So that's all set .
And then once we've done that , just go to the side screws here , tighten it down .
So basically , you're just attaching that you're just attaching the easy to the post .
So it's nice and solid .
You'll do that on both sides .
So now the post is in there , it's nice and solid and you want to make sure to install this this way , you know , perpendicular to the fence because that's going to be the most the strongest .
If you , if you try to put the easy mender right here on this side , your fence is going to wobble quite a bit still .
So this is going to keep it real solid .
Then once you're done with that , so you can just tie in these top pieces again , just again , use like a three inch screw at least ideally like a 3.5 , 4 inch screw .
Just come back in here and screw or nail these back on .
Yes .
Fill in the rest nice solid fence again .
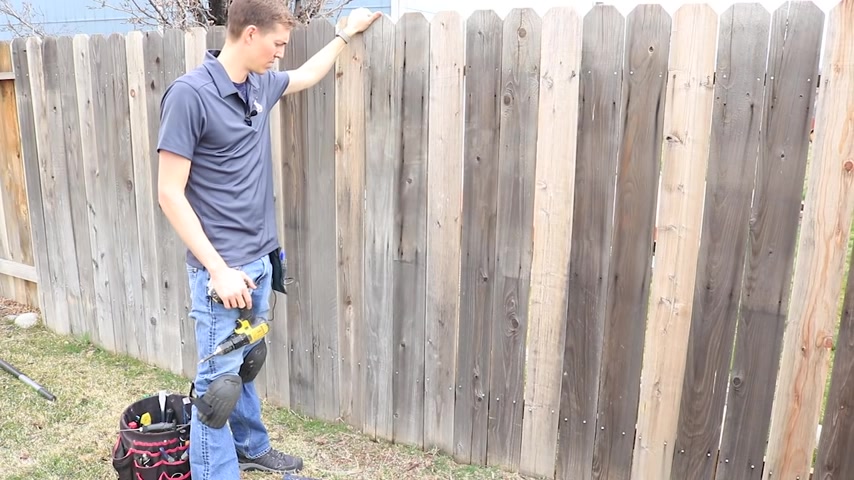
It took me about 25 30 minutes to do that whole entire process .
So definitely an awesome way to repair a fence post .
So I hope that was helpful for you and thank you for watching if you'd like to see more videos like this .
Be sure to subscribe to my youtube channel or visit Diy with Dan dot com .
And if you like home repairs and working with your hands and you like to learn how to turn those skills into a profitable business that allows you to escape your day job .
Then visit me at handyman startup dot com .
Thanks for watching .
I'm Dan Perry .
Partnership
Are you looking for a way to reach a wider audience and get more views on your videos?
Our innovative video to text transcribing service can help you do just that.
We provide accurate transcriptions of your videos along with visual content that will help you attract new viewers and keep them engaged. Plus, our data analytics and ad campaign tools can help you monetize your content and maximize your revenue.
Let's partner up and take your video content to the next level!
Contact us today to learn more.